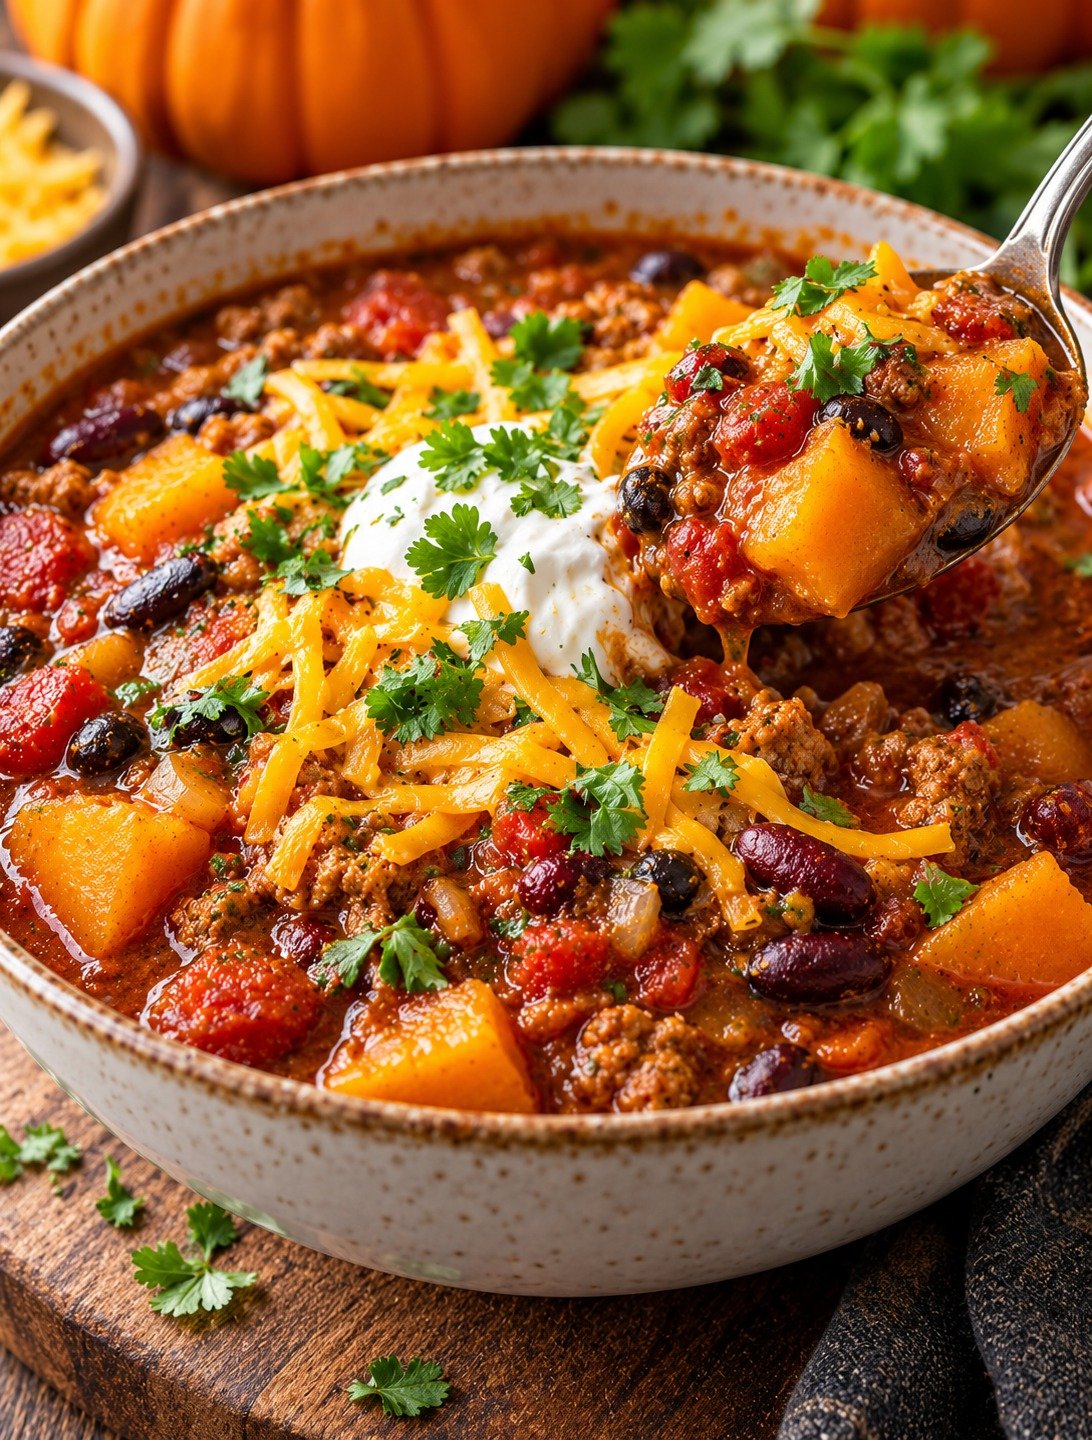
Pumpkin Pie

Pumpkin Pie with creamy spiced pumpkin filling, flaky golden crust, whipped cream, and a sprinkle of cinnamon

Pumpkin Pie

Pumpkin Pie is a classic fall dessert with a smooth, warmly spiced pumpkin filling baked inside a flaky pie crust. It is rich without being heavy, gently sweet, and full of cozy cinnamon, ginger, nutmeg, and clove flavor. Whether you serve it for Thanksgiving, a weekend dinner, or a seasonal gathering, this recipe gives you a dependable homemade dessert with a creamy center and crisp crust.

It uses simple pantry ingredients, including pumpkin puree, eggs, evaporated milk, brown sugar, and traditional spices. Make it ahead, chill overnight, and serve with whipped cream.

Prep Time: 20 minutes
Bake Time: 50–60 minutes
Cooling Time: 2 hours
Total Time: About 3 hours 20 minutes
Servings: 8 slices

Ingredients

For the Pie Crust

  • 1 unbaked 9-inch pie crust, homemade or store-bought
  • 1 egg white, lightly beaten, optional for brushing

Ingredients For the Pumpkin Filling

  • 1 can (15 ounces) pumpkin puree
  • 3 large eggs
  • 3/4 cup packed brown sugar
  • 1/4 cup granulated sugar
  • 1 can (12 ounces) evaporated milk
  • 1 teaspoon pure vanilla extract
  • 1 1/2 teaspoons ground cinnamon
  • 1 teaspoon ground ginger
  • 1/2 teaspoon ground nutmeg
  • 1/4 teaspoon ground cloves
  • 1/2 teaspoon salt
  • 1 tablespoon all-purpose flour or cornstarch

For Serving

  • Whipped cream
  • Ground cinnamon
  • Chopped pecans, optional
  • Caramel sauce, optional

Why You’ll Love This Recipe

Pumpkin Pie has the perfect balance of creamy texture, warm spices, and buttery pastry. The filling is smooth and custard-like, while the crust adds a crisp contrast that makes every slice satisfying.

Another reason to love Pumpkin Pie is how practical it is for entertaining. Bake it a day ahead, refrigerate, and add whipped cream before serving. The filling also comes together in one bowl, so cleanup stays simple.

How to Make Pumpkin Pie

Step 1: Preheat the Oven

Preheat the oven to 425°F or 220°C.

Place a rack in the lower third of the oven. This helps the bottom crust bake more evenly and reduces the chance of a soggy base.

Step 2: Prepare the Pie Crust

Fit the unbaked pie crust into a 9-inch pie dish.

Trim any excess dough and crimp the edges.

Refrigerate the prepared crust while you make the filling.

Step 3: Mix the Pumpkin and Sugars

Add pumpkin puree, brown sugar, and granulated sugar to a large mixing bowl.

Whisk until smooth.

Using pure pumpkin puree rather than pre-sweetened filling gives you full control over the sweetness and spice level.

Step 4: Add the Eggs

Crack the eggs into the pumpkin mixture one at a time, whisking after each addition.

Mix until the filling looks smooth and evenly blended.

The eggs help the custard set while keeping the center soft and creamy.

Step 5: Add the Milk and Vanilla

Pour in the evaporated milk and vanilla extract.

Whisk gently until combined.

Avoid beating too much air into the mixture because excess bubbles can affect the surface of Pumpkin Pie as it bakes.

Step 6: Add the Spices

Sprinkle in cinnamon, ginger, nutmeg, cloves, salt, and flour or cornstarch.

Whisk until there are no visible dry streaks.

The small amount of flour or cornstarch helps stabilize the filling and makes each slice cleaner after cooling.

Step 7: Fill the Crust

Remove the chilled crust from the refrigerator.

Pour the pumpkin filling slowly into the pie shell.

Do not overfill. If you have a little extra filling, bake it separately in a small ramekin.

Step 8: Start at High Heat

Place the pie in the oven and bake at 425°F for 15 minutes.

The initial high heat helps the crust begin to set and gives it a better texture.

Step 9: Lower the Temperature

Without opening the oven for too long, reduce the temperature to 350°F or 175°C.

Continue baking for 35 to 45 minutes.

Pumpkin Pie is ready when the edges look set but the center still has a slight wobble when the dish is gently moved.

Step 10: Protect the Crust if Needed

Check the pie after about 30 minutes of total baking time.

If the crust edges are browning too quickly, cover them loosely with strips of foil or a pie shield.

This keeps the pastry golden without letting it become too dark.

Step 11: Cool Completely

Remove Pumpkin Pie from the oven and place it on a wire rack.

Let it cool at room temperature for at least 2 hours.

The filling continues to set as it cools, so cutting it too early can make the center look loose.

Step 12: Chill Before Serving

For the cleanest slices, refrigerate the cooled pie for at least 1 hour before cutting.

Use a sharp knife and wipe the blade between slices.

Top with whipped cream and a light dusting of cinnamon before serving.

Serving Suggestions

Pumpkin Pie is delicious served chilled, at room temperature, or slightly cool.

A generous spoonful of whipped cream is the most traditional topping. You can also add chopped toasted pecans, a drizzle of caramel, or a sprinkle of cinnamon.

For a holiday dessert table, serve Pumpkin Pie beside apple crisp, pecan pie, or vanilla ice cream. Coffee, chai, black tea, or warm apple cider also pair beautifully with the warm spices.

For a warm and hearty main dish, try our Homestyle Beef and Tender Cabbage Roll Soup with tender beef, cabbage, tomatoes, rice, and savory herbs.

Recipe Tips

Use pure pumpkin puree, not pre-sweetened pumpkin pie filling.

Do not overmix the filling after adding the eggs.

Bake the pie on a lower oven rack to help the crust cook thoroughly.

If the crust browns too quickly, shield the edges with foil.

Do not bake until the center is completely firm. Pumpkin Pie should have a small wobble in the middle when it comes out of the oven.

Cool completely before slicing.

For the best flavor, make the pie one day ahead and refrigerate overnight.

Easy Variations

Pumpkin Pie is easy to customize while keeping the classic texture.

For a maple version, replace part of the granulated sugar with pure maple syrup.

For a deeper spice flavor, add a small pinch of cardamom or allspice.

You can also make a gingerbread-inspired version by adding a little molasses and extra ginger.

For a nutty finish, sprinkle chopped pecans around the edge before serving.

A chocolate variation can include a thin layer of melted dark chocolate spread over the cooled crust before adding the filling.

If you want a quick no-bake snack or dessert, you may also like our Viral High-Protein Dunkaroo Dip Made with Only 4 Ingredients.

Make-Ahead Instructions

Pumpkin Pie is one of the best desserts to prepare ahead.

Bake it the day before serving, cool it completely, cover loosely, and refrigerate overnight.

The pie dough can be made up to 2 days ahead and refrigerated. The filling can also be mixed several hours ahead, covered, and chilled; whisk gently before using.

Storage and Freezing

Store Pumpkin Pie in the refrigerator after it has cooled.

Cover the pie loosely with foil or plastic wrap and refrigerate for up to 4 days.

For longer storage, wrap individual slices or the whole cooled pie well and freeze for up to 1 month. Thaw overnight in the refrigerator before serving.

Nutrition Information

Approximate nutrition per slice:

Calories: 315
Protein: 6 g
Carbohydrates: 45 g
Fat: 13 g
Saturated Fat: 6 g
Fiber: 3 g
Sugar: 28 g
Sodium: 320 mg

Nutrition values are estimates and may vary depending on the crust, milk, sugar, and toppings used.

Frequently Asked Questions

Can I use fresh pumpkin puree?

Yes. Make sure it is thick and well drained so the filling does not become watery.

Why did my pie crack?

Cracks usually happen when the pie is overbaked or cooled too quickly. Remove it while the center still has a slight wobble.

Can I use heavy cream instead of evaporated milk?

Yes. Heavy cream creates a richer filling, although the texture may be slightly softer.

Can I make this without a crust?

Yes. Pour the filling into a greased pie dish and bake it as a crustless custard.

How do I know when it is done?

The outer 2 to 3 inches of Pumpkin Pie should look set, while the center should jiggle slightly.

Can I make it gluten-free?

Yes. Use a gluten-free pie crust and cornstarch instead of flour.

Should I refrigerate leftovers?

Yes. Because the filling contains eggs and milk, leftovers should be refrigerated.

Final Thoughts

Pumpkin Pie is a timeless dessert that combines creamy pumpkin custard, warm spices, and flaky pastry in one simple recipe.

Because Pumpkin Pie can be made ahead, refrigerated overnight, and served with minimal finishing work, it is especially useful for Thanksgiving, fall gatherings, and family dinners.

Keep this Pumpkin Pie recipe handy whenever you want a classic seasonal dessert with a smooth filling, warm spice flavor, and dependable results.

A homemade Pumpkin Pie may look impressive on the table, but the method is straightforward enough for beginner bakers and reliable enough for special occasions.
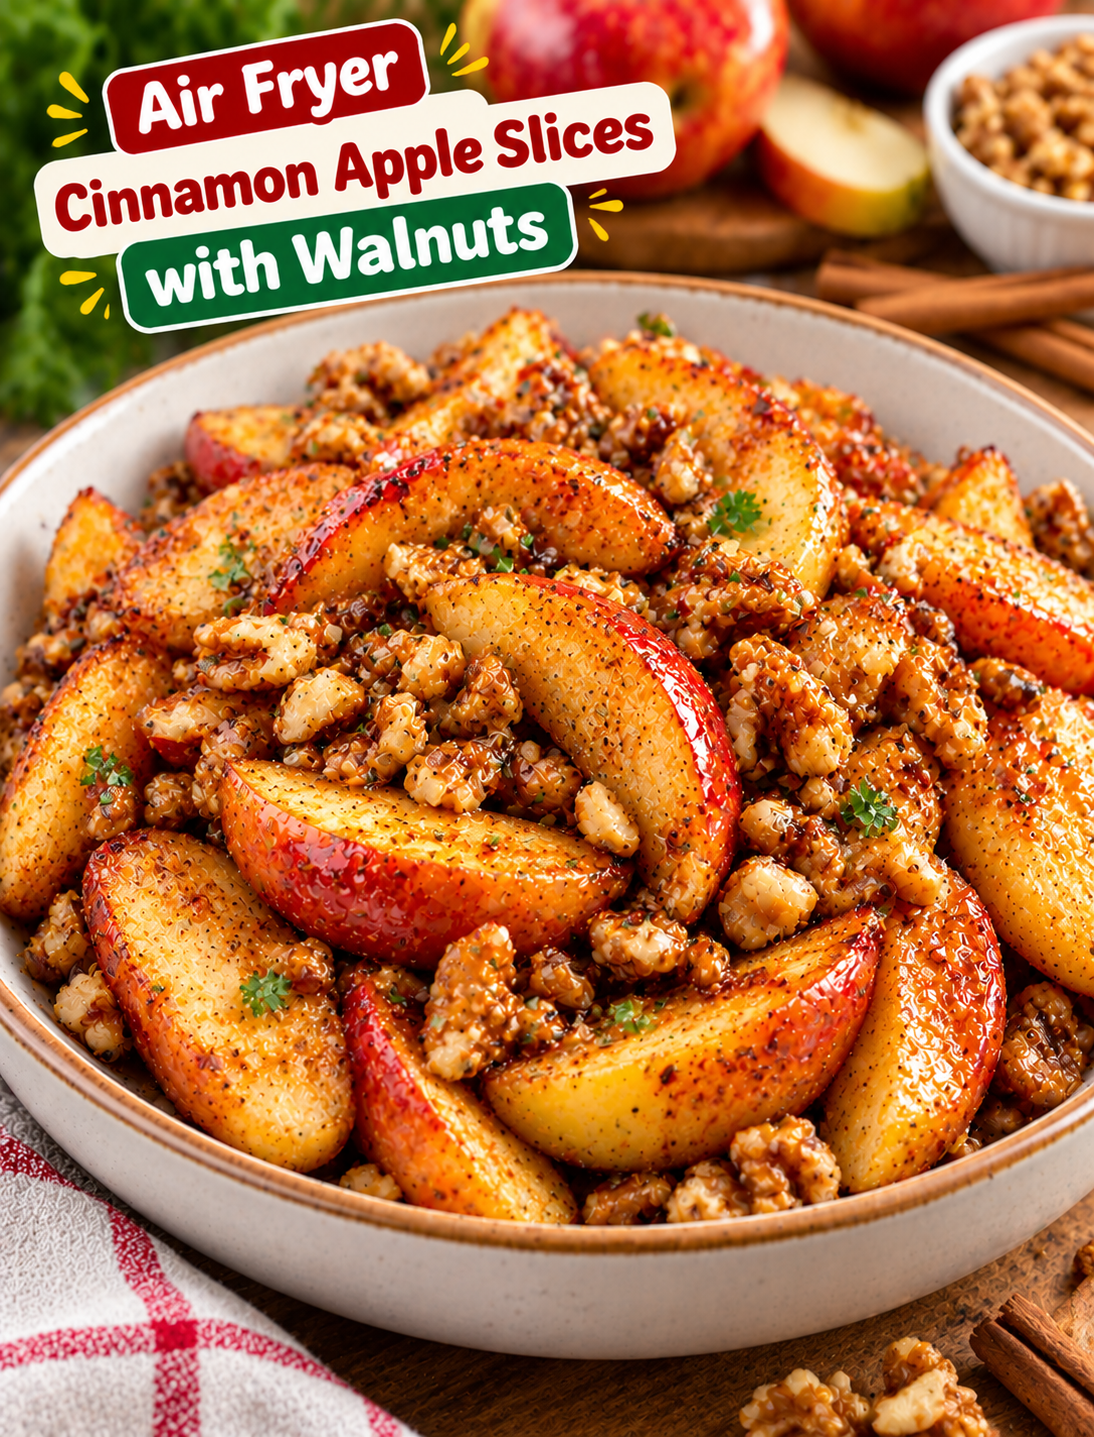
Air Fryer Roasted Cinnamon Apple Slices with Walnuts

Air fryer roasted cinnamon apple slices topped with chopped walnuts and a light maple syrup glaze in a serving bowl.
Air Fryer Roasted Cinnamon Apple Slices with Walnuts

Enjoy the warm flavor of baked apples without turning on your oven. These Air Fryer Roasted Cinnamon Apple Slices with Walnuts are tender, lightly caramelized, and coated with cinnamon, a touch of maple syrup, and crunchy walnuts.

The air fryer softens the apples while helping their edges turn golden. Cinnamon adds a cozy flavor, while chopped walnuts bring a nutty crunch to every bite. The result is a simple fall-inspired treat that works just as well for breakfast as it does for dessert.

This recipe uses everyday ingredients and takes only a few minutes to prepare. Serve the warm apple slices on their own, spoon them over oatmeal, or add them to Greek yogurt for an easy snack. You can also pair them with vanilla ice cream when you want a simple dessert.

Why You’ll Love This Recipe

These cinnamon apples are easy to make and offer plenty of ways to serve them.

  • Quick preparation: Slice the apples, add the seasonings, and let the air fryer do the work.
  • Warm cinnamon flavor: Ground cinnamon gives the apples a classic fall-inspired taste.
  • Sweet and nutty texture: Maple syrup adds sweetness, while walnuts provide a pleasant crunch.
  • No oven needed: The air fryer is convenient for small batches.
  • Easy to customize: Add nutmeg, vanilla, or a pinch of ginger to change the flavor.
  • Versatile serving options: Enjoy the apples for breakfast, as a snack, or as a dessert topping.
  • Simple ingredients: Fresh apples, walnuts, cinnamon, and a few pantry staples are all you need.

Ingredients You’ll Need

For the Cinnamon Apple Slices

  • 3 medium apples
  • 1 tablespoon melted unsalted butter or coconut oil
  • 1 tablespoon pure maple syrup
  • 1 teaspoon ground cinnamon
  • ¼ teaspoon ground nutmeg, optional
  • ½ teaspoon vanilla extract
  • 1 teaspoon fresh lemon juice
  • A small pinch of salt

Firm apples work best because they hold their shape during air frying. Honeycrisp, Fuji, Gala, and Pink Lady apples are good options. Granny Smith apples also work if you prefer a tart flavor.

For the Walnut Topping

  • ⅓ cup chopped walnuts
  • 1 teaspoon maple syrup, optional
  • ⅛ teaspoon ground cinnamon
  • 1 tablespoon raisins, optional

Walnuts add a rich, nutty flavor that pairs well with warm cinnamon apples. Chop them into small pieces so they are easy to sprinkle over the finished dish.

If you prefer a softer walnut texture, add them during the final few minutes of cooking. If you want a stronger toasted flavor, add them near the beginning and watch closely to prevent burning.

How to Make Air Fryer Roasted Cinnamon Apple Slices with Walnuts

Step 1: Wash and Slice the Apples

Rinse the apples under cool running water and pat them dry.

Remove the cores and seeds, then cut the apples into wedges or slices about ¼ to ½ inch thick.

Try to keep the slices close to the same thickness so they cook evenly. Thicker pieces stay firmer, while thinner slices soften more quickly.

You can leave the apple skins on for extra texture and color. Peel them first if you prefer a softer finish.

Step 2: Prepare the Cinnamon Mixture

Place the melted butter or coconut oil in a medium mixing bowl.

Add the maple syrup, ground cinnamon, nutmeg, vanilla extract, lemon juice, and a small pinch of salt.

Whisk until the mixture is evenly combined.

The lemon juice adds brightness and balances the sweetness, while the butter helps the cinnamon mixture coat the apple slices.

Step 3: Coat the Apple Slices

Add the sliced apples to the bowl.

Toss gently until each piece is coated with the cinnamon mixture.

Use a spatula or clean hands to spread the seasoning evenly without breaking the slices.

If the apples release a little juice, that is normal. Avoid adding extra liquid because too much moisture can make the apples soft instead of lightly caramelized.

Step 4: Preheat the Air Fryer

Preheat your air fryer to 350°F for about 3 minutes, if recommended by your appliance’s instructions.

Lightly grease the basket with an air-fryer-safe cooking spray if needed.

A preheated basket helps the apples begin cooking evenly as soon as they are added.

Step 5: Arrange the Apples in the Basket

Place the coated apple slices in the air fryer basket in a mostly single layer.

A little overlap is fine, but avoid piling the slices too high. Crowding can trap moisture and prevent the edges from browning.

If you have a small air fryer, cook the apples in batches for more even results.

Step 6: Air Fry Until Tender

Air fry the apples at 350°F for 8–12 minutes.

Shake the basket or turn the slices gently halfway through cooking.

Start checking after 8 minutes. The apples should be tender when pierced with a fork, with lightly golden edges and a warm cinnamon coating.

Cooking time depends on the apple variety, slice thickness, and air fryer model. Add another 2–3 minutes if you prefer softer apples.

Step 7: Add the Walnuts

While the apples cook, mix the chopped walnuts with the optional maple syrup and a pinch of cinnamon.

Sprinkle the walnut mixture over the apples during the final 2–3 minutes of cooking.

This timing helps the walnuts warm and toast lightly without burning.

If you prefer a stronger crunch, toast the walnuts separately in a dry skillet over medium-low heat for a few minutes, then sprinkle them over the cooked apples.

Step 8: Serve Warm

Carefully transfer the apples to a serving bowl.

Sprinkle with the optional raisins and any remaining walnuts.

Taste a slice and add a little extra cinnamon if desired.

Serve the apples warm on their own or with Greek yogurt, oatmeal, pancakes, or vanilla ice cream.

Tips for Perfect Cinnamon Apples

A few simple steps help the apples cook evenly and develop the best texture.

  • Choose firm apples: Honeycrisp, Fuji, and Pink Lady hold their shape well.
  • Cut evenly: Similar-sized slices cook at the same rate.
  • Avoid excess liquid: Too much syrup or butter can make the apples soggy.
  • Do not overcrowd the basket: Air circulation helps the edges brown.
  • Add walnuts near the end: This reduces the risk of burnt nuts.
  • Check early: Thin slices can soften faster than thick wedges.
  • Adjust the sweetness: Taste the apples before adding extra maple syrup.
  • Serve soon after cooking: The apples taste best while warm and the walnuts retain their crunch.

Easy Recipe Variations

Honey Cinnamon Apples

Replace the maple syrup with honey for a different sweet flavor. Use a small amount because honey can brown quickly.

Brown Sugar Cinnamon Apples

Replace the maple syrup with 1 tablespoon of light brown sugar. Toss well so the sugar coats the apple slices evenly.

Cinnamon Apple Slices with Pecans

Swap the walnuts for chopped pecans. Pecans offer a buttery flavor that works well with cinnamon and maple syrup.

Apple Pie Spice Version

Replace the ground cinnamon and nutmeg with about 1 teaspoon of apple pie spice. Check the blend first because some versions already contain nutmeg and ginger.

Vanilla Cinnamon Apples

Add an extra ¼ teaspoon of vanilla extract for a warmer dessert-style flavor.

Cinnamon Apples with Oats

Sprinkle a small amount of toasted rolled oats over the finished apples for added texture. Toast the oats separately because they may not cook evenly with the moist fruit.

What to Serve With Cinnamon Apple Slices

These air fryer apples work with both sweet breakfasts and simple desserts.

Try serving them with:

  • Plain Greek yogurt
  • Warm oatmeal
  • Overnight oats
  • Pancakes or waffles
  • French toast
  • Vanilla ice cream
  • Cottage cheese
  • Whole-grain toast with nut butter
  • Chia pudding

For breakfast, spoon the warm apples over oatmeal and finish with chopped walnuts. For dessert, serve them with a small scoop of vanilla ice cream and a light drizzle of maple syrup.

Storage and Reheating

Let the apples cool before placing them in an airtight container.

Refrigerate leftovers for up to 3–4 days.

To reheat, place the apples in the air fryer at 325°F for about 2–4 minutes, checking to make sure they do not become too soft.

You can also warm them in the microwave in short intervals, although the walnuts may lose some of their crunch.

For the best texture, store extra walnuts separately and add them after reheating.

Meal Prep Tips

These apples can be prepared ahead for easy breakfasts and snacks.

  • Wash and core the apples in advance.
  • Mix the cinnamon seasoning shortly before cooking.
  • Cook a batch and divide it into individual containers.
  • Refrigerate the cooked apples promptly.
  • Store walnuts separately to keep them crunchy.
  • Reheat a portion when you are ready to serve.

If cutting the apples ahead of time, toss them with a little lemon juice and refrigerate them in a sealed container to help slow browning.

Common Mistakes to Avoid

Cutting the Apples Too Thin

Very thin slices can become mushy before the edges brown. Cut the apples into evenly sized wedges or slices.

Using Too Much Syrup

Excess syrup creates more liquid in the basket and can prevent the apples from caramelizing. Start with the recommended amount and add more only after cooking if needed.

Overcrowding the Air Fryer

A packed basket traps steam and produces softer apples. Cook in batches if necessary.

Adding Walnuts Too Early

Walnuts can burn before the apples finish cooking. Add them during the last few minutes or toast them separately.

Cooking at Too High a Temperature

High heat can darken the outside before the center becomes tender. A moderate temperature of 350°F gives the apples time to soften.

Forgetting to Check the Apples

Different apple varieties soften at different rates. Check the slices early and adjust the cooking time to match your preferred texture.

Frequently Asked Questions

Which apples work best for air frying?

Honeycrisp, Fuji, Gala, and Pink Lady apples hold their shape well and offer a good balance of sweetness and tartness.

Do I need to peel the apples?

No. Apple skins are edible and help the slices hold their shape, but you can peel them for a softer texture.

How long do cinnamon apples take in the air fryer?

Most ¼- to ½-inch slices take about 8–12 minutes at 350°F, depending on their thickness and variety.

Can I make this recipe without maple syrup?

Yes. Omit the syrup for a less-sweet result or replace it with a small amount of honey or brown sugar.

Can I use pecans instead of walnuts?

Yes. Chopped pecans work well and provide a buttery, slightly sweet flavor.

How do I stop the apples from becoming mushy?

Cut the slices evenly, avoid excess liquid, cook in a single layer, and begin checking after 8 minutes.

Can I make these cinnamon apples ahead of time?

Yes. Cook them ahead, refrigerate them in an airtight container, and reheat briefly before serving.

What can I serve with roasted cinnamon apples?

Serve them with oatmeal, Greek yogurt, pancakes, waffles, or vanilla ice cream for a simple breakfast or dessert.

Final Thoughts

These Air Fryer Roasted Cinnamon Apple Slices with Walnuts are a simple way to enjoy warm fruit with cozy cinnamon flavor and a crunchy nut topping. The air fryer softens the apples, lightly browns the edges, and makes this recipe convenient for small batches.

For the best results, choose firm apples, cut them evenly, use a light coating of maple syrup and butter, and add the walnuts near the end. Serve the apples warm over oatmeal, with yogurt, or alongside vanilla ice cream for an easy treat that works throughout the year.