Alpiste: The Miracle Seed of Nature (Benefits, Uses, and How to Consume It)
In recent years, alpiste, also known as canary seed (Phalaris canariensis), has gained attention as a powerful natural superfood. Once known primarily as bird feed, new varieties developed for human consumption have revealed remarkable nutritional value and health potential. Rich in protein, antioxidants, and essential nutrients, alpiste is now being used in plant-based diets, detox drinks, and functional foods around the world.
Many natural health enthusiasts call it “nature’s miracle seed” because of its wide range of possible benefits—from supporting heart health and digestion to helping regulate blood sugar levels. In this article, we’ll explore what alpiste is, its nutritional profile, its potential health benefits, and how you can include it in your daily routine.
What Is Alpiste?
Alpiste is a cereal grain belonging to the same botanical family as wheat, oats, and barley. The plant grows like grass and produces small shiny seeds traditionally used as food for birds. However, modern agricultural research has developed hairless varieties safe for human consumption, which opened the door to its use as a functional food.
Today, alpiste is considered a nutrient-dense grain that can be used to produce flour, plant-based milk, smoothies, and healthy snacks. The seeds contain approximately 20–21% protein, making them richer in protein than many common cereal grains.
Alpiste also contains important nutrients such as:
Essential amino acids
Omega-3 and omega-9 fatty acids
Vitamins B and E
Minerals like magnesium, manganese, and phosphorus
Antioxidant phytochemicals
These components help explain why alpiste is gaining popularity in the wellness and natural health community.
Nutritional Profile of Alpiste
One of the main reasons alpiste is considered a superfood is its impressive nutritional composition.
High Plant Protein
Alpiste contains about 21% protein, which is significantly higher than most cereal grains. This makes it a valuable plant-based protein source for vegetarians and vegans.
It also contains essential amino acids, including tryptophan, which is often lacking in many cereals.
Healthy Fats
The seeds contain mostly unsaturated fatty acids, including linoleic and oleic acids, which support cardiovascular health.
Vitamins and Minerals
Alpiste provides essential micronutrients such as:
Magnesium
Phosphorus
Zinc
Manganese
Vitamin E
B-complex vitamins
These nutrients contribute to energy production, nerve health, and immune function.
Antioxidants and Plant Sterols
Research shows alpiste contains carotenoids such as beta-carotene, lutein, and zeaxanthin, which act as antioxidants that protect cells from oxidative damage.
Antioxidants are associated with reduced risk of chronic diseases such as cardiovascular disease and metabolic disorders.
Potential Health Benefits of Alpiste
While research is still ongoing, several studies and nutritional analyses suggest that alpiste may offer multiple health benefits.
1. Supports Heart Health
Alpiste contains unsaturated fatty acids and plant sterols that may help maintain healthy cholesterol levels. These nutrients are known to support cardiovascular health by reducing harmful LDL cholesterol.
In addition, certain bioactive peptides found in canary seed proteins have demonstrated antihypertensive activity, which could help regulate blood pressure.
2. May Help Regulate Blood Sugar
Some research suggests that peptides derived from alpiste proteins may have antidiabetic properties by helping regulate glucose metabolism.
Because of its balanced nutrient profile and plant-based proteins, alpiste may be useful as part of a healthy diet for people aiming to maintain stable blood sugar levels.
3. Supports Liver and Kidney Health
Traditional natural medicine often associates alpiste with detoxifying effects. The seeds contain enzymes and compounds that may help reduce inflammation in organs such as the liver, pancreas, and kidneys.
Many people consume alpiste milk as part of detox or cleansing diets.
4. Anti-Inflammatory and Antioxidant Effects
Alpiste contains polyphenols, flavonoids, and other phytochemicals with strong antioxidant properties. These compounds help protect the body against oxidative stress and inflammation.
Reducing oxidative stress is important for preventing chronic diseases and supporting healthy aging.
5. Supports Weight Management
Because alpiste is rich in protein and nutrients, it can help increase satiety and reduce cravings. High-protein foods often support weight management by helping people feel full longer and reducing overall calorie intake.
Many detox programs and wellness diets include alpiste beverages for this reason.
Alpiste Milk: The Most Popular Way to Consume It
The most common way to consume alpiste is as alpiste milk, a plant-based beverage similar to almond or oat milk.
How to Make Alpiste Milk
Ingredients
4–5 tablespoons of alpiste seeds
2 cups of water
Optional: honey, cinnamon, or vanilla
Instructions
Soak the seeds in water for about 8 hours or overnight.
Rinse them thoroughly.
Blend with fresh water for about 1 minute.
Strain the mixture using a fine filter or cheesecloth.
Drink fresh, preferably in the morning.
Many people drink one or two glasses per day as part of a healthy routine.
Other Ways to Use Alpiste
Besides making plant milk, alpiste can be used in various recipes.
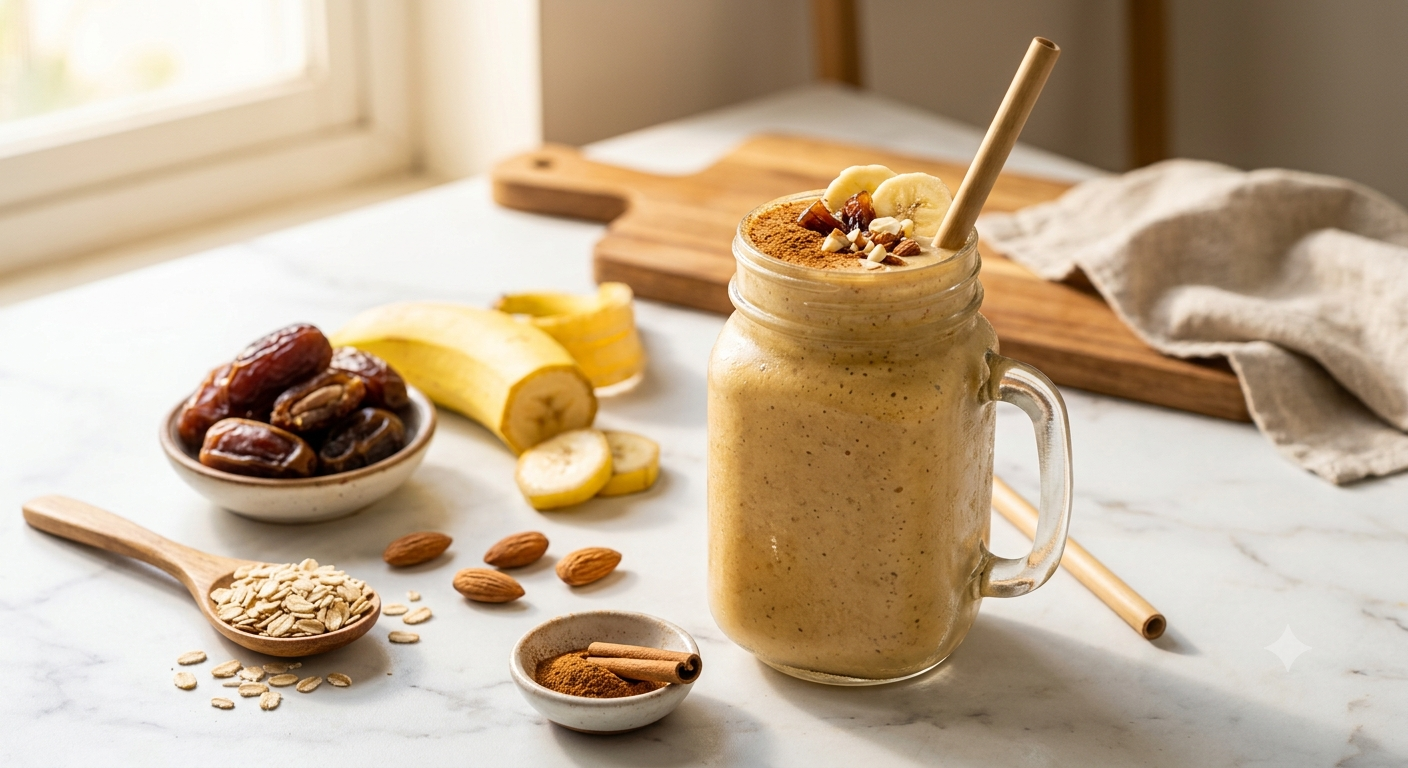
Smoothies
Add soaked seeds to smoothies for extra protein and nutrients.
Baking
Alpiste flour can be used in breads, pancakes, and gluten-free recipes.
Salads and Bowls
Roasted seeds can be sprinkled over salads or grain bowls for a crunchy texture.
Healthy Snacks
The seeds can also be incorporated into energy bars or granola.
Is Alpiste Safe for Everyone?
Modern hairless varieties of alpiste are approved for human consumption in countries such as Canada and the United States.
However, there are a few precautions:
People with wheat allergies should exercise caution because alpiste belongs to the same plant family.
Always use food-grade alpiste, not birdseed varieties.
Introduce it gradually into your diet.
If you have existing health conditions, consulting a healthcare professional is recommended before making major dietary changes.
Why Alpiste Is Becoming a Superfood Trend
The growing popularity of plant-based diets has increased demand for new sources of plant protein and functional foods. Alpiste fits perfectly into this trend because it offers:
High protein content
Rich antioxidant profile
Versatility in recipes
Gluten-free properties
Potential metabolic health benefits
As research continues, alpiste may become a common ingredient in protein powders, plant-based milks, and functional health foods.
Final Thoughts
Alpiste is more than just birdseed—it is a nutrient-rich grain with impressive health potential. With its high protein content, antioxidants, healthy fats, and essential minerals, this tiny seed offers a powerful nutritional boost.
From supporting heart health to helping regulate blood sugar and aiding digestion, alpiste deserves its reputation as a “miracle of nature.”
Adding alpiste milk, smoothies, or recipes to your diet can be a simple way to explore the benefits of this fascinating natural superfood.