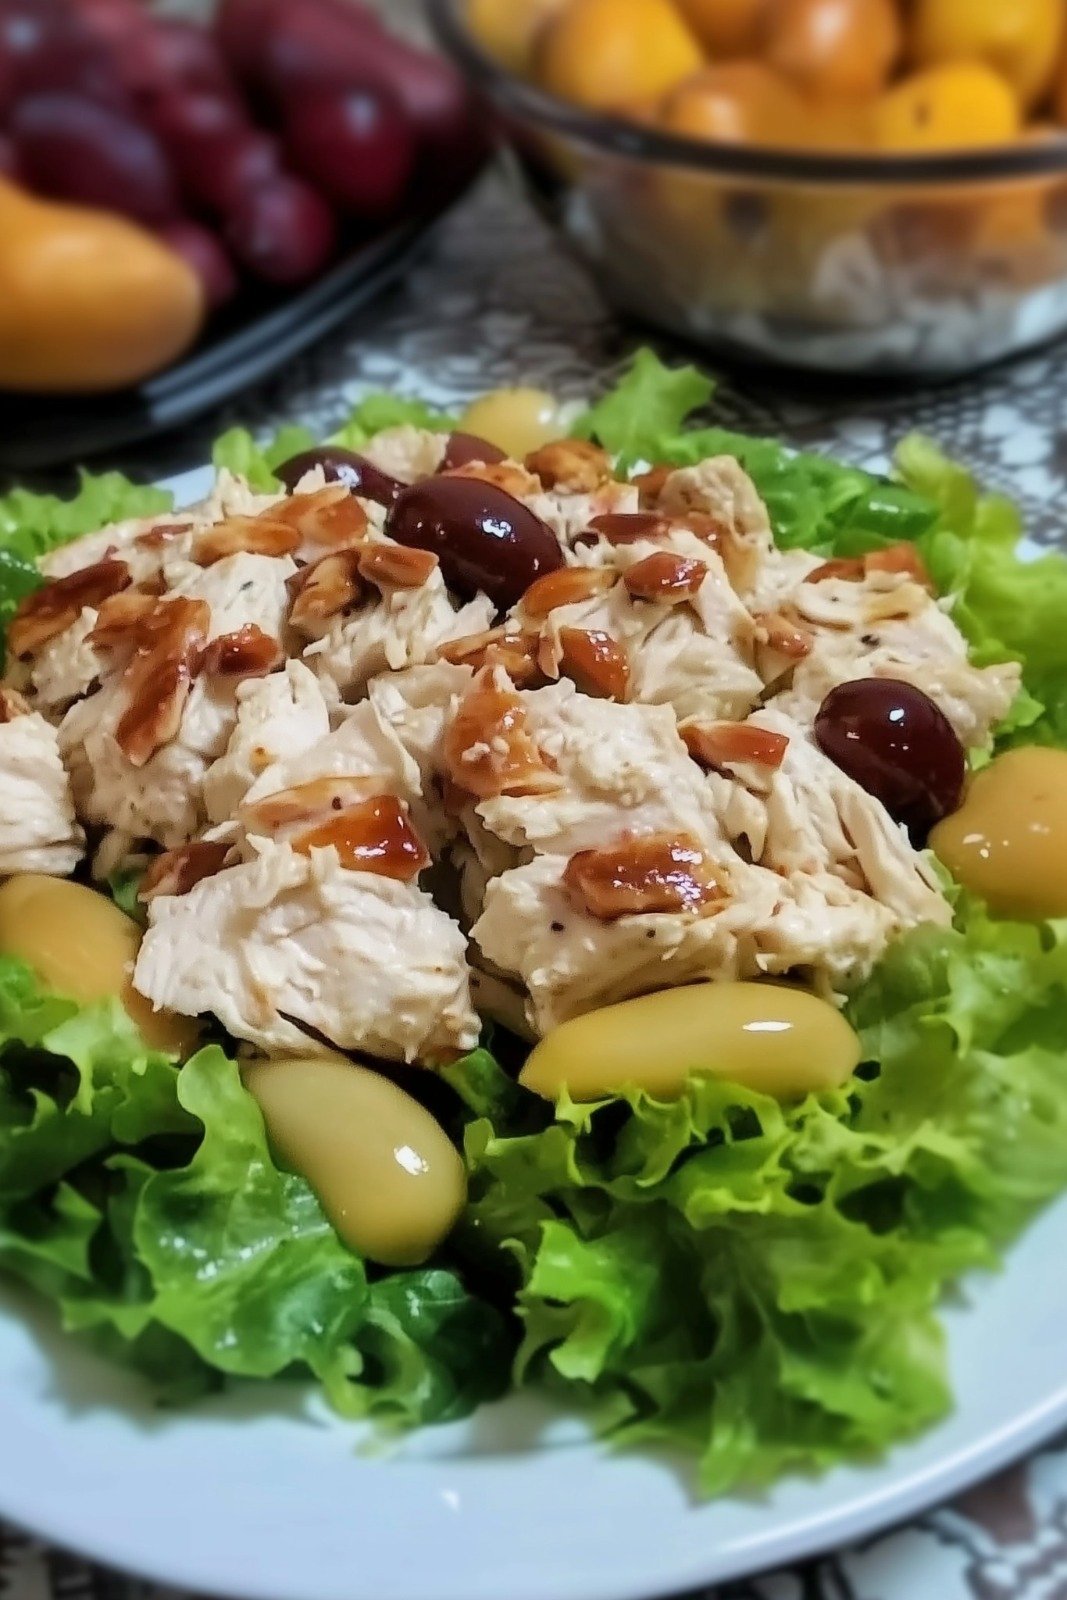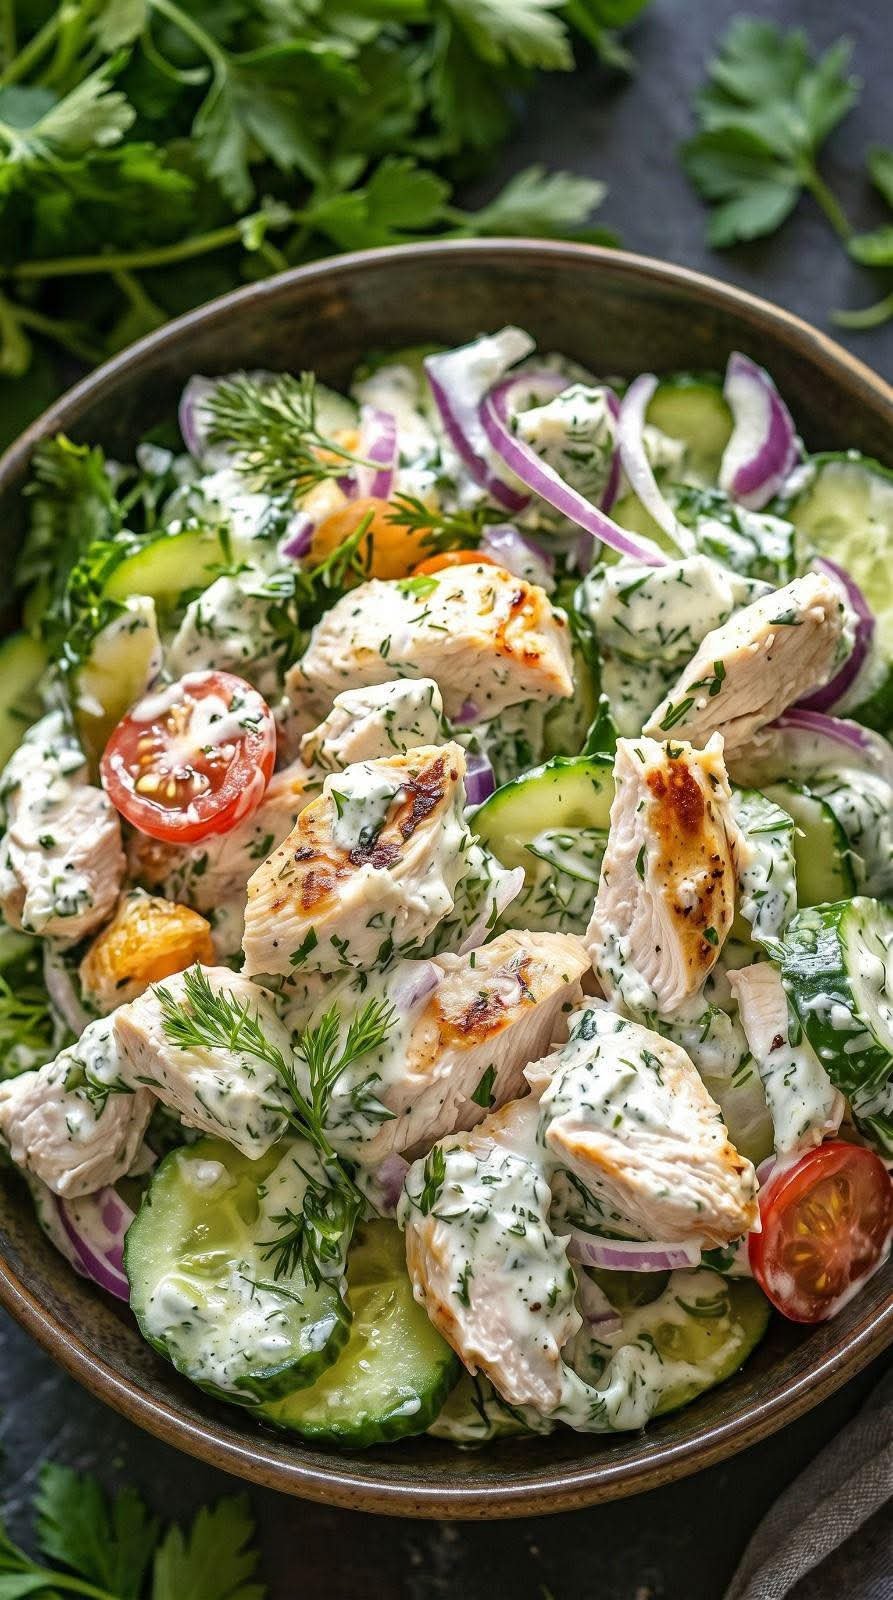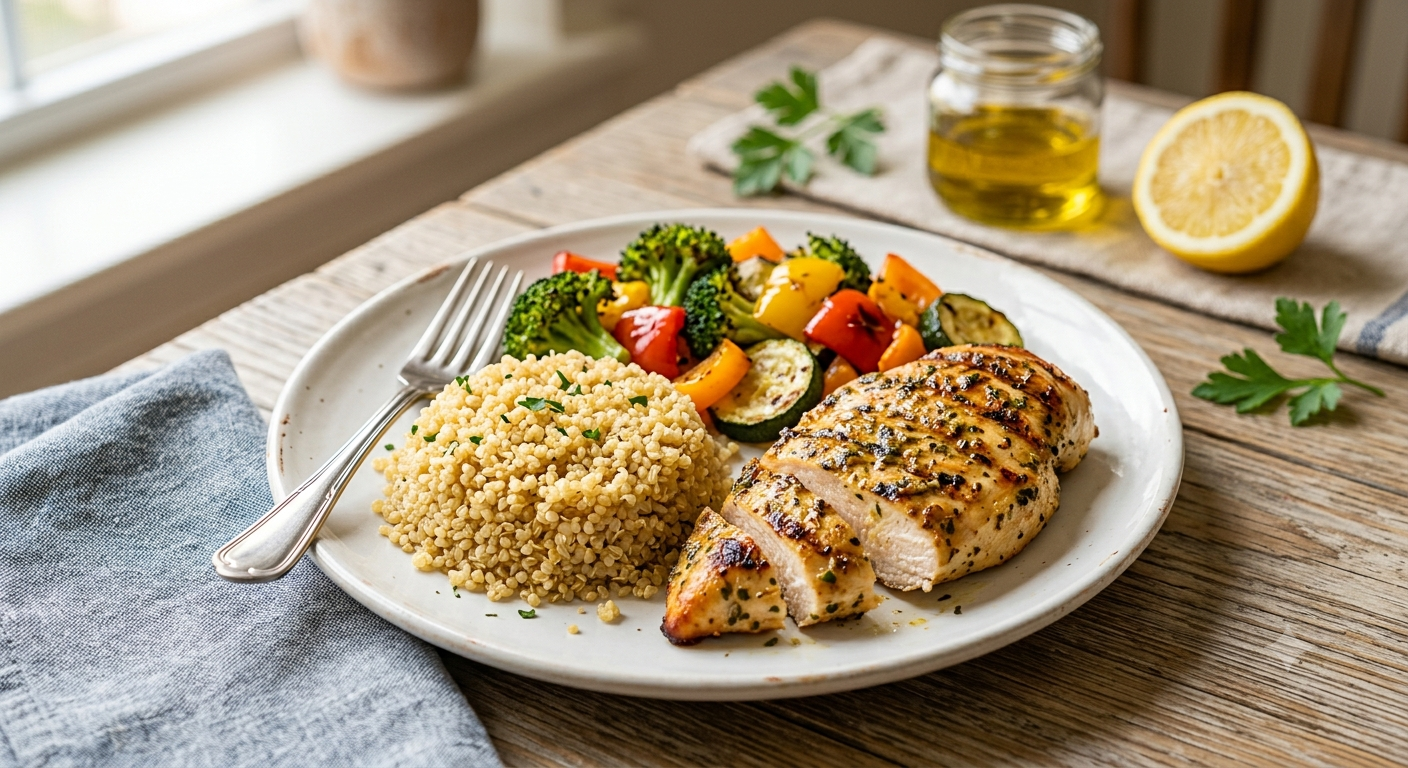
Lemon Garlic Grilled Chicken with Quinoa & Veggies
This weight-loss-friendly meal is packed with lean protein, healthy complex carbs, and essential fiber. It keeps you full for longer while staying light on calories!
📋 Ingredients
- Chicken Breast: 200g boneless, skinless chicken breast (sliced into thin cutlets).
- Quinoa: 1/2 cup uncooked quinoa (thoroughly rinsed).
- Mixed Vegetables: 1 cup total of chopped broccoli florets, bell peppers, and zucchini.
- Lemon Juice: 2 tablespoons freshly squeezed.
- Garlic: 3 cloves, finely minced.
- Olive Oil: 1 teaspoon (for light cooking/marination).
- Seasonings: 1/2 tsp dried oregano, 1/2 tsp crushed black pepper, a pinch of chili flakes, and salt to taste.
- Fresh Herbs: Chopped parsley for garnish.
🥣 Step-by-Step Instructions
- Marinate the Chicken: In a bowl, combine the minced garlic, 1 tablespoon lemon juice, oregano, black pepper, salt, and half a teaspoon of olive oil. Coat the chicken breasts evenly and let them marinate for 15–20 minutes.
- Cook the Quinoa: Boil 1 cup of water in a small pot. Add the rinsed quinoa and a pinch of salt. Cover, reduce heat to low, and simmer for 12–15 minutes until all water is absorbed. Fluff gently with a fork.
- Steam/Saute Veggies: Heat a drop of olive oil in a pan over medium heat. Toss in the broccoli, bell peppers, and zucchini. Saute for 4–5 minutes until tender-crisp. Sprinkle lightly with black pepper.
- Grill the Chicken: Heat a non-stick grill pan or skillet over medium-high heat. Place the marinated chicken breasts on the pan and cook for 5 to 6 minutes on each side until fully cooked and nicely charred.
- Assemble & Serve: Plate a warm scoop of quinoa, arrange the colorful sauteed vegetables alongside, and place the juicy grilled chicken cutlet on top. Drizzle the remaining fresh lemon juice and garnish with chopped parsley!
💡 Expert Weight-Loss & Cooking Tips
- Rinse Your Quinoa: Always wash quinoa under cold running water before cooking to remove its natural outer coating (saponin), which can leave a bitter taste.
- Meal Prep Friendly: You can prepare a larger batch of this dish, divide it into airtight containers, and refrigerate for up to 3–4 days for quick, healthy lunches.
- Add Fiber Naturally: Feel free to double the quantity of non-starchy vegetables like zucchini and broccoli—they add volume to your plate without adding significant calories!
❓ Frequently Asked Questions (Q&A)
Q1: Can I replace quinoa with brown rice?
A: Yes! Brown rice is another great complex carbohydrate alternative. Just keep in mind that brown rice takes slightly longer to cook than quinoa.
Q2: Is this recipe suitable for a vegetarian diet?
A: Absolutely. You can easily replace the chicken breast with 150g of firm tofu or paneer (cottage cheese) marinated in the exact same lemon-garlic dressing.
Q3: How many calories does this serving approximately contain?
A: This well-balanced dish provides approximately 380–420 calories, making it ideal for a calorie-conscious dinner or lunch while providing around 35g of high-quality protein.
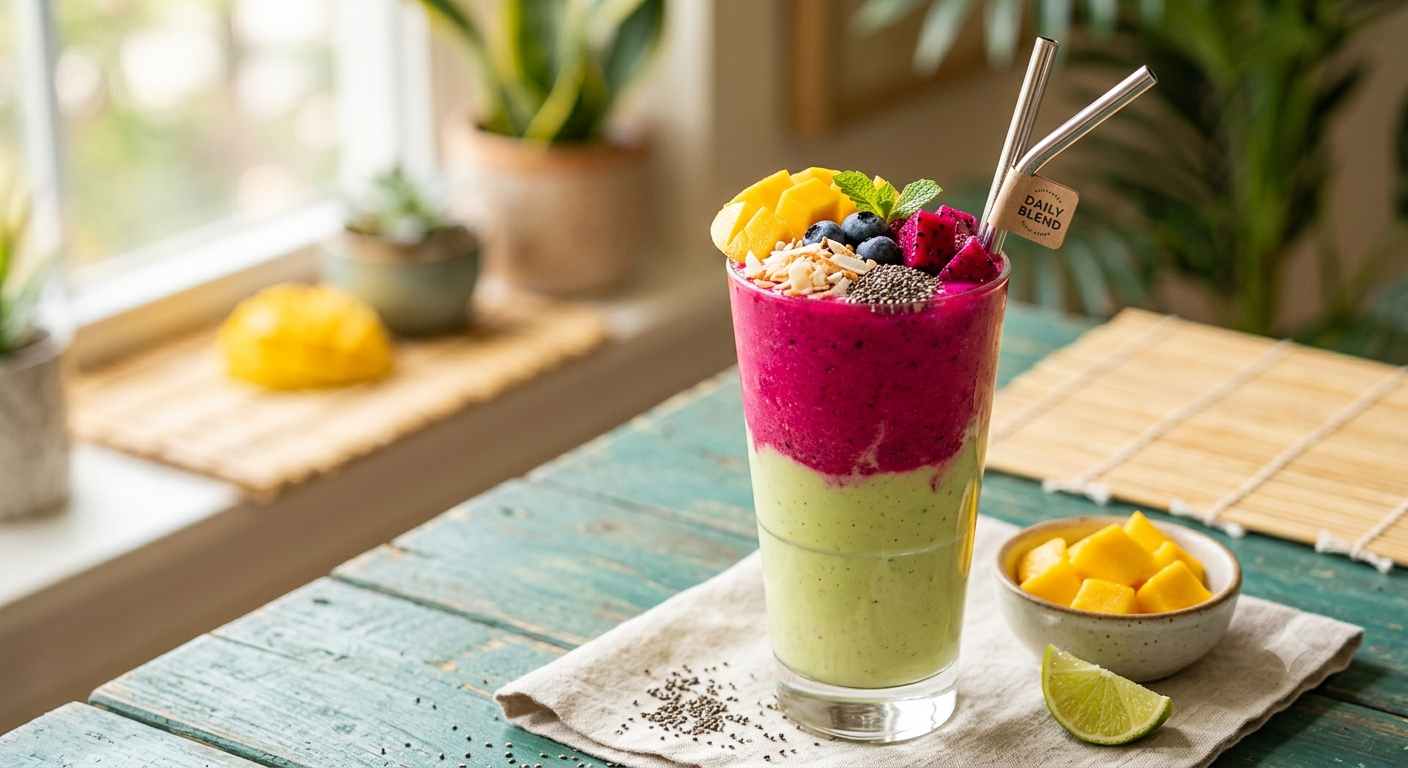
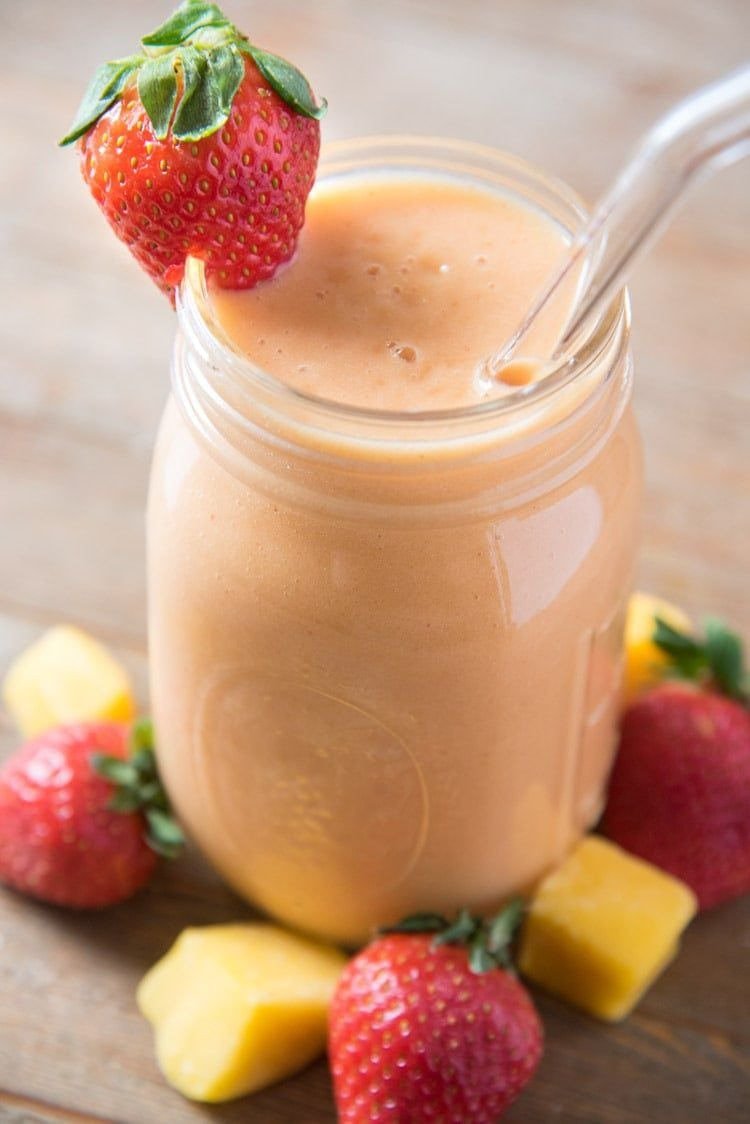
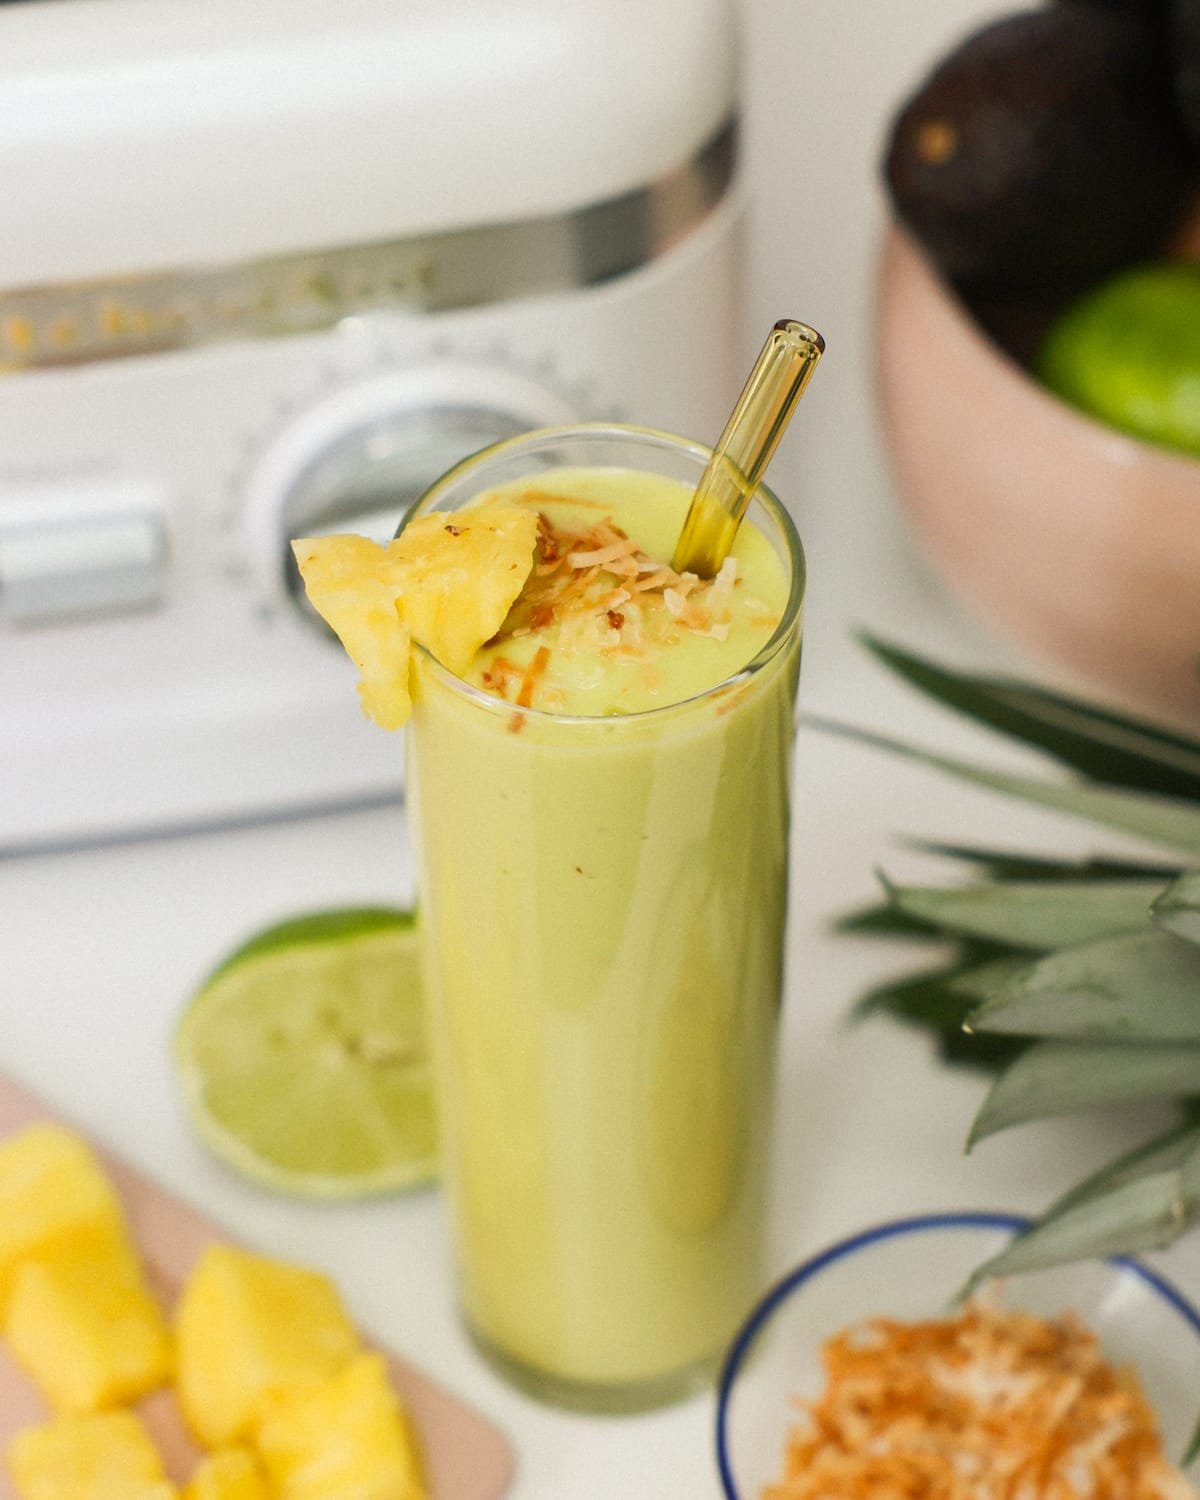
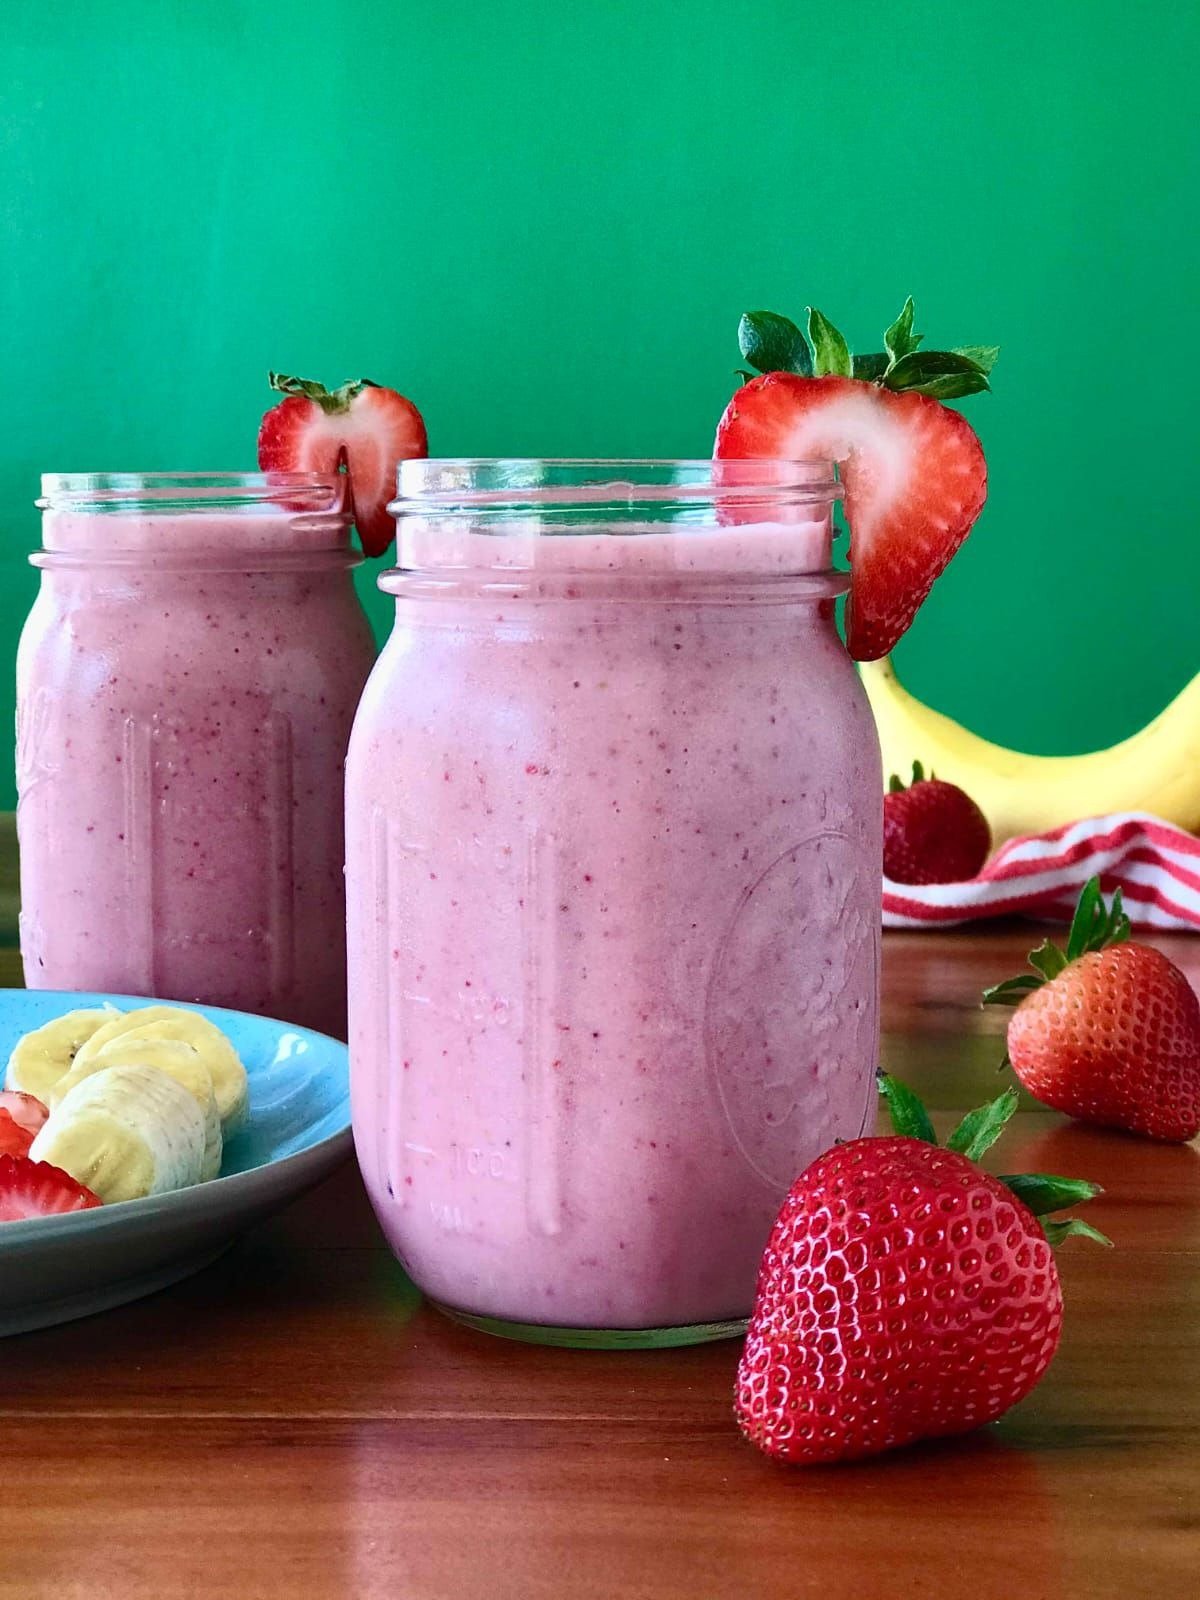
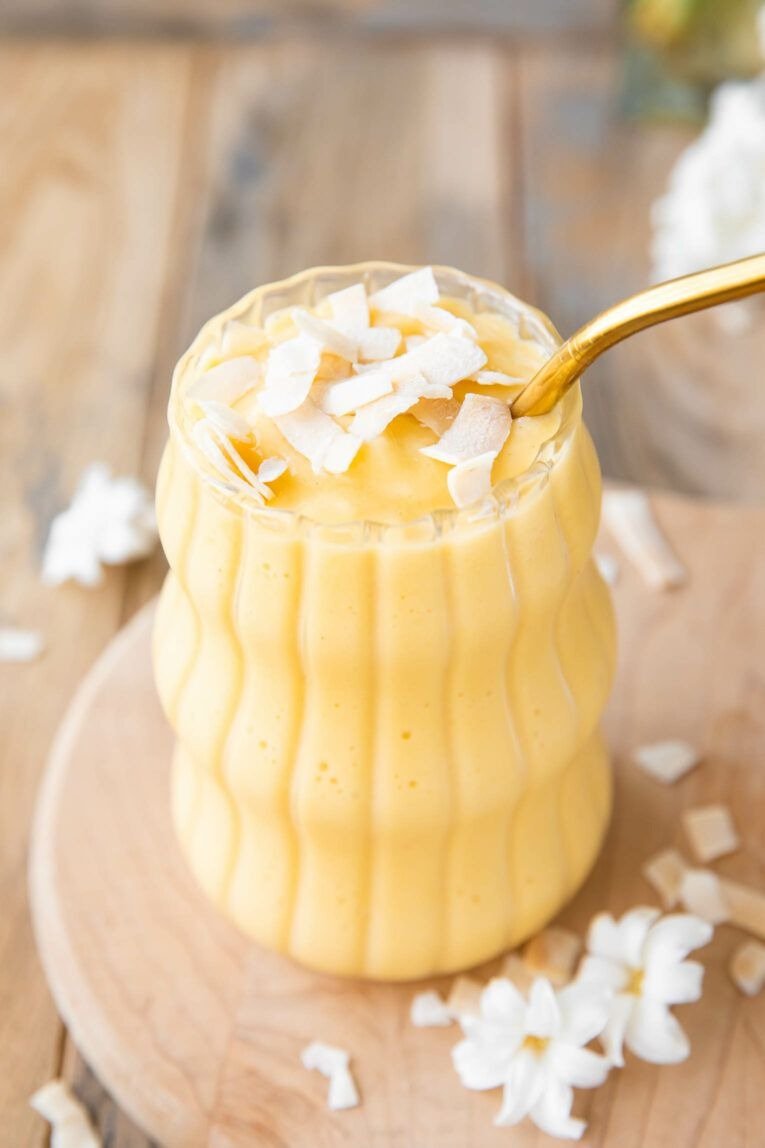
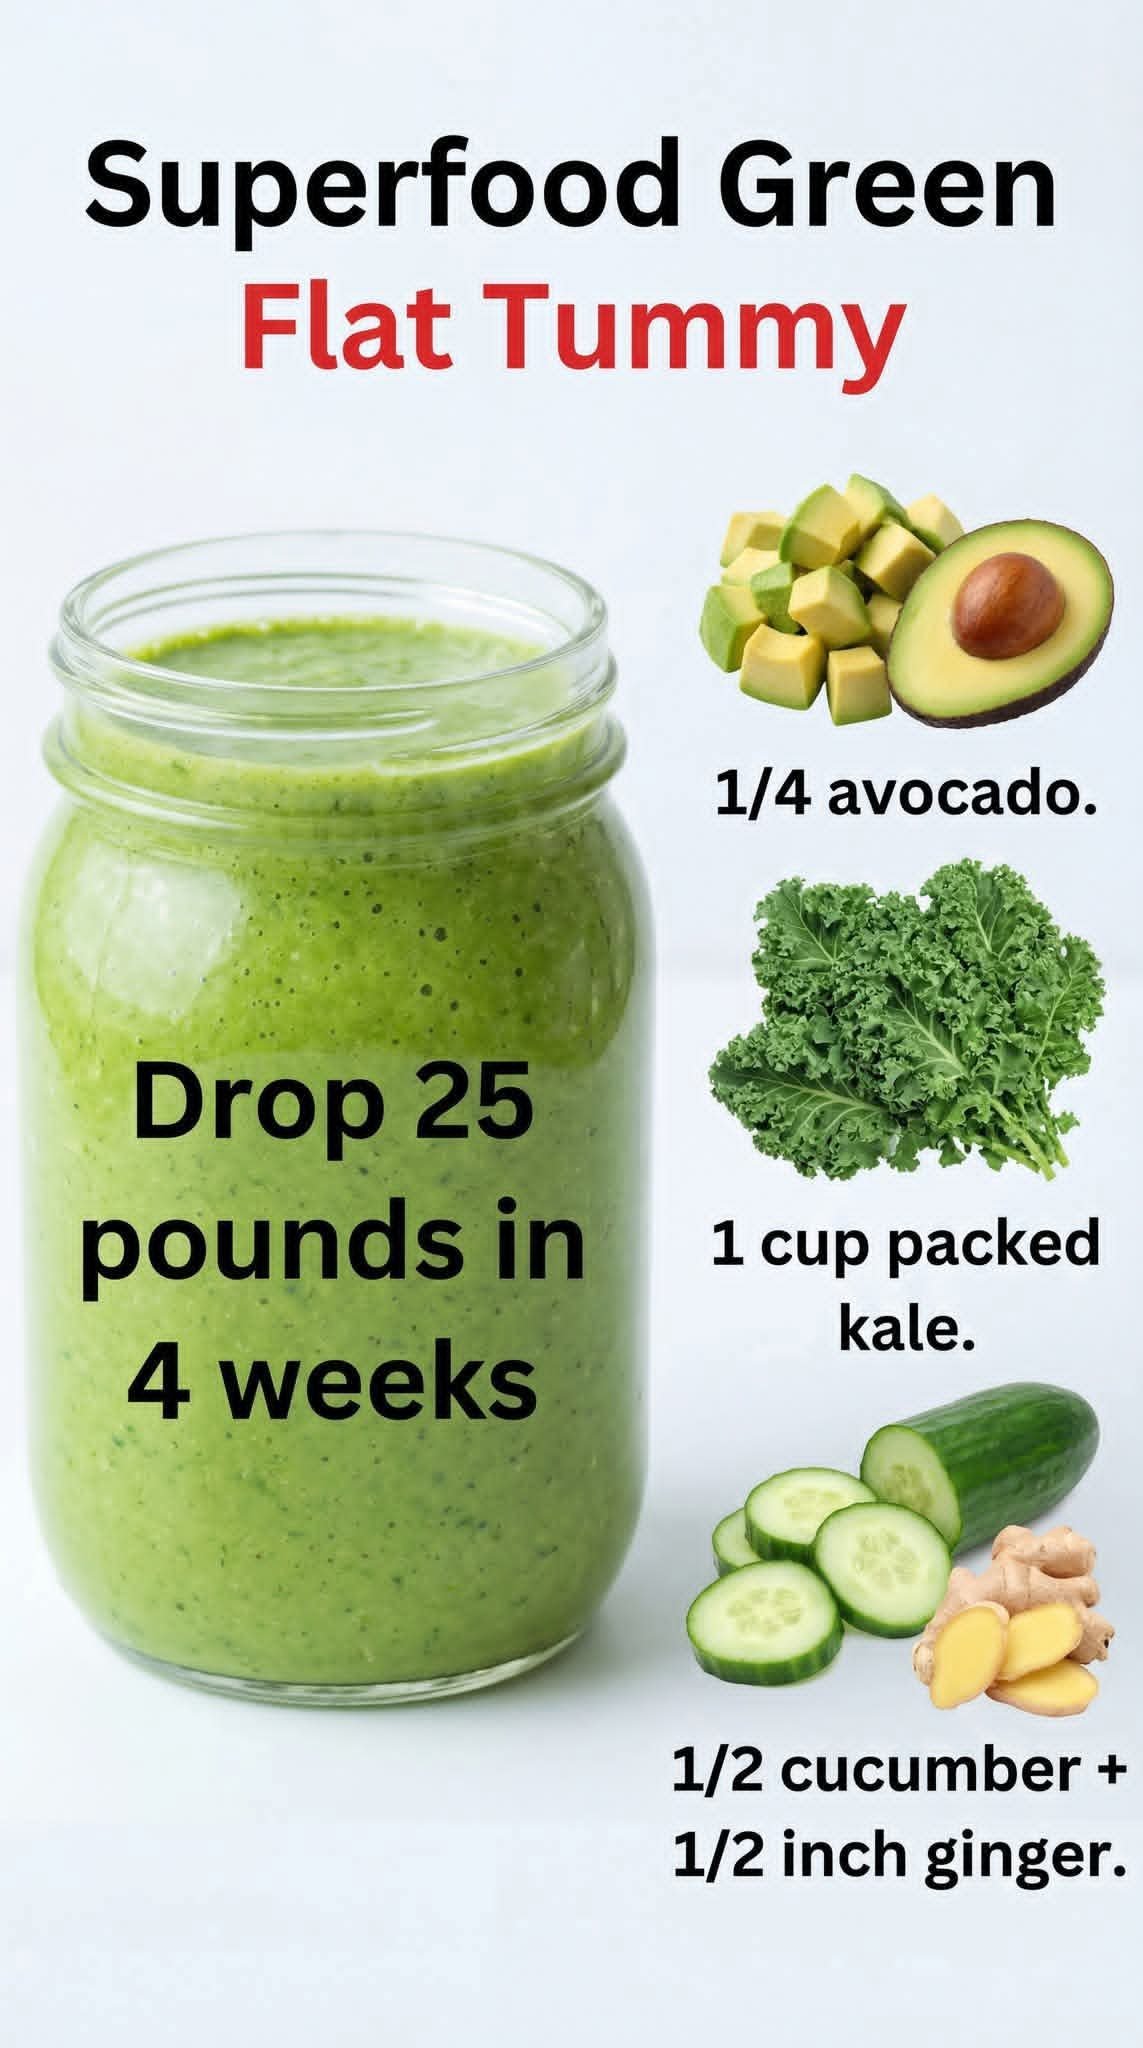
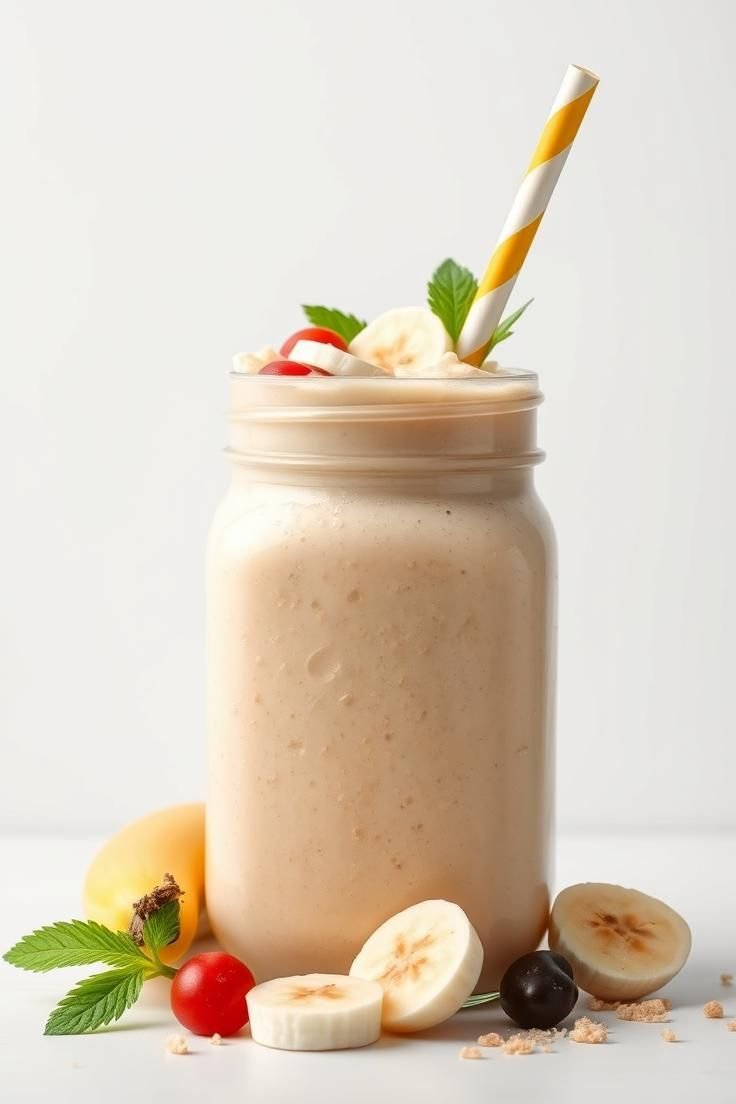
 Tropical Strawberry Mango Smoothie
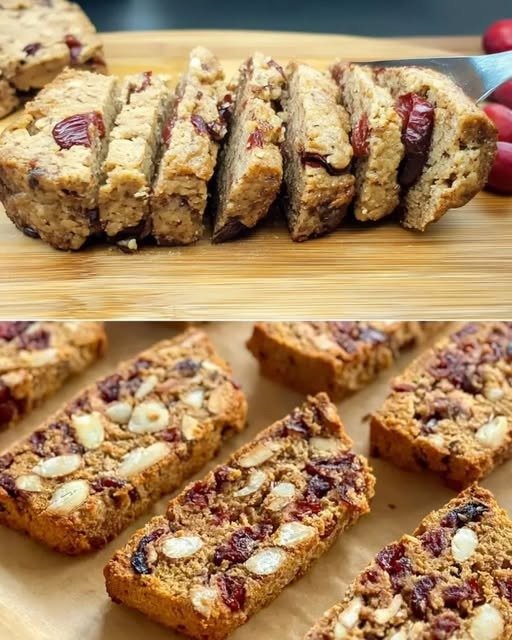
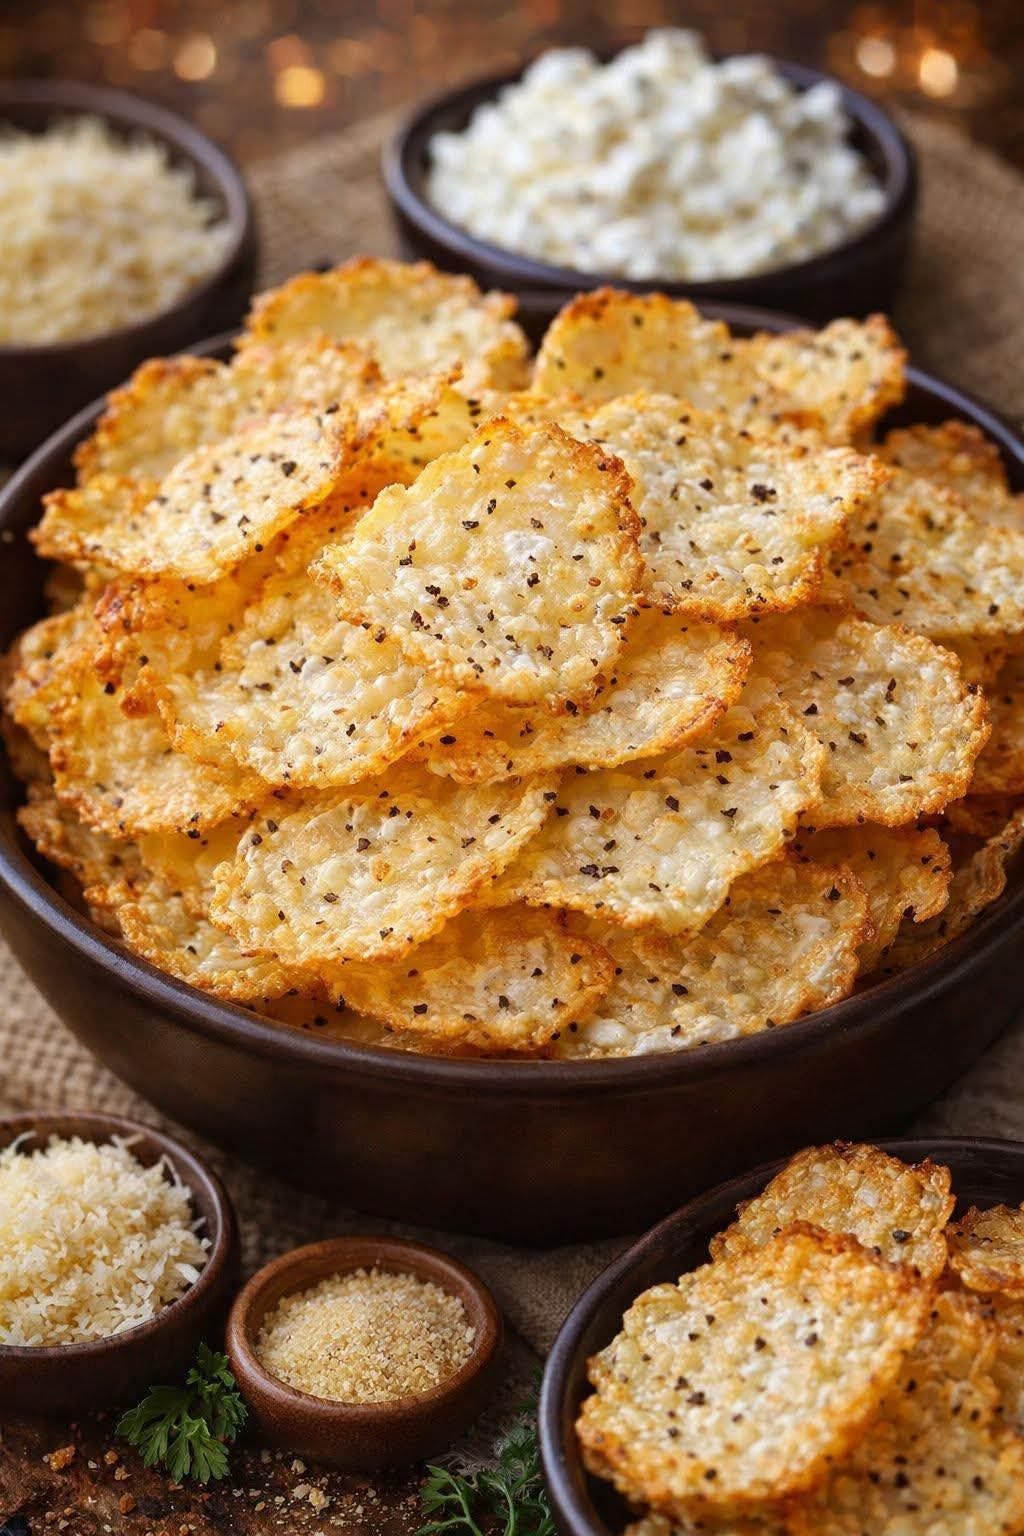
 Sugar-Free, Oil-Free, Gluten-Free Holiday Biscotti
 Ingredients
 Preparation Method
 Why this is a “Cheat Code” Dessert


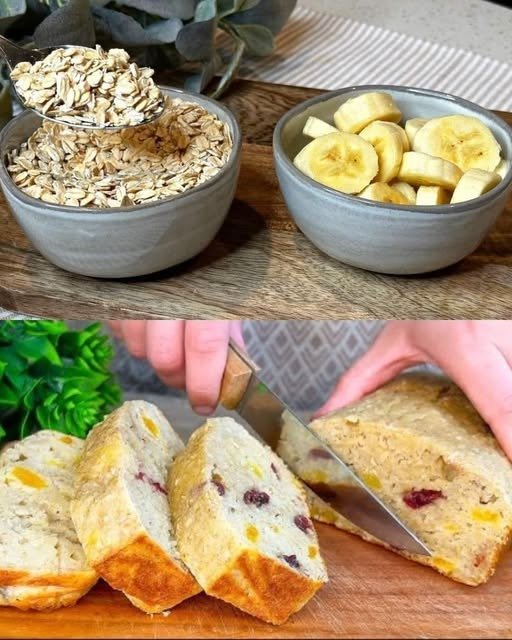
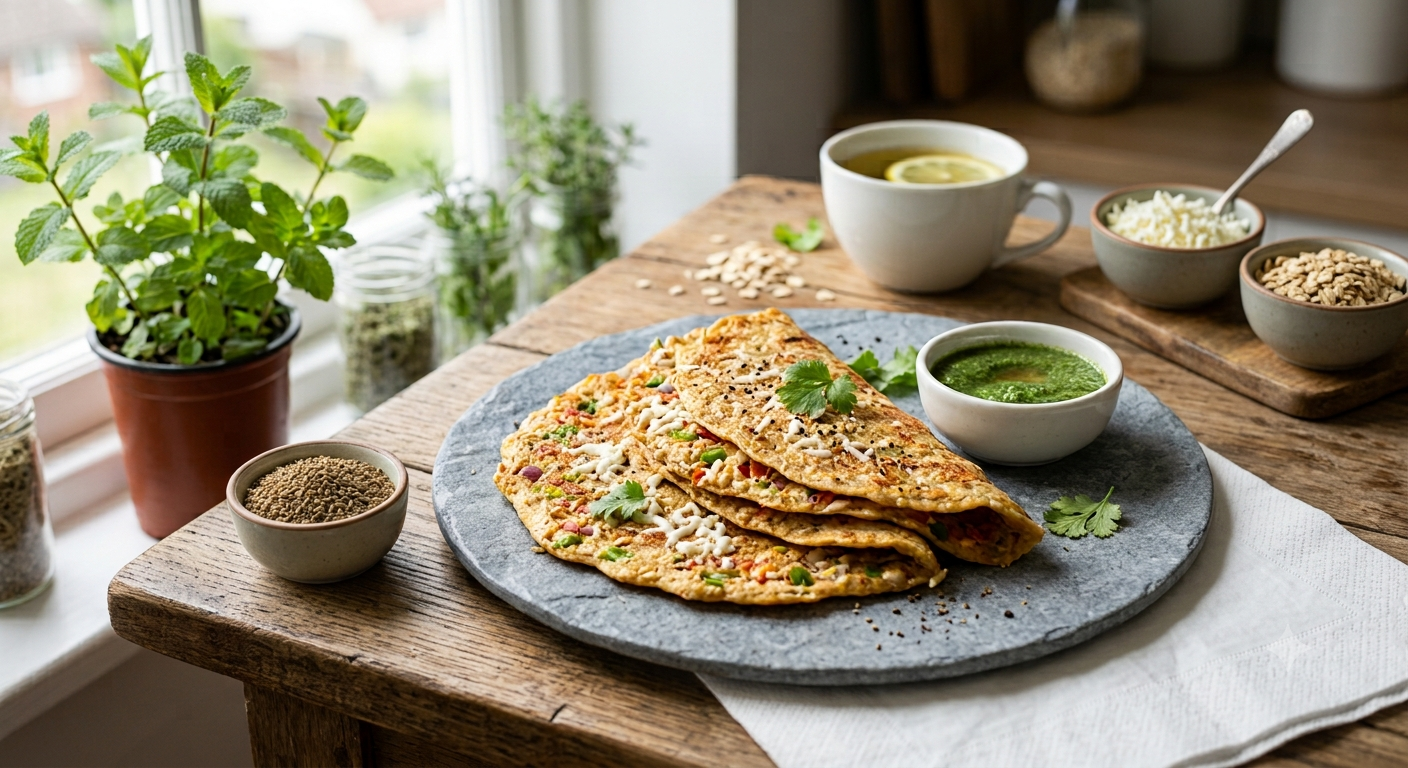
 Banana Oat Pancakes – Healthy & Fluffy Breakfast Recipe
 Description
 How to Make Banana Oat Pancakes (Step-by-Step)
 Serving Suggestions
 Servings
 Nutritional Information (Per Serving Approx.)
 Health Benefits
 Good for weight loss & digestion
 Q & A – Frequently Asked Questions
 Bonus Variations