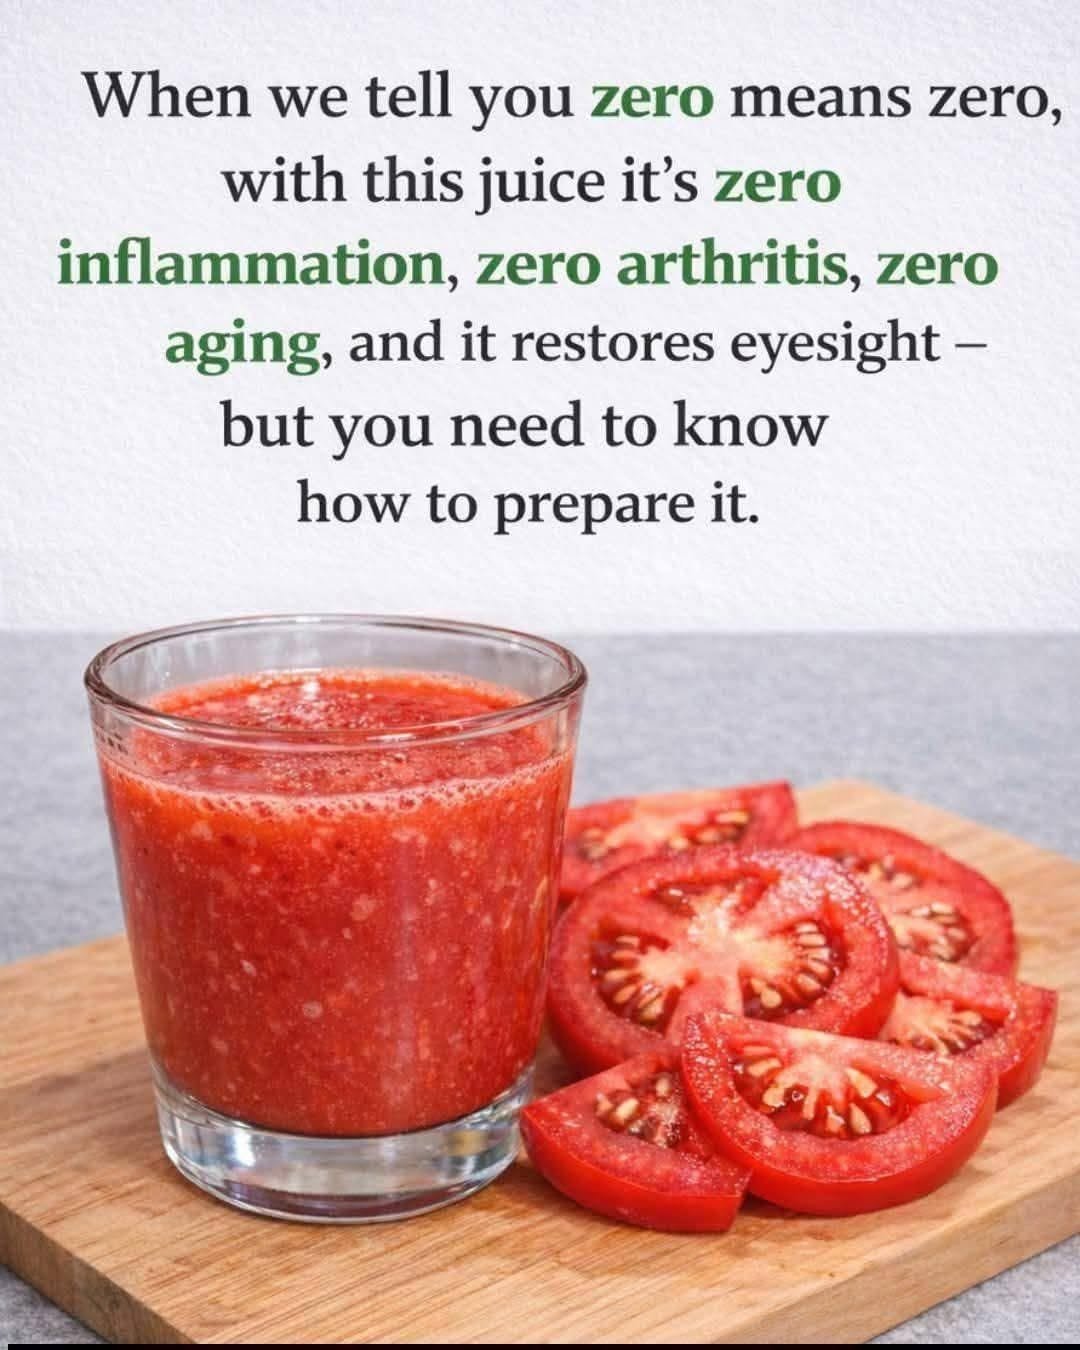
Why Is Everyone Talking About This “Zero Cholesterol” Drink?
Over the past few months, a vibrant homemade drink has gained significant attention online. Often referred to as the “Zero Cholesterol, Zero Inflammation” Drink, it is promoted as a simple blend of fruits, vegetables, and spices that may help support overall wellness.
Many social media posts describe it as a refreshing beverage that can promote circulation, provide antioxidants, and contribute to a healthier lifestyle.
But what can this drink realistically do?
The truth is that while its ingredients offer valuable nutrients, no single beverage can replace a balanced diet, healthy habits, or medical care when needed.
Let’s explore what makes this drink so popular and what benefits it may genuinely provide.
🥕🍅 What Is the “Zero Cholesterol” Drink?
This natural beverage typically combines:
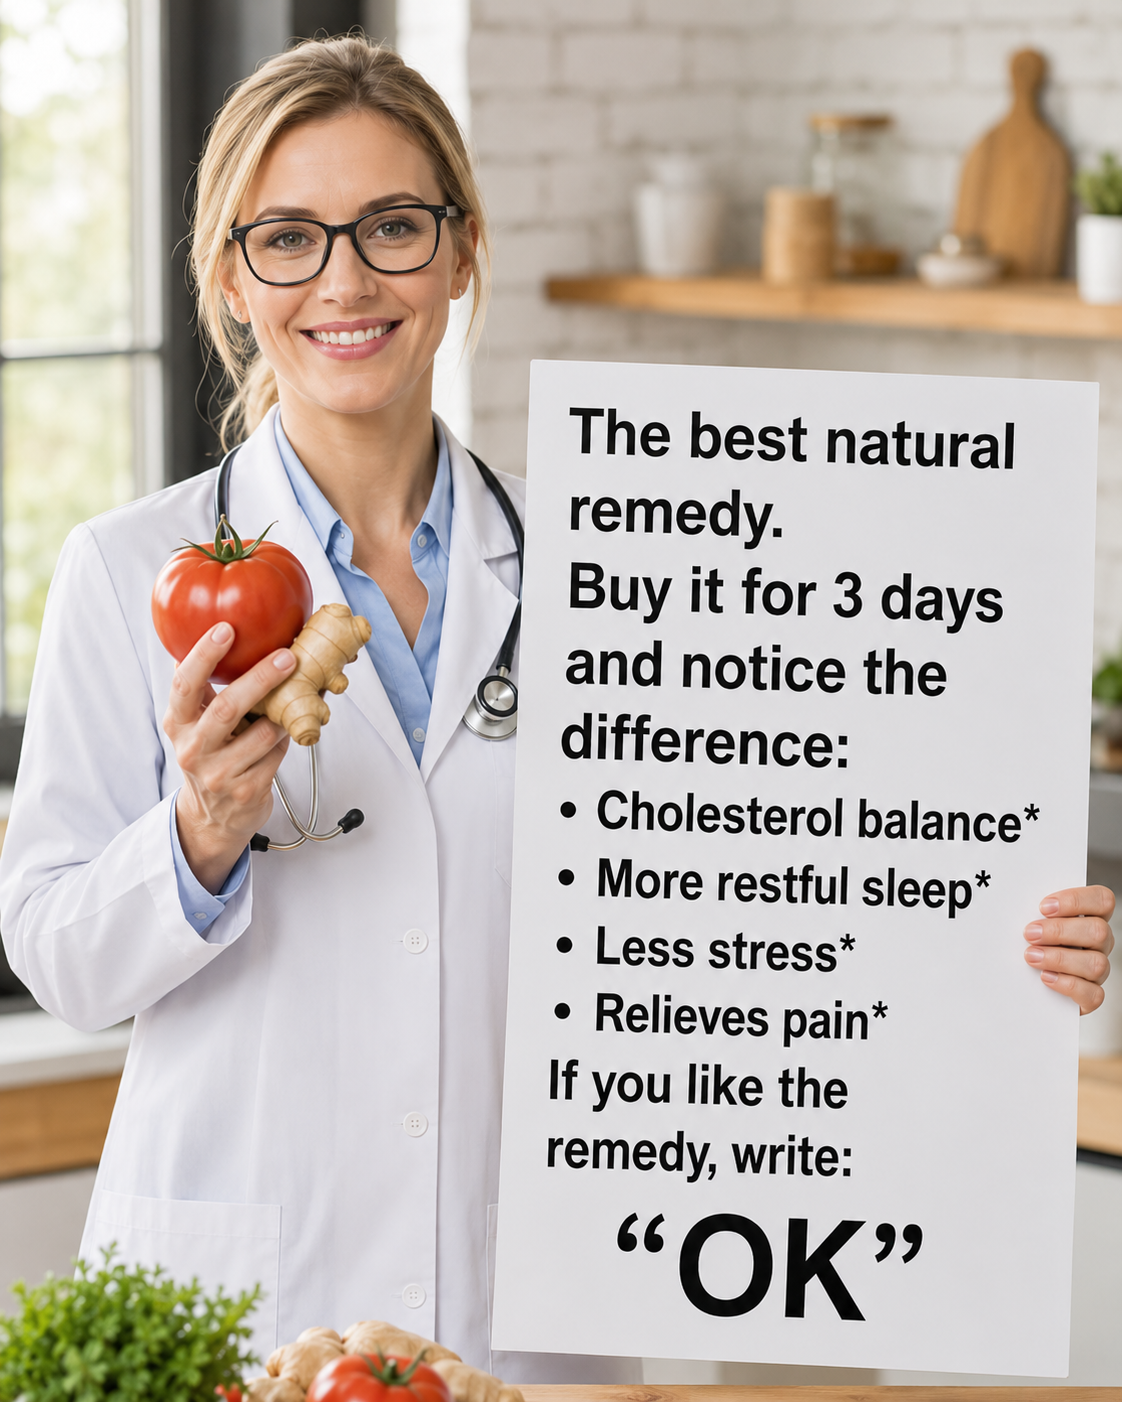
1 ripe tomato
1 carrot
Juice of 1 orange
A small piece of fresh ginger
½ cup water
1 teaspoon honey (optional)
Because all ingredients come from plant sources, the drink naturally contains no dietary cholesterol, which is found only in animal-based foods.
This is why many people refer to it as a “zero cholesterol” beverage.
🌱 Why Has It Become So Popular?
Several factors explain its growing popularity:
✅ Made with simple ingredients
✅ Easy and affordable to prepare
✅ Rich in natural vitamins and antioxidants
✅ Fits well into wellness-focused lifestyles
✅ A refreshing alternative to sugary soft drinks
As more people seek nutritious beverage options, recipes like this continue to attract attention.
💪 Potential Benefits of This Nutrient-Rich Drink
🧠 1. Provides Antioxidants
Tomatoes, carrots, oranges, and ginger contain naturally occurring antioxidants that help protect cells from oxidative stress.
These compounds play an important role in maintaining overall health and supporting normal cellular function.
❤️ 2. Supports Heart-Friendly Habits
A diet rich in fruits and vegetables is commonly associated with cardiovascular wellness.
This drink provides vitamins, minerals, and plant compounds that can complement a heart-conscious lifestyle.
However, it should be viewed as one healthy choice among many rather than a standalone solution.
💧 3. May Support Digestive Comfort
Ginger has long been used in traditional wellness practices to support digestive comfort.
Combined with fiber-containing ingredients like tomato and carrot, this beverage may help promote a feeling of digestive ease when enjoyed as part of a balanced diet.
🛡️ 4. Contributes to Immune System Support
Oranges are a well-known source of vitamin C, an essential nutrient involved in normal immune function.
Regular intake of vitamin-rich foods can help support the body’s natural defenses.
⚡ 5. Offers Natural Energy
The natural carbohydrates found in fruits and vegetables provide a gentle source of energy.
Many people enjoy this drink in the morning as a refreshing addition to their daily routine.
💦 6. Supports Hydration
Hydration is one of the foundations of overall health.
Since this drink contains water-rich ingredients, it can contribute to daily fluid intake while also delivering beneficial nutrients.
Does It Actually Lower Cholesterol?
This is where realistic expectations are important.
✔ The ingredients contain nutrients that support a healthy diet.
✔ Some provide fiber and antioxidant compounds.
✔ Healthy eating patterns may contribute to maintaining normal cholesterol levels.
❌ However, this drink alone does not “remove” cholesterol from the body.
Experts generally agree that cholesterol management depends on multiple lifestyle factors, including:
Balanced nutrition
Regular physical activity
Weight management
Sleep quality
Medical guidance when necessary
No single beverage can replace these foundations.
What About the “Zero Inflammation” Claim? ⚠️
The phrase “zero inflammation” is more of a marketing expression than a scientific reality.
While ingredients such as ginger and tomatoes contain compounds that have been studied for their role in supporting the body’s normal inflammatory balance, no drink can completely eliminate inflammation.
A healthy lifestyle remains the most important factor in maintaining long-term wellness.
🥤 How to Make the Drink
Ingredients
1 ripe tomato
1 carrot
Juice from 1 orange
Small piece of fresh ginger
½ cup water
1 teaspoon honey (optional)
Instructions
Wash all ingredients thoroughly.
Peel and chop the carrot.
Squeeze the orange juice.
Add all ingredients to a blender.
Blend until smooth.
Serve immediately.
⏰ When Should You Drink It?
Many people prefer to enjoy it:
In the morning
Before breakfast
Three times per week
As part of a short wellness routine
Consistency matters more than excessive consumption.
🌟 What Results Might You Notice?
When included in a balanced lifestyle, some people report:
Better hydration
Improved dietary variety
Increased fruit and vegetable intake
More consistent energy levels
Greater overall wellness awareness
Results vary from person to person and depend heavily on broader lifestyle habits.
Why It Isn’t a Miracle Drink
Although nutritious, this beverage cannot replace:
❌ A balanced diet
❌ Regular exercise
❌ Medical treatment
❌ Professional healthcare advice
True wellness comes from consistent habits practiced over time.
🧠 Important Considerations
Even natural drinks should be enjoyed mindfully.
Keep in mind:
The drink contains naturally occurring sugars from fruits.
Excessive consumption may cause digestive discomfort in some individuals.
Honey may not be suitable for everyone.
Individuals with specific health conditions should seek personalized medical advice before making major dietary changes.
Moderation remains key.
🌿 Similar Wellness Drinks
If you enjoy this recipe, you might also explore:
Apple, carrot, and celery juice
Flaxseed-based beverages
Herbal infusions
Vegetable smoothie blends
Citrus and ginger drinks
Each offers unique nutrients and can contribute to a varied diet.
Tips to Maximize the Benefits
For the best results:
✔ Eat a variety of fruits and vegetables
✔ Stay physically active
✔ Drink enough water
✔ Limit heavily processed foods
✔ Maintain realistic expectations
✔ Focus on long-term habits rather than quick fixes
Final Thoughts
The so-called “Zero Cholesterol, Zero Inflammation” Drink is a colorful, nutrient-rich beverage that can be a refreshing addition to a healthy lifestyle.
Its ingredients provide vitamins, antioxidants, hydration, and plant-based nutrients that may support overall wellness. However, it is not a miracle cure and should not be viewed as a substitute for balanced nutrition, exercise, or professional healthcare.
When enjoyed as part of a sustainable wellness routine, this simple homemade drink can be one small step toward healthier everyday habits.


 1. Helps stabilize blood sugar


 Supports heart health
 Rich in antioxidants (may reduce inflammation over time)
 Helps with hydration
 Light energy boost from natural nutrients
 Important: It does NOT cure arthritis, reverse aging, or eliminate cholesterol.