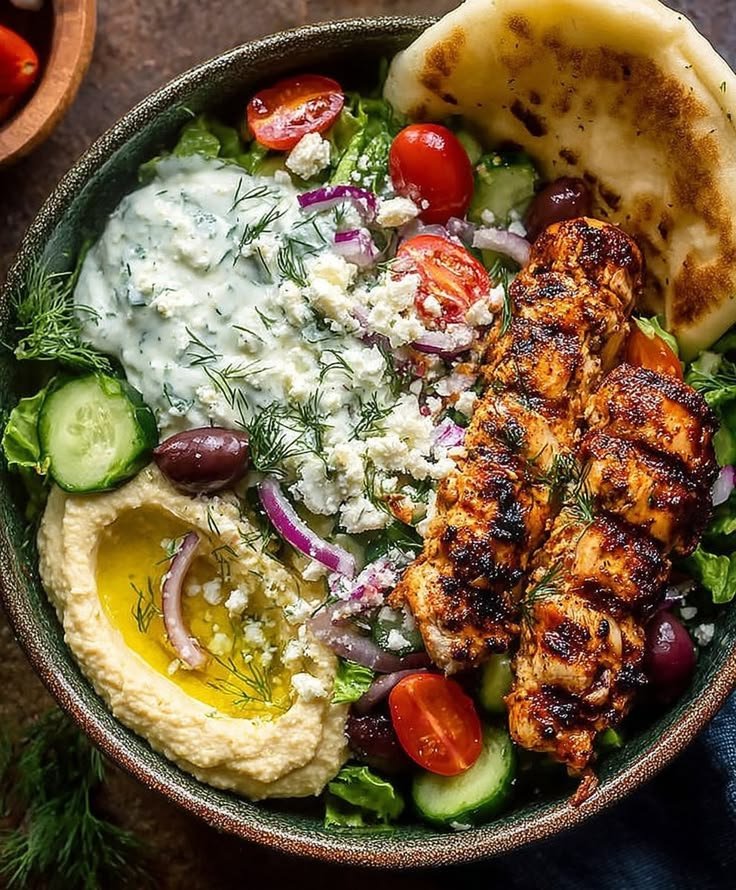
Loaded Mediterranean Hummus
Serves 4-6 | 15 mins
For the Hummus Base:
- 1 can 400g chickpeas,
- drained + rinsed save 2 tbsp liquid
- 2 tbsp tahini
- 1 small garlic clove
- 2 tbsp lemon juice
- 2 tbsp olive oil + extra for drizzling
- 1/2 tsp salt,
- pinch cumin
- 1-2 tbsp cold water,
- to blend smooth
Blend it: Chickpeas + tahini + garlic + lemon + salt + cumin → blend. Add olive oil + chickpea water till super creamy.
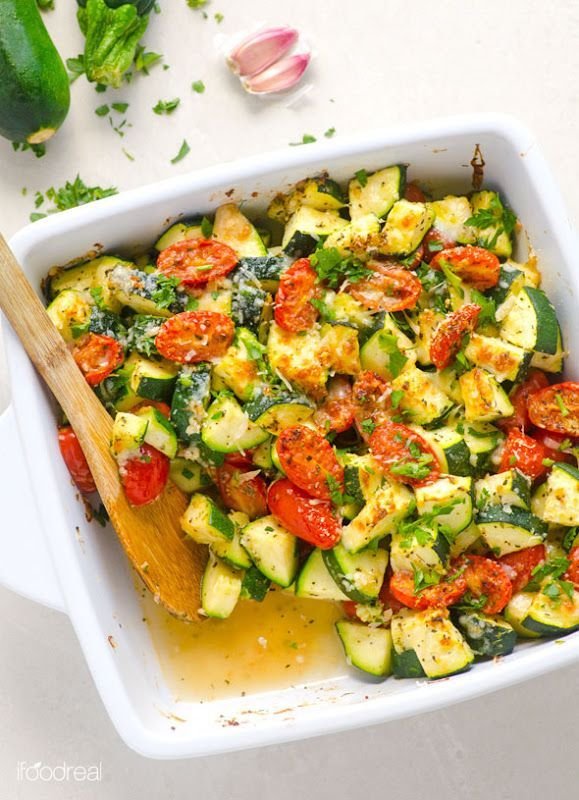
For the Topping Salad:
- 1 cup cherry tomatoes,
- halved – mix red + yellow
- 1/2 cucumber,sliced
- 2 tbsp red onion, finely chopped
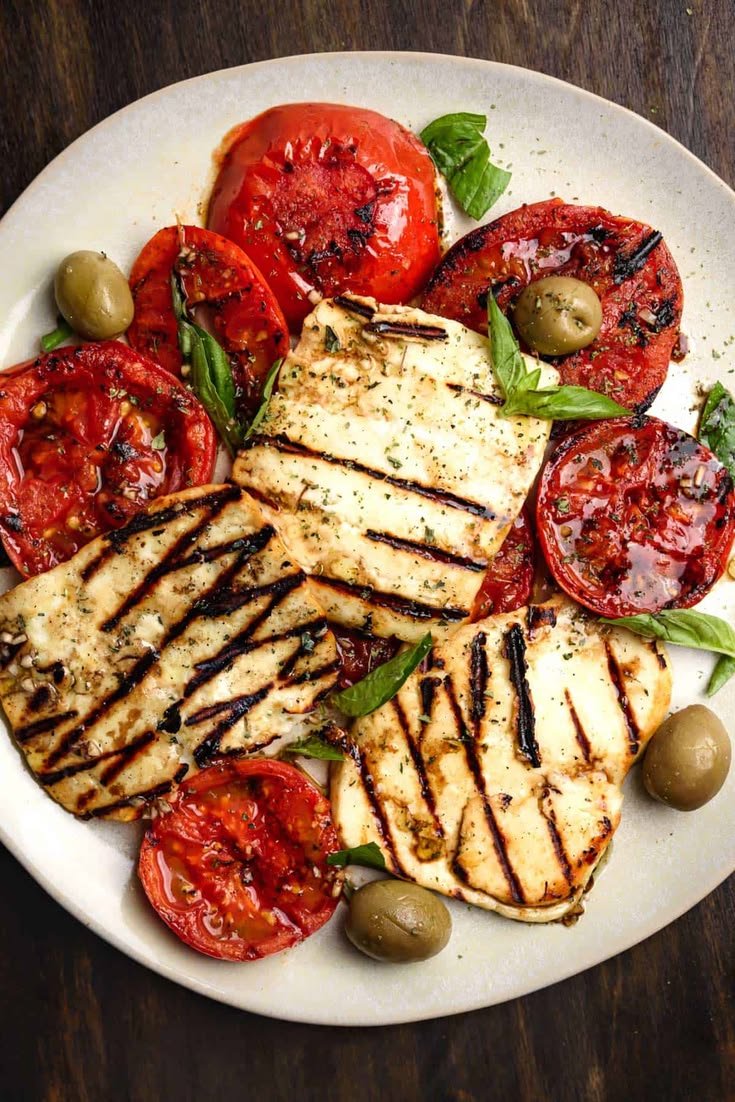
- 6-8 kalamata/green olives, halved
- 2 tbsp feta, crumbled
- 2 tbsp fresh parsley, chopped
- Pinch paprika/smoked paprika
- Olive oil + salt to taste
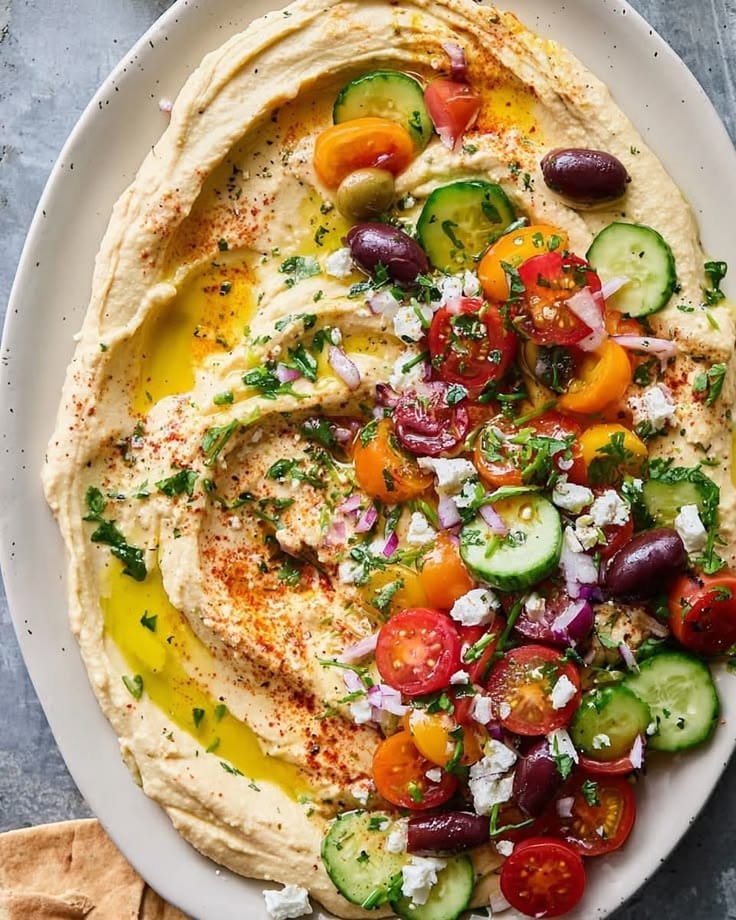
Assemble it:
Spread hummus thick on a plate. Make swirls with the back of a spoon.
Drizzle olive oil in the swirls.
Pile the tomatoes, cucumber, onion, olives, feta in the center.
Sprinkle parsley + paprika on top.
Serve with: Warm pita, naan, or crackers.
Pro tip: For extra creamy hummus, peel the chickpeas. Or use 1/2 tsp baking soda whil