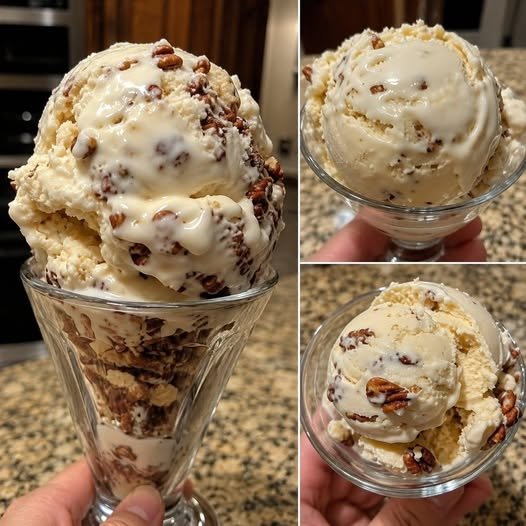
Butter Pecan Ice Cream

Butter Pecan Ice Cream

Ingredients

  • 2 cups heavy cream
  • 1 cup whole milk
  • 3/4 cup granulated sugar
  • 1 tablespoon vanilla extract
  • 1 cup pecans, chopped
  • 2 tablespoons butter
  • Pinch of salt

Prep Time

15 minutes

Freeze Time

6–8 hours

Total Time

8 hours 15 minutes

Servings

6–8 servings

Instructions

Step 1: Toast the Pecans

Melt the butter in a skillet over medium heat. Add the chopped pecans and cook for 4–5 minutes, stirring often, until lightly toasted and fragrant. Let them cool completely.

Step 2: Prepare the Ice Cream Base

In a large bowl, whisk together the heavy cream, milk, sugar, vanilla extract, and salt until the sugar dissolves.

Step 3: Add the Pecans

Stir the cooled buttered pecans into the ice cream mixture.

Step 4: Churn

Pour the mixture into an ice cream maker and churn according to the manufacturer’s instructions until thick and creamy.

Step 5: Freeze

Transfer the churned ice cream to a freezer-safe container. Cover and freeze for 6–8 hours or until firm.

Step 6: Serve

Scoop into serving glasses and enjoy.

Nutritional Benefits

  • Provides calcium from milk and cream.
  • Pecans contain healthy fats and minerals.
  • A satisfying dessert that can be enjoyed in moderation.
  • Contains a small amount of protein from dairy ingredients.

Q&A

Q: Can I make this without an ice cream maker?
A: Yes. Freeze the mixture in a container and stir every 30–45 minutes for about 3 hours.

Q: Can I use other nuts?
A: Yes, walnuts or almonds work well.

Q: How long does homemade ice cream last?
A: It can be stored in the freezer for up to 2 weeks in an airtight container.
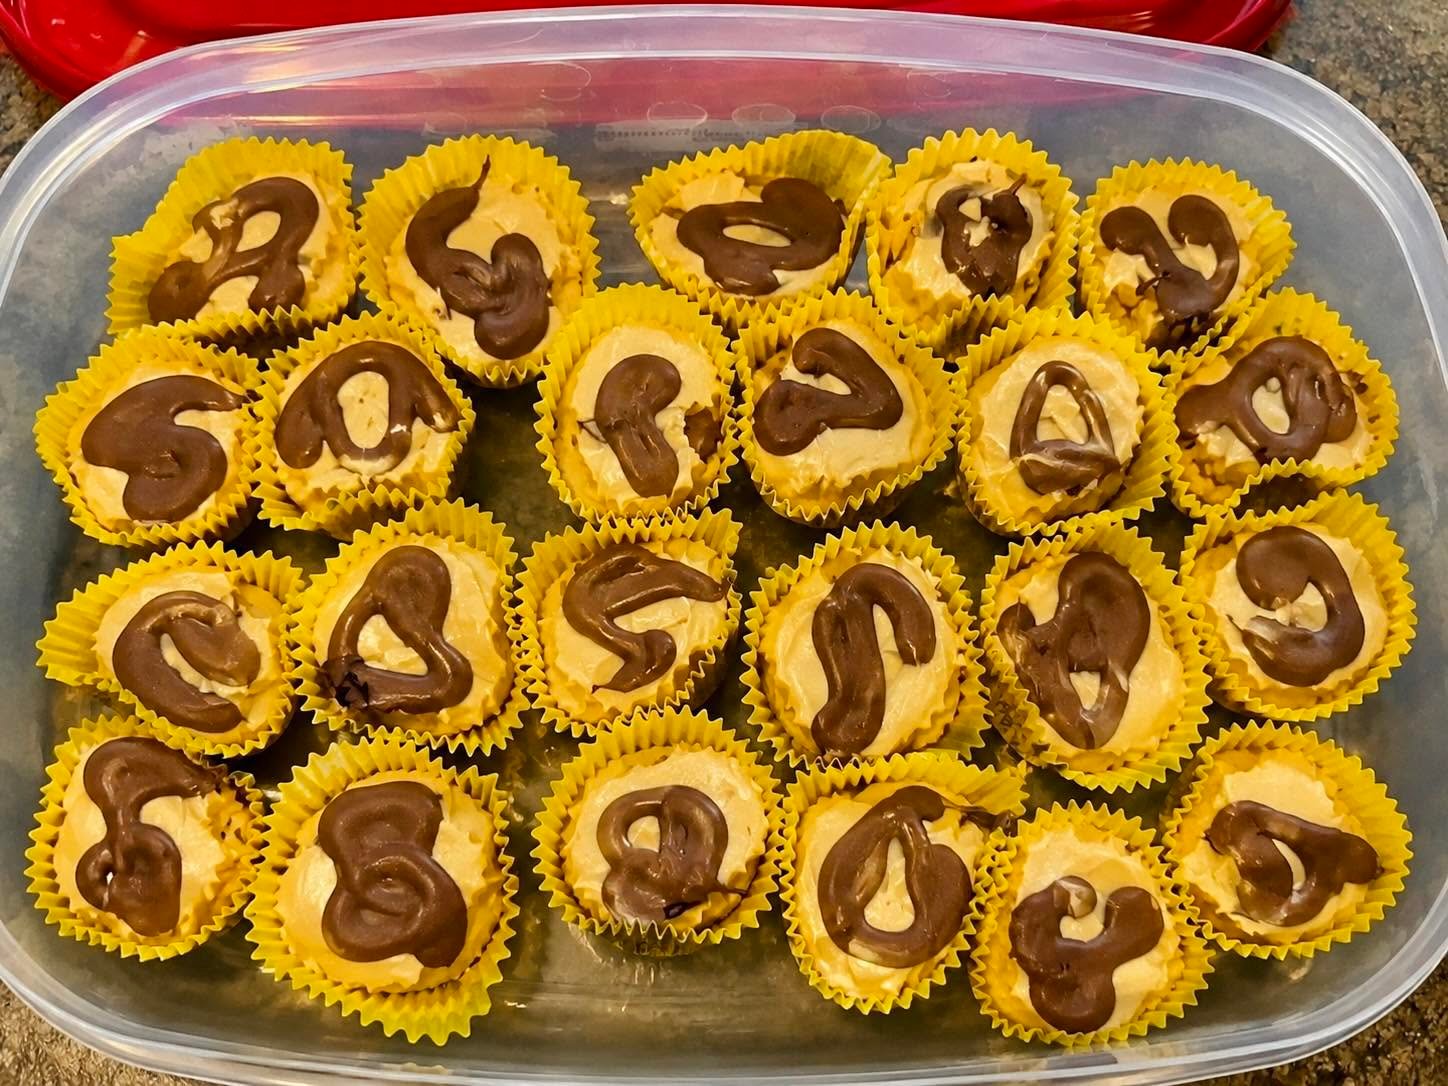
1-Point Frozen Peanut Butter Cups

1-Point Frozen Peanut Butter Cups 🥜🍫

Ingredients 🛒

  • 1 cup powdered peanut butter (PB2 or similar)
  • ½ cup plain non-fat Greek yogurt
  • 2 tbsp sugar-free maple syrup or sweetener
  • ¼ cup light whipped topping
  • 2 tbsp chocolate chips, melted

Instructions 👩‍🍳

1️⃣ Make the Peanut Butter Filling

➡️ In a bowl, combine powdered peanut butter, Greek yogurt, and sweetener.

➡️ Mix until smooth and creamy.

➡️ Fold in the light whipped topping.

2️⃣ Fill the Cups

➡️ Line a mini muffin tray with 20 mini paper liners.

➡️ Spoon the peanut butter mixture evenly into each liner.

➡️ Smooth the tops with the back of a spoon.

3️⃣ Add Chocolate

➡️ Melt the chocolate chips in the microwave using short intervals.

➡️ Drizzle a small amount of melted chocolate over each peanut butter cup.

4️⃣ Freeze

➡️ Place the tray in the freezer for 2–3 hours or until firm.

5️⃣ Serve

➡️ Enjoy straight from the freezer.

➡️ Store leftovers in an airtight container in the freezer.

Nutritional Benefits 💪

✅ High in protein from powdered peanut butter and Greek yogurt.

✅ Lower in calories than traditional peanut butter cups.

✅ Great make-ahead frozen dessert.

✅ Helps satisfy sweet cravings with portion control.

Approximate Nutrition

Per Peanut Butter Cup

  • Calories: 35–45
  • Protein: 3–4g
  • Carbohydrates: 2–4g
  • Fat: 1–2g

Quick Q&A ❓

Can I use regular peanut butter?
➡️ Yes, but the points and calories will be higher.

How long do they last in the freezer?
➡️ Up to 2 months in an airtight container.

Can I use vanilla Greek yogurt?
➡️ Absolutely! It adds extra sweetness and flavor.

Do I need a muffin tray?
➡️ No, you can place the paper liners on a flat tray and freeze them.

⏰ Prep Time: 10 Minutes
❄️ Freeze Time: 2–3 Hours
🍽️ Yield: 20 Mini Peanut Butter Cups

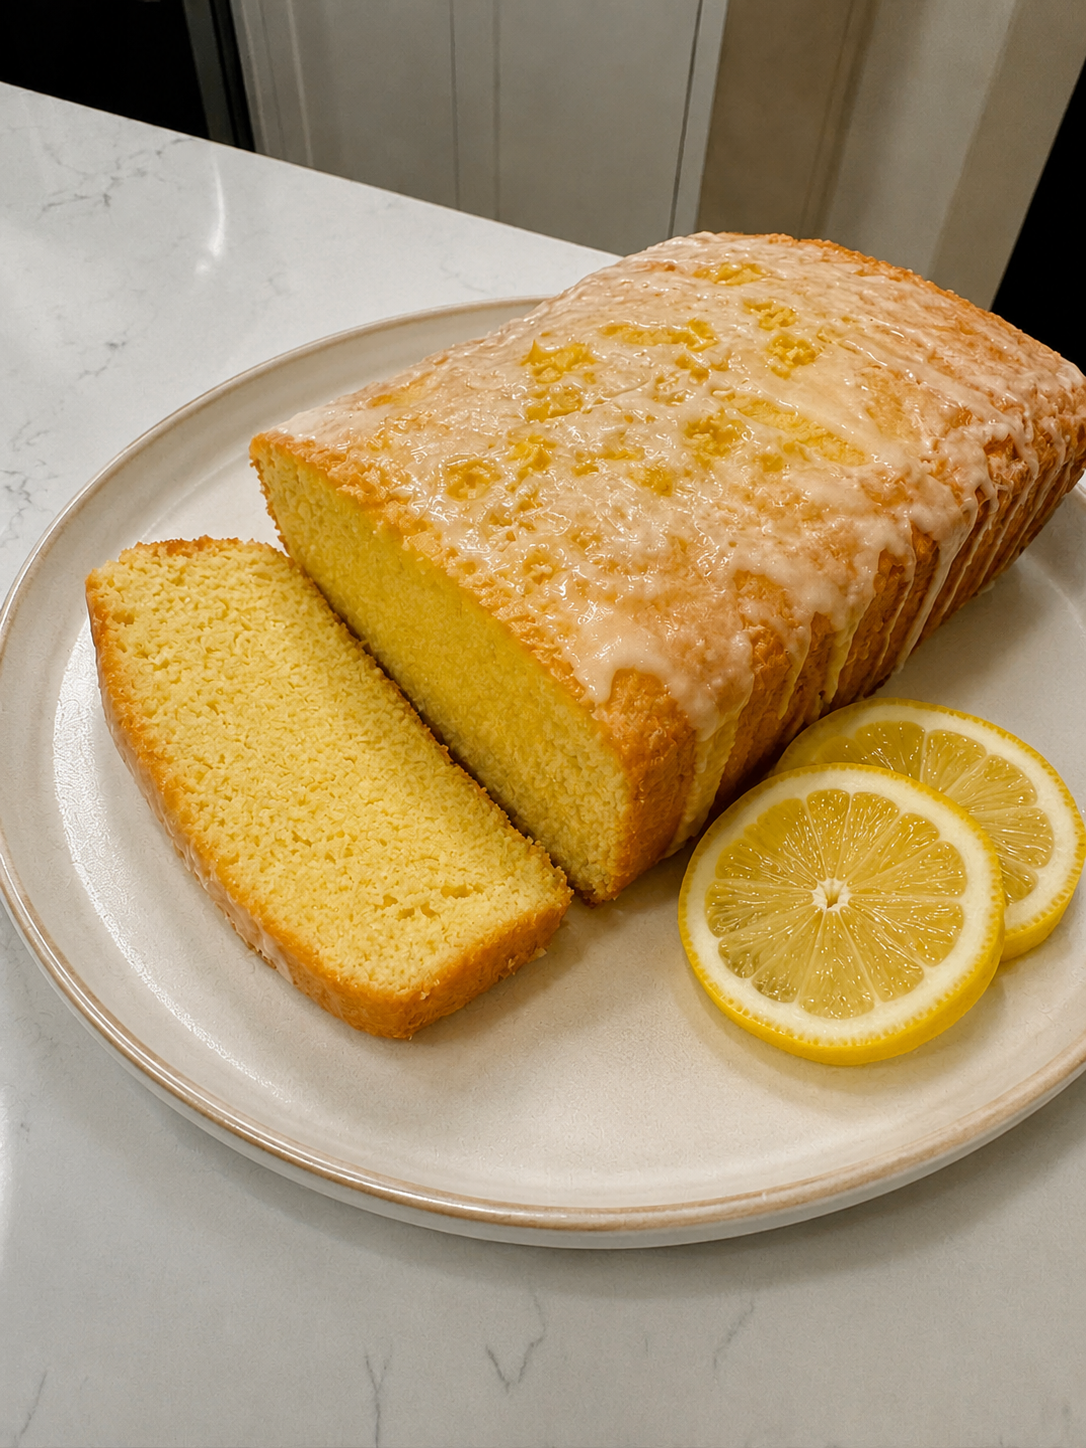
Simple 3-Ingredient Lemon Cake 🍋

Simple 3-Ingredient Lemon Cake 🍋

Ingredients 🛒

  • 1 box lemon cake mix (about 15.25 oz / 432g)
  • 1 can lemon pie filling (21 oz / 595g)
  • 3 large eggs

Instructions 👩‍🍳

1️⃣ Prepare the Oven

➡️ Preheat oven to 350°F (175°C).

➡️ Lightly grease a loaf pan or 8-inch baking dish.

2️⃣ Mix the Batter

➡️ Add the lemon cake mix to a large bowl.

➡️ Add the lemon pie filling.

➡️ Add the eggs.

➡️ Mix until smooth and well combined.

3️⃣ Bake

➡️ Pour the batter into the prepared pan.

➡️ Bake for 35–40 minutes or until a toothpick inserted in the center comes out clean.

4️⃣ Cool

➡️ Let the cake cool in the pan for 10 minutes.

➡️ Transfer to a wire rack and cool completely.

5️⃣ Optional Lemon Glaze

Mix:

  • 1 cup powdered sugar
  • 2–3 tbsp lemon juice

➡️ Drizzle over the cooled cake.

Nutritional Benefits 💪

✅ Quick and easy recipe with only 3 ingredients.

✅ Lemon adds a fresh citrus flavor.

✅ Eggs provide protein and help create a soft texture.

Quick Q&A ❓

Can I use a white cake mix instead?
➡️ Yes, add 1 tablespoon lemon zest for extra lemon flavor.

Can I freeze it?
➡️ Yes, wrap tightly and freeze for up to 2 months.

How should I store it?
➡️ Store in an airtight container at room temperature for up to 3 days.

Prep Time ⏰

5 Minutes

Bake Time ⏰

35–40 Minutes

Total Time ⏰

45 Minutes

Servings 🍽️

8–10 slices

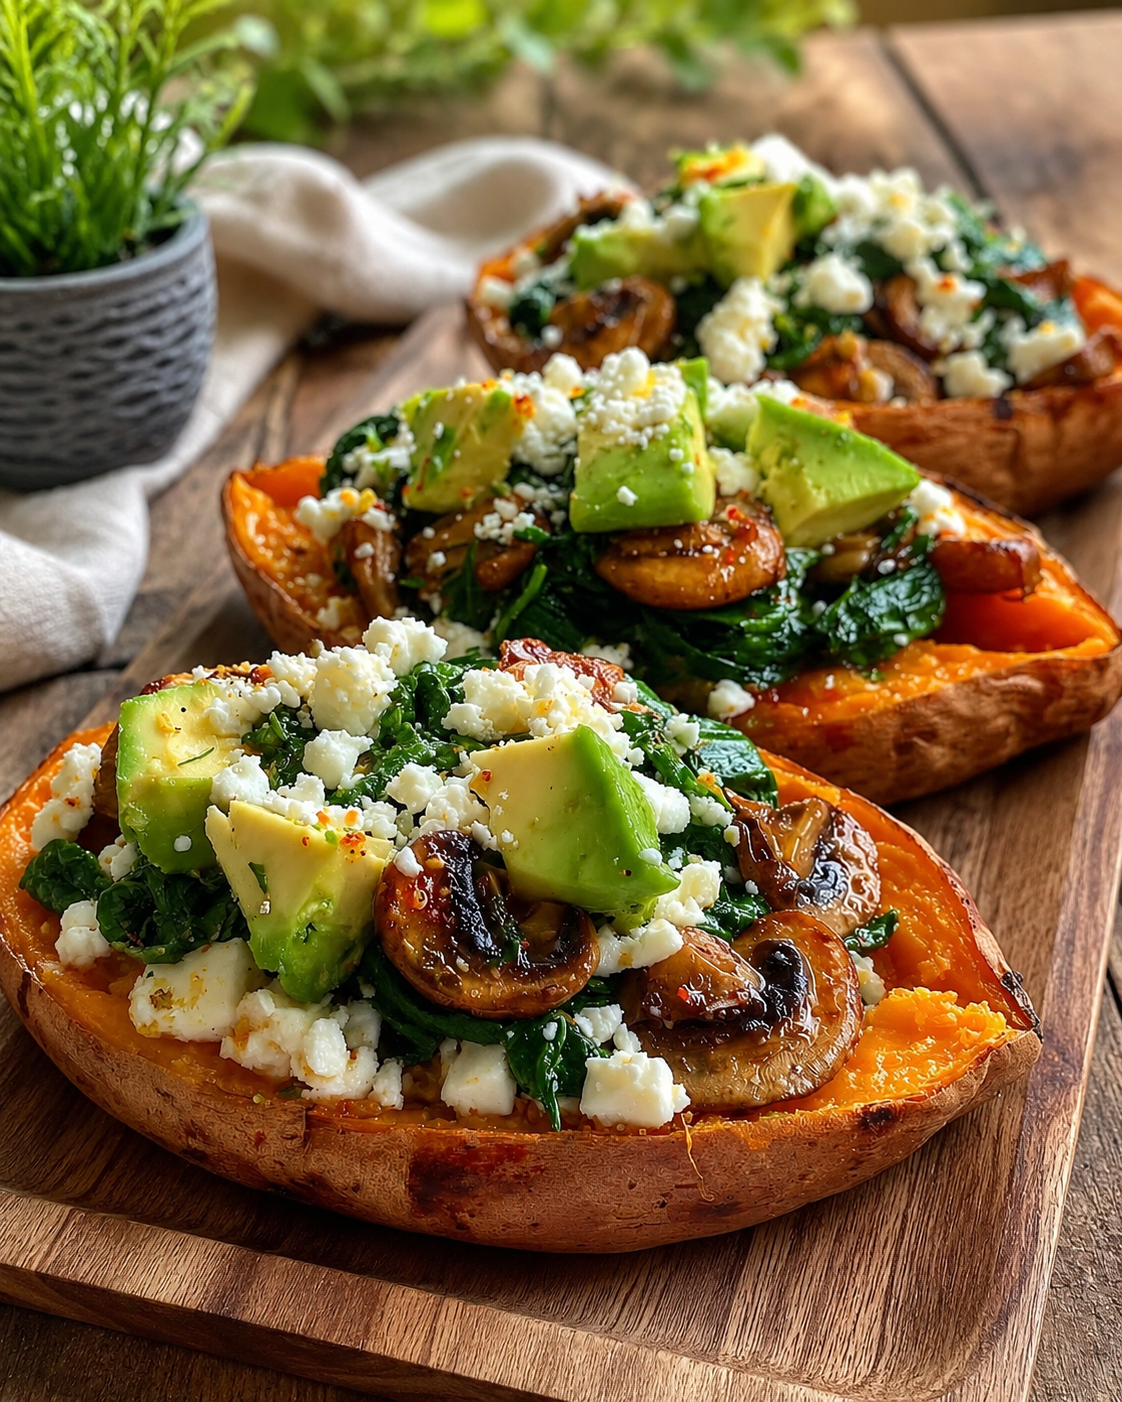
Loaded Sweet Potato with Spinach, Mushrooms & Avocado 🥔🥑

Loaded Sweet Potato with Spinach, Mushrooms & Avocado 🥔🥑

Ingredients 🛒

  • 3 large sweet potatoes
  • 2 cups fresh spinach
  • 1 cup mushrooms, sliced
  • 1 avocado, diced
  • ½ cup feta cheese, crumbled
  • 1 tbsp olive oil
  • Salt and black pepper, to taste

Step-by-Step Instructions 👩‍🍳

1️⃣ Bake the Sweet Potatoes

➡️ Preheat your oven to 400°F (200°C).

➡️ Wash and dry the sweet potatoes thoroughly.

➡️ Place them on a baking tray.

➡️ Bake for 45–50 minutes until soft and tender.

➡️ Remove from the oven and let cool slightly.

2️⃣ Cook the Mushrooms

➡️ Heat olive oil in a skillet over medium heat.

➡️ Add sliced mushrooms.

➡️ Cook for 5–6 minutes, stirring occasionally.

➡️ Continue cooking until golden and tender.

3️⃣ Add the Spinach

➡️ Add spinach to the skillet.

➡️ Stir for 2–3 minutes until wilted.

➡️ Season with salt and black pepper.

➡️ Cook until any excess moisture disappears.

4️⃣ Prepare the Sweet Potatoes

➡️ Slice each sweet potato lengthwise.

➡️ Gently fluff the inside with a fork.

➡️ Create a space for the filling.

5️⃣ Fill the Potatoes

➡️ Spoon the spinach and mushroom mixture into each sweet potato.

➡️ Sprinkle crumbled feta cheese on top.

➡️ Add diced avocado evenly.

6️⃣ Final Touch

➡️ Return to the oven for 5 minutes if you prefer the feta slightly warm.

➡️ Let rest for 2 minutes before serving.

7️⃣ Serve & Enjoy

➡️ Serve warm as a nutritious lunch or light dinner.

➡️ Enjoy immediately for the best flavor and texture.


Nutritional Benefits 💪

✅ Sweet potatoes are rich in fiber and vitamin A.

✅ Spinach provides vitamins A, C, K, iron, and antioxidants.

✅ Mushrooms contain beneficial nutrients and minerals.

✅ Avocado supplies healthy fats that support heart health.

✅ Feta cheese adds protein and calcium.

✅ A balanced meal containing vegetables, healthy fats, and protein.

Approximate Protein Content

🔹 Per Serving: 10–14g Protein

🔹 Whole Recipe: 30–40g Protein


Quick Q&A ❓

Can I make this recipe ahead of time?

➡️ Yes. Prepare the filling in advance and assemble before serving.

Can I use kale instead of spinach?

➡️ Absolutely. Kale works very well in this recipe.

How can I increase the protein?

➡️ Add grilled chicken, chickpeas, beans, or shrimp.

Can I store leftovers?

➡️ Yes. Store in an airtight container in the refrigerator for up to 2 days.

Is this recipe vegetarian?

➡️ Yes, it is a vegetarian-friendly meal.

Prep Time ⏰

➡️ 10 Minutes

Cook Time ⏰

➡️ 50–55 Minutes

Total Time ⏰

➡️ About 1 Hour

Servings 🍽️

➡️ 3 Servings

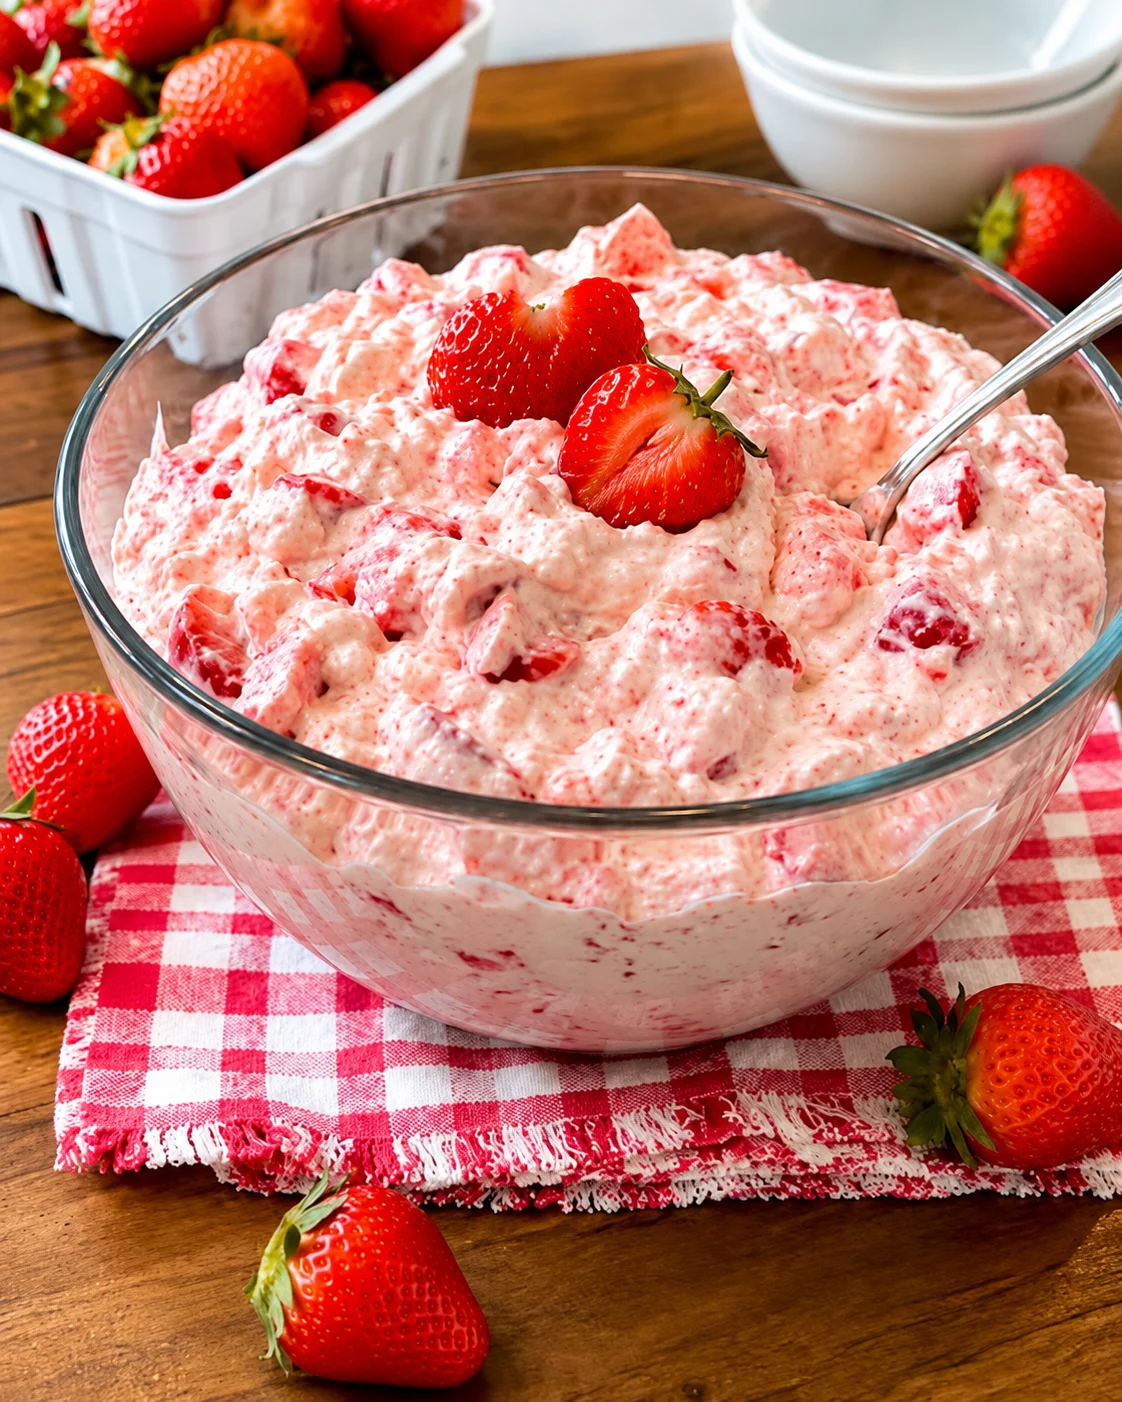
Strawberry Fluffy Dessert

Strawberry Fluffy Dessert

Ingredients

  • 2 cups fresh strawberries, chopped
  • 2 cups whipped topping (or whipped cream)
  • 1 cup plain Greek yogurt
  • 2 tablespoons powdered sweetener (or sugar)
  • 1 teaspoon vanilla extract

Instructions

Step 1:
Wash and chop the strawberries into small pieces.

Step 2:
Place half of the strawberries in a blender and blend until smooth. Leave the remaining strawberries chopped for texture.

Step 3:
In a large mixing bowl, combine the Greek yogurt, sweetener, and vanilla extract. Stir until smooth.

Step 4:
Fold in the whipped topping gently until the mixture becomes light and fluffy.

Step 5:
Add the strawberry puree and chopped strawberries. Mix gently until evenly combined.

Step 6:
Transfer the mixture to a large serving bowl or individual glasses.

Step 7:
Refrigerate for at least 1 hour to allow the dessert to chill and thicken.

Step 8:
Garnish with fresh strawberry slices before serving.

Nutritional Benefits

  • Rich in vitamin C from strawberries.
  • Contains protein from Greek yogurt.
  • Light and refreshing dessert option.
  • Provides calcium for bone health.
  • Can be made lower in sugar by using a sugar-free sweetener.

Q & A

Q: Can I use frozen strawberries?
A: Yes, thaw them completely and drain excess liquid before using.

Q: How long can it be stored?
A: Store in the refrigerator for up to 3 days in an airtight container.

Q: Can I make it ahead of time?
A: Yes, it tastes even better after chilling for a few hours.

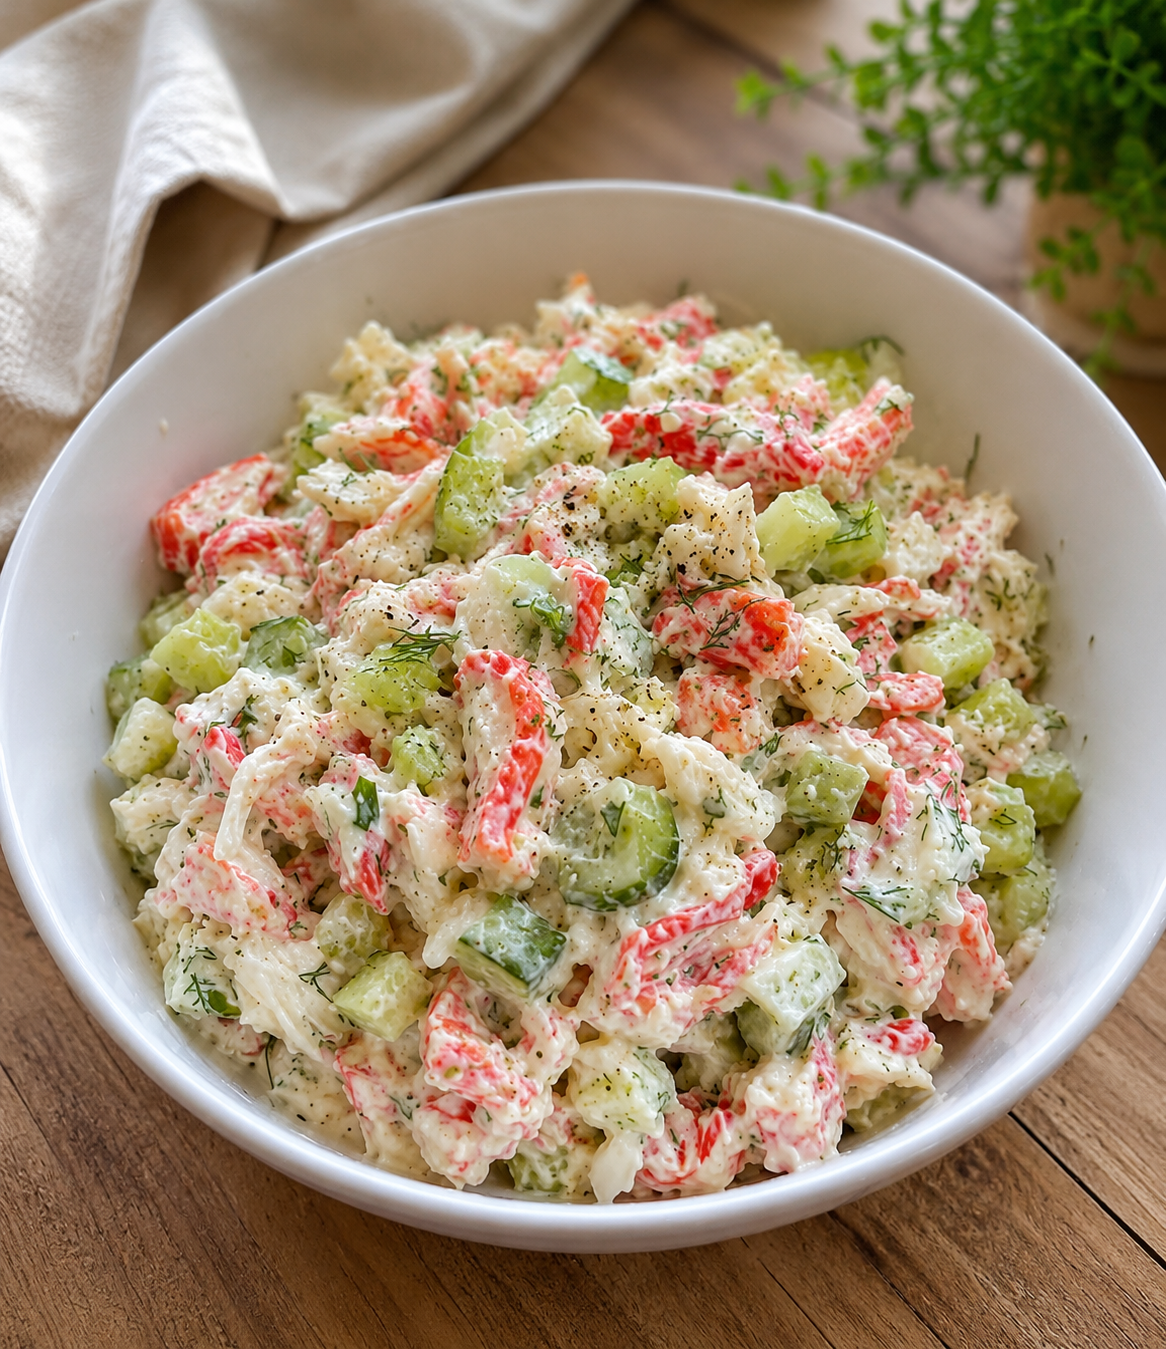
Creamy Crab & Cucumber Salad

Creamy Crab & Cucumber Salad

🛒 Ingredients

  • 250 g imitation crab sticks, shredded
  • 2 cucumbers, diced
  • ½ cup mayonnaise
  • 1 tbsp lemon juice
  • 1 tbsp fresh dill, chopped
  • Salt, to taste
  • Black pepper, to taste

👩‍🍳 Step-by-Step Instructions

🥒 Step 1:
Wash the cucumbers thoroughly and cut them into small bite-sized cubes.

🦀 Step 2:
Shred the crab sticks into thin strips using your hands or a fork.

🥣 Step 3:
Place the shredded crab and diced cucumbers into a large mixing bowl.

🌿 Step 4:
Add the chopped fresh dill and gently mix to distribute evenly.

🥄 Step 5:
In a separate bowl, combine mayonnaise, lemon juice, salt, and black pepper. Stir until smooth and creamy.

➡️ Step 6:
Pour the dressing over the crab and cucumber mixture.

🥗 Step 7:
Gently toss everything together until all ingredients are evenly coated with the dressing.

❄️ Step 8:
Cover and refrigerate for 15–20 minutes to allow the flavors to blend.

🍽️ Step 9:
Serve chilled and garnish with extra dill and a sprinkle of black pepper.

❓Q & A

Q: Can I use real crab meat instead of imitation crab?
A: Yes! Real crab meat adds a richer seafood flavor and works wonderfully.

Q: How long can I store this salad?
A: Store in an airtight container in the refrigerator for up to 2 days.

Q: Can I prepare it in advance?
A: Yes, making it a few hours ahead actually helps the flavors develop even more.