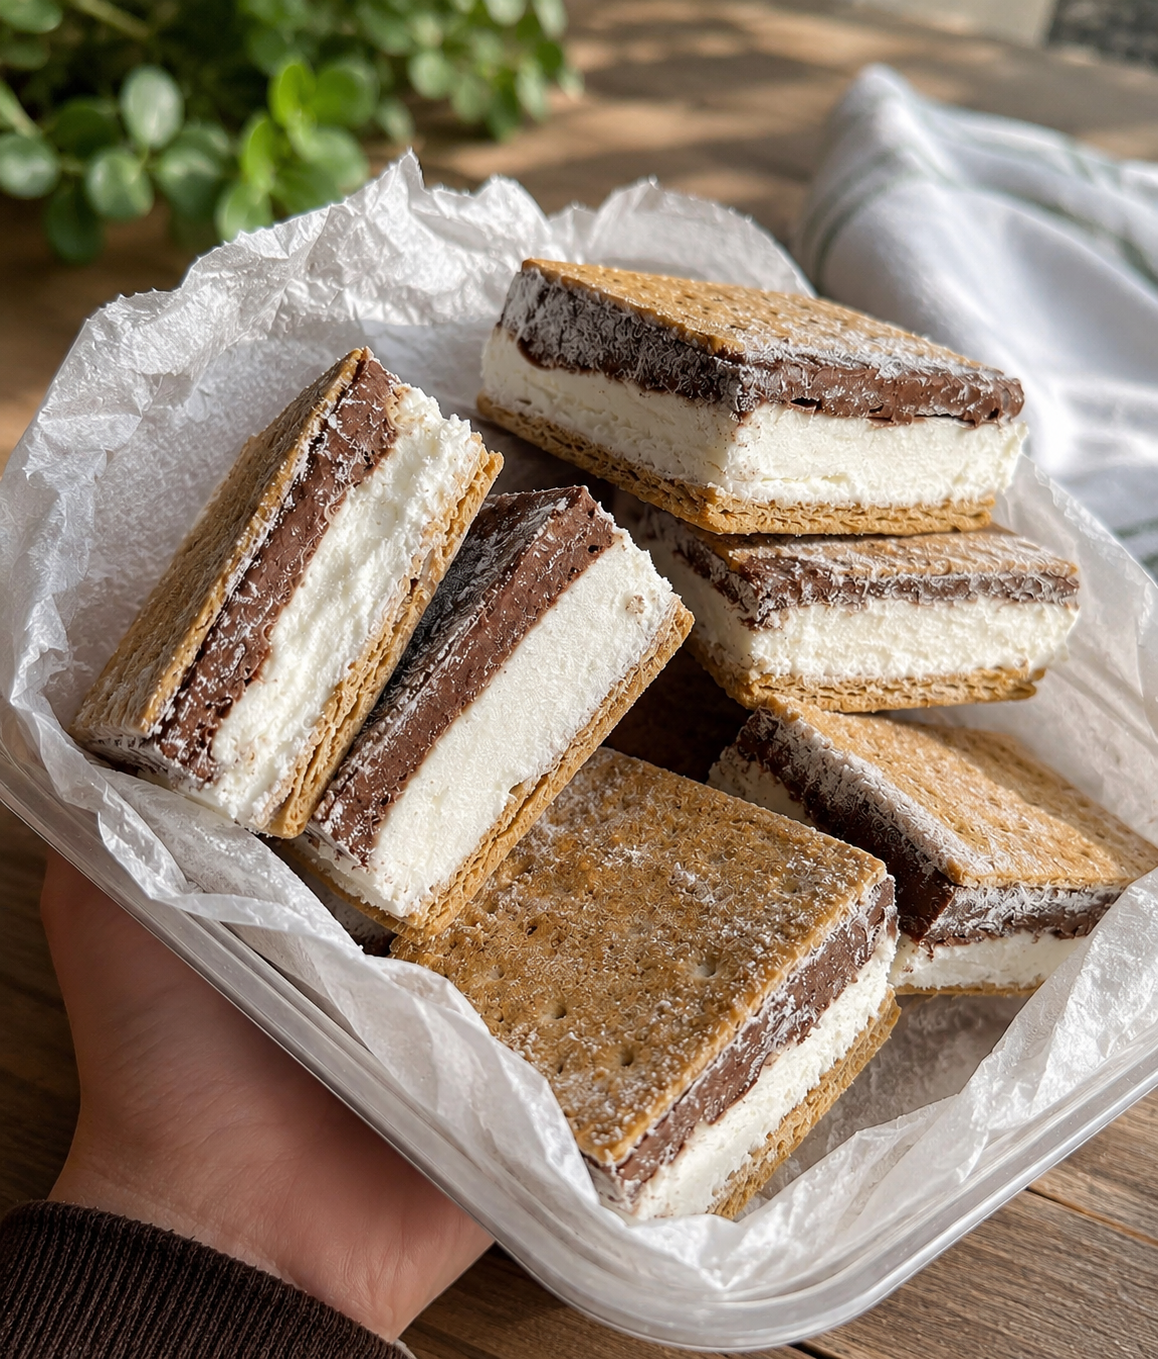
3-Point Frozen S’mores

🍫❄️ 3-Point Frozen S’mores

These creamy frozen s’mores are the perfect no-bake summer dessert! Made with fluffy whipped topping, chocolate pudding, and crunchy graham crackers, they’re a refreshing treat that feels indulgent while staying WW-friendly.

⏱️ Prep Time

15 minutes

❄️ Freeze Time

4 hours or overnight

🍽️ Servings

12 frozen bars


🛒 Ingredients

  • 12 whole graham cracker sheets (24 squares) 🍪
  • 1 package (1 oz / 28g) sugar-free instant chocolate pudding mix 🍫
  • 1 cup cold skim milk 🥛
  • 1½ cups light whipped topping, thawed
  • 1 cup mini marshmallows 🧁
  • 1 tsp vanilla extract

👩‍🍳 Instructions

1. Prepare the Pan

Line an 8×8-inch baking dish with parchment paper, leaving some overhang for easy removal.

2. Make the Filling

In a medium bowl, whisk together the chocolate pudding mix and cold milk for about 2 minutes until thickened.

3. Fold in the Whipped Topping

Gently fold the whipped topping and vanilla extract into the pudding until smooth and creamy.

4. Add Marshmallows

Stir in the mini marshmallows, distributing them evenly throughout the mixture.

5. Build the S’mores

Arrange 12 graham cracker squares in a single layer on the bottom of the prepared dish.

Spread the pudding mixture evenly over the graham crackers.

Top with the remaining 12 graham cracker squares, pressing down gently.

6. Freeze

Cover and freeze for at least 4 hours, or until firm.

7. Slice and Serve

Lift the frozen block out using the parchment paper. Cut into 12 bars and serve immediately.


🌿 Nutritional Benefits

  • 🍫 Satisfies chocolate cravings with less sugar.
  • 🥛 Provides calcium from milk.
  • ❄️ A refreshing frozen dessert perfect for warm weather.
  • 💙 Lower in points than traditional s’mores treats.

💡 Tips

  • Freeze overnight for the firmest texture.
  • Let bars sit at room temperature for 2–3 minutes before eating.
  • Store in a freezer-safe container for up to 1 month.
  • Drizzle with a little sugar-free chocolate syrup for extra indulgence.

❓ Frequently Asked Questions

Q: Can I use vanilla pudding instead?
A: Yes! Vanilla pudding creates a delicious cookies-and-cream style variation.

Q: Can I make these ahead of time?
A: Absolutely. They keep well in the freezer for several weeks.

Q: Can I use regular whipped topping?
A: Yes, though the WW points may increase.

Q: How should I store leftovers?
A: Keep them in an airtight container in the freezer.
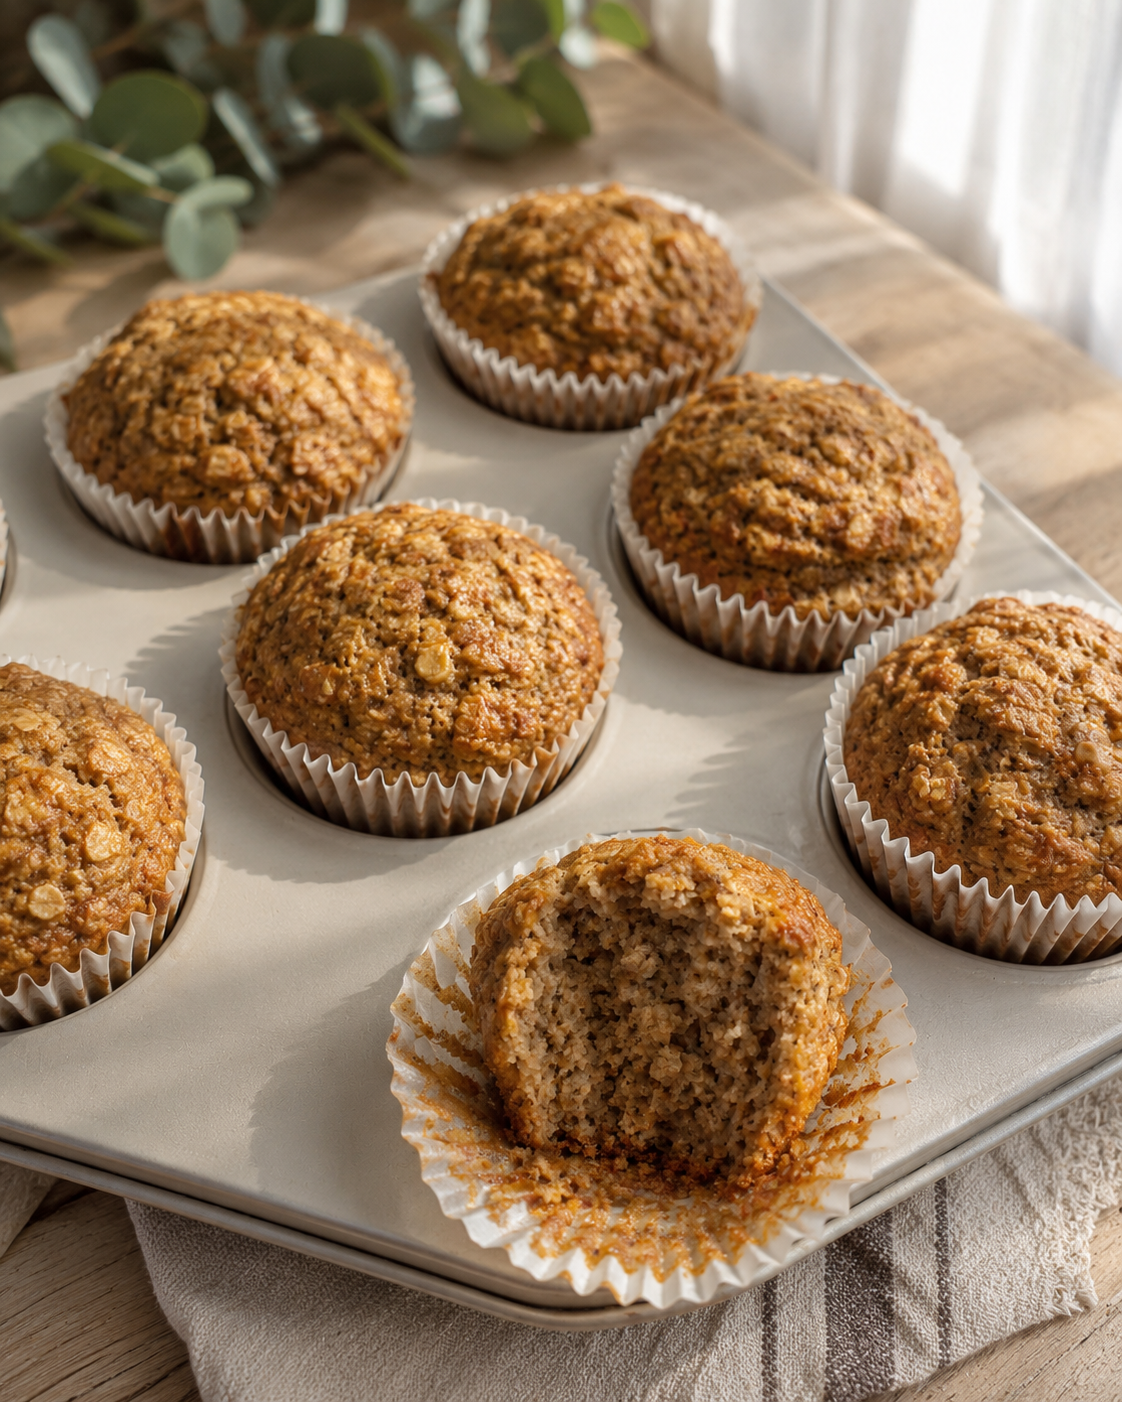
0-Point Oatmeal Banana Muffins

0-Point Oatmeal Banana Muffins

These soft and hearty oatmeal muffins are naturally sweetened with banana and made with wholesome ingredients. Perfect for breakfast, meal prep, or a healthy snack!

⏱️ Prep Time

10 minutes

⏱️ Bake Time

18–22 minutes

🍽️ Yield

12 muffins


🛒 Ingredients

  • 2 cups rolled oats
  • 2 ripe bananas, mashed 🍌
  • 2 large eggs 🥚
  • 1 cup unsweetened applesauce 🍎
  • 1 tsp vanilla extract
  • 1 tsp baking powder
  • ½ tsp baking soda
  • 1 tsp ground cinnamon
  • Pinch of salt

Optional Add-Ins

  • ¼ cup raisins
  • 1 tbsp chia seeds
  • ½ tsp nutmeg
  • Sugar-free chocolate chips

👩‍🍳 Instructions

1. Preheat Oven

Preheat your oven to 350°F (175°C). Line a 12-cup muffin tin with paper liners or lightly spray with nonstick cooking spray.

2. Blend the Oats

Place the rolled oats in a blender or food processor and pulse until they resemble a coarse flour.

3. Mix the Batter

In a large bowl, combine the oat flour, baking powder, baking soda, cinnamon, and salt.

In another bowl, whisk together the mashed bananas, eggs, applesauce, and vanilla extract.

Pour the wet ingredients into the dry ingredients and stir until just combined.

4. Fill the Muffin Tin

Divide the batter evenly among the muffin cups, filling each about ¾ full.

5. Bake

Bake for 18–22 minutes, or until a toothpick inserted into the center comes out clean.

6. Cool

Allow the muffins to cool in the pan for 5 minutes, then transfer to a wire rack to cool completely.


🌿 Nutritional Benefits

  • 🍌 Bananas provide natural sweetness and potassium.
  • 🌾 Oats are rich in fiber and help keep you full longer.
  • 🍎 Applesauce adds moisture without extra fat.
  • 🥚 Eggs contribute protein and structure.

💡 Tips

  • Store in an airtight container for up to 4 days.
  • Freeze for up to 3 months.
  • Warm in the microwave for 15–20 seconds before serving.
  • Add a sprinkle of cinnamon on top before baking for extra flavor.

❓ Frequently Asked Questions

Q: Can I make these gluten-free?
A: Yes! Use certified gluten-free oats.

Q: Can I use quick oats?
A: Yes, though the texture may be slightly softer.

Q: Can I add protein powder?
A: Absolutely. Add ¼ cup protein powder and a splash of milk if the batter becomes too thick.

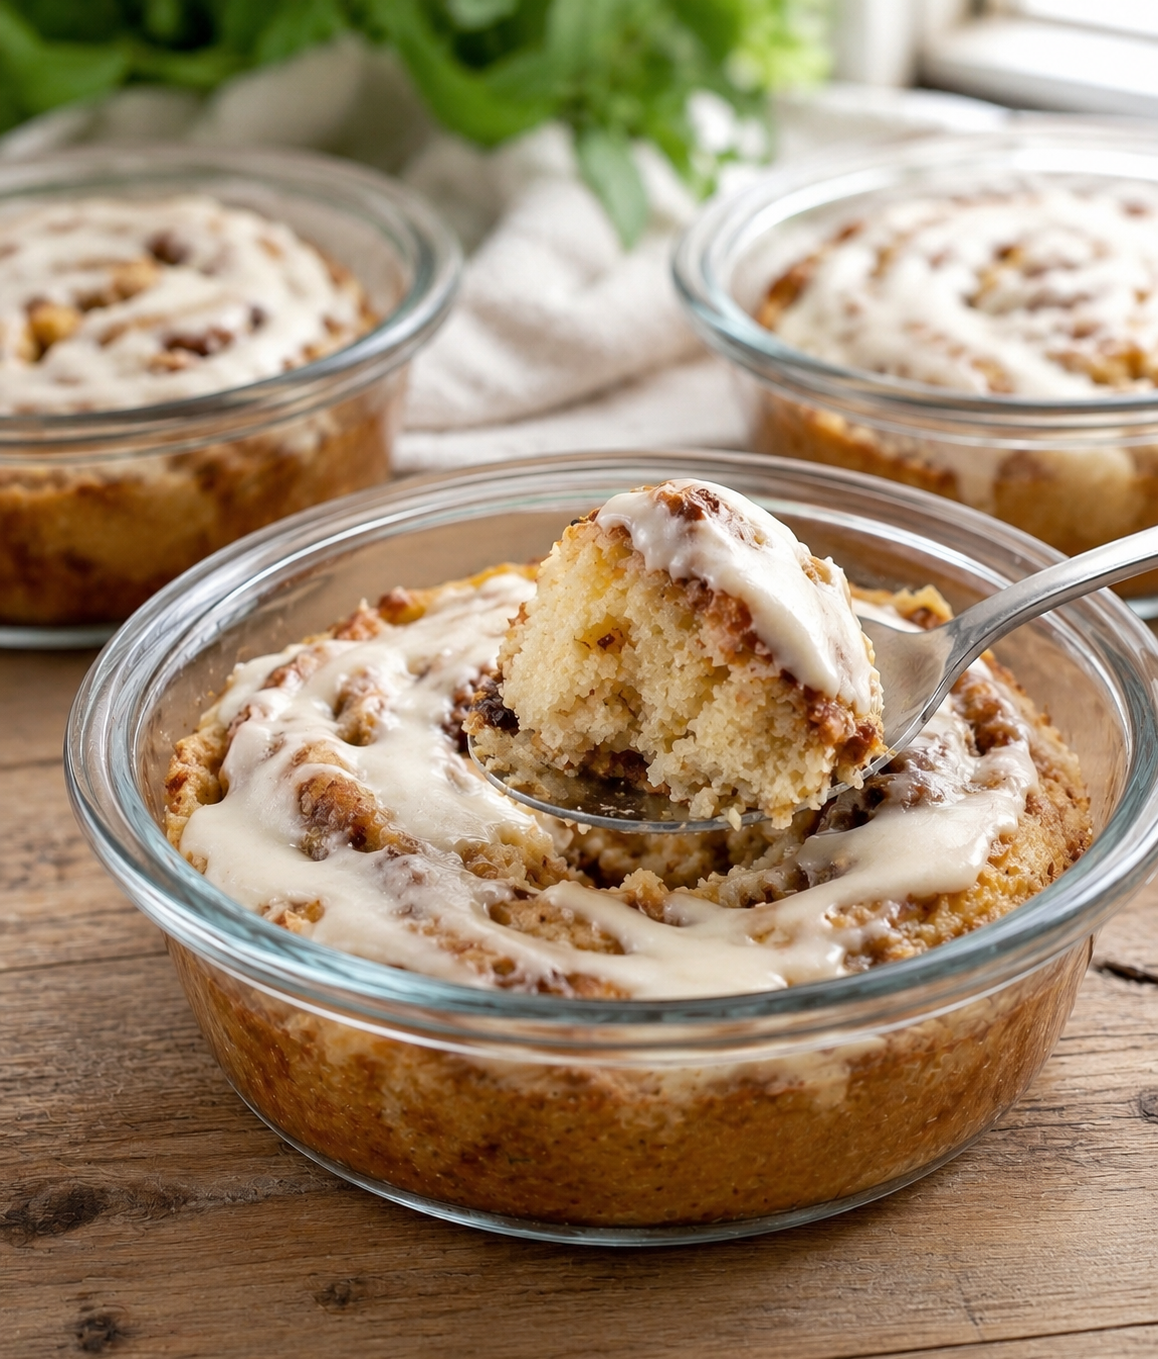
High-Protein Cinnamon Roll Pancake Bowl

High-Protein Cinnamon Roll Pancake Bowl

Ingredients 🛒

  • 1 ripe banana
  • 2 eggs
  • ½ cup vanilla protein powder
  • 1 tsp cinnamon
  • 2 tbsp Greek yogurt
  • 1 tbsp cream cheese, softened
  • 1 tsp honey or maple syrup

Detailed Steps 👩‍🍳

1️⃣ Make the Batter

  • Place the banana in a mixing bowl.
  • Mash it completely with a fork until smooth.
  • Add the eggs, protein powder, and cinnamon.
  • Mix until a thick, smooth batter forms.

2️⃣ Cook the Pancake Bowl

  • Lightly grease an oven-safe bowl or small baking dish.
  • Pour the batter into the bowl.
  • Bake at 350°F (175°C) for 20–25 minutes.
  • The center should be set and the top lightly golden.

3️⃣ Prepare the Cinnamon Swirl

  • In a small bowl, mix a pinch of cinnamon with a teaspoon of honey.
  • Once the pancake bowl is baked, drizzle the mixture over the top.

4️⃣ Make the Icing

  • Combine Greek yogurt, cream cheese, and a little honey.
  • Stir until smooth and creamy.
  • The texture should resemble classic cinnamon roll icing.

5️⃣ Add the Topping

  • Spread or drizzle the icing over the warm pancake bowl.
  • Let it melt slightly into the surface.

6️⃣ Serve

  • Enjoy warm with a spoon.
  • Perfect for breakfast, meal prep, or a high-protein dessert.

Nutrition Benefits 💪

High in Protein

  • Protein powder, eggs, and Greek yogurt provide plenty of protein to help keep you full.
  • Great for muscle recovery and sustained energy.

Gluten-Free

  • Naturally gluten-free when using a certified gluten-free protein powder.

Better Than a Traditional Cinnamon Roll

  • Delivers the flavor of a cinnamon roll with significantly more protein and less sugar.

Approximate Protein Content

  • Per Bowl: 30–40g protein

Quick Q/A ❓

Can I make it ahead of time?
➡️ Yes, store in the refrigerator for up to 3 days.

Can I use flavored protein powder?
➡️ Yes, vanilla protein powder works best.

Can I microwave it instead?
➡️ Yes, microwave for 2–3 minutes, checking until the center is set.

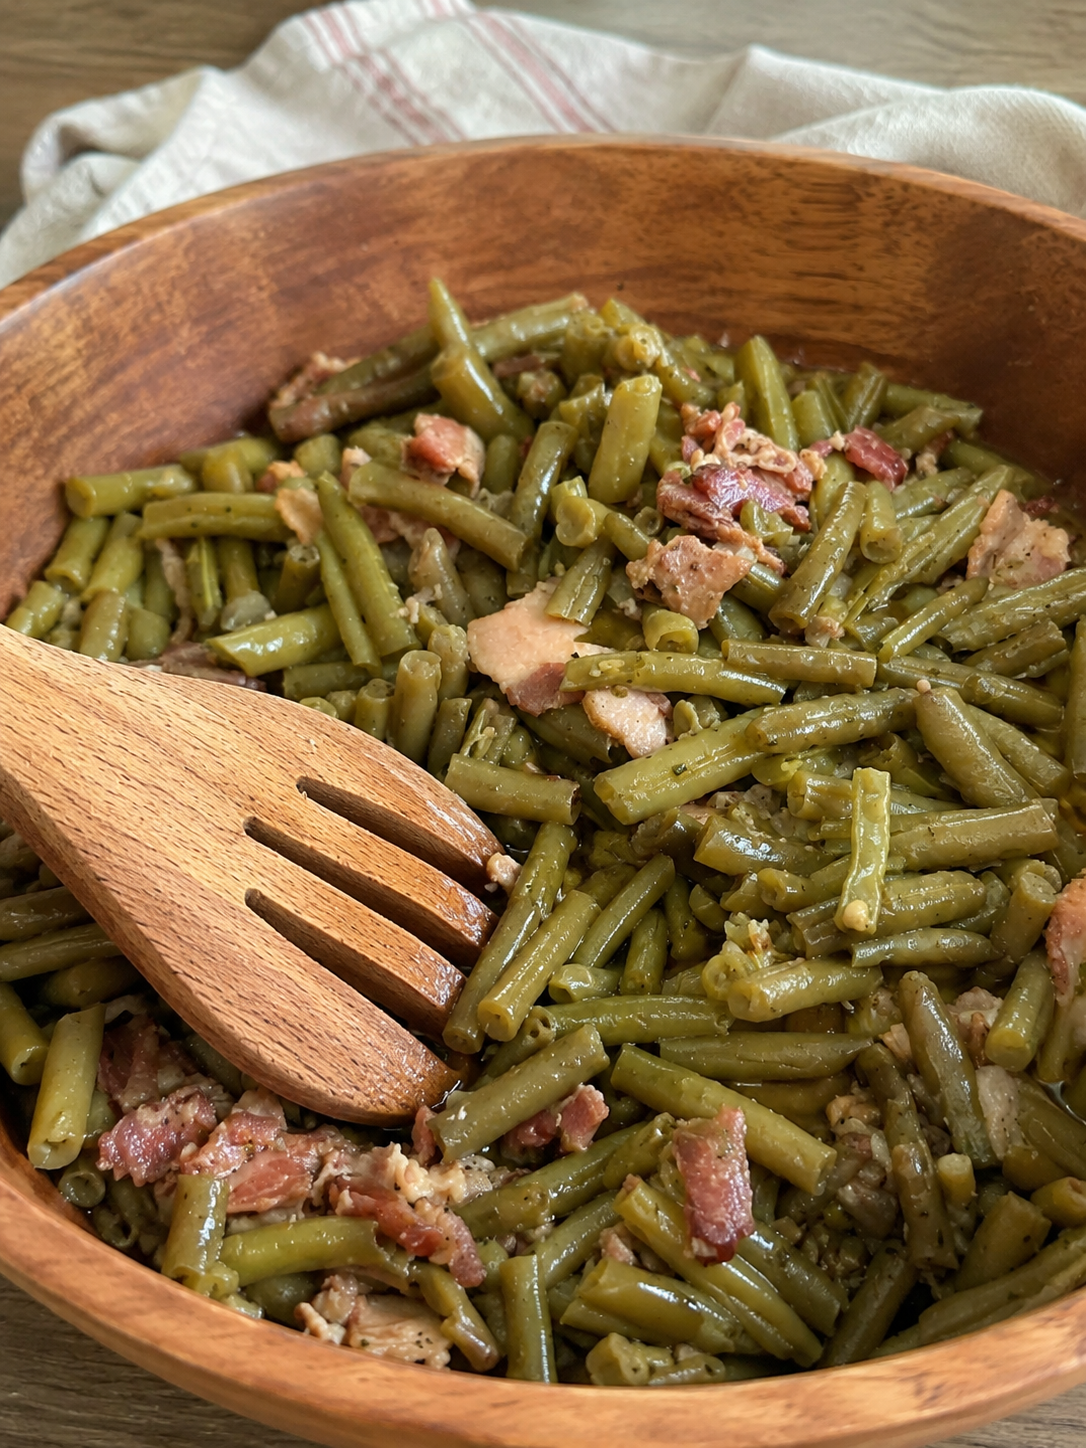
Southern Green Beans with Bacon

Southern Green Beans with Bacon

Ingredients 🛒

  • 4 cups green beans (fresh, frozen, or canned)
  • 6 slices bacon, chopped
  • 1 small onion, diced
  • 1 cup chicken broth
  • Salt and black pepper, to taste

Detailed Steps 👩‍🍳

1️⃣ Cook the Bacon

  • Place a large skillet or pot over medium heat.
  • Add the chopped bacon.
  • Cook for 6–8 minutes, stirring occasionally, until crispy.
  • Remove half of the bacon and set aside for garnish.

2️⃣ Sauté the Onion

  • Add the diced onion to the bacon drippings.
  • Cook for 3–4 minutes until soft and lightly golden.
  • Stir frequently so the onion doesn’t burn.

3️⃣ Add the Green Beans

  • Add the green beans to the pot.
  • Stir well so they are coated with the bacon and onion mixture.

4️⃣ Pour in the Broth

  • Add the chicken broth.
  • Season with a little salt and black pepper.
  • Stir everything together.

5️⃣ Simmer

  • Bring the mixture to a gentle simmer.
  • Cover with a lid and cook for 20–25 minutes.
  • Stir occasionally.
  • The beans should become tender and absorb the smoky bacon flavor.

6️⃣ Finish the Dish

  • Remove the lid.
  • Let any excess liquid reduce for 2–3 minutes if needed.
  • Stir in the reserved crispy bacon.

7️⃣ Serve

  • Transfer to a serving bowl.
  • Spoon a little of the flavorful broth over the top.
  • Serve warm as a side dish with chicken, beef, or your favorite comfort-food meal.

Nutrition Benefits 💪

Good Source of Protein

  • Bacon and green beans provide protein to help keep you satisfied.

Rich in Fiber

  • Green beans contain fiber that supports healthy digestion.

Low-Carb Side Dish

  • Naturally lower in carbohydrates than many traditional side dishes.

Approximate Protein Content

  • Per Serving: 8–10g protein
  • Whole Recipe: 30–40g protein

Quick Q/A ❓

Can I use canned green beans?
➡️ Yes, drain them well before adding.

Can I use frozen green beans?
➡️ Yes, no need to thaw first.

Can I make this ahead of time?
➡️ Yes, it tastes even better the next day after the flavors have blended.

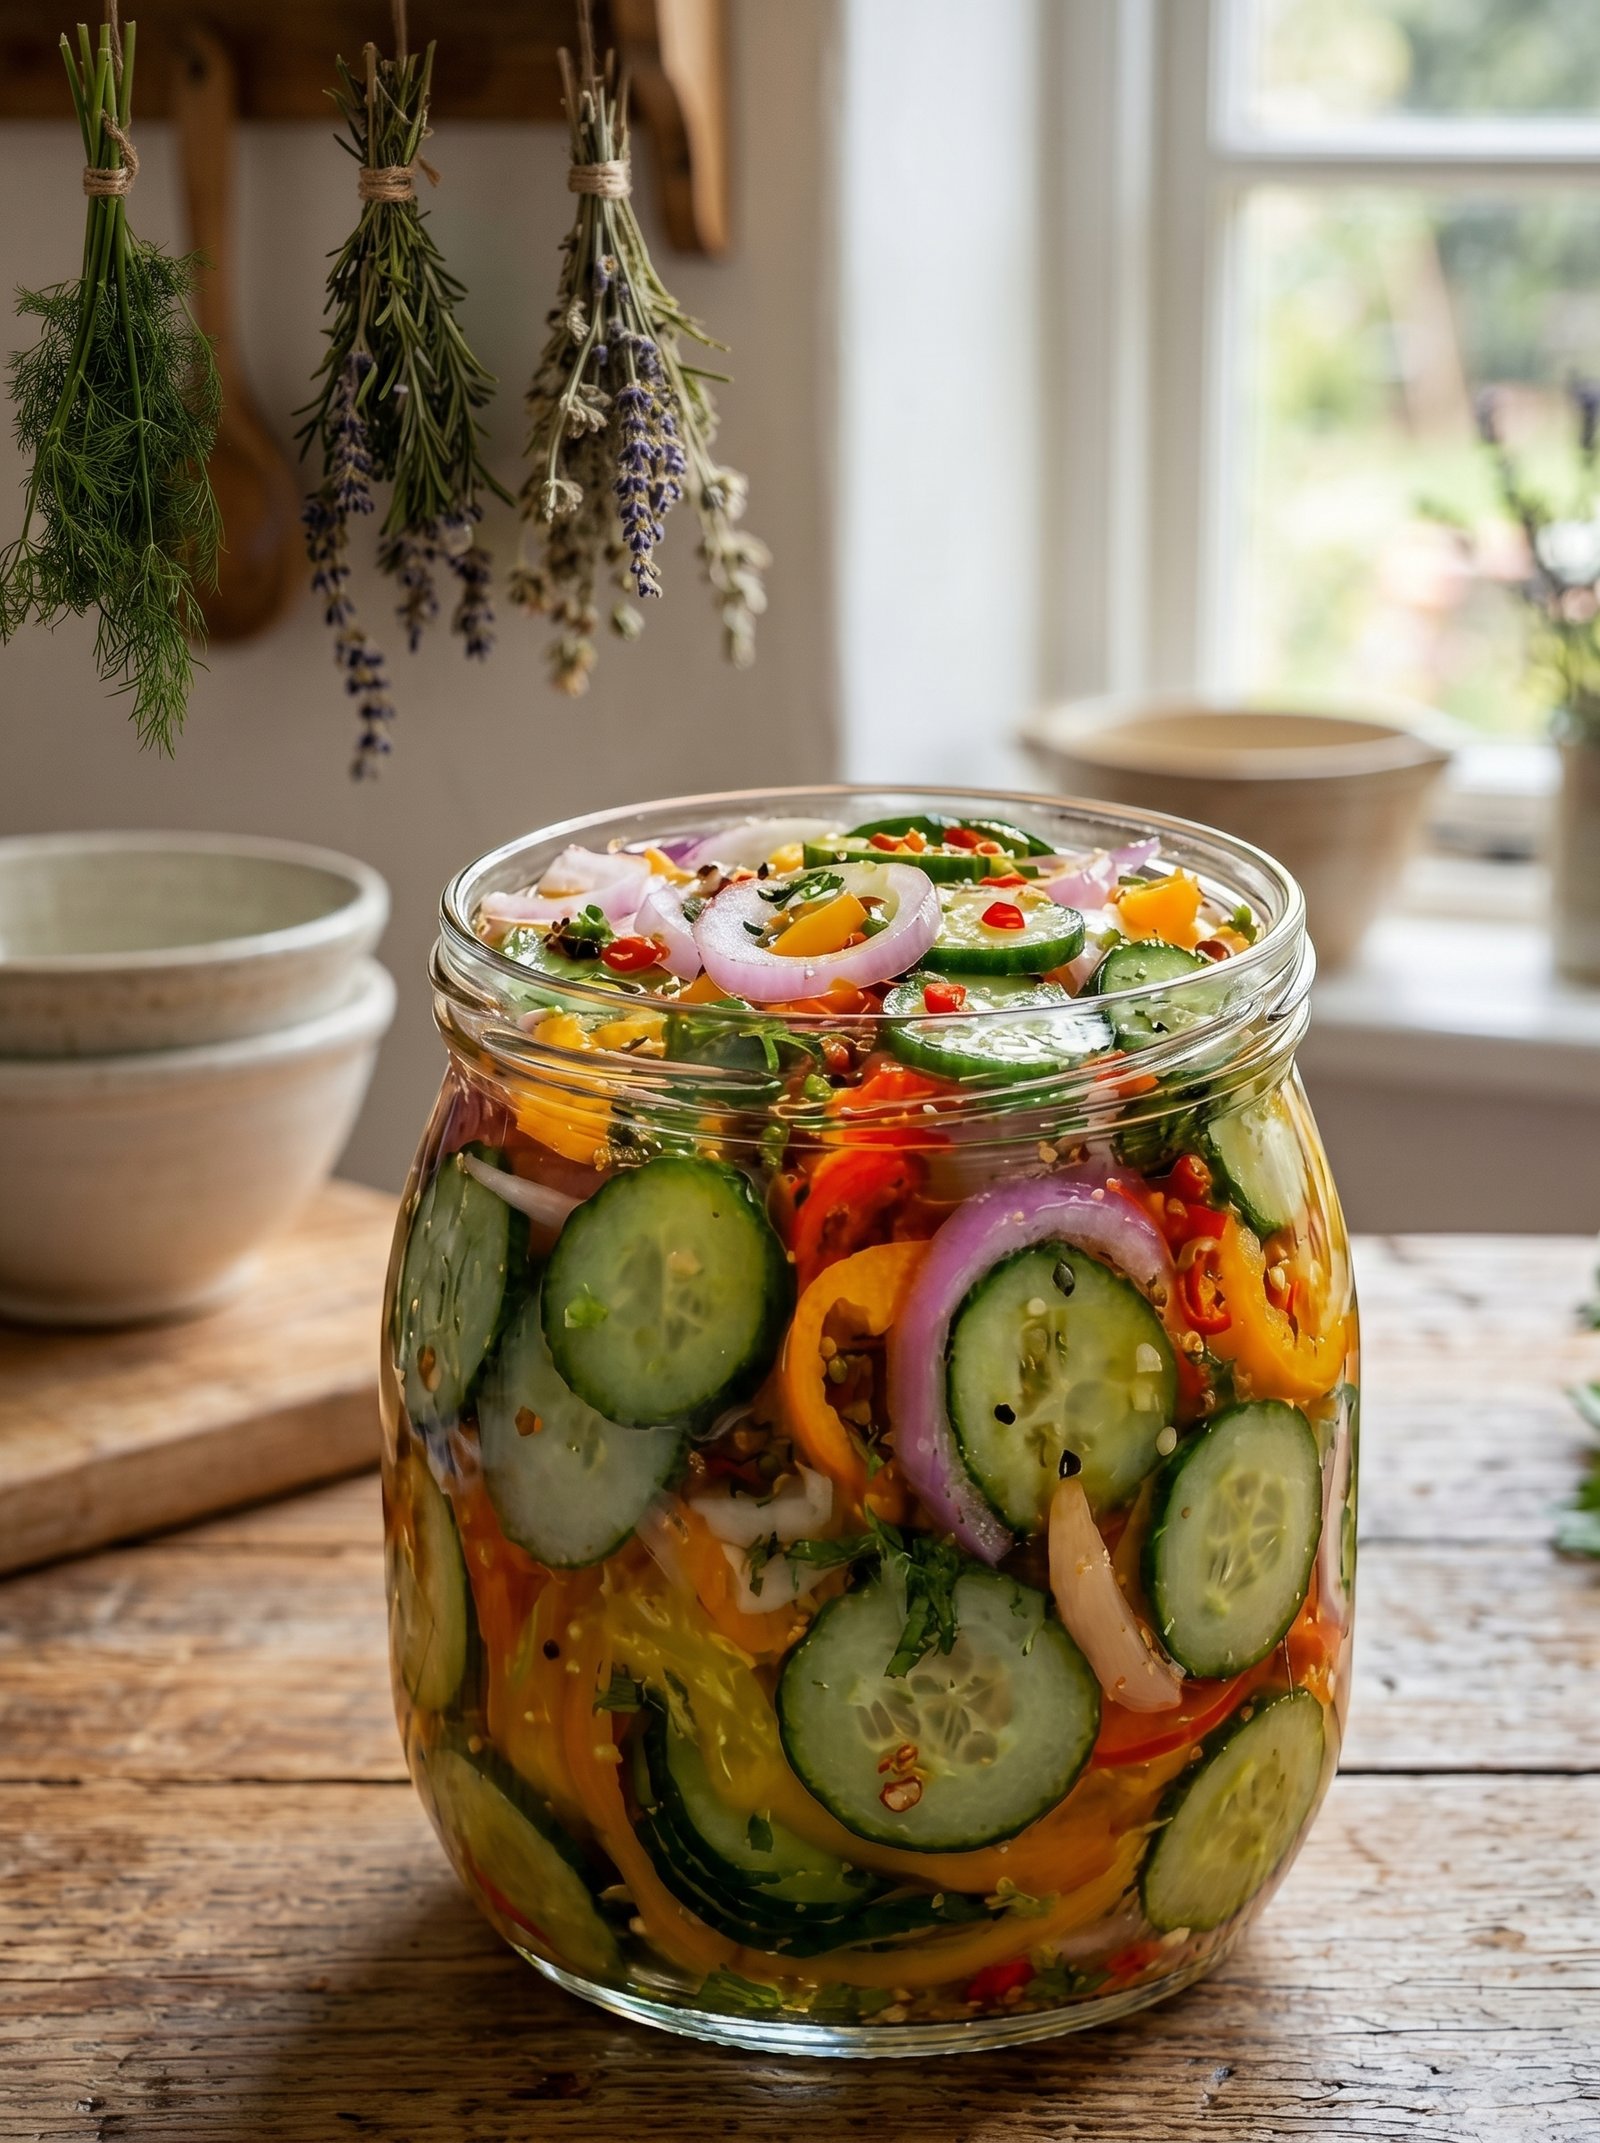
Zesty Cucumber & Pepper Garden Salad

Zesty Cucumber & Pepper Garden Salad

Ingredients 🛒

  • 2 large cucumbers, thinly sliced
  • 1 red bell pepper, thinly sliced
  • ½ red onion, thinly sliced
  • 2 tbsp olive oil
  • 1 tbsp fresh lemon juice
  • 1 tsp honey
  • ½ tsp salt
  • ¼ tsp black pepper
  • ½ tsp chili flakes (optional)
  • 1 tbsp fresh parsley, chopped

Detailed Steps 👩‍🍳

1️⃣ Prepare the Vegetables

  • Wash the cucumbers, bell pepper, and onion thoroughly.
  • Slice the cucumbers into thin rounds.
  • Cut the bell pepper into thin strips.
  • Slice the red onion into thin half-rings.
  • Chop the parsley finely.

2️⃣ Make the Dressing

  • In a small bowl, add olive oil, lemon juice, honey, salt, and black pepper.
  • Whisk well until the dressing looks smooth and fully combined.

3️⃣ Combine the Salad

  • Place the sliced cucumbers, bell pepper, and onion into a large mixing bowl.
  • Sprinkle the chopped parsley over the vegetables.
  • Pour the prepared dressing evenly over the top.

4️⃣ Toss Well

  • Using salad tongs or a large spoon, gently toss everything together.
  • Continue mixing for 1–2 minutes so every vegetable slice is coated with the dressing.

5️⃣ Chill for Better Flavor

  • Cover the bowl or transfer the salad to a glass container.
  • Refrigerate for 20–30 minutes.
  • Chilling helps the vegetables absorb the dressing and become more flavorful.

6️⃣ Serve

  • Give the salad one final toss before serving.
  • Serve cold as a refreshing side dish, light lunch, or healthy snack.

Quick Q/A ❓

Can I make it ahead of time?
➡️ Yes, it can be prepared up to 24 hours in advance.

Can I add cheese?
➡️ Yes, crumbled feta cheese pairs perfectly with this salad.

How long does it stay fresh?
➡️ Store in the refrigerator for up to 2 days.

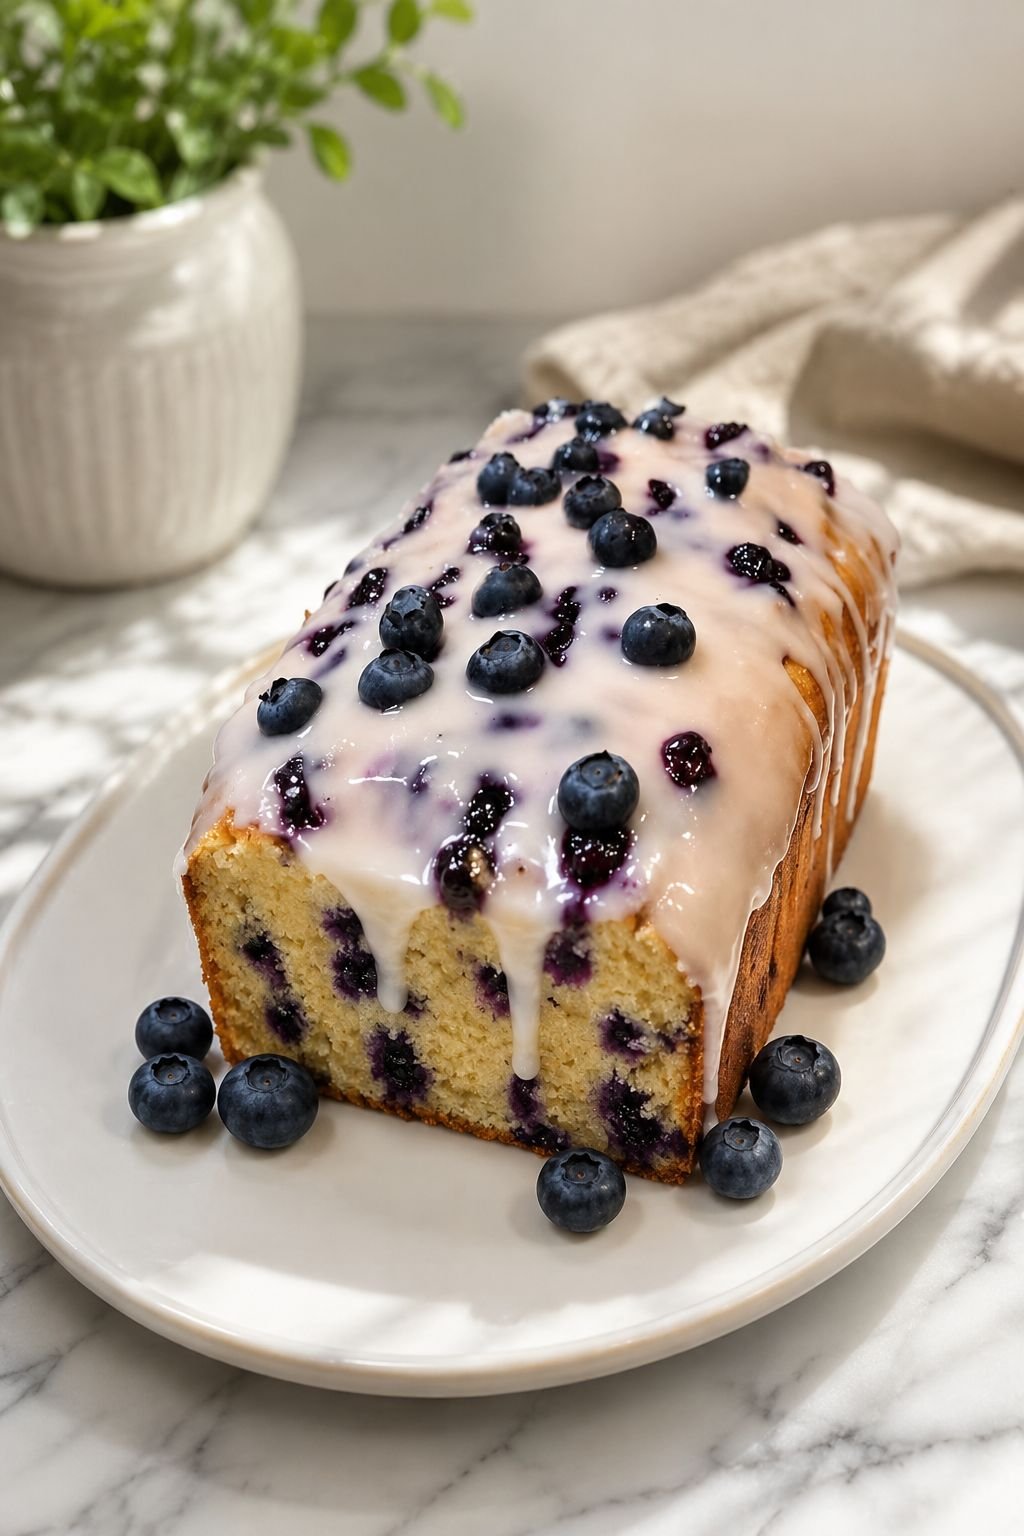
Blueberry Lemon Loaf Cake

Blueberry Lemon Loaf Cake

Ingredients

For the Cake

  • 1½ cups all-purpose flour
  • 1 tsp baking powder
  • ¼ tsp salt
  • ½ cup unsalted butter, softened
  • ¾ cup sugar
  • 2 eggs
  • ½ cup milk
  • 1 tbsp lemon zest
  • 1 tsp vanilla extract
  • 1 cup fresh blueberries

For the Lemon Glaze

  • 1 cup powdered sugar
  • 2–3 tbsp lemon juice

Instructions

➡️ Preheat oven to 350°F (175°C). Grease and line a loaf pan.

➡️ In a bowl, whisk together flour, baking powder, and salt.

➡️ In another bowl, beat butter and sugar until light and fluffy.

➡️ Add eggs one at a time, mixing well after each addition.

➡️ Mix in vanilla extract and lemon zest.

➡️ Add the dry ingredients and milk alternately, mixing until just combined.

➡️ Gently fold in the blueberries.

➡️ Pour batter into the prepared loaf pan and smooth the top.

➡️ Bake for 50–60 minutes or until a toothpick inserted in the center comes out clean.

➡️ Let the loaf cool completely.

➡️ Mix powdered sugar and lemon juice until smooth.

➡️ Drizzle the glaze over the cooled loaf and top with extra blueberries if desired.

➡️ Slice and serve.

Q & A

Q: Can I use frozen blueberries?
A: Yes, add them frozen and lightly coat them with flour before mixing into the batter.

Q: How do I store this loaf?
A: Keep it in an airtight container at room temperature for up to 3 days.

Q: Can I skip the glaze?
A: Yes, the loaf is delicious on its own, but the glaze adds extra lemon flavor and sweetness.