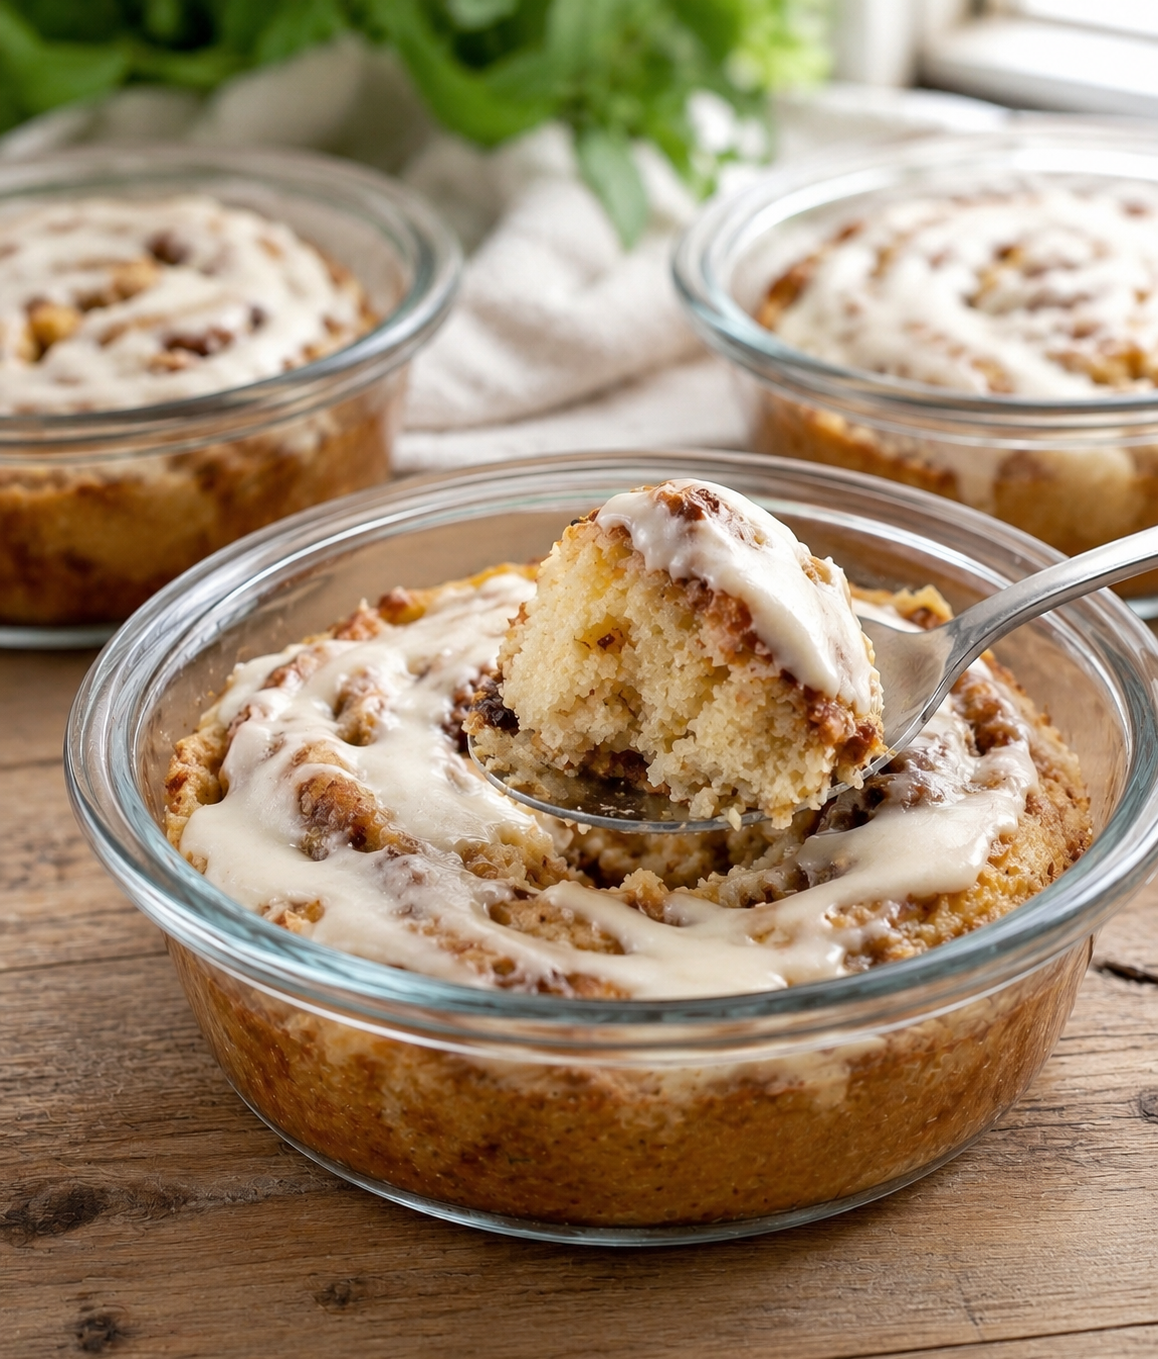
High-Protein Cinnamon Roll Pancake Bowl

High-Protein Cinnamon Roll Pancake Bowl

Ingredients 🛒

  • 1 ripe banana
  • 2 eggs
  • ½ cup vanilla protein powder
  • 1 tsp cinnamon
  • 2 tbsp Greek yogurt
  • 1 tbsp cream cheese, softened
  • 1 tsp honey or maple syrup

Detailed Steps 👩‍🍳

1️⃣ Make the Batter

  • Place the banana in a mixing bowl.
  • Mash it completely with a fork until smooth.
  • Add the eggs, protein powder, and cinnamon.
  • Mix until a thick, smooth batter forms.

2️⃣ Cook the Pancake Bowl

  • Lightly grease an oven-safe bowl or small baking dish.
  • Pour the batter into the bowl.
  • Bake at 350°F (175°C) for 20–25 minutes.
  • The center should be set and the top lightly golden.

3️⃣ Prepare the Cinnamon Swirl

  • In a small bowl, mix a pinch of cinnamon with a teaspoon of honey.
  • Once the pancake bowl is baked, drizzle the mixture over the top.

4️⃣ Make the Icing

  • Combine Greek yogurt, cream cheese, and a little honey.
  • Stir until smooth and creamy.
  • The texture should resemble classic cinnamon roll icing.

5️⃣ Add the Topping

  • Spread or drizzle the icing over the warm pancake bowl.
  • Let it melt slightly into the surface.

6️⃣ Serve

  • Enjoy warm with a spoon.
  • Perfect for breakfast, meal prep, or a high-protein dessert.

Nutrition Benefits 💪

High in Protein

  • Protein powder, eggs, and Greek yogurt provide plenty of protein to help keep you full.
  • Great for muscle recovery and sustained energy.

Gluten-Free

  • Naturally gluten-free when using a certified gluten-free protein powder.

Better Than a Traditional Cinnamon Roll

  • Delivers the flavor of a cinnamon roll with significantly more protein and less sugar.

Approximate Protein Content

  • Per Bowl: 30–40g protein

Quick Q/A ❓

Can I make it ahead of time?
➡️ Yes, store in the refrigerator for up to 3 days.

Can I use flavored protein powder?
➡️ Yes, vanilla protein powder works best.

Can I microwave it instead?
➡️ Yes, microwave for 2–3 minutes, checking until the center is set.
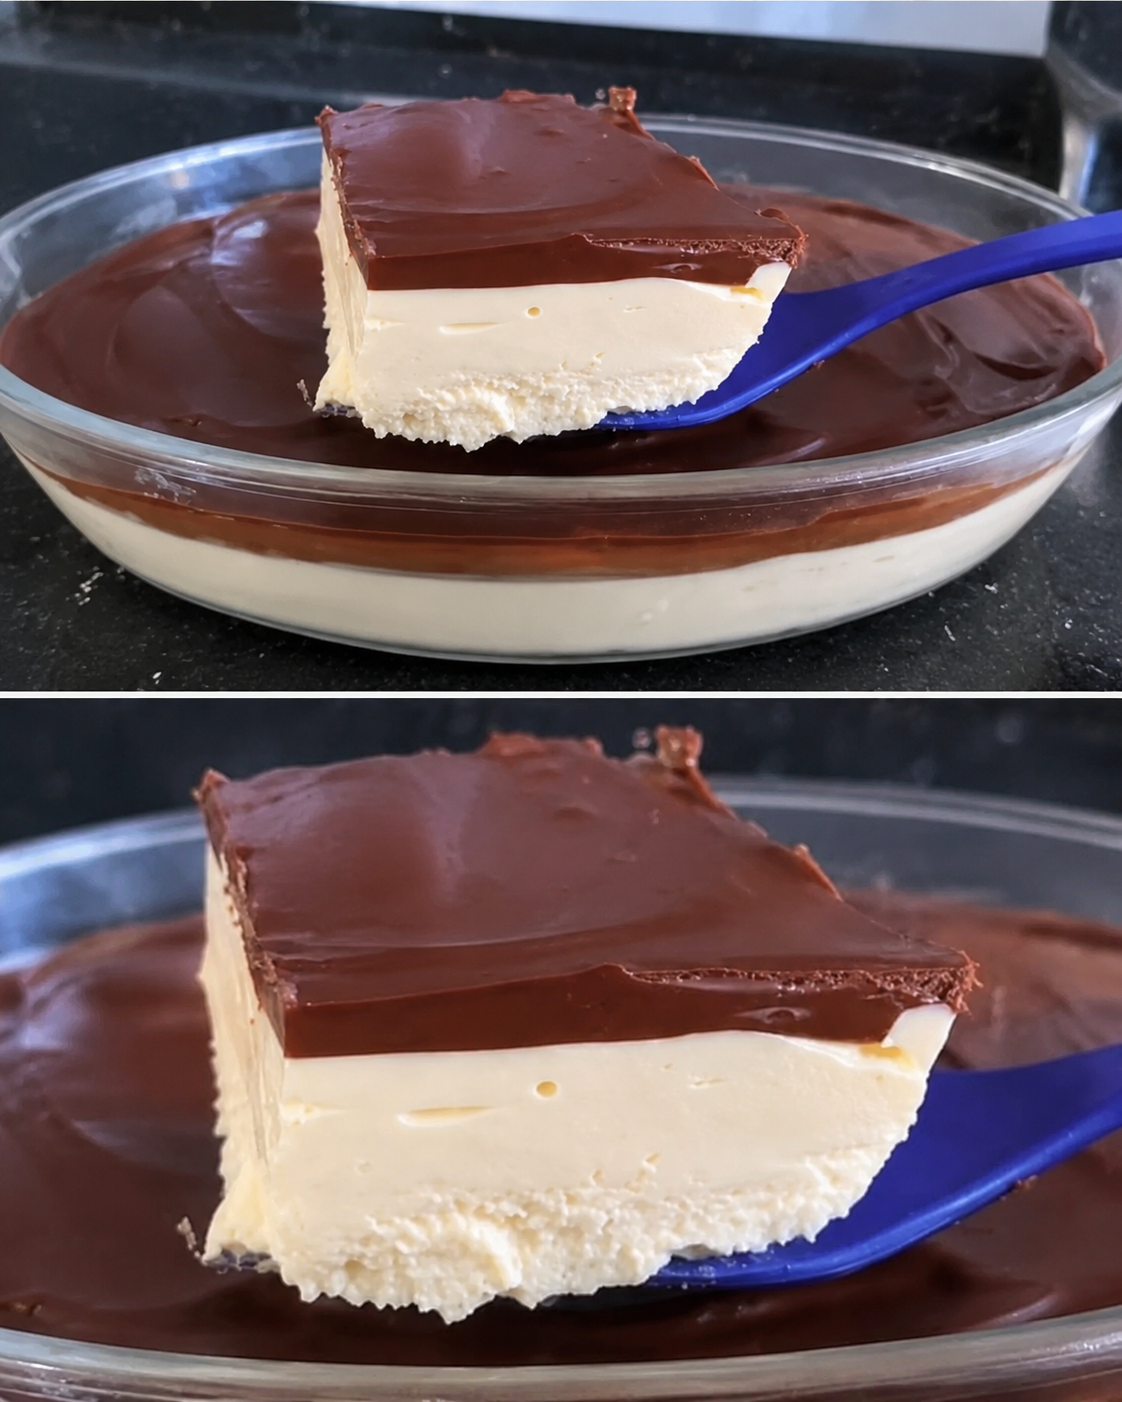
No-Bake Chocolate Cream Dessert

Ingredients

Cream Layer

  • 2 cups heavy cream
  • 1 can (14 oz) sweetened condensed milk
  • 8 oz cream cheese, softened
  • 1 tsp vanilla extract

Chocolate Layer

  • 1½ cups semi-sweet chocolate chips
  • ¾ cup heavy cream

Instructions

Step 1

  • In a large bowl, beat the cream cheese until smooth.
  • Add sweetened condensed milk and vanilla.
  • Mix until creamy.

Step 2

  • In another bowl, whip the heavy cream until soft peaks form.

Step 3

  • Gently fold the whipped cream into the cream cheese mixture.

Step 4

  • Spread the mixture evenly into a glass serving dish.
  • Refrigerate for 30 minutes.

Step 5

  • Heat ¾ cup heavy cream until hot but not boiling.
  • Pour over the chocolate chips.
  • Let sit for 2 minutes, then stir until smooth.

Step 6

  • Pour the chocolate mixture over the chilled cream layer.
  • Spread evenly.

Step 7

  • Refrigerate for at least 4 hours or until fully set.

Step 8

  • Slice into squares and serve chilled.

Q & A

Q: Can I make it ahead of time?
A: Yes, it can be prepared a day in advance.

Q: How long does it last?
A: Store covered in the refrigerator for up to 4 days.

Q: Can I add a cookie crust?
A: Yes, a crushed biscuit or graham cracker crust works perfectly.

Creamy Cheeseburger Soup

Creamy Cheeseburger Soup

Ingredients

  • 1 lb ground beef
  • 4 tbsp butter, divided
  • 1 cup onion, diced
  • 1 cup carrots, shredded
  • 1 cup celery, diced
  • 3 cups potatoes, peeled and diced
  • 3 cups chicken broth
  • ¼ cup all-purpose flour
  • 2 cups whole milk
  • 2 cups cheddar cheese, shredded
  • ½ tsp garlic powder
  • 1 tsp salt
  • ½ tsp black pepper
  • ¼ cup sour cream

Instructions

Step 1

  • Cook the ground beef in a large pot until fully cooked.
  • Remove excess liquid if needed and set aside.

Step 2

  • Melt 2 tablespoons butter in the same pot.
  • Add onion, carrots, and celery.
  • Cook for 5 minutes until softened.

Step 3

  • Add potatoes and chicken broth.
  • Bring to a gentle boil.
  • Reduce heat and simmer for 12–15 minutes until potatoes are tender.

Step 4

  • In a separate saucepan, melt the remaining butter.
  • Whisk in flour and cook for 1 minute.
  • Slowly add milk while whisking until smooth.

Step 5

  • Pour the milk mixture into the soup pot.
  • Add cooked beef, garlic powder, salt, and pepper.
  • Stir well.

Step 6

  • Lower the heat.
  • Gradually add shredded cheese and stir until melted.

Step 7

  • Remove from heat.
  • Stir in sour cream.

Step 8

  • Serve warm with extra cheese, green onions, or croutons if desired.

Q & A

Q: Can I make this soup ahead of time?
A: Yes, it can be stored in the refrigerator for up to 4 days.

Q: Can I use ground turkey instead of beef?
A: Yes, ground turkey works well as an alternative.

Q: How can I make the soup thicker?
A: Mash some of the cooked potatoes before serving.

Easy & Healthy Blueberry Lemon Pancakes

Easy & Healthy Blueberry Lemon Pancakes

These blueberry lemon pancakes are light, fluffy, and bursting with fresh flavor. Sweet blueberries and bright lemon zest make every bite taste fresh and sunny, while simple wholesome ingredients keep them healthier than traditional pancakes.

They’re perfect for a weekend breakfast, brunch, or even meal prep for the week.

Prep Time & Servings

Prep Time: 10 minutes

Cook Time: 10 minutes

Total Time: 20 minutes

Servings: 4 (about 8 pancakes)

Ingredients

1 cup whole wheat flour or oat flour

1 teaspoon baking powder

1 tablespoon honey or maple syrup

1 large egg

¾ cup milk of choice

1 teaspoon vanilla extract

Zest of 1 lemon

1 cup fresh or frozen blueberries

Optional Toppings

Greek yogurt

Fresh blueberries

Lemon zest

Maple syrup

Chopped almonds

Chia seeds

Instructions

1. Make the Batter

In a large bowl, whisk together:

flour

baking powder

In a separate bowl, whisk:

egg

milk

honey

vanilla

lemon zest

Pour the wet ingredients into the dry ingredients and stir until just combined.

Gently fold in the blueberries.

2. Cook the Pancakes

Heat a non-stick skillet or griddle over medium heat.

Lightly grease if needed.

Pour about ¼ cup of batter for each pancake.

Cook for 2–3 minutes until bubbles form on the surface.

Flip and cook for another 1–2 minutes until golden.

3. Serve

Stack the pancakes and top with:

extra blueberries

Greek yogurt

a drizzle of maple syrup

extra lemon zest

Helpful Tips

Don’t overmix the batter or the pancakes may become dense.

If using frozen blueberries, add them straight from the freezer.

Let the batter rest for 5 minutes for fluffier pancakes.

Add chia seeds for extra fiber and nutrition.

Nutritional Information

Calories: 240

Protein: 9g

Carbohydrates: 36g

Fiber: 5g

Fat: 7g

Sugar: 9g

Sodium: 180mg

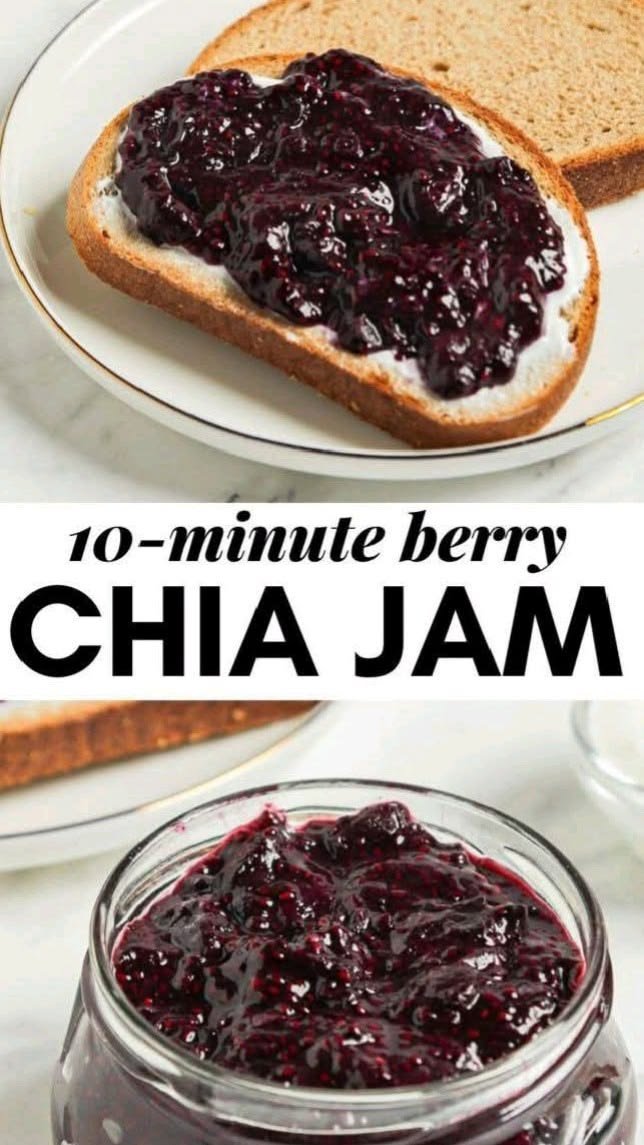
Easy 10 min berries and chia seed jam

Easy 10-Minute Berry Chia Seed Jam

This homemade berry chia jam is fresh, fruity, and incredibly easy to make. It has all the flavor of classic jam but without tons of sugar or complicated canning. The chia seeds naturally thicken the berries into a soft spreadable jam in just minutes.

Perfect for toast, yogurt bowls, oatmeal, pancakes, or healthy desserts.

Prep Time & Servings

Prep Time: 5 minutes

Cook Time: 5 minutes

Total Time: 10 minutes

Servings: About 1 jar

Ingredients

2 cups mixed berries (fresh or frozen)

2 tablespoons chia seeds

1–2 tablespoons honey or maple syrup

1 tablespoon lemon juice

1 teaspoon vanilla extract (optional)

Instructions

1. Cook the Berries

Add the berries to a small saucepan over medium heat.

Cook for about 5 minutes, stirring occasionally, until the berries soften and release their juices.

Use a spoon or fork to mash them slightly.

2. Add the Chia Seeds

Stir in:

chia seeds

honey or maple syrup

lemon juice

vanilla if using

Mix well.

3. Let It Thicken

Remove from heat and let the jam sit for about 5–10 minutes.

The chia seeds will absorb the liquid and naturally thicken the jam.

4. Serve or Store

Serve warm or chilled.

Store in a sealed jar in the refrigerator for up to 1 week.

Helpful Tips

Frozen berries work just as well as fresh

Add more sweetener if your berries are tart

The jam thickens more as it cools

Blend it if you want a smoother texture

Ways to Use It

This jam tastes amazing on:

toast

oatmeal

yogurt bowls

pancakes

waffles

chia pudding

ice cream

Nutritional Information

Calories: 45

Protein: 1g

Carbohydrates: 8g

Fiber: 3g

Fat: 1g

Sugar: 5g

Sodium: 2mg

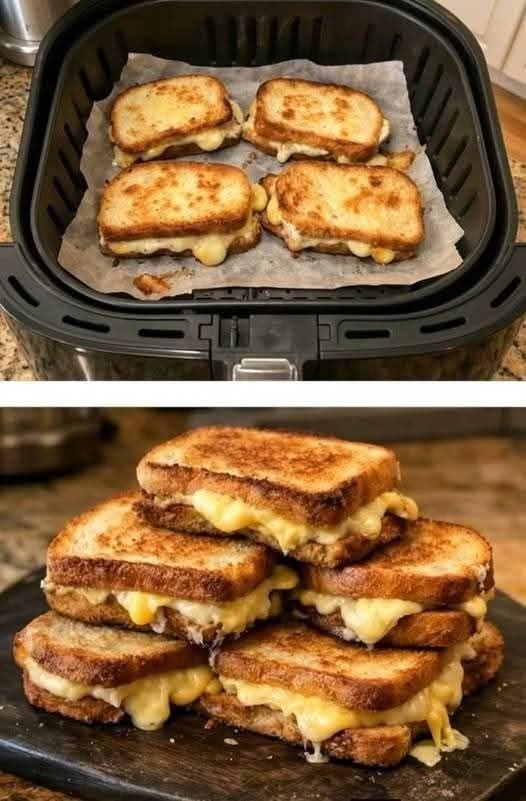
Air Fryer Grilled Cheese Sandwiches

Air Fryer Grilled Cheese Sandwiches

🛒 Ingredients

  • 8 slices bread 🍞
  • 4 slices cheddar or mozzarella cheese 🧀
  • 2 tbsp butter

👩‍🍳 Step-by-Step Recipe

🧈 Step 1: Butter the Bread

➡️ Spread butter on one side of each bread slice.
➡️ This helps make the sandwiches crispy and golden ✨


🧀 Step 2: Add Cheese

➡️ Place cheese slices between two pieces of bread.
➡️ Keep buttered sides facing outward.


🔥 Step 3: Prepare Air Fryer

➡️ Line air fryer basket with parchment paper.
➡️ Place sandwiches in a single layer.


🍞 Step 4: Air Fry

➡️ Cook at 370°F (188°C) for 4–5 minutes.
➡️ Flip sandwiches carefully.
➡️ Cook another 3–4 minutes until golden brown and melty 🤤


🌟 Serving Tips

✅ Serve hot with tomato soup 🍅
✅ Add ham or cooked chicken for extra flavor
✅ Use thick bread for extra crunch


❓Q/A

❓Can I use different cheese?

✅ Yes! Cheddar, mozzarella, provolone, or Swiss work great.

❓Why use parchment paper?

✅ It helps prevent cheese from sticking and makes cleanup easier.