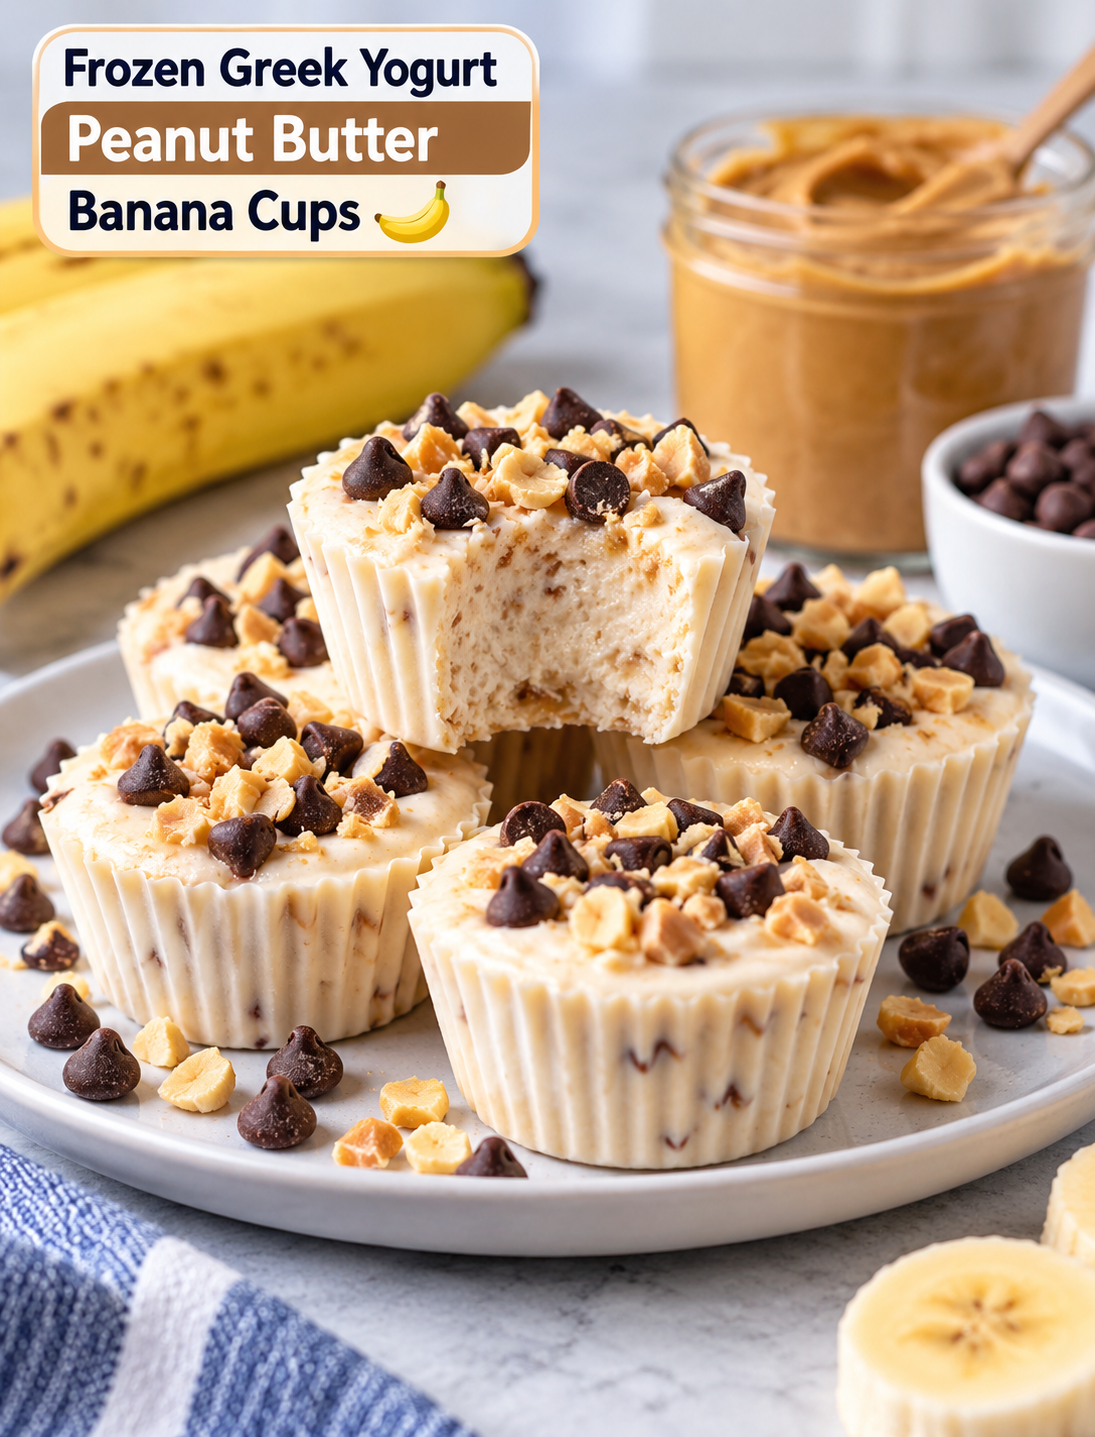
Frozen Greek Yogurt Peanut Butter Banana Cups
Introduction
These Frozen Greek Yogurt Peanut Butter Banana Cups are an easy frozen snack made with creamy Greek yogurt, ripe banana, and peanut butter. The combination gives you a soft, creamy center with a naturally sweet peanut butter and banana flavor.
They are a simple choice when you want something cold and satisfying without making a complicated dessert. Each bite combines protein-rich Greek yogurt, healthy fats from peanut butter, and the natural sweetness of banana.
You only need a few basic ingredients and about 10 minutes of prep time. After that, the freezer does the rest of the work. These frozen yogurt cups are also easy to portion, making them useful for an afternoon snack, quick breakfast bite, or simple after-dinner treat.
For busy families, they are especially convenient because you can prepare a batch ahead of time and keep the cups frozen for up to one month.
Prep & Freeze Time
- Prep Time: 10 minutes
- Freeze Time: 2 hours
- Total Time: 2 hours 10 minutes
- Servings: 12 mini cups or 6 standard muffin cups
Ingredients
- 1 ripe banana: Use a ripe banana with plenty of natural sweetness for the best flavor.
- ¾ cup plain or vanilla Greek yogurt: Greek yogurt creates a thick, creamy texture and adds protein.
- ¼ cup natural peanut butter: Choose creamy or crunchy peanut butter based on your preferred texture.
- 1–2 teaspoons honey or maple syrup: Add this only if you want extra sweetness.
- ½ teaspoon vanilla extract: Vanilla adds a smooth dessert-like flavor.
- Pinch of salt: A small amount balances the sweetness and brings out the peanut butter flavor.
- ¼ cup mini chocolate chips or chopped dark chocolate: Use as an optional topping for a richer finish.
- Crushed peanuts or granola: Add these optional toppings for extra crunch.
For the creamiest result, use thick Greek yogurt rather than a thin yogurt variety. If your peanut butter is very thick, stir it well before adding it to the mixture.
Instructions
1. Prepare the filling
Start by peeling the ripe banana and mashing it in a medium mixing bowl until mostly smooth. Small pieces of banana are fine and can add extra texture.
Add the Greek yogurt, peanut butter, vanilla extract, and a pinch of salt. Stir the ingredients together until the mixture looks creamy and evenly combined.
Taste the mixture before adding sweetener. A very ripe banana may provide enough sweetness on its own. If you want a sweeter snack, mix in 1–2 teaspoons of honey or maple syrup.
Helpful point: Do not overmix the ingredients for too long. Stir just until everything is evenly blended.
2. Line your tray
Place silicone or paper liners into a muffin tin. Use a mini muffin tin for small bite-size cups or a standard muffin tin for larger portions.
Silicone liners make the frozen cups easier to remove, while paper liners are convenient and easy to use.
Make sure the tray sits on a flat surface before filling it. A level tray helps the mixture freeze evenly.
3. Fill the cups
Spoon the yogurt mixture into each prepared liner.
For mini cups, use about 1–2 tablespoons of filling per liner. For standard muffin cups, use about 3–4 tablespoons.
Leave a little room at the top if you plan to add several toppings. Gently tap the muffin tray against the counter to help the mixture settle and level.
Helpful point: Keep the portions similar in size so all of the cups freeze at about the same rate.
4. Add toppings
Sprinkle the cups with mini chocolate chips, chopped dark chocolate, crushed peanuts, or granola.
For a chocolate-peanut butter flavor, drizzle a small amount of melted dark chocolate over the tops before freezing.
You can also leave some cups plain if you want different flavors in the same batch.
Helpful point: Add crunchy toppings before freezing so they stick to the creamy mixture.
5. Freeze
Place the muffin tray in the freezer and freeze the cups for at least 2 hours, or until they are firm and completely set.
Keep the tray level while the cups freeze. Avoid opening the freezer repeatedly during the first hour because temperature changes can slow the freezing process.
Once frozen, transfer the cups to an airtight container or freezer-safe bag if you want to save freezer space.
6. Serve
Remove the frozen cups from the freezer about 2–3 minutes before eating. This short resting time allows the center to soften slightly while keeping the snack cold and firm.
Enjoy them straight from the freezer as a quick snack or sweet treat.
For easy portion control, take out only the number of cups you plan to eat and return the rest to the freezer immediately.
Tips
Use a ripe banana: A ripe banana gives the cups more natural sweetness and a stronger banana flavor.
Try frozen banana: Using frozen banana can create a thicker and creamier mixture, although the banana should be thawed enough to mash and blend smoothly.
Choose thick Greek yogurt: A thick yogurt helps the frozen cups hold their shape and gives them a richer texture.
Adjust the sweetness: Start without honey or maple syrup, taste the mixture, and add a small amount only if needed.
Make a chocolate version: Add a little unsweetened cocoa powder to the mixture for a chocolate peanut butter flavor.
Try different nut butters: Almond butter, cashew butter, or sunflower seed butter can replace peanut butter.
Add cinnamon: A small pinch of cinnamon works well with the banana and peanut butter combination.
Create a layered treat: Add a thin layer of melted dark chocolate to the bottom of each liner, let it firm up, then add the yogurt mixture for a peanut butter cup-inspired dessert.
Make them kid-friendly: Let children choose their own toppings, such as mini chocolate chips, granola, or crushed peanuts.
Store properly: Keep the frozen cups in a sealed freezer-safe container or bag for up to 1 month for the best texture and flavor.
Nutrition
The approximate nutrition for one mini cup is:
- Calories: 80
- Protein: 4g
- Fat: 4.5g
- Carbohydrates: 6g
- Sugar: 4g
- Fiber: 1g
Nutrition values can vary depending on the Greek yogurt, peanut butter, sweetener, chocolate, and toppings you use.
Q&A
Q: Can I make these frozen yogurt cups dairy-free?
Yes. Use a thick dairy-free Greek-style yogurt made from coconut, almond, or another suitable plant-based option.
Q: Can I add protein powder?
Yes. Add 1–2 tablespoons of vanilla or unflavored protein powder and mix until smooth.
Q: Can I use regular yogurt instead of Greek yogurt?
Yes, but Greek yogurt provides a thicker texture, so regular yogurt may produce softer frozen cups.
Q: How long can I keep them in the freezer?
Store them in an airtight freezer-safe container for up to 1 month for the best quality.
Q: Can I make these without honey or maple syrup?
Yes. A ripe banana can provide enough natural sweetness, so extra sweetener is optional.
Q: Can I use almond butter instead of peanut butter?
Yes. Almond butter works well and gives the cups a slightly different nutty flavor.
Q: How do I make them taste more like Reese’s cups?
Add a thin dark chocolate layer and peanut butter topping for a chocolate-peanut butter cup-style flavor.
Q: Are these suitable for kids?
Yes. They are easy to portion and can be made with simple toppings that kids enjoy.