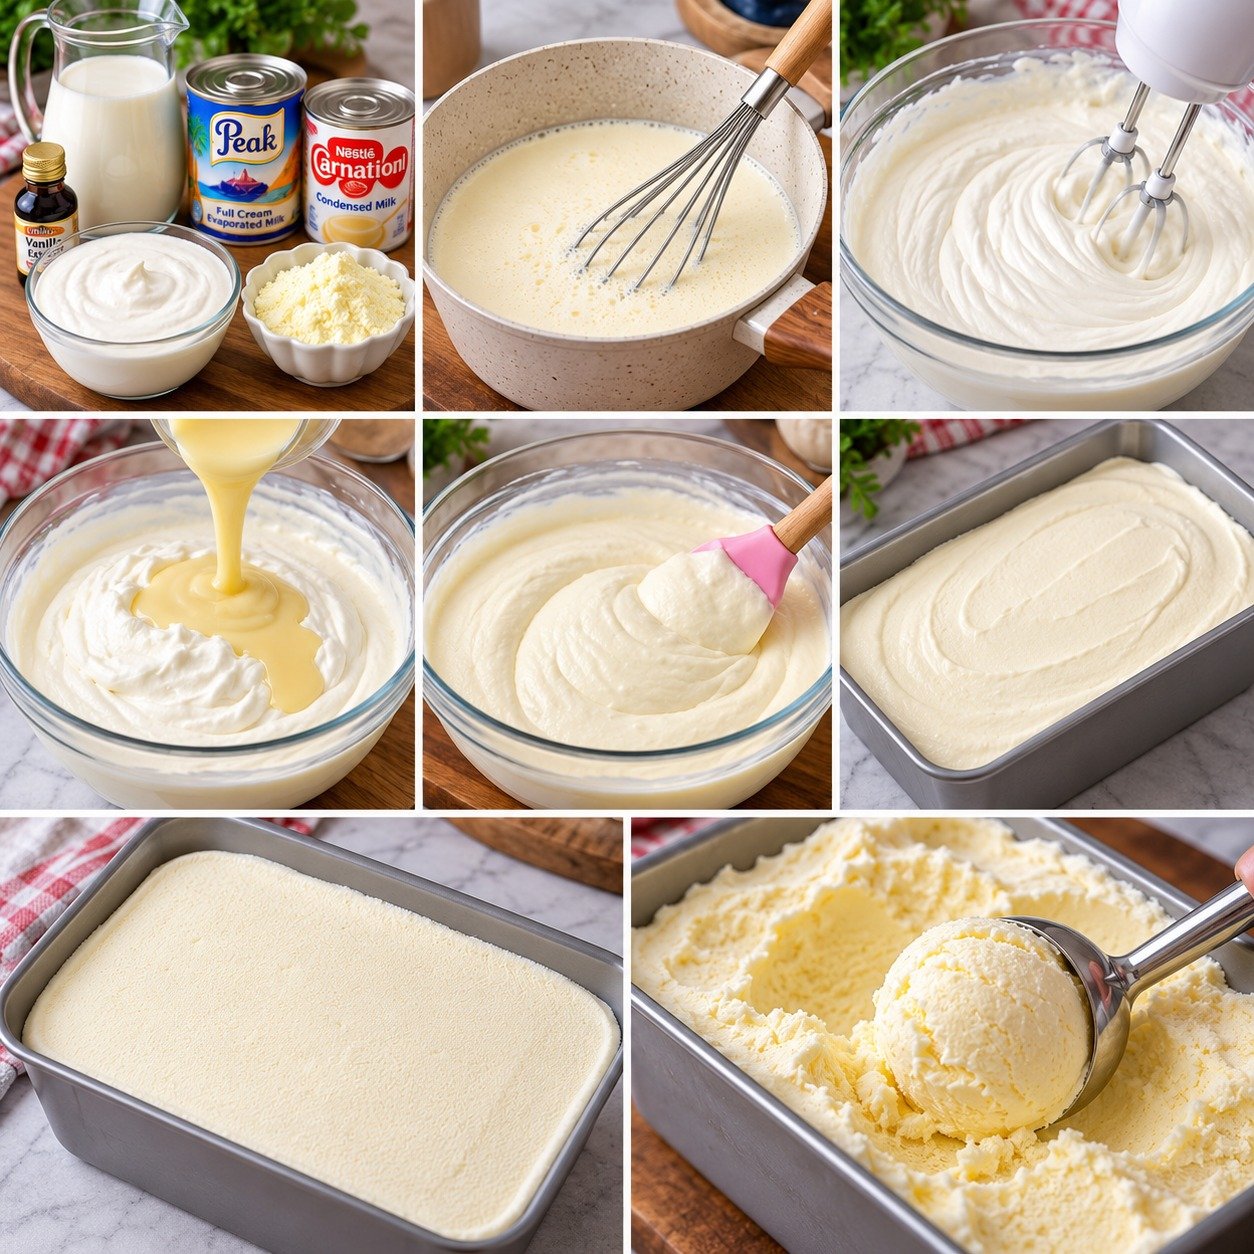
Homemade Creamy Vanilla Ice Cream
Vanilla Ice Cream is a classic frozen dessert with a smooth, creamy texture and rich vanilla flavor. This homemade version uses heavy cream, whole milk, sugar, egg yolks, and real vanilla to create a scoopable dessert that tastes fresh, simple, and luxurious.
This Vanilla Ice Cream recipe is perfect for summer, birthdays, family dinners, or anytime you want a dependable homemade dessert. The custard base gives it a rich texture, while chilling and churning help create a smooth finish without icy crystals.
Prep Time: 20 minutes
Cook Time: 10 minutes
Chill Time: 4 hours
Churn Time: 20–25 minutes
Freeze Time: 3–4 hours
Total Time: About 8 hours
Servings: 8
Ingredients
For the Ice Cream Base
- 2 cups heavy cream
- 1 cup whole milk
- 3/4 cup granulated sugar
- 5 large egg yolks
- 1 tablespoon pure vanilla extract
- 1 vanilla bean, optional
- 1/4 teaspoon salt
Optional Toppings
- Fresh berries
- Chocolate sauce
- Caramel sauce
- Chopped nuts
- Crushed cookies
- Sprinkles
Why You’ll Love This Recipe
Vanilla Ice Cream is one of the most versatile desserts you can make at home. It tastes wonderful on its own, but it also pairs beautifully with pies, brownies, cakes, cobblers, cookies, and fruit desserts.
Another reason to love Vanilla Ice Cream is the texture. A cooked custard base made with egg yolks gives the finished ice cream a rich, creamy body that stays smooth after freezing.
The recipe is also easy to customize. Once you master the vanilla base, you can add chocolate chips, cookie pieces, caramel, fruit swirls, toasted nuts, or other favorite mix-ins.
How to Make Vanilla Ice Cream
Step 1: Warm the Cream and Milk
Pour the heavy cream and whole milk into a medium saucepan.
Add half of the sugar and the salt.
If using a vanilla bean, split it lengthwise and scrape the seeds into the saucepan. Add the empty pod as well.
Warm the mixture over medium-low heat until it is steaming but not boiling. Stir occasionally so the sugar begins to dissolve and the milk does not scorch on the bottom.
Step 2: Whisk the Egg Yolks
While the dairy mixture heats, place the egg yolks and remaining sugar in a medium bowl.
Whisk for 1 to 2 minutes until the mixture becomes slightly lighter and smoother.
This step helps the sugar begin dissolving and prepares the yolks for tempering.
Step 3: Temper the Eggs
Slowly pour about 1/2 cup of the hot cream mixture into the egg yolks while whisking constantly.
Add another small amount and continue whisking.
Tempering raises the temperature of the yolks gradually so they do not scramble when added to the hot dairy mixture.
Step 4: Cook the Custard
Pour the warmed egg mixture back into the saucepan.
Cook over low to medium-low heat, stirring constantly with a wooden spoon or silicone spatula.
The custard for Vanilla Ice Cream should gradually thicken enough to coat the back of a spoon.
Do not let the mixture boil.
If you have an instant-read thermometer, aim for approximately 170°F to 175°F, or 77°C to 79°C.
Step 5: Strain the Mixture
Remove the saucepan from the heat.
Pour the custard through a fine-mesh strainer into a clean bowl.
Straining removes any tiny cooked egg pieces and helps the final texture stay silky and smooth.
Discard the vanilla bean pod if you used one.
Step 6: Add the Vanilla
Stir in the vanilla extract.
Taste the base once it has cooled slightly. The vanilla flavor should be noticeable because freezing can slightly dull sweetness and aroma.
Step 7: Cool the Custard
Let the custard stand at room temperature for about 15 minutes.
Cover the surface or transfer the mixture to an airtight container.
Refrigerate the Vanilla Ice Cream base for at least 4 hours, preferably overnight.
A thoroughly chilled base churns more efficiently and usually produces a smoother, creamier finished dessert.
Step 8: Churn the Ice Cream
Pour the cold custard into your ice cream maker.
Churn according to the manufacturer’s instructions, usually for about 20 to 25 minutes.
The mixture should become thick and resemble soft-serve ice cream.
Avoid over-churning once the mixture has become thick because excessive churning can affect the smooth texture.
Step 9: Transfer to a Freezer Container
Spoon the churned ice cream into a shallow freezer-safe container.
Smooth the top with a spatula.
Press a piece of parchment paper or plastic wrap directly against the surface before sealing the container. This helps reduce the formation of unwanted ice crystals.
Step 10: Freeze Until Firm
Freeze Vanilla Ice Cream for 3 to 4 hours, or until it becomes firm enough to scoop.
For the creamiest texture, avoid repeatedly thawing and refreezing the container.
Step 11: Soften Before Serving
Homemade ice cream usually freezes harder than many commercial varieties because it contains fewer stabilizers.
Let the container sit at room temperature for about 5 to 10 minutes before scooping.
This short rest makes the texture creamier and much easier to serve.
Serving Suggestions
Vanilla Ice Cream is delicious in a simple bowl or cone, but it is also one of the best desserts for pairing with baked treats.
Serve Vanilla Ice Cream with warm apple pie, brownies, peach cobbler, bread pudding, waffles, pancakes, or chocolate cake.
For a fruit-based dessert, add strawberries, blueberries, peaches, cherries, raspberries, or sliced bananas.
You can also create classic ice cream sundaes with chocolate sauce, caramel sauce, whipped cream, chopped nuts, sprinkles, and cherries.
For a simple summer dessert, add a scoop over grilled peaches or warm berry compote.
For another rich and easy dessert, try our No Bake Twix Bars with a buttery biscuit base, gooey caramel, and smooth chocolate topping.
Recipe Tips
Use full-fat dairy for the richest texture. Heavy cream and whole milk provide enough fat to keep the finished dessert smooth and satisfying.
Do not boil the custard. High heat can scramble the egg yolks and give the mixture an unpleasant grainy texture.
Chill the custard completely before churning. A colder base freezes faster, which can help create smaller ice crystals and a smoother result.
For the strongest flavor, use pure vanilla extract rather than imitation vanilla.
A vanilla bean can make Vanilla Ice Cream even more aromatic while adding attractive vanilla specks throughout the finished dessert.
Do not overfill the ice cream machine. The mixture expands as air is incorporated while churning.
Store the finished dessert toward the back of the freezer, where the temperature stays more consistent.
Easy Variations
Vanilla Ice Cream is a great starting point for many other homemade flavors.
For chocolate chip ice cream, add mini chocolate chips during the final few minutes of churning.
For cookies and cream, fold in crushed chocolate sandwich cookies once the mixture becomes thick.
Create a caramel swirl by layering caramel sauce through the freshly churned ice cream before freezing.
For strawberry flavor, fold in a thick strawberry puree or small pieces of cooked and cooled strawberries.
A coffee variation can be made by steeping coffee beans in the warm cream mixture, then straining them out before tempering the egg yolks.
You can also add toasted pecans, brownie pieces, peanut butter ribbons, chopped chocolate, or crushed cookies.
You may also enjoy our 3 Refreshing Homemade Fruit Drinks Recipes for simple, fruity beverages that are perfect for warm days and family gatherings.
Make-Ahead Instructions
Vanilla Ice Cream is naturally a make-ahead dessert because the custard needs time to chill and the churned ice cream needs additional freezer time before serving.
Prepare the custard up to 2 days in advance and keep it covered in the refrigerator.
Churn it when convenient, transfer it to a freezer-safe container, and freeze until firm.
For birthdays, dinner parties, or holiday meals, preparing the ice cream one or two days ahead reduces last-minute work and gives the dessert plenty of time to set.
Storage
Store Vanilla Ice Cream in an airtight freezer-safe container.
For the best flavor and texture, enjoy it within about 2 weeks.
Covering the surface directly with parchment paper or plastic wrap helps reduce freezer burn and ice crystals.
Avoid storing the container in the freezer door because frequent temperature changes can cause the dessert to soften and refreeze.
If it becomes very firm, allow it to soften for a few minutes at room temperature before scooping.
Nutrition Information
Approximate nutrition per serving:
Calories: 330
Protein: 4 g
Carbohydrates: 27 g
Fat: 24 g
Saturated Fat: 15 g
Fiber: 0 g
Sugar: 25 g
Sodium: 95 mg
Nutrition values are estimates and may vary depending on the cream, milk, sugar, portion size, vanilla, and optional toppings.
Frequently Asked Questions
Can I make this without an ice cream maker?
Yes. Pour the chilled base into a shallow freezer-safe container and freeze it. Stir or whisk vigorously every 30 to 45 minutes during the first 3 hours to break up larger ice crystals. The texture may not be quite as smooth as machine-churned ice cream, but it will still taste delicious.
Why is my homemade ice cream icy?
The base may not have been cold enough before churning, or it may have frozen too slowly. Proper chilling, enough fat, and airtight storage help produce a creamier result.
Can I use only milk?
Using only milk will make the dessert significantly less creamy. Heavy cream is important for the rich texture associated with Vanilla Ice Cream.
Can I use vanilla bean paste?
Yes. Vanilla bean paste works very well and gives the dessert attractive visible vanilla specks.
Why did my custard curdle?
The heat may have been too high or the mixture may have boiled. Cook gently and stir constantly once the egg yolks are added.
Can I reduce the sugar?
You can reduce it slightly, but sugar affects more than sweetness. It also helps keep homemade ice cream softer after freezing.
How long does homemade ice cream last?
For the best quality, enjoy it within about 2 weeks. Longer storage can gradually lead to more ice crystals and reduced freshness.
Final Thoughts
Vanilla Ice Cream is a timeless homemade dessert with a creamy texture, rich dairy flavor, and fragrant vanilla in every scoop.
Because Vanilla Ice Cream pairs with so many desserts and toppings, it is a useful recipe to keep for summer gatherings, birthdays, holidays, and casual family treats.
Keep this Vanilla Ice Cream recipe handy whenever you want a classic frozen dessert made from simple ingredients.
With a silky custard base, real vanilla, and a smooth churned texture, Vanilla Ice Cream proves that one of the simplest flavors can still be one of the most satisfying homemade desserts.