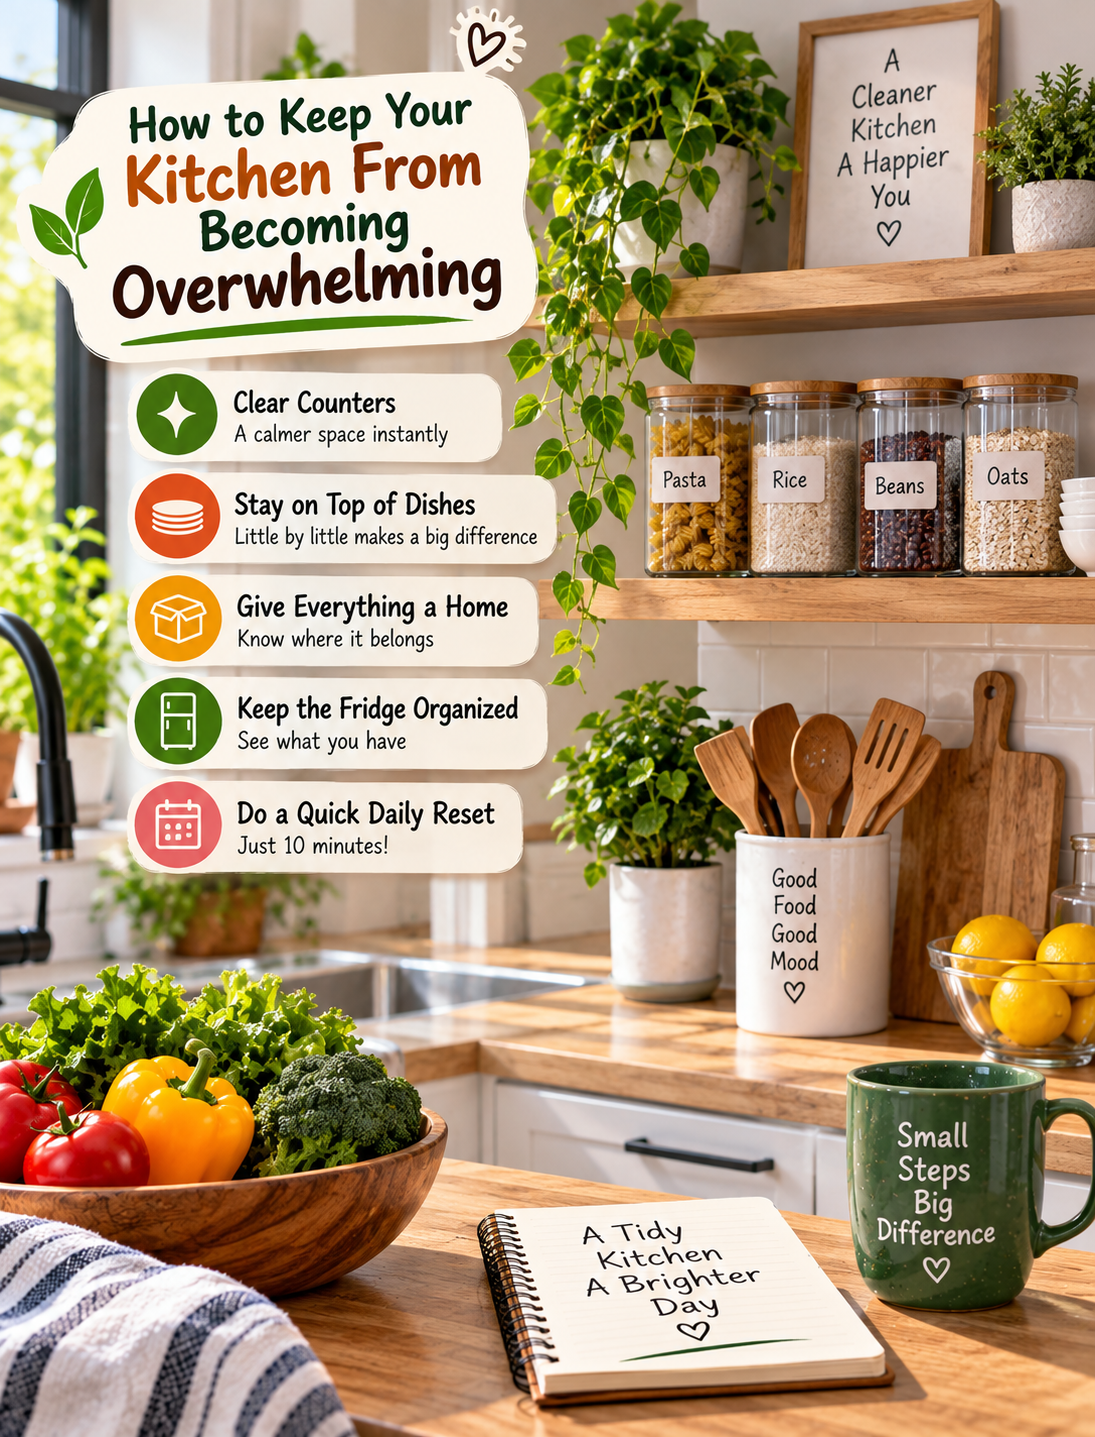
How to Keep Your Kitchen From Becoming Overwhelming
A kitchen can become messy faster than almost any other room in the house.
A few dirty dishes, an overflowing counter, an open package, and groceries that have not been put away can quickly make the whole space feel difficult to manage.
The solution is not to clean everything at once.
A better approach is to create a simple kitchen routine that prevents small messes from becoming large ones. When every item has a place and the most-used areas stay clear, daily cleanup becomes much easier.
This guide explains how to keep your kitchen organized, manageable, and easier to clean without spending hours on it.
Why Kitchens Become Overwhelming
Most kitchen clutter comes from small tasks being delayed.
A plate stays in the sink because you are busy. A grocery bag remains on the counter because there is no clear place for one item. Spices collect beside the stove because putting them away feels like another task.
Over several days, these small problems add up.
Common causes include:
- Too many items on the countertops
- Dishes left in the sink
- Food packages without a storage place
- Crowded cabinets
- An overflowing refrigerator
- Appliances rarely used but always left out
- Grocery items that never get put away
- No simple daily reset
- Cleaning tasks saved until the kitchen becomes difficult to manage
The goal is not to create a picture-perfect kitchen.
The goal is to make the room easy to use and easy to reset.
Step 1: Clear the Kitchen Countertops
Start with the most visible area.
A crowded countertop can make the entire kitchen feel messy, even when the cabinets and drawers are organized.
Remove Everything That Does Not Belong
Pick up items such as:
- Empty packages
- Dirty dishes
- Grocery bags
- Random containers
- Unused appliances
- Food that belongs in the pantry or refrigerator
Put each item where it belongs instead of creating another temporary pile.
Keep Only Frequently Used Items Out
If you use your coffee maker every morning, keeping it on the counter may make sense.
If you use a small appliance once every few months, consider storing it in a cabinet.
A simple rule is:
The more often you use something, the easier it should be to access.
This keeps your kitchen practical instead of simply making it look organized.
Step 2: Give Every Frequently Used Item a Home
A kitchen becomes difficult to manage when items constantly move from one place to another.
Choose a permanent location for the things you use most.
For example:
- Cooking utensils near the stove
- Plates near the dishwasher or serving area
- Coffee supplies together
- Cutting boards near your food-preparation area
- Spices near the cooking zone
- Food-storage containers together
You do not need expensive organizers.
A consistent location is often more useful than a complicated storage system.
Use the “One Home” Rule
Choose one main storage area for each category.
Instead of keeping food containers in three different cabinets, keep them together.
Instead of spreading baking supplies throughout the pantry, create one baking section.
This makes putting things away faster because you always know where they belong.
Step 3: Deal With the Sink Before Bed
A full sink can make the kitchen feel unfinished.
You do not need to deep-clean the entire room every night, but try to avoid leaving a large pile of dishes behind.
Use a Simple Evening Reset
Before going to bed:
- Load the dishwasher or wash the dishes.
- Clear food from the counter.
- Wipe the main work surface.
- Put ingredients away.
- Take out trash if necessary.
- Leave the sink ready for the next morning.
This routine can take only a few minutes when the kitchen is already under control.
The benefit is that you start the next day with a usable workspace instead of yesterday’s mess.
Step 4: Stop Letting the Refrigerator Become a Storage Problem
An overloaded refrigerator makes food harder to find.
When containers are pushed toward the back, leftovers can easily be forgotten.
Create a “Use First” Area
Choose one visible section for foods that should be used soon.
Place items such as:
- Open leftovers
- Cut vegetables
- Ripe fruit
- Open dairy products
- Partially used ingredients
When you can see these foods, you are more likely to use them.
This approach can also help you build meals around ingredients you already have before buying more groceries.
Step 5: Organize Your Pantry by Category
You do not need a perfectly styled pantry.
You need to know where things are.
Group similar foods together.
Try These Simple Categories
Breakfast:
Oats, cereal, pancake mix, coffee, tea.
Baking:
Flour, sugar, baking powder, spices, chocolate chips.
Dry staples:
Rice, pasta, beans, grains.
Snacks:
Crackers, nuts, popcorn, dried fruit.
Cooking ingredients:
Broth, canned tomatoes, sauces, oils.
Grouping similar items makes grocery shopping easier because you can quickly see what you already have.
Step 6: Use a 10-Minute Kitchen Reset
When the kitchen starts feeling overwhelming, do not try to clean everything at once.
Set a timer for 10 minutes.
Minute 1–2: Collect Trash
Throw away obvious trash and empty packaging.
Minute 3–4: Clear the Counters
Return appliances, dishes, food, and miscellaneous items to their proper locations.
Minute 5–6: Handle the Dishes
Load the dishwasher or wash the most important dishes.
Minute 7–8: Wipe Main Surfaces
Focus on the countertop, cooking area, and dining surface.
Minute 9–10: Finish the Small Things
Put away remaining items and sweep obvious crumbs from the floor.
When the timer ends, stop if the important work is finished.
You do not need to turn every 10-minute reset into a full cleaning session.
Step 7: Make Cleanup Easier While You Cook
One of the easiest ways to prevent kitchen clutter is to clean as you go.
Instead of waiting until dinner is finished, handle small tasks during cooking.
Try This System
While water heats:
- Put ingredients away.
While food cooks:
- Wash a utensil.
- Wipe a small surface.
- Put empty packages in the trash.
After transferring food to a plate:
- Rinse the pan before residue dries.
These small actions reduce the amount of work waiting for you after the meal.
Step 8: Reduce Duplicate Kitchen Items
Too many items can make even a clean kitchen feel crowded.
Open one drawer or cabinet at a time.
Look for:
- Duplicate utensils
- Chipped dishes
- Containers without matching lids
- Appliances you never use
- Expired pantry items
- Gadgets you forgot you owned
Do not remove something simply because you have not used it recently.
Instead, ask:
“Does this item have a useful purpose in my kitchen?”
If the answer is no and it is safe and appropriate to remove it, consider donating, recycling, or discarding it according to local guidelines.
Step 9: Create Simple Kitchen Zones
Kitchen organization becomes easier when different activities have their own areas.
Cooking Zone
Keep frequently used pans, utensils, oils, and seasonings close to the stove.
Food Preparation Zone
Keep cutting boards, knives, mixing bowls, and prep tools near the main counter space.
Cleaning Zone
Keep dish soap, sponges, brushes, and cleaning supplies together and safely stored.
Breakfast Zone
Keep coffee, tea, cereal, oats, and breakfast supplies together if that fits your kitchen layout.
Zones reduce unnecessary movement and make everyday tasks faster.
Step 10: Build a Weekly Kitchen Reset
A daily reset handles the small messes.
A weekly reset handles the areas that slowly become cluttered.
Choose one day each week for a quick check.
Weekly Checklist
- Check the refrigerator
- Review leftovers
- Check produce
- Wipe refrigerator spills
- Review pantry items
- Restock basic supplies
- Clear one cluttered drawer
- Clean frequently touched surfaces
- Check the trash and recycling area
- Create your grocery list
You do not need to complete a deep clean every week.
Focus on the areas that affect your daily routine.
Step 11: Make Your Kitchen Easier to Maintain
The best organization system is one you can actually maintain.
If putting something away requires opening three cabinets, you are less likely to do it consistently.
Keep frequently used items accessible.
Store rarely used items farther away.
Avoid creating complicated systems with too many labels, containers, and rules.
Follow the “Easy to Put Away” Test
For every major storage area, ask:
“Can I put this away in a few seconds?”
If the answer is no, the storage system may need to be simplified.
A kitchen should support your routine rather than create additional work.
A Simple Daily Kitchen Routine
You can keep the system very simple.
Morning
- Put away clean dishes.
- Clear the main counter.
- Return breakfast items to storage.
During the Day
- Clean small spills quickly.
- Put ingredients away after using them.
- Wash or load dishes as you go.
Evening
- Clear the sink.
- Wipe the main work surface.
- Put food away.
- Check the refrigerator for anything that needs attention.
This routine prevents small problems from building into a major cleanup.
What to Do When Your Kitchen Already Feels Overwhelming
If your kitchen is already messy, do not start by organizing every cabinet.
Use this order:
1. Trash
Remove obvious garbage.
2. Dishes
Wash them or load the dishwasher.
3. Food
Return food to the refrigerator or pantry.
4. Counters
Clear your main work surfaces.
5. Floors
Sweep visible crumbs and debris.
6. Storage
Only after the kitchen is usable should you organize drawers and cabinets.
This order gives you a usable kitchen quickly without creating more piles.
Frequently Asked Questions
How do I keep my kitchen from getting messy every day?
Use a short daily reset that focuses on dishes, countertops, food storage, and obvious trash.
How often should I organize my kitchen?
Do a small daily reset and a focused weekly check; save deeper organizing for areas that actually become difficult to use.
What should I remove from my kitchen counters?
Remove items you rarely use, food that belongs elsewhere, paperwork, empty packaging, and appliances that can be stored.
How can I organize a small kitchen?
Use vertical storage where practical, group similar items, and keep frequently used tools in the easiest-to-reach locations.
How long should a kitchen reset take?
A 10–15 minute reset is enough for basic daily maintenance when larger cleaning tasks are handled separately.
How can I make cleaning the kitchen easier?
Clean small messes while cooking, keep storage locations consistent, and avoid allowing dishes and food containers to accumulate.
What should I do first when my kitchen is extremely messy?
Start with trash, dishes, food, and countertops before attempting detailed organization.
How can I stop my kitchen from feeling cluttered?
Reduce unnecessary items, keep counters mostly clear, and give frequently used categories a consistent storage location.
Final Thoughts
A manageable kitchen does not require perfect organization.
It needs a simple system that makes everyday tasks easier.
Clear the counters, give frequently used items a home, stay on top of dishes, organize food by category, and use a short reset before small messes become large ones.
Most importantly, do not wait until the kitchen is overwhelming before doing something about it.
A few minutes each day can be much easier than one exhausting cleaning session at the end of the week.
Start with one area today.
Clear the main counter, handle the dishes, and put everything that does not belong there back in its place.
Then repeat the process tomorrow.