Classic Meal-Prep Chicken Salad

🥪 Classic Meal-Prep Chicken Salad

🛒 Ingredients

The Protein:

  • 1 kg (approx. 2.2 lbs) Chicken breast (poached, roasted, or rotisserie)

  • Water or chicken broth for poaching

The Creamy Base:

  • 1.5 cups Mayonnaise (or a mix of mayo and Greek yogurt for a lighter version)

  • 2 tbsp Dijon mustard

  • 1 tbsp Lemon juice 🍋

  • 1 tsp Garlic powder

  • Salt and cracked black pepper to taste

The Mix-ins (The Crunch):

  • 1 cup Celery (finely diced)

  • 1/2 cup Red onion (finely minced)

  • 1/4 cup Fresh parsley or chives (chopped) 🌿

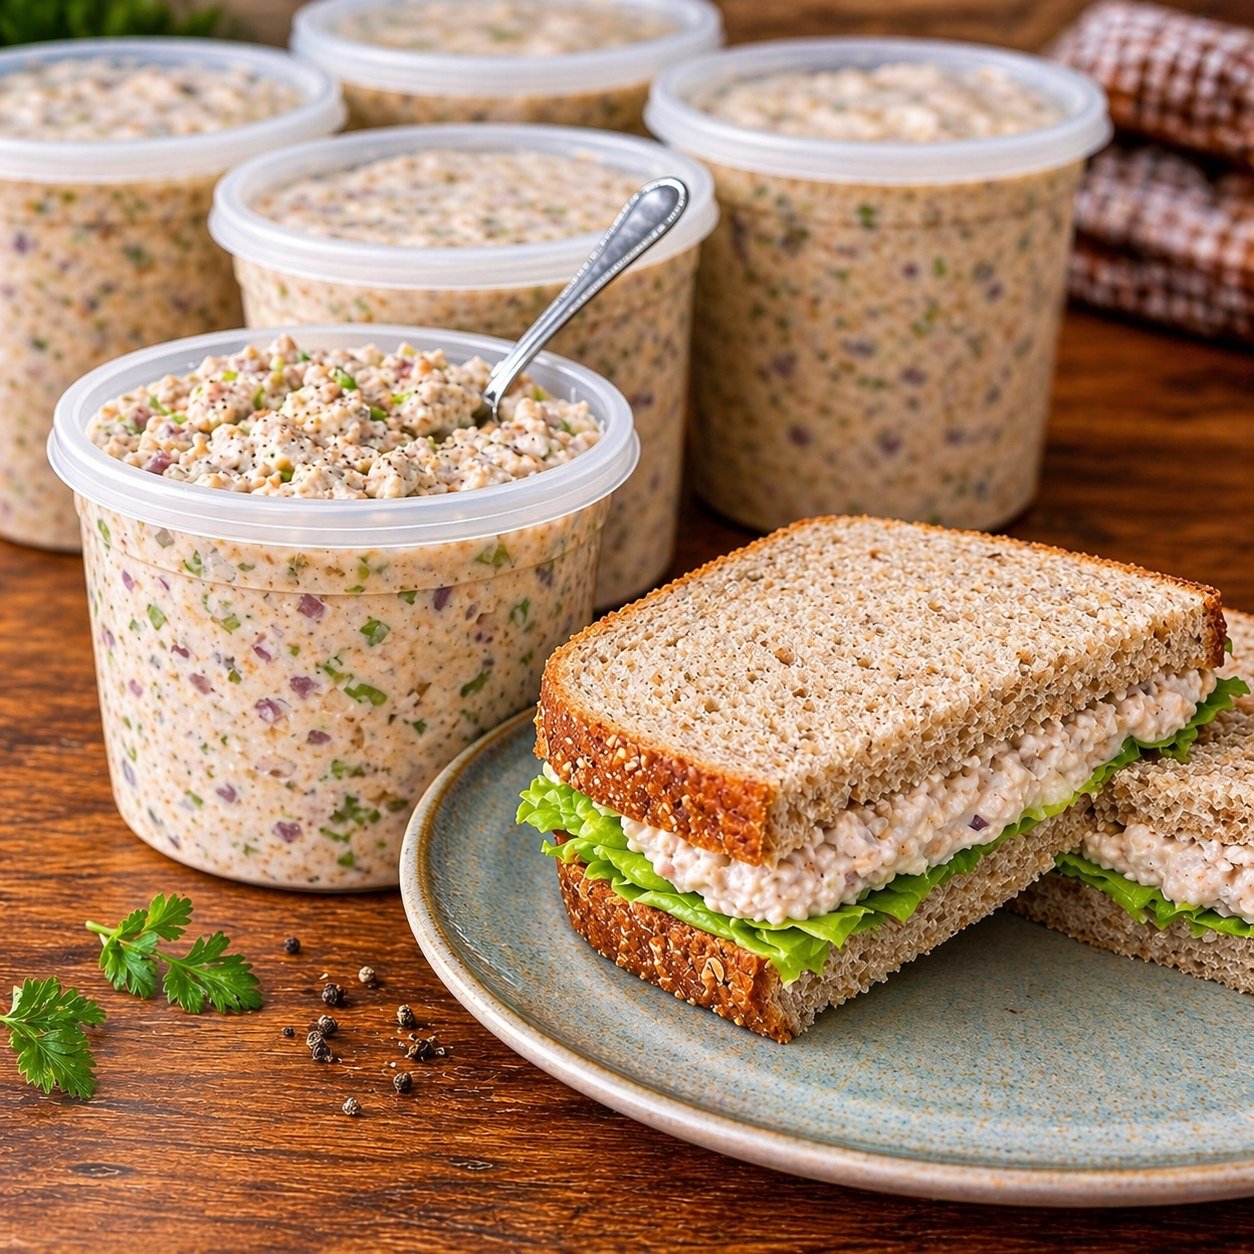
  • Optional: 1 cup halved red grapes or diced apples (for a hint of sweetness like in the image)

For Serving:

  • Whole grain or sourdough bread 🍞

  • Fresh lettuce leaves 🥬


👩‍🍳 Step-by-Step Instructions

1. Prepare the Chicken 🍗

  • If using raw chicken, poach it in simmering water or broth for 12–15 minutes until fully cooked.

  • ➡️ Pro Tip: Let the chicken cool completely before cutting. This keeps the juices inside!

  • Dice the cooled chicken into small, uniform cubes (about 1cm) to match the texture in the photo.

2. Whisk the Dressing 🥣

  • In a very large mixing bowl, combine the mayonnaise, Dijon mustard, lemon juice, garlic powder, salt, and pepper.

  • ➡️ Whisk until smooth and creamy. Taste and adjust seasoning if necessary.

3. Add the Crunch 🥗

  • Add the diced celery, minced onion, and herbs to the dressing bowl.

  • ➡️ If you are adding grapes or apples, toss them in now. Stir well to ensure the aromatics are coated in the dressing.

4. The Big Mix 🔄

  • Fold the diced chicken into the dressing mixture.

  • ➡️ Use a large spatula to turn the chicken over until every piece is generously coated.

5. Portion & Chill ❄️

  • Transfer the salad into airtight containers (like the round ones in the photo).

  • ➡️ Crucial Step: Refrigerate for at least 1 hour before serving. This allows the flavors to meld together and the dressing to thicken.

6. Assemble the Sandwich 🥪

  • Lay out your bread. Place a fresh, crisp lettuce leaf on the bottom slice (this acts as a barrier to keep the bread from getting soggy!).

  • ➡️ Add a thick layer of chicken salad, top with the second slice of bread, and slice diagonally.


❓ Common Questions (Q&A)

Q: How long can I keep this in the fridge? A: This chicken salad stays fresh for 3 to 4 days when stored in an airtight container in the refrigerator. 🧊⏳

Q: Can I freeze chicken salad? A: It is not recommended. Mayonnaise-based dressings tend to separate and become oily/watery once thawed, changing the texture significantly. 🚫❄️

Q: My salad is a bit dry the next day, what should I do? A: The chicken and celery often absorb some of the dressing overnight. Simply stir in an extra tablespoon of mayo or a splash of lemon juice to revive the creaminess! 🥣✨


✨ Pro-Tips for Success:

  • Texture Balance: Finely dicing the celery and onion ensures you get a bit of “crunch” in every bite without any single flavor being too overpowering. 🧅🔪

  • The “Bread Barrier”: Always put the lettuce against the bread to keep your sandwich fresh and firm if you are packing it for lunch later! 🥬🥪

  • Herb Freshness: Add the fresh parsley right before serving for the brightest green color and best aroma. 🌿

Enjoy your meal prep! 😋✨
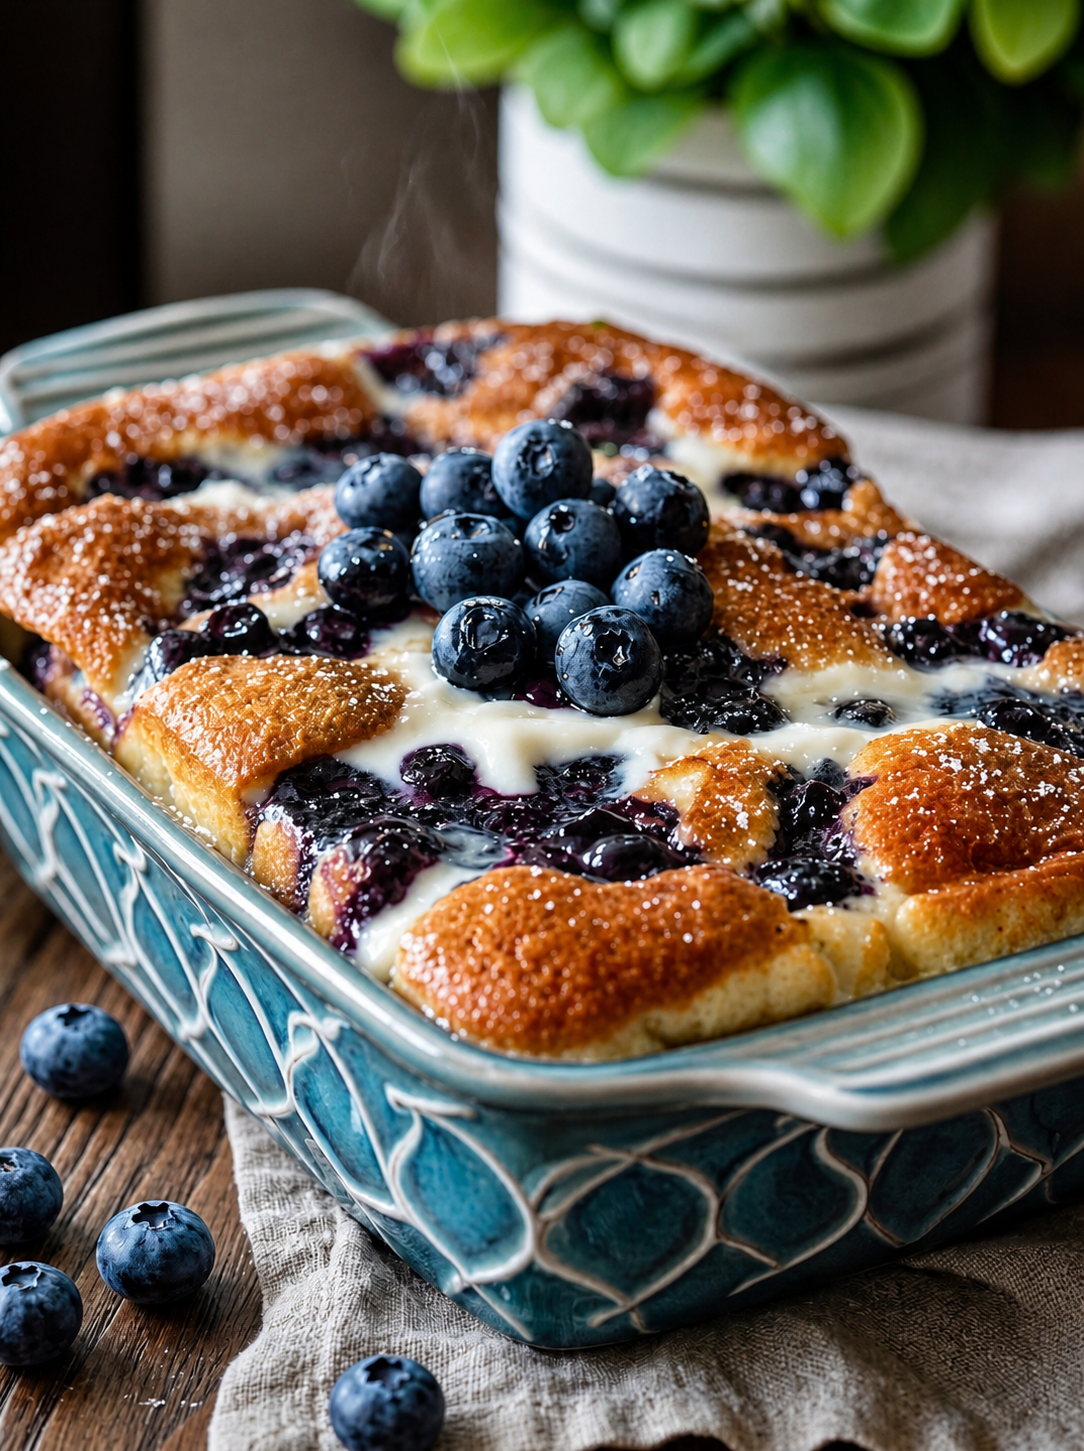
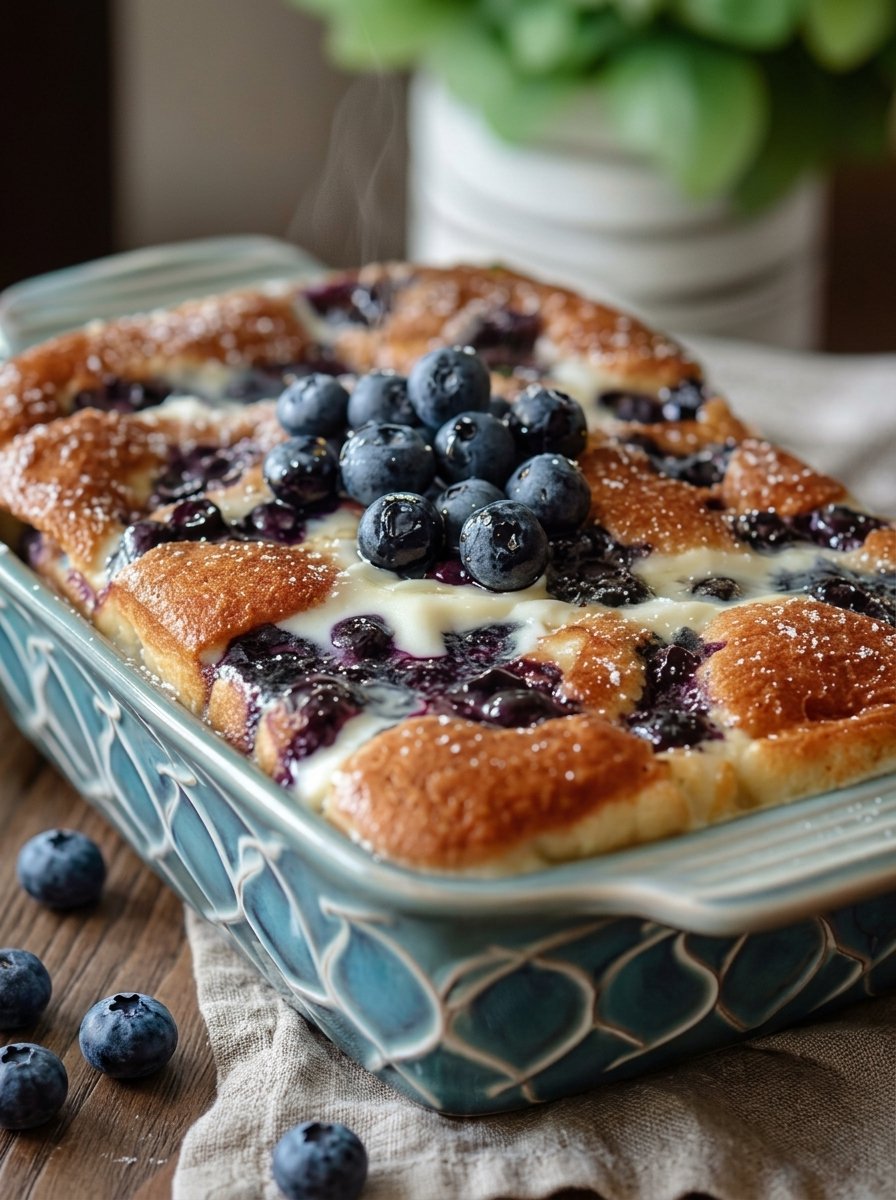
Blueberry Cream Cheese Bake

Blueberry Cream Cheese Bake

📝 Ingredients:

➡️ 2 cups fresh or frozen blueberries
➡️ 200g cream cheese (softened)
➡️ ½ cup sugar
➡️ 1 tsp vanilla extract
➡️ 1 cup milk
➡️ 1 cup all-purpose flour
➡️ 1½ tsp baking powder
➡️ ¼ tsp salt
➡️ ½ cup melted butter
➡️ 2–3 tbsp powdered sugar (for topping)


👩‍🍳 Steps:

1️⃣ Preheat & Prepare

➡️ Preheat oven to 180°C (350°F)
➡️ Grease a baking dish


2️⃣ Make Cream Layer

➡️ In a bowl, mix:
✔️ cream cheese
✔️ sugar
✔️ vanilla
➡️ Beat until smooth and creamy


3️⃣ Prepare Batter

➡️ In another bowl, mix:
✔️ flour
✔️ baking powder
✔️ salt
➡️ Add milk + melted butter
➡️ Stir until smooth (don’t overmix)


4️⃣ Assemble 🍰

➡️ Pour batter into baking dish
➡️ Spoon cream cheese mixture over it
➡️ Add blueberries on top (and slightly press in)


5️⃣ Bake 🔥

➡️ Bake for 35–45 minutes
➡️ Top should turn golden brown and bubbly


6️⃣ Finish ✨

➡️ Let it cool slightly
➡️ Sprinkle powdered sugar
➡️ Add fresh blueberries on top (optional)


❓ Q & A

Q: Can I use frozen blueberries?
👉 Yes! No need to thaw—just use directly.

Q: Why is the texture soft in the middle?
👉 That’s normal—it’s a cobbler-style dessert with a creamy center.

Q: Can I reduce sugar?
👉 Yes, adjust to your taste.

Q: What can I serve it with?
👉 Vanilla ice cream 🍦 or whipped cream 😋

No-Added-Sugar Blueberry Yogurt Bake

🫐🍰 No-Added-Sugar Blueberry Yogurt Bake

A light, creamy dessert with a soft custard-like texture and natural sweetness from juicy blueberries.


🛒 Ingredients

  • Plain Greek yogurt 🥛
  • Eggs 🥚
  • Blueberries 🫐

👩‍🍳 Step-by-Step Recipe

🔹 Step 1: Prepare the Baking Dish

  • 🔥 Preheat the oven to 350°F (175°C).
  • 🧈 Lightly grease a small baking dish to prevent sticking.
  • 📏 An 8×8-inch dish works perfectly for this recipe.

🔹 Step 2: Make the Creamy Base

  • 🥣 Add the Greek yogurt and eggs into a large mixing bowl.
  • 🥄 Whisk thoroughly until the mixture becomes silky smooth and fully combined.
  • ✨ Make sure there are no egg streaks remaining.

🔹 Step 3: Add the Blueberries

  • 🫐 Gently fold the blueberries into the yogurt mixture.
  • 🥄 Stir carefully so the berries stay whole and evenly distributed.
  • 🌟 The blueberries will burst beautifully while baking and naturally sweeten the dessert.

🔹 Step 4: Fill the Baking Dish

  • 🍰 Pour the mixture into the prepared baking dish.
  • 🥄 Spread evenly using the back of a spoon or spatula.
  • ✨ Smooth the top gently for even baking.

🔹 Step 5: Bake Until Set

  • 🔥 Bake for 30–40 minutes until the center is set.
  • 🌟 The top should look lightly golden and slightly puffed.
  • 👀 The middle may jiggle slightly but will firm up while cooling.

🔹 Step 6: Cool & Serve

  • ❄️ Let the bake cool for 10–15 minutes before slicing.
  • 🍽️ Serve warm for a soft custard-like texture.
  • 🧊 Or chill in the refrigerator for a firmer cheesecake-style dessert.
  • 😋 Enjoy plain or topped with extra blueberries.

💡 Tips

  • 🥛 Thick Greek yogurt gives the best creamy texture.
  • 🫐 Frozen blueberries can be used directly without thawing.
  • ✨ For a firmer texture, mix in a little cornstarch if desired.
  • 🧊 Store covered in the refrigerator for up to 4 days.

❓Q/A

❓Can I use frozen blueberries?

✅ Yes! Add them straight from the freezer.

❓Why did my bake turn watery?

✅ Thin yogurt contains extra moisture, so thick Greek yogurt works best.

❓Can I make it ahead of time?

✅ Absolutely! It tastes even better chilled the next day.

❓Can I double the recipe?

✅ Yes! Use a larger baking dish and bake slightly longer.

Mexican Pizza

🧾 Ingredients

For the base:

  • 4–6 medium flour tortillas (or pizza crusts)
  • Oil (for lightly frying tortillas, optional)

For the meat:

  • 1 lb (450 g) ground beef
  • 1 packet taco seasoning (or homemade: chili powder, cumin, garlic powder, paprika, salt)
  • ½ cup water

For the sauce:

  • 1 cup enchilada sauce (or taco sauce)

For topping:

  • 2 cups shredded Mexican blend cheese (or cheddar + mozzarella)
  • 1 small tomato, diced
  • ¼ cup red onion, finely chopped
  • 1–2 jalapeños, sliced
  • Optional: sliced green onions, olives, sour cream

🥣 Instructions

1. Prepare tortillas

  • Lightly fry tortillas in a pan with a little oil until slightly crispy but still flexible.
    (Or bake at 400°F / 200°C for 5–7 minutes.)

2. Cook the beef

  • In a skillet, cook ground beef until browned.
  • Drain excess fat.
  • Add taco seasoning + water, simmer 3–5 minutes until thick.

3. Assemble base layer

  • Place one tortilla on a baking tray.
  • Spread a layer of seasoned beef.
  • Add a little cheese.
  • Place a second tortilla on top (like a sandwich).

4. Add sauce and cheese.

  • Spread enchilada sauce over the top tortilla.
  • Sprinkle generous cheese on top.

5. Bake

  • Bake at 400°F (200°C) for 8–10 minutes until cheese is melted and bubbly.

6. Add fresh toppings

  • Remove from oven and top with:
    • diced tomatoes
    • red onions
    • jalapeños

7. Slice & serve

  • Cut into wedges like a pizza and serve hot.

💡 Tips

  • For extra crispiness, bake assembled layers for 3–4 minutes before adding top sauce.
  • Swap beef for shredded chicken or beans for a vegetarian version.
  • Add refried beans between layers for an authentic Taco Bell-style texture.

Low Point Pizza

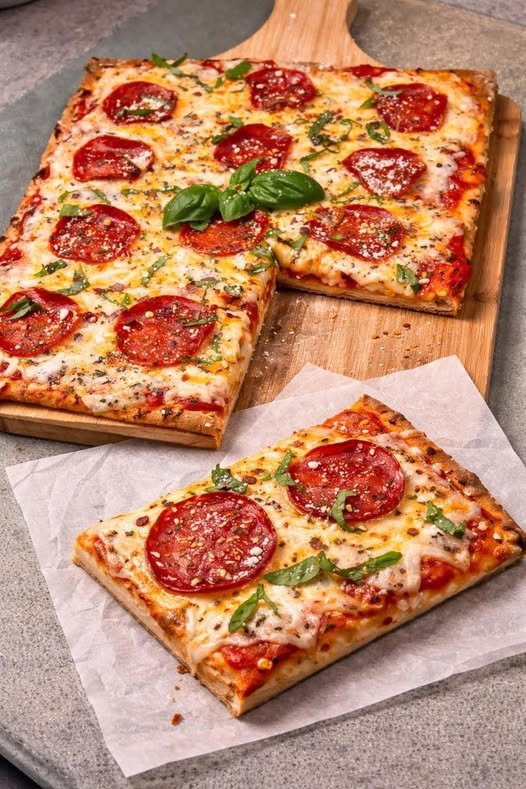
🍕 FULL PEPPERONI PAN PIZZA RECIPE

🧾 INGREDIENTS

🔸 Dough:

  • 3 cups all-purpose flour
  • 1 tsp salt
  • 1 tsp sugar
  • 2 tsp instant yeast
  • 1 cup warm water
  • 2 tbsp olive oil

🔸 Sauce:

  • 1 cup pizza sauce (or crushed tomatoes)
  • 2 cloves garlic (minced)
  • 1 tsp oregano
  • ½ tsp chili flakes
  • Salt to taste

🔸 Toppings:

  • 2 cups mozzarella cheese (shredded)
  • Pepperoni slices
  • Fresh basil leaves
  • Parmesan (optional)

🔪 STEP-BY-STEP

1️⃣ Make Dough

  • Mix warm water + sugar + yeast → rest 5 min
  • Add flour + salt + oil
  • Knead for 8–10 minutes
  • Cover and let rise 1–1.5 hours

2️⃣ Prepare Pan

  • Oil a square tray or pan
  • Stretch dough into pan (thick base like picture)

👉 Let it rest again 15–20 mins


3️⃣ Make Sauce

  • Mix all sauce ingredients
  • Cook lightly for 5–10 mins (optional but better flavor)

4️⃣ Assemble Pizza

  1. Spread sauce evenly
  2. Add lots of mozzarella
  3. Place pepperoni slices
  4. Sprinkle oregano/chili flakes

5️⃣ Bake

  • Preheat oven: 220°C (430°F)
  • Bake for 15–20 minutes
  • Until:
    • Cheese is bubbling
    • Edges are crispy & golden

6️⃣ Finish

  • Add fresh basil 🌿
  • Sprinkle parmesan
  • Slice into squares like image

✨ PRO TIPS (Important)

  • Use pan with oil → gives crispy bottom
  • Don’t over-sauce (keeps crust crispy)
  • Bake on lower rack → better base crunch
  • For extra crispy edges → add cheese near sides

🍽️ RESULT

✔ Thick soft inside
✔ Crispy bottom
✔ Cheesy, juicy top
✔ Exactly like your image

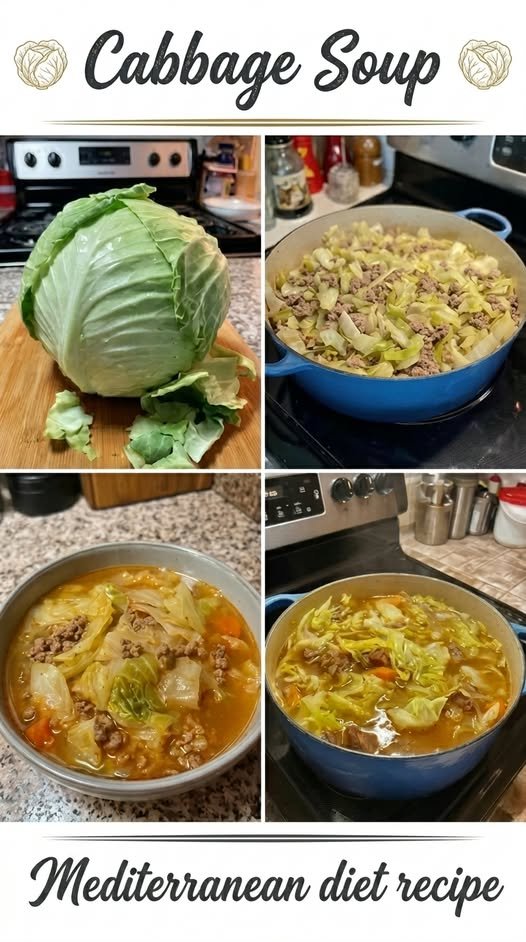
Cabbage Soup

 Cabbage Soup
Filling, low-calorie & perfect for weight loss 🥣💪✨ Keeps you full and helps control cravings!

Ingredients:

  • 1 lb (450g) lean ground beef or turkey
  • 1 medium head cabbage, chopped
  • 1 onion, chopped
  • 2 carrots, sliced
  • 2 celery stalks, chopped
  • 1 can (14.5 oz) diced tomatoes
  • 4 cups beef or vegetable broth
  • 2 cloves garlic, minced
  • 1 teaspoon paprika or mixed herbs
  • Salt & pepper (to taste)

Instructions:

Start by heating a large pot over medium heat. Add the ground beef or turkey and cook until fully browned, breaking it apart with a spoon as it cooks. If using beef, drain any excess fat to keep the soup lighter and healthier.

Next, add the chopped onion and minced garlic to the pot. Cook for about 2–3 minutes until the onion becomes soft and fragrant. Stir in the sliced carrots and chopped celery, allowing them to cook for another 5 minutes. This step helps build a flavorful base for the soup.

Now, add the chopped cabbage and mix everything well. The cabbage may seem like a lot at first, but it will soften and reduce in size as it cooks. Pour in the diced tomatoes along with their juices, followed by the broth. Stir everything together until well combined.

Season the soup with paprika, salt, and pepper. You can also add your favorite herbs like thyme or oregano for extra flavor. Bring the soup to a gentle boil, then reduce the heat to low.

Cover and let the soup simmer for 25–30 minutes, or until all the vegetables are tender and the flavors have blended together. Stir occasionally to ensure even cooking.

Taste the soup and adjust seasoning if needed. If you prefer a thinner consistency, you can add a little more broth or water.

Serve the soup hot, either on its own or with a light side. It’s perfect for meal prep and tastes even better the next day as the flavors deepen.

Nutrition (per serving approx):

  • Calories: 180–220 kcal
  • Protein: 18–22g
  • Carbs: 15–18g
  • Fat: 6–8g

Enjoy a healthy, satisfying bowl that supports your weight loss journey 💚🔥