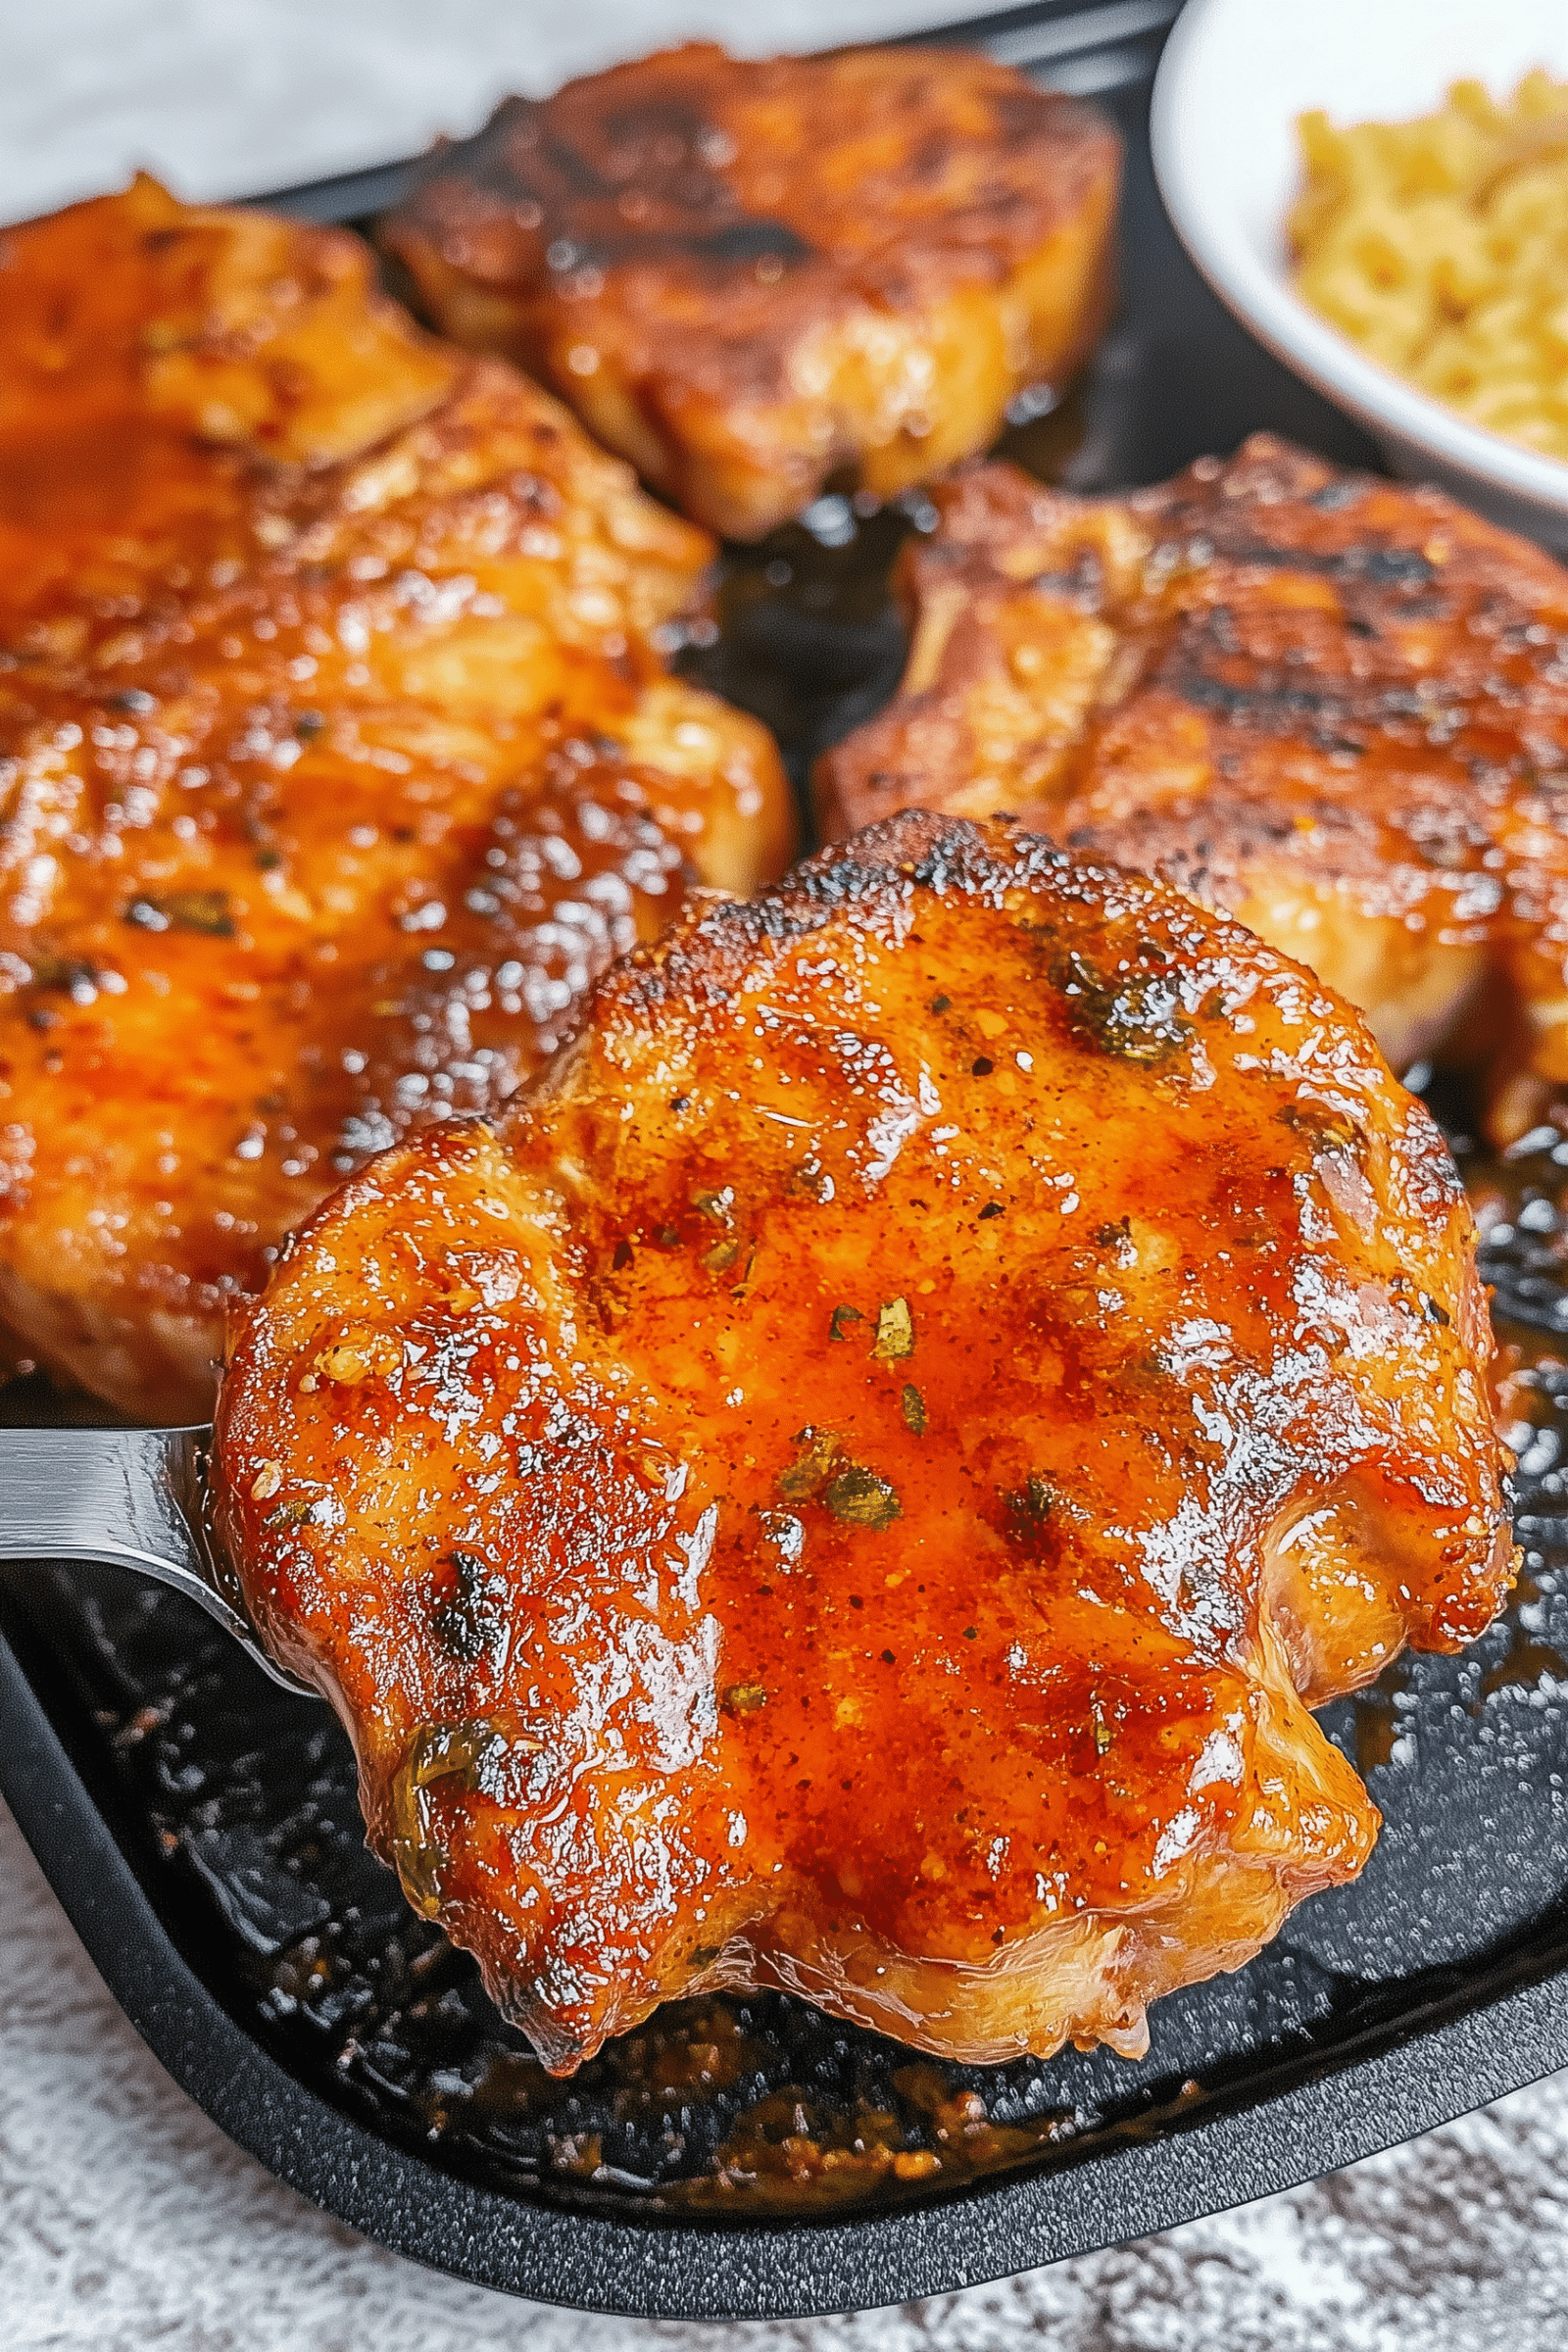
Simple Baked Pork Chops with Sweet and Savory Rub

Simple Baked Pork Chops with Sweet & Savory Rub

Total Time: 30 minutes
Servings: 8

This pork chop recipe is your ultimate weeknight lifesaver: three ingredients, minimal effort, and maximum flavor. The sweet brown sugar rub combines with Italian herbs to create a tender, juicy chop with a golden, caramelized crust. Perfect for picky eaters and hungry teens alike!


Ingredients

  • 8 boneless pork loin chops

  • 1 envelope (about 1 oz / 28 g) dry Italian seasoning mix

  • ½ cup packed light brown sugar


Instructions

  1. Preheat Oven: Preheat your oven to 425°F (220°C). Line a 9×13 inch baking dish with aluminum foil for easy cleanup.

  2. Make the Rub: In a small bowl, combine the Italian seasoning packet and brown sugar until well mixed.

  3. Season the Chops: Generously rub the mixture onto both sides of each pork chop.

  4. Bake: Arrange the seasoned pork chops in the prepared baking dish. Bake for 20–25 minutes, until the internal temperature reaches 145°F (63°C).

  5. Broil for Finish: Switch the oven to broil for 2–3 minutes to caramelize the tops, creating a slightly crisp, golden crust.

  6. Serve: Remove from oven and serve immediately.


Tips & Variations

  • Juiciness Tip: Baking on aluminum foil helps trap moisture and makes cleanup easy.

  • Bone-In Option: Use bone-in chops, but add 5–10 extra minutes of baking time.

  • Add Heat: Sprinkle a pinch of red pepper flakes into the rub for a subtle kick.

  • Savory Swap: Try ranch seasoning or garlic-herb blend instead of Italian seasoning.

  • Low-Sugar Option: Replace brown sugar with a keto-friendly brown sugar substitute.

  • Storage: Store cooled leftovers in an airtight container in the fridge for up to 3 days.

  • Freezing: Chops can be frozen after cooking, though reheated texture may slightly change.


FAQs

Q: How do I know when the pork chops are done?
A: Use a meat thermometer at the thickest part. Target 145°F (63°C) for juicy, safe pork.

Q: Why broil at the end?
A: Broiling caramelizes the sugar in the rub, forming a delicious, golden crust while sealing in juices.

Q: Can I use thick-cut chops?
A: Yes, but increase baking time before broiling to ensure they cook through.

Q: Do I need to add extra salt or pepper?
A: Usually not—your seasoning mix has enough.

Q: How can I prevent drying out?
A: Don’t overcook. Rely on a thermometer, and the brown sugar rub helps retain moisture.

Q: Can I use this rub for chicken?
A: Absolutely! Just ensure chicken reaches 165°F (74°C) internally.
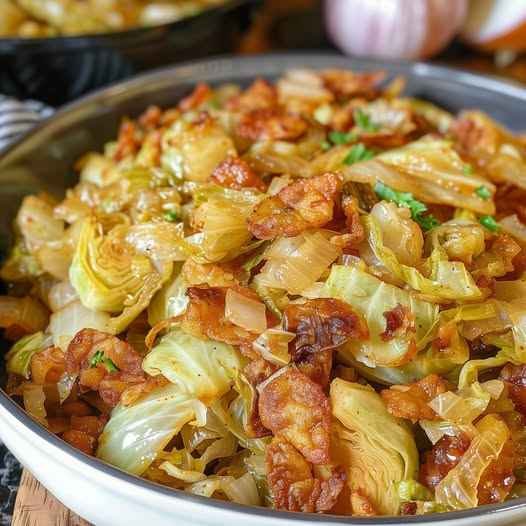
Bacon & Onion Fried Cabbage

🥣 Southern Fried Cabbage with Bacon

The second image looks like a classic fried cabbage and bacon skillet. This is an excellent low-carb, keto-friendly side dish that fits perfectly with the healthy eating habits we’ve been discussing.

Ingredients

  • 1 medium head of green cabbage, chopped into 1-inch pieces

  • 6 slices of thick-cut bacon, diced

  • 1 medium onion, diced

  • 2 cloves garlic, minced

  • 1 tsp smoked paprika

  • Salt and black pepper to taste

Instructions

  1. Crisp the Bacon: In a large skillet over medium heat, fry the diced bacon until crispy. Use a slotted spoon to remove the bacon bits and set aside, but keep the bacon fat in the pan.

  2. Sauté Aromatics: Add the onion to the bacon fat and cook until translucent. Stir in the garlic for 30 seconds until fragrant.

  3. Cook the Cabbage: Add the chopped cabbage to the skillet. It will look like a lot, but it will wilt down. Season with salt, pepper, and smoked paprika.

  4. Simmer: Cover the pan and cook for 10–15 minutes, stirring occasionally, until the cabbage is tender and starts to caramelize around the edges.

  5. Finish: Stir the crispy bacon bits back in and serve hot.


🍒 Finishing the Cherry Yogurt Cake

The first image shows the process of pouring the Cherry Yogurt Cake batter we started earlier! To finish that recipe, make sure you follow these specific steps shown in your photo:

  • The Batter: As seen in your image, the batter should be thick and glossy. If it seems too thin, you may need a tablespoon more flour.

  • The Layering: Notice how the cherries are already mixed into the batter in the pouring photo, but the finished cake has them beautifully displayed on top. For that look, fold half the cherries into the batter and scatter the remaining half on top right before it goes into the oven.

  • The Pan: Using a springform pan (as shown) is highly recommended for this cake so you can easily remove it without damaging the fruit on top.

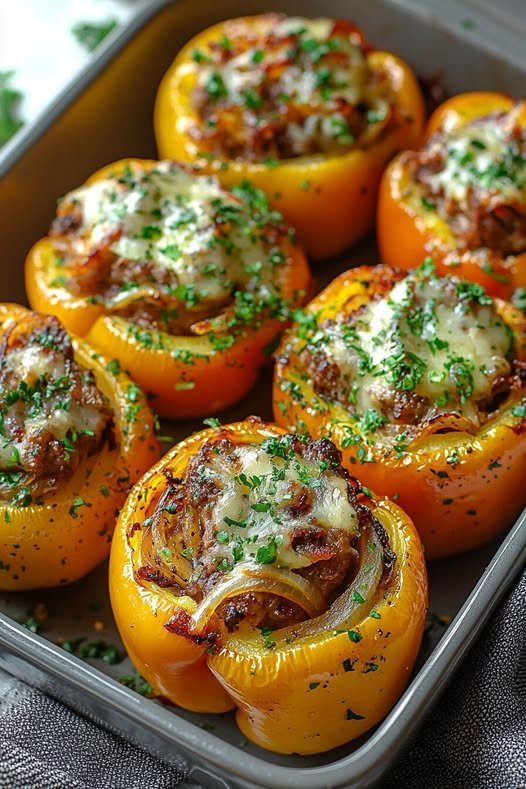
Philly Cheesesteak Stuffed Peppers

Philly Cheesesteak Stuffed Peppers

A low-carb twist on the classic Philly cheesesteak! Juicy steak, sautéed vegetables, and melty cheese stuffed into tender roasted bell peppers. Easy, flavorful, and family-approved.


🕒 Time & Servings

Prep: 5 minutes
Cook: 20 minutes
Total: 25 minutes
Servings: 4


📝 Ingredients

  • Olive oil

  • 4 green bell peppers

  • 8 oz sirloin steak, thinly sliced

  • 1½ cups mushrooms, sliced

  • 1 red bell pepper, sliced

  • 1 red onion, sliced

  • 2 cups shredded mozzarella cheese

  • Salt and black pepper, to taste


👩‍🍳 Instructions

1. Preheat Oven

Preheat your oven to 400°F (200°C). Line a baking sheet with parchment paper.

2. Cook the Steak

Drizzle steak lightly with olive oil and season with salt and black pepper.
Bake for 20 minutes, then slice into thin strips and set aside.

3. Prepare the Peppers

Cut green bell peppers in half lengthwise and remove seeds.
Place them cut-side up in a baking dish.
Drizzle with olive oil and season with salt and pepper.
Cover with foil and bake for 10–15 minutes, until slightly tender.

4. Cook the Vegetables

Heat olive oil in a skillet over medium-high heat.
Sauté mushrooms, onion, and red bell pepper until soft and lightly browned.
Stir in the sliced steak.

5. Fill the Peppers

Spoon the meat and vegetable mixture into each pepper half.

6. Add Cheese & Bake

Top generously with shredded mozzarella.
Bake uncovered for 15–20 minutes, until cheese is melted and bubbly.

7. Serve

Serve hot and enjoy as a main dish or hearty side.


💡 Helpful Tips

• For less moisture, sauté vegetables until fully cooked before stuffing
• Provolone cheese works beautifully instead of mozzarella
• Use ribeye for a richer Philly flavor
• Great served with a simple salad or roasted vegetables


🔢 Nutrition (Per Serving – Approximate)

  • Calories: 402

  • Fat: 25g

  • Protein: 31g

  • Carbohydrates: 16g

  • Fiber: 3g

Cheesy Baked Cauliflower

Cheesy Baked Cauliflower

A creamy oven-baked cauliflower dish with a golden cheese topping

Yield

Serves 4–6

Oven Temperature

200°C (400°F)


Ingredients

Cauliflower

  • 1 large head cauliflower

  • 3 lemon slices

  • Fresh dill sprigs

  • Salt, to taste

Cheese Sauce

  • 2 cups shredded cheese (mozzarella or a blend of cheddar and Monterey Jack)

  • 1½ cups heavy cream or prepared thick béchamel sauce

  • 2 garlic cloves, finely minced

  • ½ teaspoon dried oregano or thyme

  • Black pepper, to taste


Instructions

1. Prepare the Cauliflower

  1. Remove the outer leaves from the cauliflower and trim the stem.

  2. Cut the cauliflower into evenly sized florets to ensure uniform cooking.


2. Cook the Cauliflower

  1. Fill a large pot with water and add the lemon slices, dill sprigs, and salt.

  2. Bring the water to a steady boil.

  3. Add the cauliflower florets and cook for 5–7 minutes, until just tender when pierced with a fork. The cauliflower should remain firm and not soft.

  4. Drain thoroughly and allow excess moisture to evaporate.


3. Arrange for Baking

  1. Transfer the drained cauliflower to a lightly greased oven-safe baking dish.

  2. Spread the florets evenly in a single layer.


4. Prepare the Sauce

  1. In a mixing bowl, combine the heavy cream, minced garlic, dried herbs, and black pepper.

  2. Stir until evenly blended.


5. Assemble the Dish

  1. Pour the cream mixture evenly over the cauliflower.

  2. Sprinkle the shredded cheese evenly across the surface, fully covering the cauliflower.


6. Bake

  1. Place the dish in the preheated oven.

  2. Bake for 15–20 minutes, until the cheese has melted completely and developed a lightly browned surface.


7. Serve

  • Garnish with fresh dill if desired.

  • Serve warm as a side dish or light main course.


Storage

  • Refrigerate leftovers in a covered container for up to 2 days

  • Reheat gently in the oven until warmed through

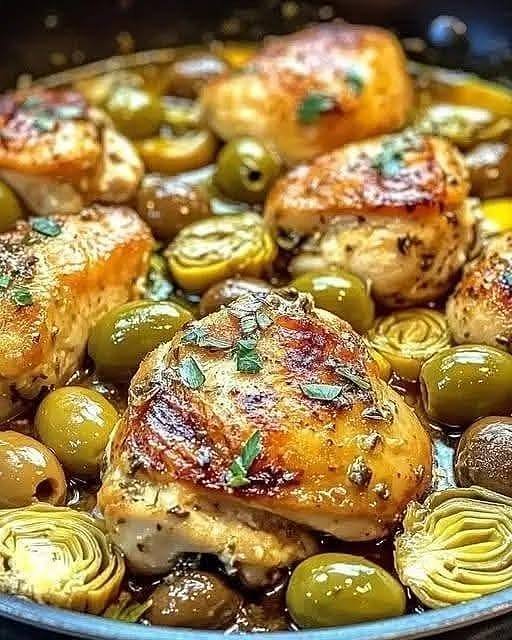
Mediterranean Lemon Chicken with Artichokes & Olives

Mediterranean Lemon Chicken with Artichokes & Olives

📝 Ingredients

(Serves 4)

  • Chicken thighs (bone-in, skin-on)—4–6 pieces

  • Salt – 1 ½ tsp

  • Black pepper – 1 tsp

  • Olive oil – 2 tbsp

  • Garlic – 4 cloves, minced

  • Red onion – 1 small, sliced

  • Lemon – 1 large (zest + juice, plus extra slices for garnish)

  • Chicken broth – 1 cup

  • White wine (optional) – ½ cup

  • Artichoke hearts (canned or frozen)—1 ½ cups (about 8 halves)

  • Green or Kalamata olives – ½ cup, pitted

  • Fresh thyme or oregano – 1 tsp (or ½ tsp dried)

  • Fresh parsley—for garnish

🍳 Instructions

1. Prep the Chicken

  1. Pat the chicken dry with a paper towel.

  2. Season generously with salt, pepper, and a little lemon zest.

2. Sear

  1. Heat olive oil in a large skillet or Dutch oven over medium-high heat.

  2. Sear chicken skin-side down for 4-5 minutes until golden brown. Flip and sear the other side for 3-4 minutes. Remove and set aside.

3. Sauté Aromatics

  1. In the same pan, add onion and garlic; cook for 2-3 minutes until fragrant.

  2. Deglaze with white wine (if using), scraping up any browned bits.

4. Simmer

  1. Add chicken broth, lemon juice, thyme/oregano, artichoke hearts, and olives. Stir gently.

  2. Return chicken to the pan, skin-side up.

  3. Cover and simmer over medium-low heat for 25-30 minutes until chicken is cooked through (internal temp 74°C / 165°F).

5. Finish

  1. Taste and adjust seasoning with extra salt, pepper, or lemon juice.

  2. Garnish with fresh parsley and extra lemon slices.

🍽️ Serving Suggestions

  • Serve with warm couscous, rice pilaf, or crusty bread to soak up the sauce.

  • A side of grilled vegetables or a Greek salad pairs beautifully.

 Tips

  • For crispy chicken skin, uncover the pan in the last 5 minutes and broil (or bake at 200°C / 400°F) for a golden finish.

  • You can use boneless chicken thighs or breasts, but reduce simmering time to 18-20 minutes.

  • Add capers for extra briny flavor.

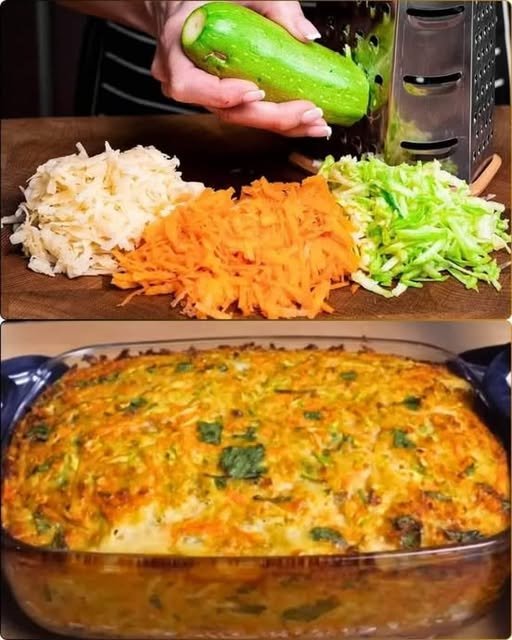
Baked Zucchini, Carrot, and Potato Casserole

Baked Zucchini, Carrot, and Potato Casserole

A fuss-free, meatless dish that is savory, tender, and incredibly easy to prep.

  • Prep time: 15 minutes

  • Bake time: 40–50 minutes

  • Yields: 4–6 servings

Ingredients

  • Vegetables: 12 oz (total) of carrots, potatoes, and zucchini

  • Onions: 5.5 oz, finely chopped

  • Protein: 3 eggs

  • Aromatics: 2-3 cloves of garlic, minced

  • Oil: 2 tbsp vegetable oil

  • Seasoning: 1 tsp salt, plus pepper to taste

  • Herbs: Fresh herbs (like parsley or dill) at your discretion

  • Breading: 3 tbsp ready-made breadcrumbs or 2 slices of crumbled bran bread


Instructions

1. Prepare the Vegetables

  • Grate the carrots, potatoes, and zucchini using a box grater.

  • Chef’s Tip: After grating the zucchini and potatoes, squeeze out the excess moisture with your hands or a kitchen towel to prevent the casserole from becoming soggy.

  • Finely chop the onions and mince the garlic.

2. Create the Mixture

  • In a large mixing bowl, beat the 3 eggs with the vegetable oil, salt, and pepper.

  • Stir in the grated vegetables, chopped onions, minced garlic, and your choice of fresh herbs.

  • Mix in the breadcrumbs (or crumbled bran bread) to help bind the ingredients together.

3. Assemble and Bake

  • Preheat your oven to 350°F (180°C).

  • Grease a glass baking dish and pour the vegetable mixture into it, smoothing the top with a spatula.

  • Bake for 40 to 50 minutes, or until the center is set and the top has turned a beautiful golden brown.

4. Serve

  • Let the casserole rest for 5 minutes after taking it out of the oven to allow the juices to redistribute.

  • Slice into squares and serve warm.


Perfect Pairings

Since you’ve been working on your Skillet Bread, this casserole is the ideal topping or side. You can scoop the warm vegetable bake directly onto a piece of the crusty bread for a complete, nutritious meal.