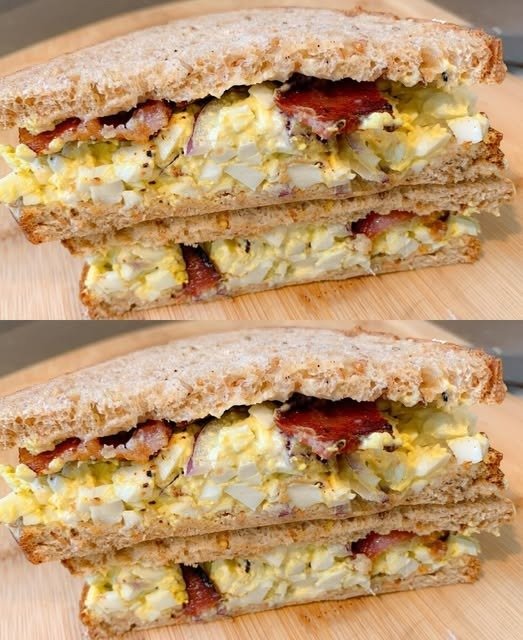
πŸ₯— Perfect Egg Salad

πŸ₯— Perfect Egg Salad (Creamy + Chunky Style)

This method uses mashed eggs for creaminess and chunky eggs for texture, giving the salad both smoothness and bite.


🧺 Ingredients (Serves 4)

  • 6 large eggs, hard-boiled and peeled

  • β…“ cup mayonnaise (or Greek yogurt for a lighter taste)

  • 1 tbsp Dijon mustard (or whole-grain mustard)

  • 2 tbsp finely diced red onion or green onion

  • 1 tbsp fresh dill or chives, chopped

  • 1 tsp lemon juice

  • Salt, to taste

  • Freshly ground black pepper, to taste

Optional additions:

  • Pinch of paprika

  • Finely chopped celery

  • Finely chopped dill pickles


πŸ‘©β€πŸ³ Step-by-Step Instructions

Step 1: Prepare the Eggs

  1. Roughly chop 4 eggs into about Β½-inch pieces.

  2. Place the remaining 2 eggs in a separate bowl and mash them with a fork until smooth.


Step 2: Make the Creamy Base

In a mixing bowl, combine:

  • Mashed eggs

  • Mayonnaise

  • Mustard

  • Lemon juice

  • Onion

  • Fresh herbs

  • Salt and pepper

Mix until smooth and creamy.


Step 3: Fold in the Chunky Eggs

  1. Add the chopped eggs to the creamy mixture.

  2. Gently fold them in so the pieces stay intact.


Step 4: Chill

Cover and refrigerate for 30 minutes so flavors blend together.


🍽 Serving Ideas

  • On toasted bread with lettuce and tomato

  • Inside croissants or soft rolls

  • In lettuce cups or avocado halves

  • With crackers or sliced vegetables


πŸ’‘ Why This Method Works

  • Mashed eggs bind the salad and make it creamy

  • Chunky eggs add texture and bite

  • Lemon juice balances richness

  • Mustard adds depth without overpowering

This technique is commonly credited to Carla Hall, who promotes mixing textures instead of fully chopping eggs.


❓ Helpful Tips

Avoid rubbery eggs:
Do not overboil. Cook just until firm, then rest in hot water and cool.

Make ahead:
Keeps well in the refrigerator for 3–4 days in a sealed container.

No mayo option:
Use mashed avocado, hummus, or tahini.

Easy peeling:
Use eggs that are not very fresh and cool them in ice water before peeling.


πŸ₯š Final Note

Egg salad is simple food done right:
creamy, textured, comforting, and fresh.

The key is balance β€” not too smooth, not too rough.

Just honest ingredients prepared with care.
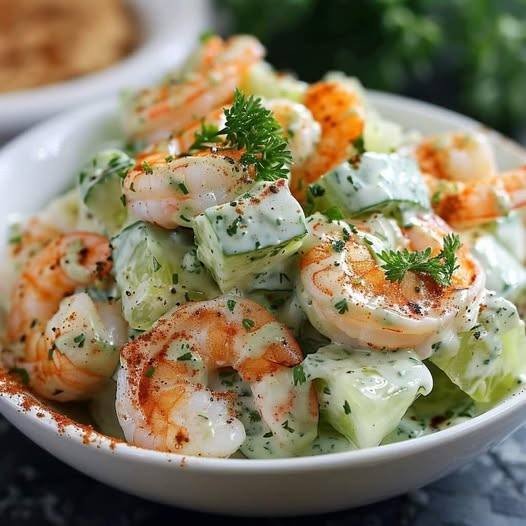
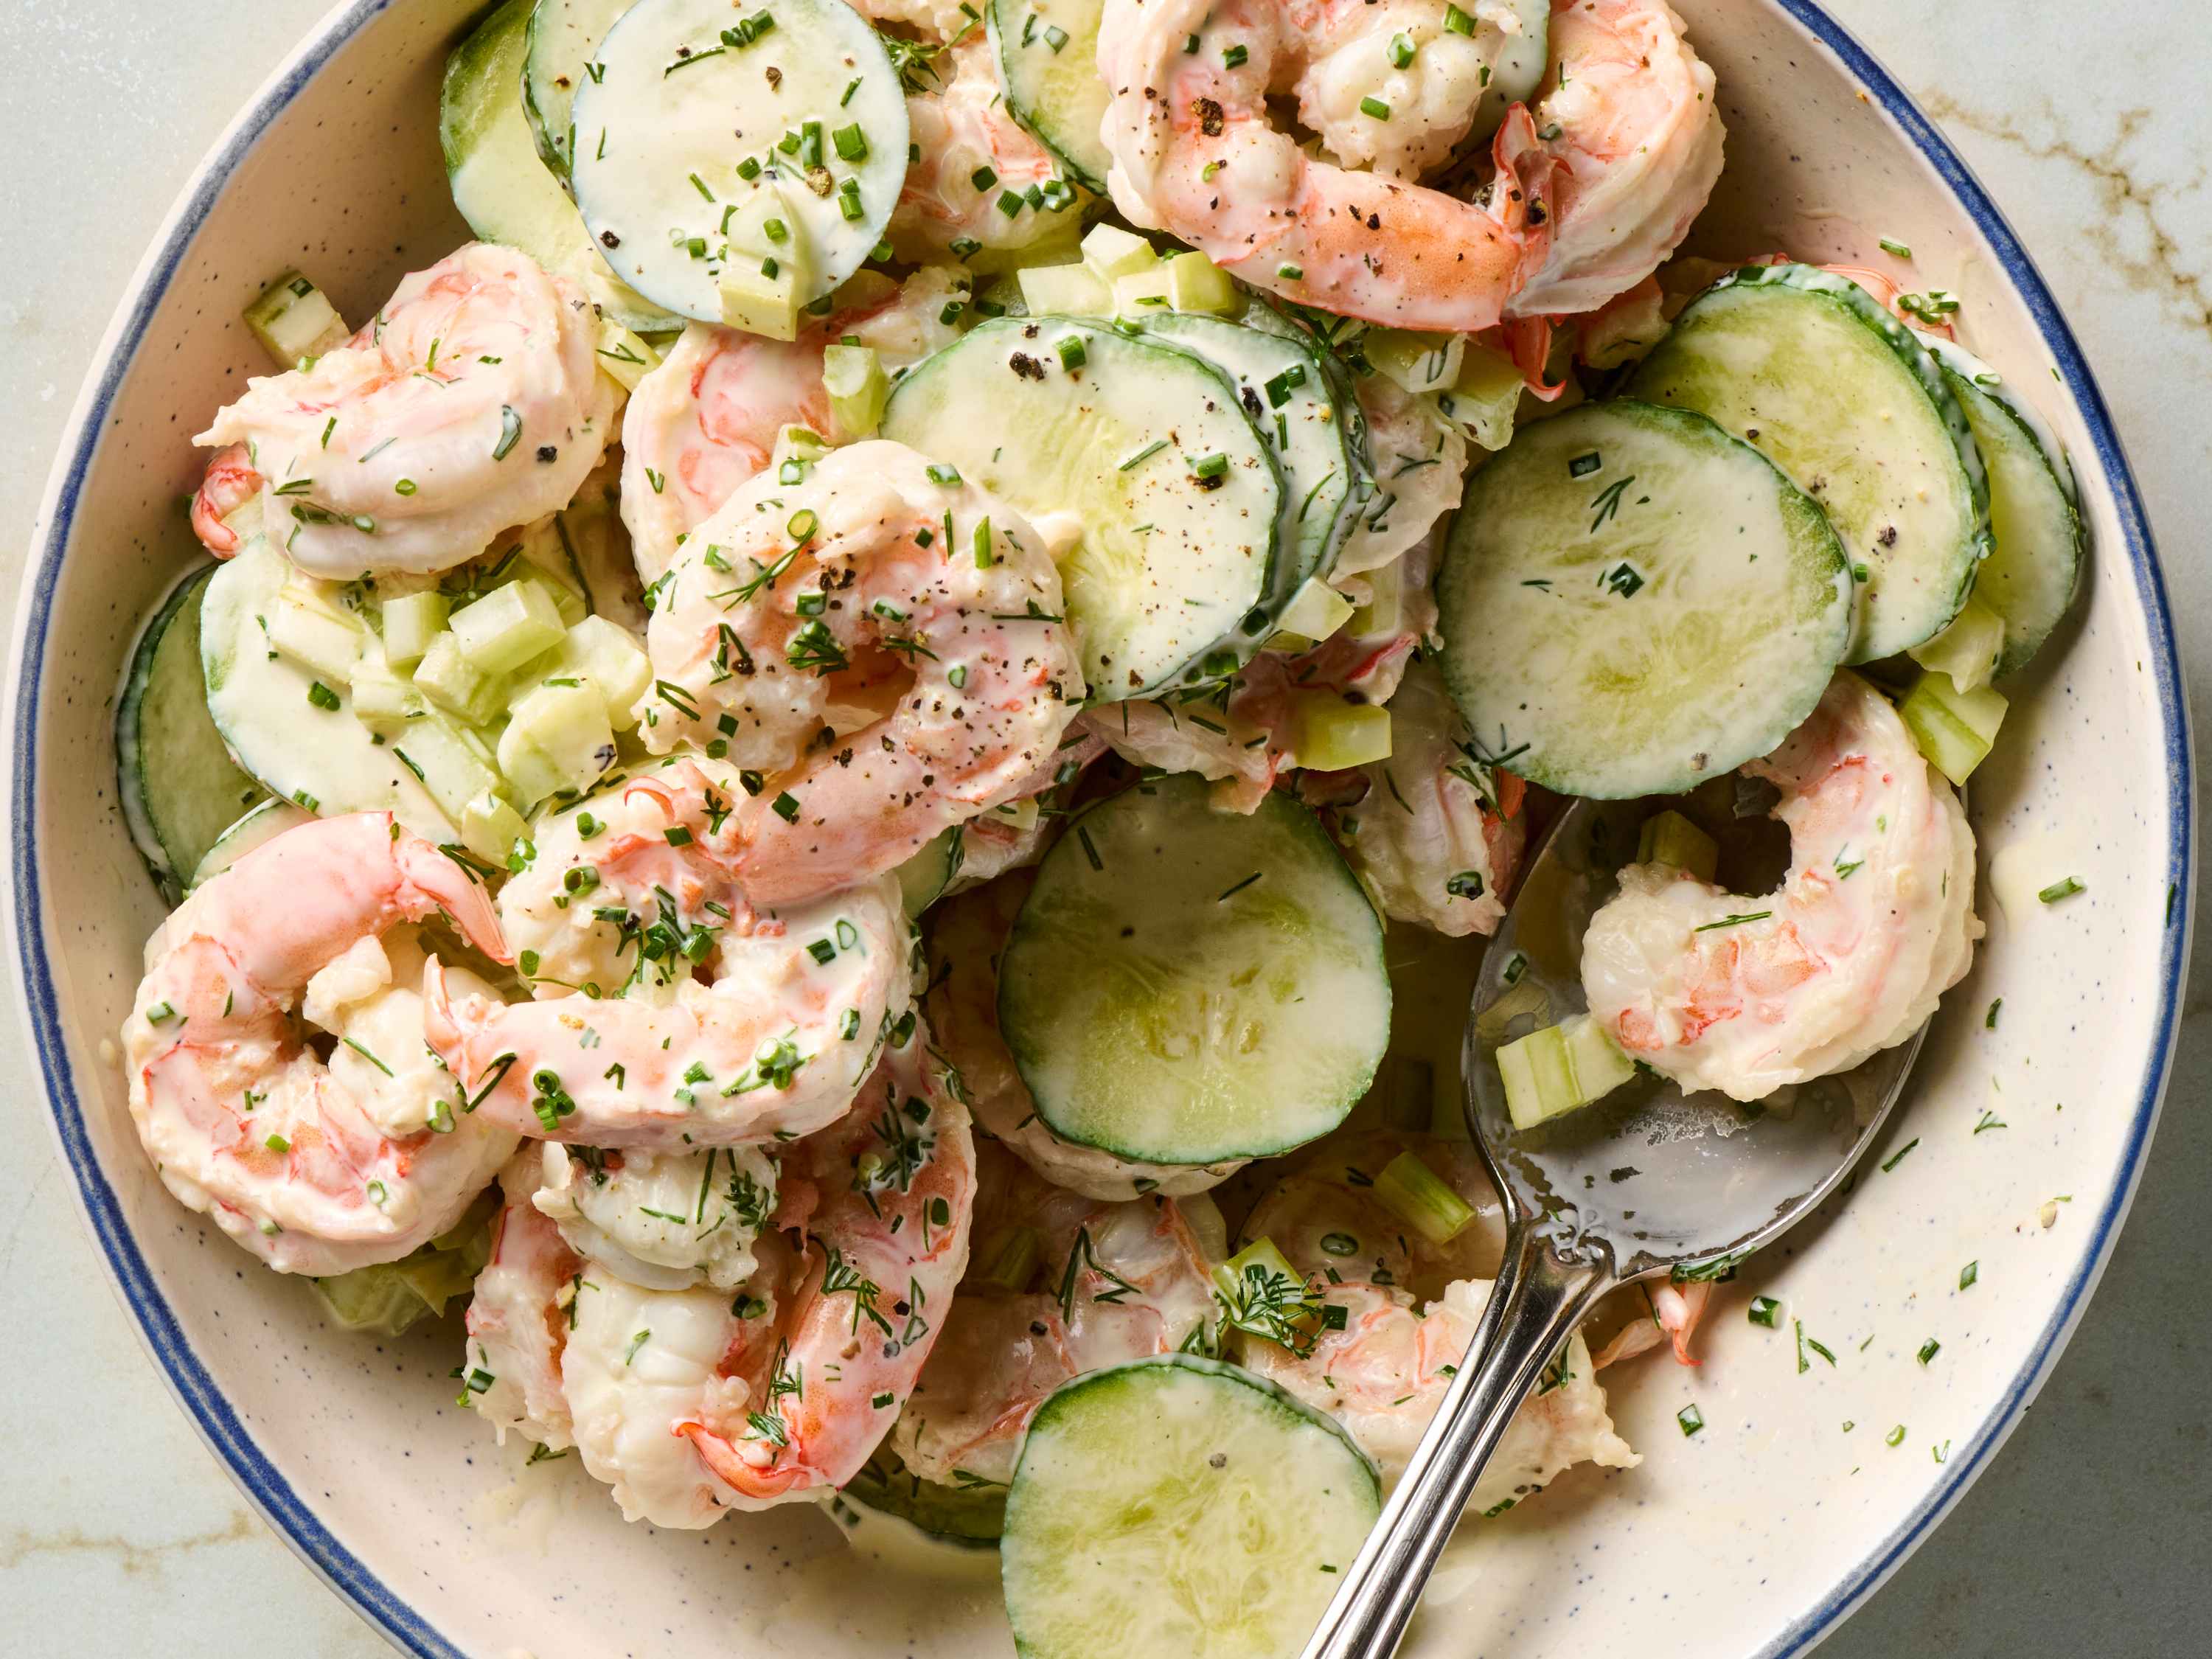
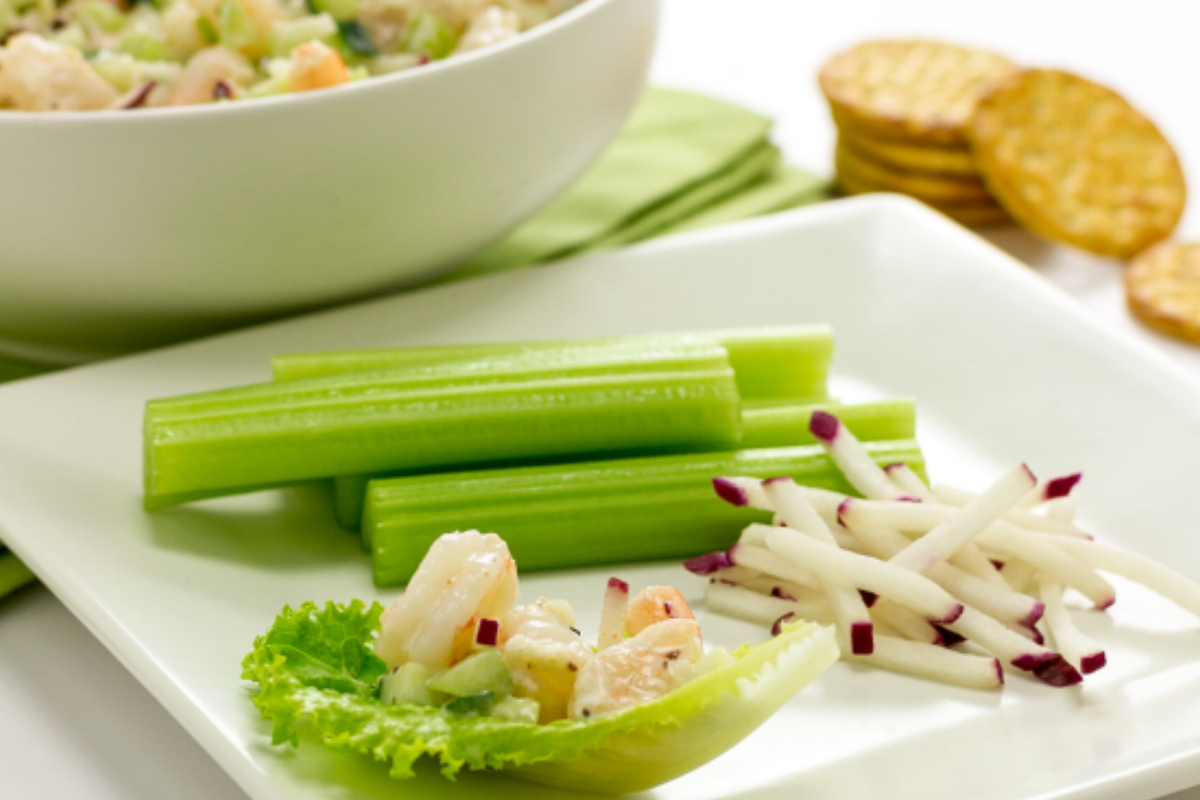
πŸ₯’πŸ€ Creamy Cucumber Shrimp Salad

πŸ₯’πŸ€ Creamy Cucumber Shrimp Salad

https://cdn.apartmenttherapy.info/image/upload/v1747078170/tk/photo/2025/05-2025/2025-05-creamy-cucumber-shrimp-salad/creamy-cucumber-shrimp-salad-359.jpg
https://d2uqlwridla7kt.cloudfront.net/recipe-media/recipe-9l3bqr3or/aw9k9l3f4208z/DillSaladCurryGrilledShrimp_SQR.jpg
https://www.dudafresh.com/hubfs/17_recipes/1200x800%20Shrimp%20Salad%20with%20Greek%20Yogurt%20Dressing.png
4

This Creamy Cucumber Shrimp Salad is light, refreshing, and packed with bright flavors from fresh dill and lemon. It’s perfect for warm weather lunches, meal prep, or as a side dish for grilling season.


πŸ“ Servings

Serves 4
Prep time: 15 minutes
Cook time: 3 minutes


πŸ›’ Ingredients

  • 1 lb shrimp, peeled and deveined

  • 2 large cucumbers, peeled and diced

  • Β½ cup Greek yogurt

  • ΒΌ cup mayonnaise

  • 2 tbsp fresh dill, chopped

  • 1 tbsp lemon juice

  • 2 cloves garlic, minced

  • Salt and pepper, to taste

  • Paprika and fresh parsley, for garnish


πŸ‘©β€πŸ³ Instructions

1️⃣ Cook the Shrimp

  • Bring a pot of salted water to a boil.

  • Add shrimp and cook until pink and opaque, about 2–3 minutes.

  • Drain and immediately transfer to an ice bath to stop the cooking.

  • Once cooled, drain and pat dry.

2️⃣ Prepare the Dressing

  • In a large bowl, whisk together Greek yogurt, mayonnaise, dill, lemon juice, garlic, salt, and pepper until smooth and creamy.

3️⃣ Assemble the Salad

  • Add diced cucumbers and cooled shrimp to the bowl.

  • Gently toss until everything is evenly coated.

4️⃣ Serve

  • Transfer to a serving dish.

  • Sprinkle with paprika and chopped fresh parsley.

  • Chill for 20–30 minutes before serving for best flavor.


πŸ’‘ Tips for Best Results

  • Remove cucumber seeds if they’re very watery to keep the salad from thinning out.

  • Use English cucumbers for fewer seeds and thinner skin.

  • For extra brightness, add a little lemon zest.

  • Want some crunch? Add thinly sliced red onion.

After trying this recipe, you’ll never want to buy bread again β€” you’ll bake it fresh at home instead.

After trying this recipe, you’ll never want to buy bread again β€” you’ll bake it fresh at home instead.

This classic Homemade White BreadΒ recipe yields a soft, fluffy loaf with a golden, tender crust. Ideal for sandwiches, toast, or simply savoring warm with a pat of butter.

🍞 Homemade White Bread

Ingredients

For the Bread:

  • 4 cups all-purpose flour
  • 2 teaspoons instant yeast
  • 2 teaspoons salt
  • 2 tablespoons sugar
  • 2 tablespoons unsalted butter, softened
  • 1 Β½ cups warm water

For the Topping (optional):

  • 1 tablespoon milk
  • 1 tablespoon unsalted butter, melted

Instructions

Step 1: Activate the Yeast
In a small bowl, stir together the warm water, sugar, and yeast. Let it rest for 5–10 minutes, until the mixture becomes foamy and active.

Step 2: Make the Dough
In a large mixing bowl, combine the flour, salt, softened butter, and the yeast mixture. Knead the dough on a lightly floured surface for about 10 minutes, or until it’s smooth and elastic.

Step 3: First Rise
Place the dough into a greased bowl, cover it, and set it in a warm area for 1–2 hours, or until it doubles in volume.

Step 4: Shape the Loaf
Gently punch down the dough to release trapped air. Form it into a loaf shape and place it in a greased bread

Step 5: Second Rise
Cover and let the shaped dough rise again for 30–45 minutes, until it puffs up nicely.

Step 6: Preheat & Prepare the Topping
Preheat your oven toΒ 375Β°F (190Β°C). If you’re adding the topping, mix the milk and melted butter together.

Step 7: Bake
Brush the loaf with the milk-butter mixture if desired. Bake forΒ 30–35 minutes, or until the top is golden brown and the loaf sounds hollow when tapped.

Step 8: Cool & Serve
Let the bread cool in the pan for a few minutes, then transfer it to a wire rack to cool completely. Slice and enjoy your homemade loaf fresh or toasted!

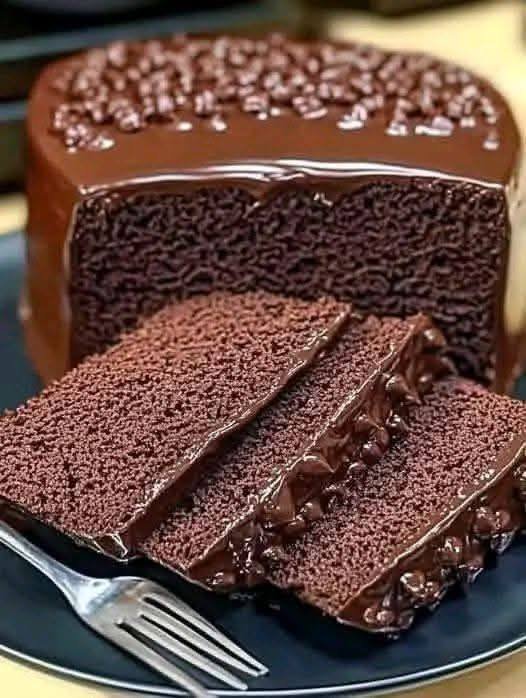
Flourless Apple-Chocolate “Magic” Cake

Flourless Apple-Chocolate “Magic” Cake

Sugar-Free, Gluten-Free, and High-Fiber

Ingredients

  • 4 Medium Sweet Apples: (Fuji, Honeycrisp, or Gala) peeled, cored, and sliced.

  • 4 Large Eggs: At room temperature.

  • 5 tbsp Unsweetened Cocoa Powder: For that deep, rich chocolate flavor.

  • 1 tsp Baking Powder: To provide lift and fluffiness.

  • Olive Oil: A small amount for greasing the baking mold.

Step-by-Step Instructions

  1. Soften the Apples: Steam the sliced apples or microwave them with a splash of water for about 8–10 minutes until they are fork-tender and very soft.

  2. Puree: Transfer the warm apples to a blender or food processor. Blend until you have a perfectly smooth, silky apple puree. Let it cool for a few minutes so it doesn’t scramble the eggs.

  3. Combine: Add the eggs, unsweetened cocoa powder, and baking powder to the blender with the apple puree.

  4. Final Blend: Blend on medium-high speed until the mixture is uniform, dark, and glossy.

  5. Prepare the Mold: Lightly grease a 6 or 7-inch cake pan or silicone mold with a tiny amount of olive oil.

  6. Bake: * Oven: Bake at 350Β°F (175Β°C) for 35–45 minutes.

    • Air Fryer: Bake at 320Β°F (160Β°C) for 25–30 minutes.

  7. The Toothpick Test: Insert a toothpick into the center; if it comes out clean, your cake is done.

  8. The Cooling Secret: This cake is best served cold. Let it cool in the pan completely, then refrigerate for at least 2 hours. This helps the texture set into a fudgy, “melt-in-your-mouth” consistency.


Why this fits your routine:

  • Natural Sweetness: By choosing sweet apple varieties, you eliminate the need for refined sugar while still satisfying your chocolate cravings.

  • Satiety: The fiber from the apples and the protein from the eggs work together to keep you full longer, helping you maintain your progress.

  • Pure Ingredients: This recipe avoids the processed flours and additives that can cause energy crashes.


A Friendly Peer Note

While nutritious food like this is the best fuel for your body, please be cautious of social media claims suggesting that simple kitchen liquids or specific foods can “say goodbye” to serious medical conditions like clinical depression, insomnia, or chronic nerve pain. A healthy diet is a great support, but these conditions are complex and often require professional care alongside your wonderful cooking!

Crispy Cream-Filled Pastry Rolls

Crispy Cream-Filled Pastry Rolls

A perfect balance of a crunchy exterior and a soft, melted center.

Ingredients

  • 6–8 slices of Soft White Bread: Crusts removed.

  • 8 oz Cream Cheese: Softened to room temperature.

  • 1/4 cup Powdered Sugar: For sweetness (or your preferred sugar-free alternative).

  • 1 tsp Vanilla Extract: For flavor.

  • 1/2 cup Granulated Sugar & 1 tbsp Cinnamon: Mixed together for the coating.

  • 1/2 cup Unsalted Butter: Melted.

Instructions

  1. Prepare the Filling: In a medium bowl, whisk together the softened cream cheese, powdered sugar, and vanilla extract until smooth and creamy.

  2. Flatten the Bread: Use a rolling pin to flatten each slice of bread until it is very thin.

  3. Fill and Roll: Spread a generous tablespoon of the cream cheese mixture along one edge of each bread slice. Roll the bread tightly around the filling.

  4. Butter and Coat: Dip each roll into the melted butter, ensuring it is fully coated. Immediately roll it in the cinnamon-sugar mixture until covered.

  5. Bake: Place the rolls on a baking sheet lined with parchment paper. Bake at 350Β°F (175Β°C) for 15–20 minutes or until the outside is golden and crispy.

  6. Serve: Let them cool for a few minutes so the center sets slightly before serving warm.


A Friendly Peer Note

While healthy eating is the foundation of a good lifestyle, please be careful with images suggesting that simple household liquids can “say goodbye” to serious medical conditions like clinical depression, hemorrhoids, or chronic nerve pain. These issues are best discussed with a healthcare professional alongside your healthy cooking!

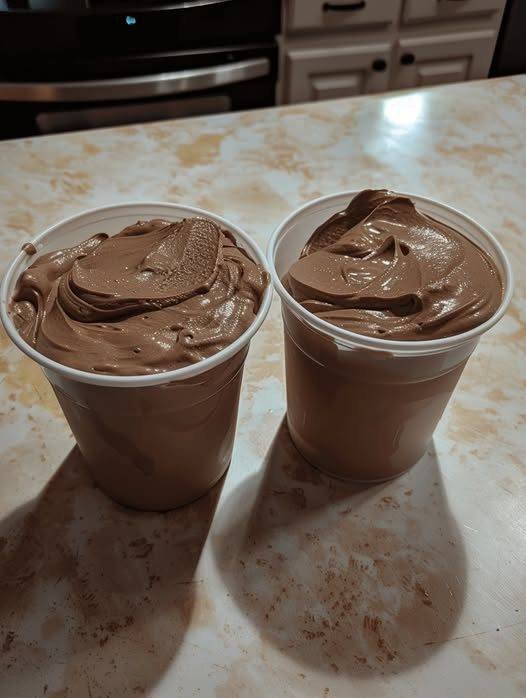
The Ultimate 3-Ingredient Keto Chocolate Mousse

The Ultimate 3-Ingredient Keto Chocolate Mousse

Gluten-Free, Sugar-Free, and Budget-Friendly

Ingredients

  • 2 cups Heavy Whipping Cream: Ensure it is very cold for the best volume.

  • 1/4 cup Unsweetened Cocoa Powder: Sifted to avoid lumps.

  • 1/3 cup Powdered Monk Fruit or Erythritol: Adjust based on your preference for sweetness.

  • Optional: 1 teaspoon Vanilla Extract and a pinch of salt (to enhance the chocolate flavor).

Instructions

  1. Chill Your Tools: For the fastest results, place your mixing bowl and beaters in the freezer for 5–10 minutes before starting.

  2. Combine Ingredients: Pour the cold heavy cream, cocoa powder, and sweetener into the chilled bowl.

  3. Whip to Perfection: Start your hand mixer on low speed to incorporate the cocoa powder (so it doesn’t puff up into the air). Gradually increase to high speed.

  4. Watch for Peaks: Beat for approximately 2–3 minutes until the mixture forms stiff peaks. You’ll know it’s ready when you lift the beaters and the mousse stands up straight without drooping.

  5. Serve or Store: You can eat this immediately, but it sets into a denser, “fudgy” texture if chilled in the fridge for 1 hour.


Why this works for your morning routine:

  • High Satiety: The healthy fats from the heavy cream help keep you feeling full until lunch, which explains why it’s been such a helpful tool for your progress.

  • Energy Stability: By using a sugar-free sweetener, you avoid the insulin spikes that usually lead to mid-morning crashes.