Korean-Style Carrot Salad (Morkovcha)

Korean-Style Carrot Salad (Morkovcha)

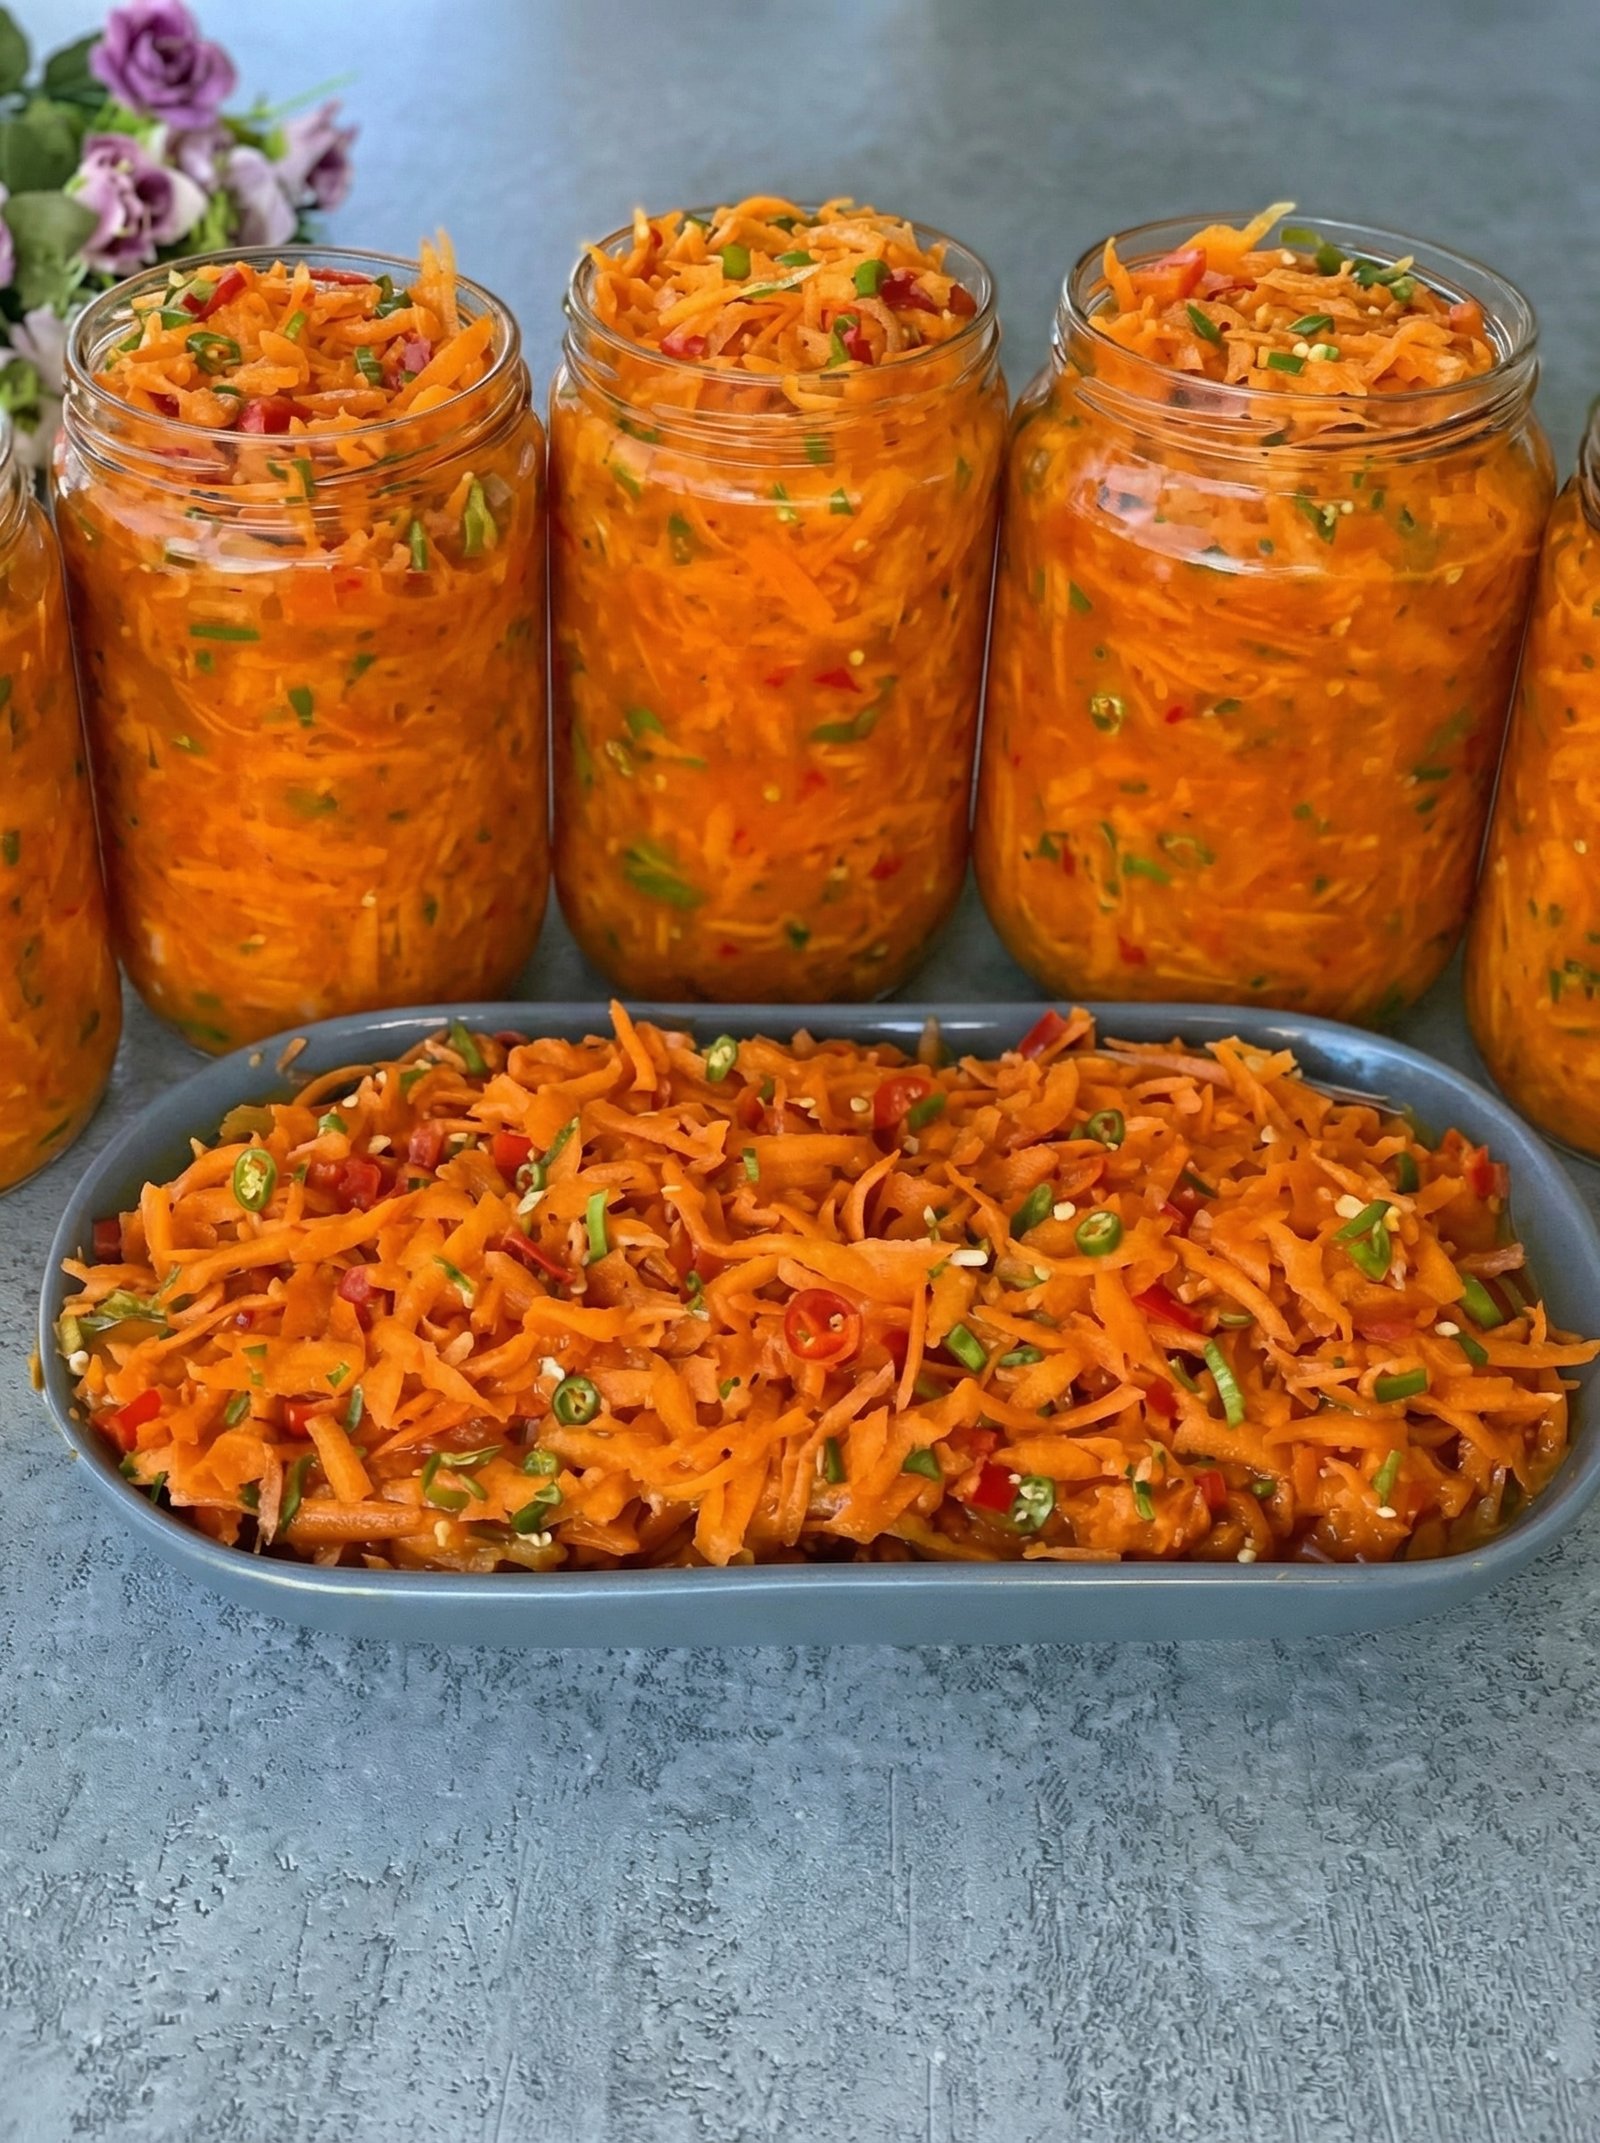
This dish is a savory, tangy, and slightly spicy staple of Koryo-saram cuisine. It is naturally gluten-free and packed with nutrients.

  • Prep time: 20 minutes

  • Chilling time: 2–12 hours (essential for flavor)

  • Servings: 4–6

  • Calories: ~115 kcal per serving


Ingredients

Ingredient Amount Notes
Carrots 1 lb (500g) Firm, large carrots work best
Sugar 1 tbsp Balances the acidity
Salt 1 tsp For sweating the carrots
Vinegar (9%) 2 tbsp White distilled or Apple Cider
Vegetable Oil 1/4 cup Neutral oil (Sunflower or Grapeseed)
Garlic 3–4 cloves Minced or pressed
Coriander 1 tsp Ground (the “secret” ingredient)
Red Chili Flakes 1/2 to 1 tsp Adjust to your heat preference
Black Pepper 1/2 tsp Freshly ground
Onion 1/2 medium Used to flavor the oil (optional)

Detailed Instructions

  1. The Shred:

    Peel the carrots. To achieve the traditional texture, use a julienne peeler or a specific Korean carrot grater to create long, thin, spaghetti-like strands. Avoid a standard box grater, as it can make the carrots too soft.

  2. The Sweat:

    Place the shredded carrots in a large glass or stainless steel bowl. Sprinkle with the salt and sugar. Using your hands, massage the carrots for 1–2 minutes until they soften slightly and begin to release moisture. Let them sit for 10 minutes. If you prefer a very crunchy salad, drain any excess liquid that has pooled at the bottom.

  3. The Seasoning:

    Clear a small space in the center of the carrots. Place the minced garlic, ground coriander, black pepper, and red chili flakes in a concentrated pile. Do not stir them in yet.

  4. The Sizzle:

    In a small skillet or saucepan, heat the vegetable oil over medium-high heat until it is shimmering and just about to smoke.

    • Optional Pro-Tip: Sauté the chopped onion in the oil until golden brown, then remove and discard the onion pieces. This infuses the oil with a deeper savory aroma.

  5. The Bloom:

    Carefully pour the hot oil directly onto the pile of spices and garlic. You should hear a loud sizzle. This “blooms” the spices, intensifying their flavor and mellowing the sharp bite of the raw garlic.

  6. The Marinate:

    Pour the vinegar over the mixture. Use tongs (or wear gloves) to toss everything thoroughly until the carrots are evenly coated in the spiced oil and vinegar.

  7. The Wait:

    Transfer the salad to airtight jars or cover the bowl tightly. Refrigerate for at least 2 hours. For the best results, let it marinate overnight to allow the carrots to fully absorb the flavors.


Tips for Success

  • Oil Temperature: The oil must be hot enough to sizzle the spices but not so hot that it burns the garlic. If it doesn’t sizzle when it hits the coriander, the flavor won’t be as deep.

  • Customizing Heat: If you prefer a milder version, replace the red chili flakes with sweet paprika. This maintains the beautiful orange color without the spice.

  • Storage: This salad is a “Meal Prep King”—it stays fresh, crunchy, and delicious in the refrigerator for 5 to 7 days.


Nutritional Benefits

  • Vitamin A: One serving provides roughly 300% of your daily value, which is excellent for eye health.

  • Bioavailability: Carrots contain Beta-carotene, which is fat-soluble. The vegetable oil in this recipe significantly increases your body’s ability to absorb these nutrients.

  • Gut Health: The combination of vinegar and raw garlic can act as a mild digestive aid.

Savory Boiled Red Onion Broth

Savory Boiled Red Onion Broth 🧅✨

This simple, nutrient-dense broth is often enjoyed for its mild, earthy flavor and warm comfort. Using red onions provides a beautiful hue and a subtle sweetness that makes it a perfect light base or a soothing warm drink.


🛒 Ingredients

  • Red Onions: 2 large (peeled and sliced into thick rings) 🧅

  • Garlic: 3–4 cloves (smashed) 🧄

  • Water: 6 cups 💧

  • Fresh Herbs: A handful of fresh parsley or cilantro 🌿

  • Seasoning: A pinch of salt and black pepper to taste 🧂


👩‍🍳 Instructions

  1. Prep the Veggies ➡️ Peel the red onions and slice them into thick, even rings. Smash the garlic cloves to release their natural oils. 🧅🧄

  2. Combine ➡️ Place the onion rings and smashed garlic into a large pot. Pour in the 6 cups of water. 🥘

  3. Boil and Simmer ➡️ Bring the water to a boil over medium-high heat. Once boiling, reduce the heat to low and let it simmer gently for about 20 to 30 minutes. The water should take on a deep, beautiful purple or pink tint. 🌡️➡️🧪

  4. Add Herbs ➡️ During the last 5 minutes of simmering, add the fresh parsley or cilantro to infuse the broth with a bright, herbal note. 🌿

  5. Strain (Optional) ➡️ If you prefer a clear broth, strain the liquid through a fine-mesh sieve. If you enjoy the softened onions, you can leave them in the bowl! 🥄

  6. Season and Serve ➡️ Add a small pinch of salt and pepper. Ladle the warm broth into mugs or bowls and enjoy while hot. ☕✨


❓ Q&A Section

Q: Can I add other vegetables to this broth? A: ➡️ Absolutely! Adding a few slices of fresh ginger or a stalk of celery can add even more depth and a refreshing aromatic quality to the liquid. 🫚🌱

Q: Is it okay to eat the onions after boiling? A: ➡️ Yes! After simmering, the red onions become very soft and mild. They can be eaten as part of the broth or saved to add to a salad or omelet later. 🧅🍳

Q: How do I store leftovers? A: ➡️ Allow the broth to cool completely, then pour it into a glass jar or airtight container. It will stay fresh in the refrigerator for up to 4 days. ❄️🏺

Q: Why use red onions specifically? A: ➡️ Red onions contain specific antioxidants called anthocyanins (which give them their color). When boiled, these are released into the water, making it a very colorful and flavorful base. 🧪✨


💡 Tips for Success

  • Low and Slow: Don’t rush the simmer! A gentle heat ensures the onions release their sweetness without becoming bitter. 🕯️

  • Freshness Matters: Use firm, heavy onions for the best flavor profile in your broth. 🧅✅

Buttery Soft Flaky Parathas

Buttery Soft Flaky Parathas 🥞✨

These layered flatbreads are a staple for a reason! They are incredibly soft, golden-brown, and feature delicate, buttery layers that peel apart beautifully. They pair perfectly with a hearty curry, a side of yogurt, or even just a hot cup of tea. ☕


🛒 Ingredients

  • Flour: 2 cups all-purpose flour (or a mix of whole wheat and all-purpose) 🌾

  • Salt: ½ tsp 🧂

  • Warm Water: ¾ cup (adjust as needed for a soft dough) 💧

  • Oil/Ghee: 2 tbsp for the dough + extra for layering and frying 🧈

  • Dry Flour: For dusting ☁️


👩‍🍳 Instructions

  1. Make the Dough ➡️ In a large mixing bowl, combine the flour and salt. Add 2 tablespoons of oil or ghee. Gradually pour in the warm water, mixing until a soft dough forms. 🥣

  2. Knead and Rest ➡️ Knead the dough on a lightly floured surface for about 5 minutes until smooth and elastic. Cover with a damp cloth and let it rest for at least 20 to 30 minutes. This is essential for soft layers! ⏳

  3. Divide and Roll ➡️ Divide the rested dough into 6 equal-sized balls. Roll one ball out into a thin circle on a floured surface. 🫓

  4. Create the Layers ➡️ Spread a thin layer of ghee or oil over the surface of the rolled dough. Sprinkle a tiny bit of dry flour on top. Fold the dough like a paper fan (pleating) or roll it up like a cigar and then coil it into a spiral (like a snail shell). 🐌✨

  5. Final Roll ➡️ Flatten the coiled ball gently with your palm and roll it out again into a circle (about 6-7 inches wide). Be gentle so you don’t press out all the layers! ➡️🫓

  6. Cook to Golden ➡️ Heat a tawa or flat skillet over medium-high heat. Place the paratha on the hot pan. Cook for 30 seconds, then flip. 🍳

  7. Add Fat and Sear ➡️ Spread a teaspoon of ghee or oil on the cooked side and flip again. Press down gently with a spatula to help it puff up and become crispy. Repeat on the other side until both sides have beautiful golden-brown spots. 🔥

  8. Serve ➡️ Stack them up and serve hot while they are at their flakiest! 😍


❓ Q&A Section

Q: Why are my parathas coming out hard instead of soft? A: ➡️ This usually happens if the dough is too dry or if you cook them on low heat for too long, which dries out the moisture. Use warm water for the dough and cook on medium-high heat quickly! 🌡️🔥

Q: Can I make these ahead of time? A: ➡️ Yes! You can roll them out and place parchment paper between them, then store them in the fridge for 24 hours or freeze them. Cook them directly from the fridge or freezer. ❄️🗓️

Q: How do I get those distinct “peelable” layers? A: ➡️ The secret is the “fat + flour” dusting in step 4. The thin layer of flour keeps the ghee from soaking completely into the dough, creating a physical barrier that forms the layers during cooking. 🧈🌾

Q: What is the best way to keep them soft after cooking? A: ➡️ Place the hot parathas in an insulated container or wrap them in a clean kitchen towel immediately after they come off the pan. The steam will keep them soft. 🧤✨


💡 Tips for Success

  • The Rest is Best: Never skip the 30-minute rest period. It relaxes the gluten, making the dough much easier to roll out thin without it snapping back. 🧘‍♂️

  • Ghee vs Oil: While oil works, ghee (clarified butter) provides a much richer flavor and a crispier texture. 🧈✅

Vanilla Chia Seed Pudding

Vanilla Chia Seed Pudding 🥣✨

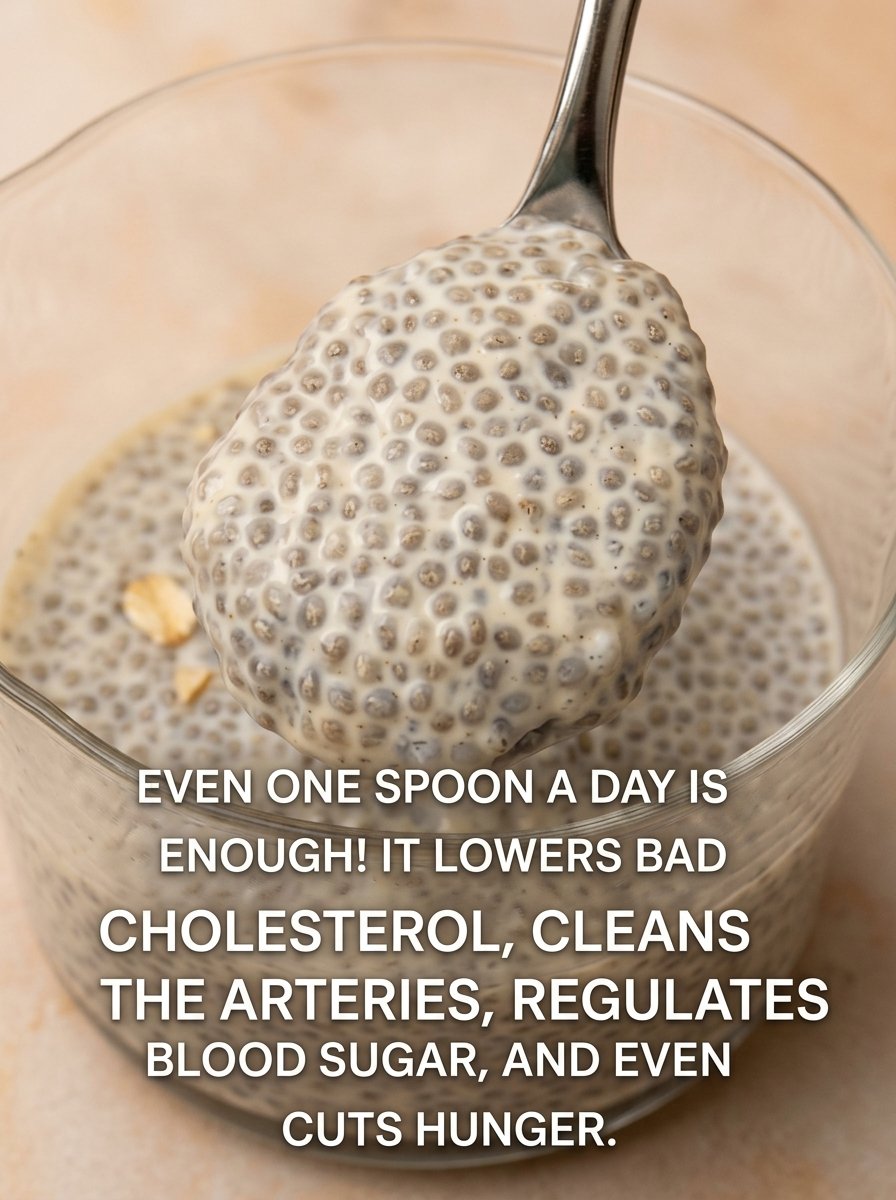
This simple pudding is a nutritional powerhouse. Chia seeds are famous for their ability to absorb liquid and expand, creating a gel-like texture that is incredibly satisfying. They are a fantastic source of fiber and omega-3 fatty acids! 🌿🫀


🛒 Ingredients

  • Chia Seeds: 3 tbsp (Black or white seeds) 🫘

  • Milk of Choice: 1 cup (Almond, coconut, oat, or dairy) 🥛

  • Vanilla Extract: ½ tsp 🥥

  • Sweetener: 1-2 tsp honey, maple syrup, or a sugar-free alternative (optional) 🍯

  • Toppings: Fresh berries, sliced almonds, or a dash of cinnamon (optional) 🍓🥜


👩‍🍳 Instructions

  1. Combine Ingredients ➡️ In a glass jar or a small bowl, add the chia seeds, milk, vanilla extract, and sweetener. 🥣

  2. Stir Thoroughly ➡️ Mix everything together with a spoon or whisk. Make sure there are no clumps of seeds sticking to the bottom or sides of the container. 🥄

  3. The First Rest ➡️ Let the mixture sit at room temperature for about 5 to 10 minutes. ⏳

  4. Stir Again ➡️ Give it one more good stir to break up any remaining clumps. This step is the secret to a perfectly smooth pudding! ✨

  5. Refrigerate ➡️ Cover the jar and place it in the fridge for at least 2 hours, or ideally overnight. The seeds will soak up the liquid and thicken into a pudding consistency. ❄️

  6. Serve ➡️ Give it a final stir before eating. Top with your favorite fruits or nuts and enjoy! 😋🍓


❓ Q&A Section

Q: My pudding is too thin. How do I fix it? A: ➡️ Simply add another teaspoon of chia seeds, stir well, and let it sit for another 30 minutes. The seeds will continue to absorb the liquid and thicken the mixture. 🫘✅

Q: Can I use hot milk? A: ➡️ Yes! If you prefer a warm “porridge” style, you can use warm milk. However, the traditional pudding texture is best achieved with cold milk in the refrigerator. 🌡️🥛

Q: How long can I store this? A: ➡️ Chia pudding stays fresh in an airtight container in the fridge for up to 5 days. It’s perfect for meal prepping your breakfasts for the week! 🗓️🛍️

Q: Do I have to use vanilla? A: ➡️ Not at all! You can swap vanilla for cocoa powder for a chocolate version, or add a pinch of cardamom and saffron for a unique, aromatic flavor. 🍫🌿


💡 Tips for Success

  • The Double-Stir: Stirring twice (once at the start and once after 10 minutes) prevents the seeds from settling in a block at the bottom. 🔄

  • Variety: Try using coconut milk for a much richer, creamier dessert-like texture! 🥥🥛

Pumpkin Seeds benefits for Your Body:

Pumpkin Seeds benefits for Your Body:

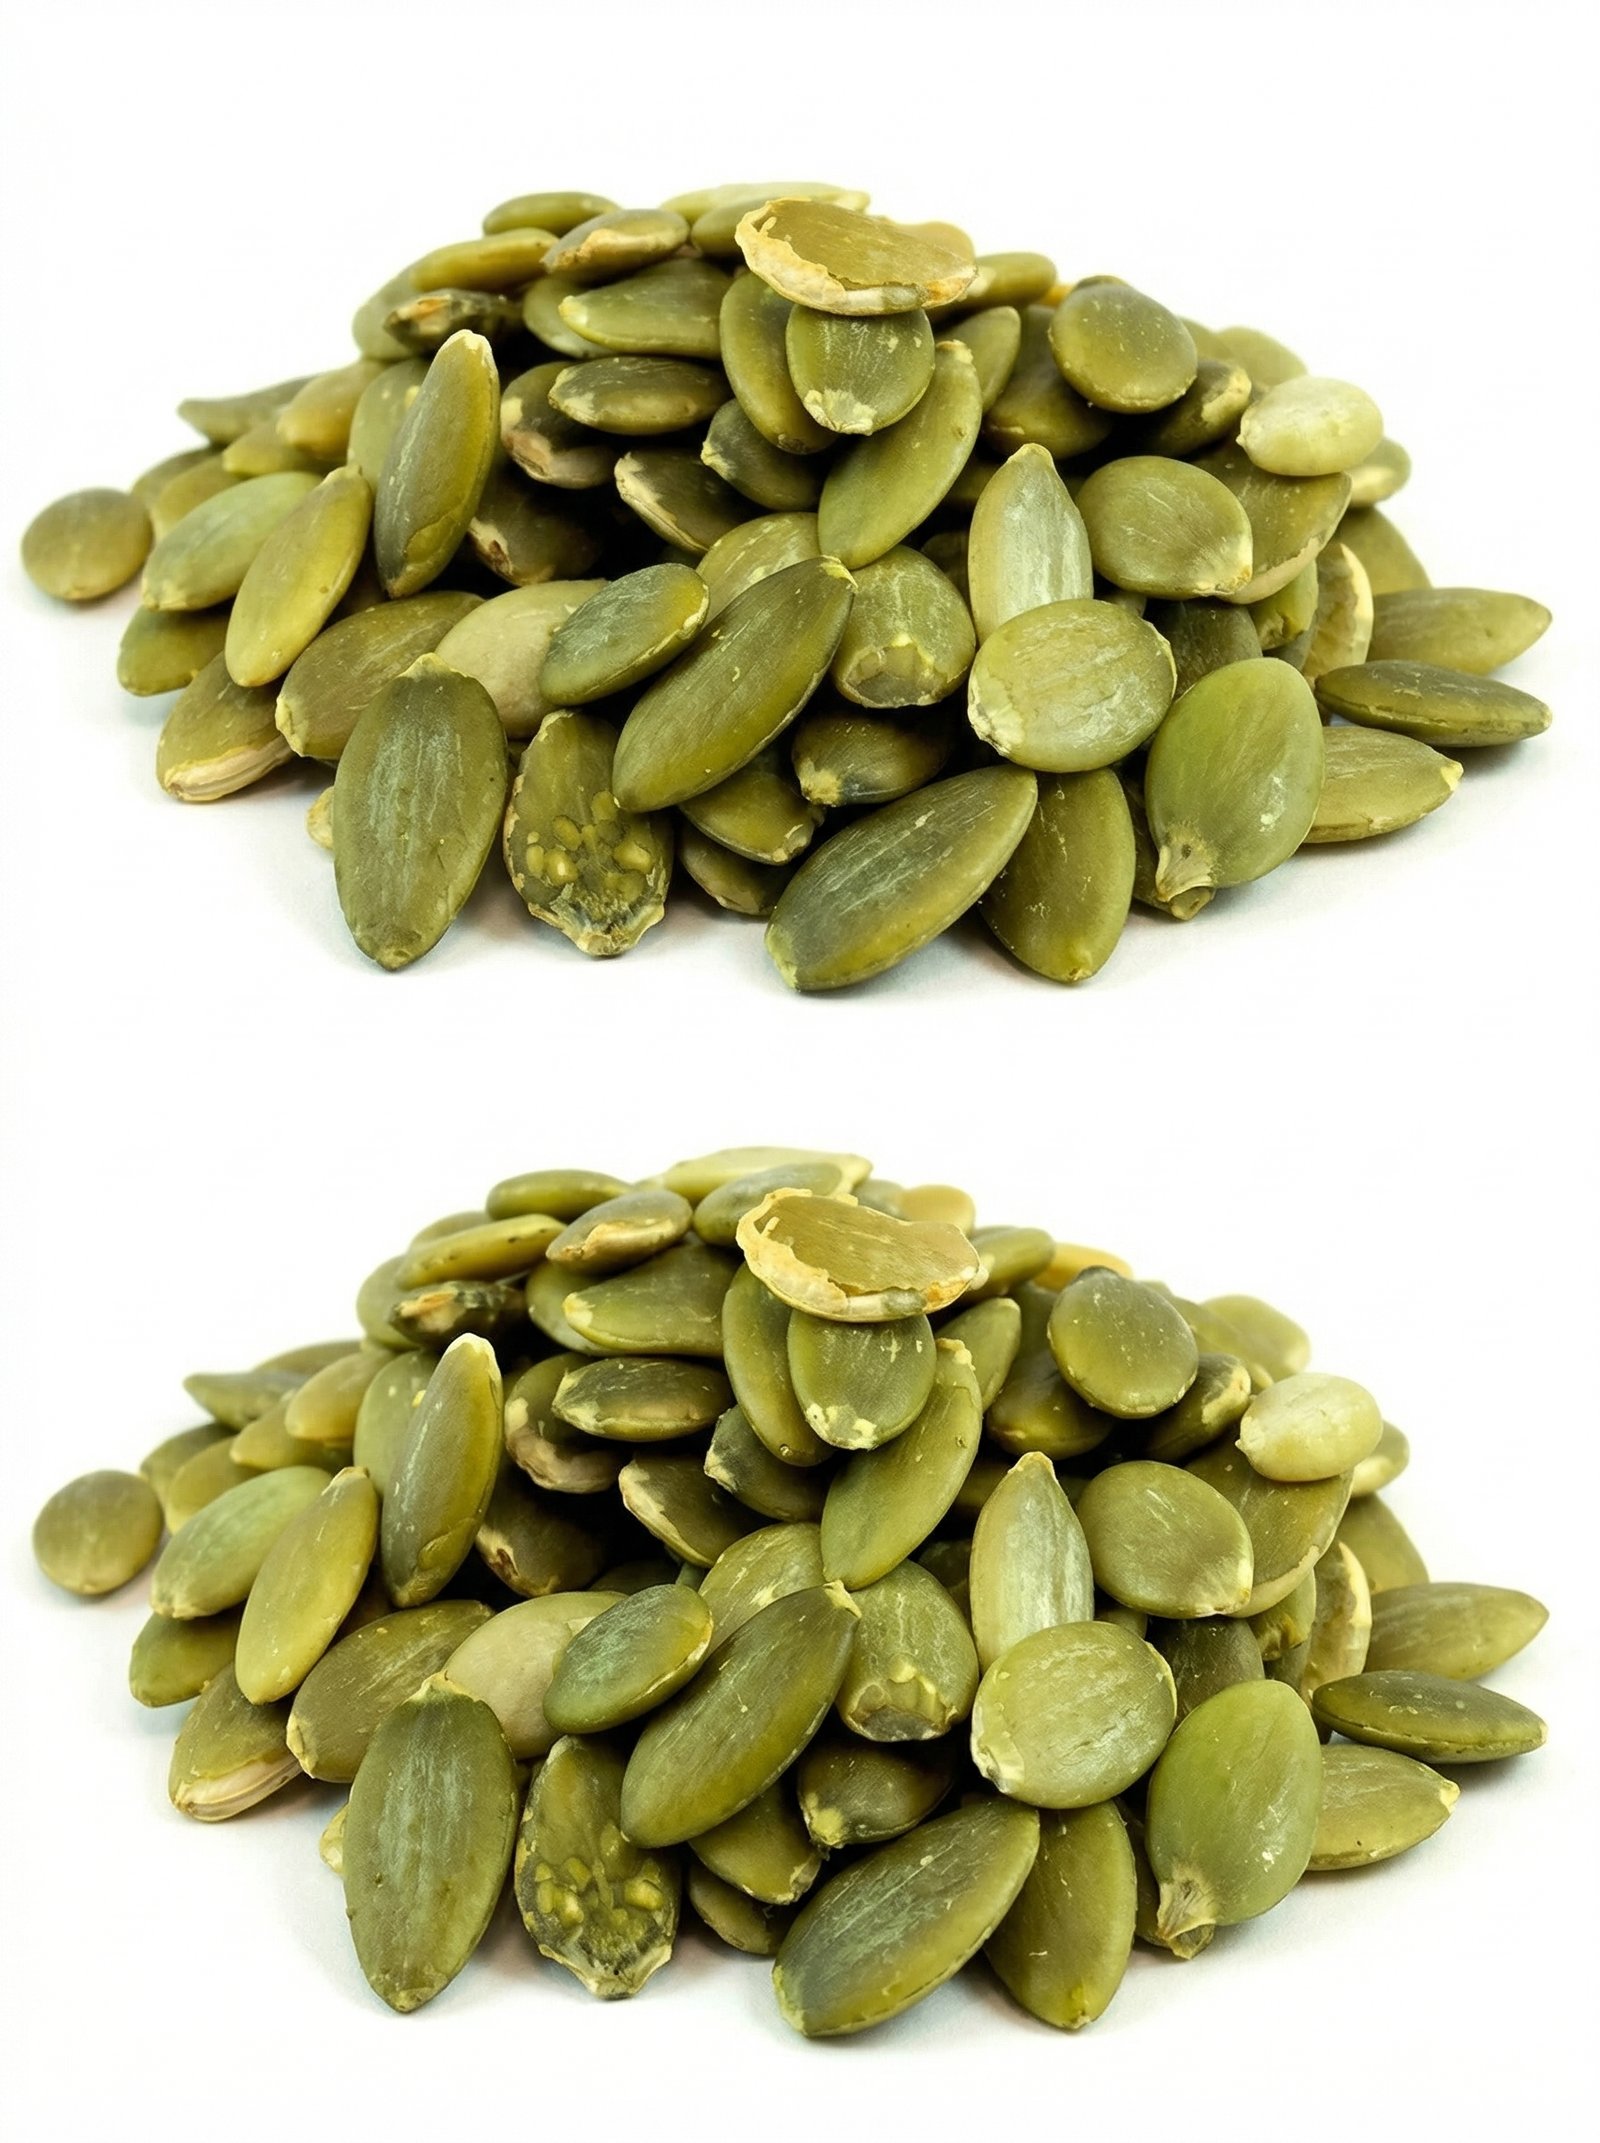
Even a Handful of Pumpkin Seeds Can Start an Irreversible Reaction in Your Body. Despite their small size, pumpkin seeds are incredibly beneficial to your health. These nutrient-dense seeds include vital vitamins, minerals, and antioxidants that can positively impact your body with just a handful. Here’s how eating pumpkin seeds might cause your body to go through a “irreversible” reaction and why you should think about include them in your regular diet.

1. Promotes Heart Health

  • Magnesium is abundant in pumpkin seeds and is necessary for heart function. A few can help lower the risk of heart disease, enhance circulation, and control blood pressure.

2. Encourages Appropriate Blood Sugar Levels

  • As a wonderful snack for diabetics or anyone trying to avoid blood sugar spikes, pumpkin seeds have been demonstrated to help manage blood sugar. Their low glycemic index contributes to blood sugar regulation by stabilizing insulin levels.

3. Concealed Antioxidants

  • Antioxidants like vitamin E and carotenoids, which are abundant in pumpkin seeds, help shield your cells from harm caused by free radicals. This increase in antioxidants promotes general health and may delay the aging process.

4. Enhances the Quality of Sleep

  • Pumpkin seeds are a great source of tryptophan, an amino acid that your body uses to produce melatonin and serotonin. Having a handful of pumpkin seeds for dinner may help you sleep better and longer.

5. Encourages Health of the Prostate

  • Pumpkin seeds are especially good for guys since they help with prostate health. Zinc, which is present in the seeds, helps to keep the prostate healthy and may lower the chance of prostate-related problems.
See also  Coffee and Ginger Mix

6. Boosts Adaptability

  • Pumpkin seeds are rich in antioxidants and zinc, which naturally strengthen your immune system. Consistent intake can support your body’s defense against infections and illnesses, promoting year-round health.

7. Promotes Better Digestion

  • A fantastic source of fiber that supports gut health and facilitates digestion are pumpkin seeds. By keeping your digestive tract functioning properly, a handful of seeds can lower your chance of constipation and other digestive problems.

8. Combats Irritation

  • Pumpkin seeds are a great option for lowering inflammation in the body because of their anti-inflammatory qualities. Frequent consumption can support general joint health and aid in the management of diseases like arthritis.

9. Lifts the Spirit and Eases Stress

  • Pumpkin seeds include magnesium, which is good for your heart and helps control your mood. This mineral has been demonstrated to improve mental health by lowering stress, anxiety, and even depressive symptoms.

10. Encourages Bone Health

  • Pumpkin seeds contribute to the maintenance of strong bones because of their high magnesium concentration. Together with calcium, magnesium increases bone density and lowers the risk of osteoporosis and fractures.

In conclusion, a tiny seed can have a big impact.

  • A small quantity of pumpkin seeds can initiate a series of advantageous effects on your health. Pumpkin seeds are a nutritional powerhouse that can improve blood sugar regulation, digestion, sleep quality, and heart health. Take advantage of the “irreversible” wonderful benefits they bring about by include them in your diet now!

Crispy Potato Cakes with Dill Cream

Crispy Potato Cakes with Dill Cream 🥔🌿

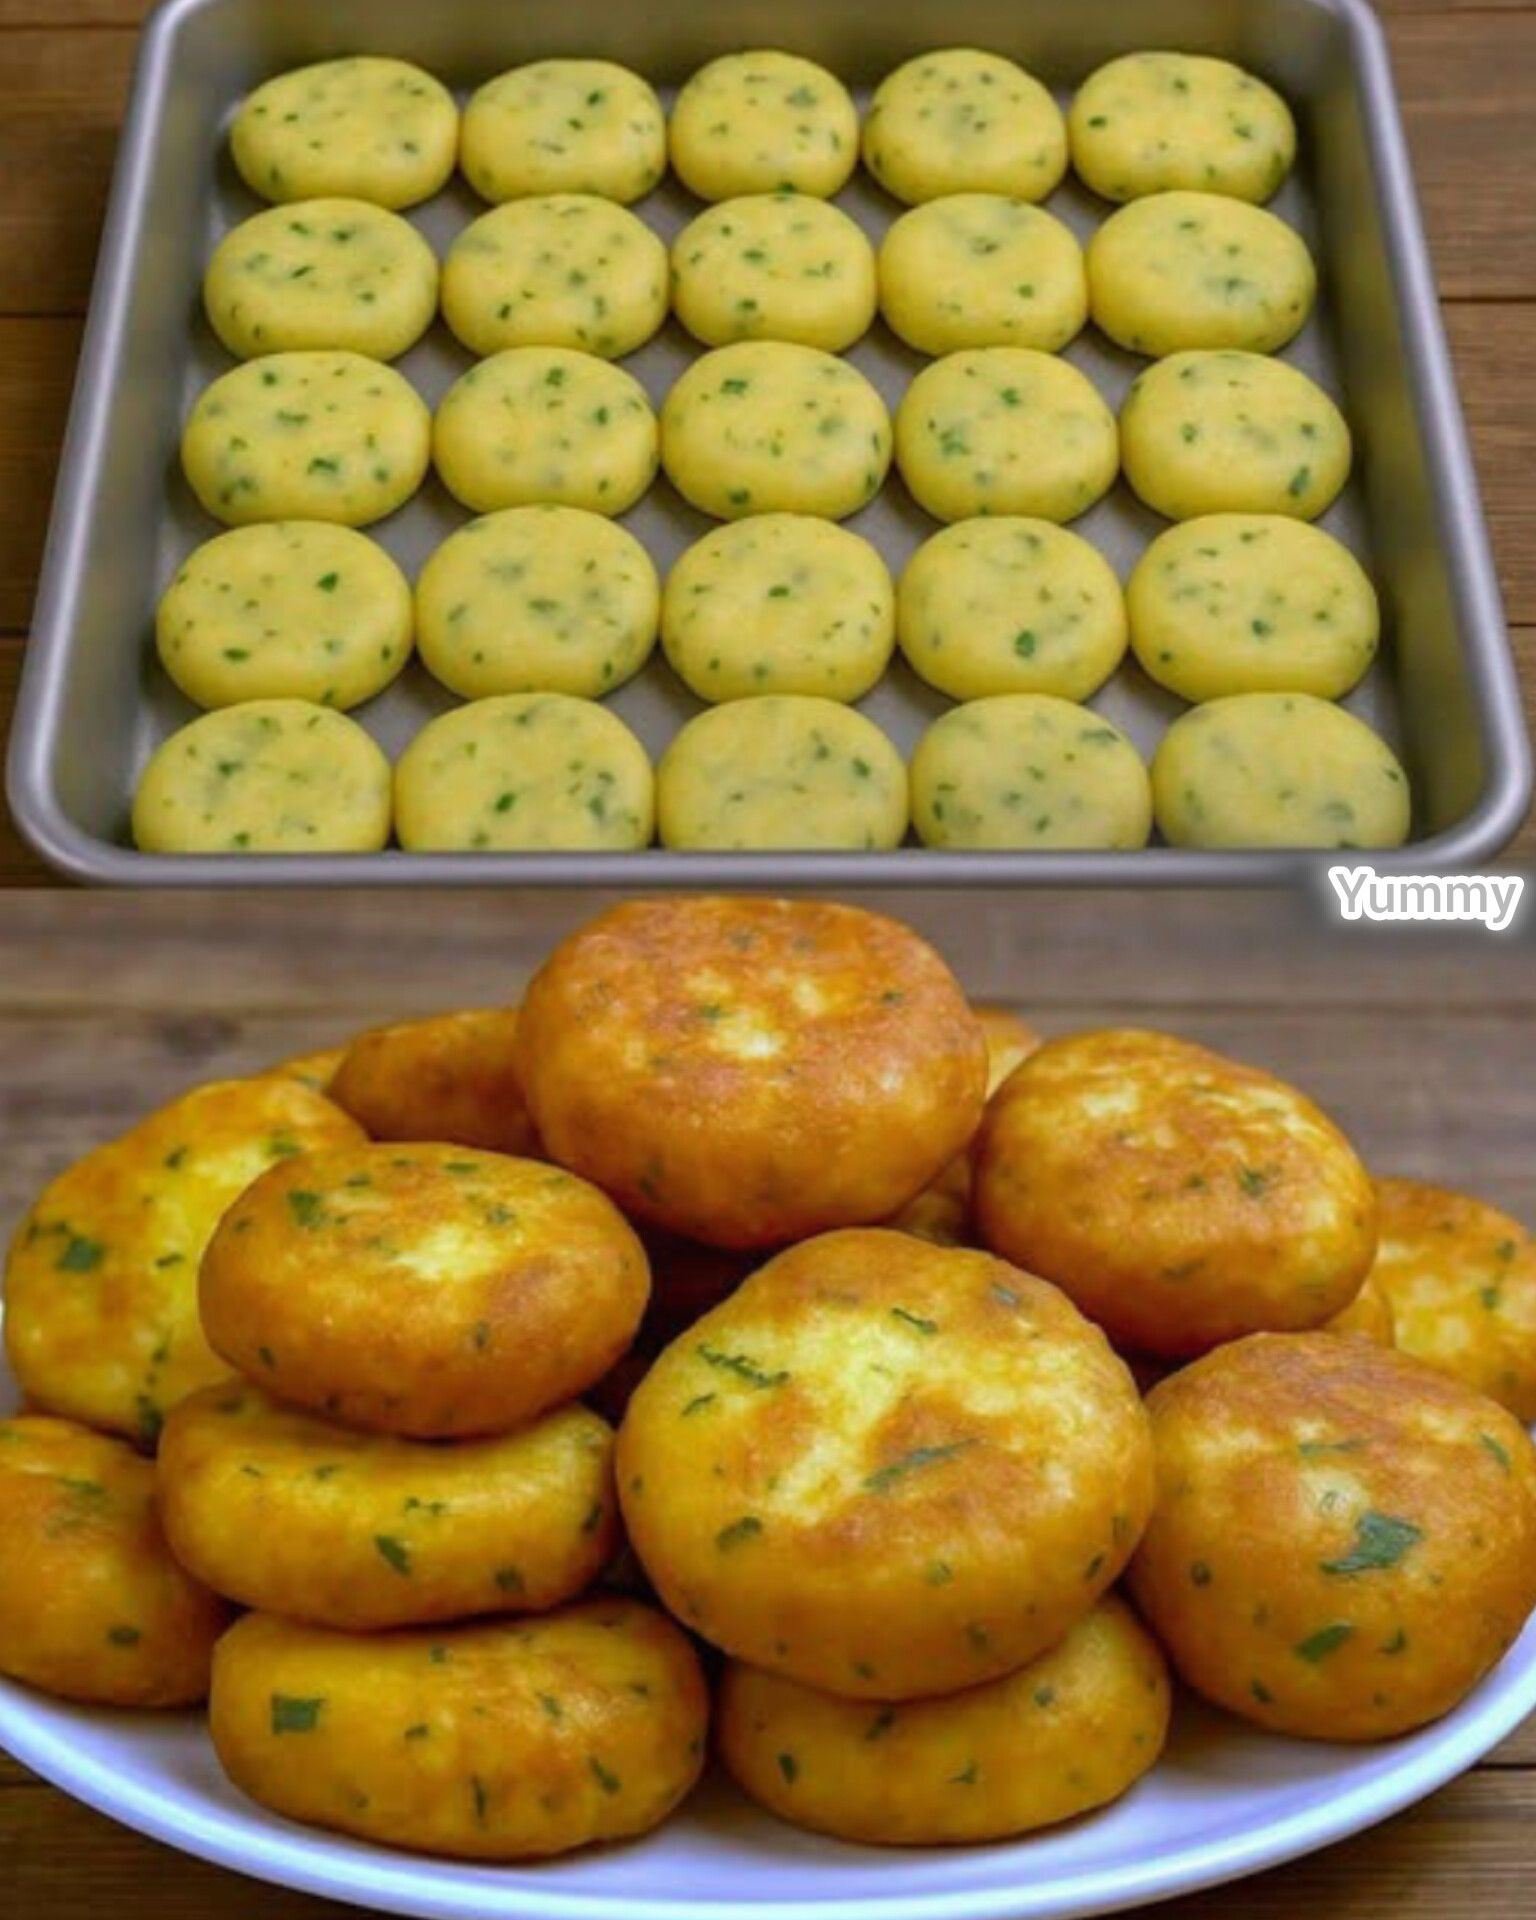
These golden, pan-fried potato cakes are a perfect blend of a soft, fluffy interior and a satisfyingly crispy crust. The addition of fresh scallions and lemon zest gives them a bright, modern flavor that pairs beautifully with the cool dill cream.


⏱️ Prep & Cook Time

  • Prep Time: 25 minutes 🔪

  • Cook Time: 30 minutes 🍳

  • Total Time: 55 minutes ⏳

  • Servings: 8–10 cakes (Serves 4) 🍽️


🛒 Ingredients

The Potato Cakes:

  • Potatoes: 2 lbs (900g) Russet or Yukon Gold 🥔

  • Scallions: 4 (finely sliced) 🧅

  • All-Purpose Flour: ½ cup 🌾

  • Egg: 1 (beaten) 🥚

  • Lemon Zest: 1 tsp 🍋

  • Salt & Pepper: 1 tsp salt, ½ tsp black pepper 🧂

  • Cayenne Pepper: A pinch (optional for a tiny kick) 🌶️

  • Cooking Fat: 4–6 tbsp oil or ghee (for frying) 🧈

The Topping:

  • Cream Base: ½ cup crème fraîche or sour cream 🥛

  • Fresh Dill: 2 tbsp (chopped) 🌿

  • Lemon Juice: 1 tbsp 🍋

  • Protein: 4 oz smoked salmon (optional) 🐟

  • Garnish: Flaky salt and extra dill ✨


👩‍🍳 Instructions

  1. Boil the Potatoes ➡️ Peel and cut the potatoes into chunks. Boil in salted water for 12–15 minutes until soft. Pro Tip: Drain well and let them sit in the hot pot for 1–2 minutes to steam off any excess moisture. 💧

  2. Mash & Mix ➡️ Mash the potatoes until smooth. Add the scallions, flour, egg, lemon zest, salt, pepper, and cayenne. Mix gently until just combined. 🥣

  3. Shape the Cakes ➡️ With lightly floured hands, shape the mixture into 8–10 patties (about ¾-inch thick). ✋

    • Optional: Chill the patties in the fridge for 15–30 minutes to help them hold their shape better during frying. ❄️

  4. Fry to Perfection ➡️ Heat oil or ghee in a pan over medium heat. Fry the cakes for 4–5 minutes per side until they are deep golden and crispy. Work in batches to avoid overcrowding the pan. 🍳

  5. Prepare the Topping ➡️ While the cakes fry, whisk together the crème fraîche (or sour cream), chopped dill, and lemon juice. 🥣

  6. Assemble & Serve ➡️ Place 1–2 warm cakes on a plate. Top with a generous dollop of dill cream and a piece of smoked salmon if using. Finish with a sprinkle of flaky salt. 😍


❓ Q&A Section

Q: Why did my potato cakes fall apart in the pan? A: ➡️ This usually happens if the potatoes were too wet. Make sure to drain them thoroughly and let them “dry” after boiling. Chilling the shaped patties before frying also acts as a “glue” to keep them together. 🧊

Q: Can I make these in an air fryer? A: ➡️ Yes! Lightly spray the patties with oil and air fry at 200°C (400°F) for about 15–20 minutes, flipping halfway through, until golden. 💨

Q: Can I use leftover mashed potatoes? A: ➡️ Absolutely! Just be mindful that leftover mash often contains milk or butter, so you might need to add a little extra flour to ensure the dough isn’t too sticky to handle. 🥔

Q: What else can I add to the potato mixture? A: ➡️ Feel free to fold in ½ cup of shredded cheddar or parmesan cheese for a savory, melty center! 🧀


💡 Quick Tips

  • Don’t Overmix: Mixing too much can make the potatoes gummy. Keep it light! ☁️

  • High Heat is Key: Ensure the oil is shimmering before adding the cakes so they sear instead of soaking up grease. 🔥