Savory Minced Meat & Cheese Pastry Roll

Savory Minced Meat & Cheese Pastry Roll 🧀

A delicious, golden-brown pastry filled with seasoned meat, melty cheese, and a surprise touch of chopped eggs for extra richness.

🛒 Ingredients

  • Puff Pastry: 1 large sheet (thawed) 🥐

  • Minced Meat: 300g (Beef or Chicken work best) 🥩

  • Butter: 1 tbsp (for greasing/brushing) 🧈

  • Aromatics: 1 Onion (finely chopped) & 1 tsp Dried Basil 🌿

  • Protein Boost: 2 Boiled eggs (finely chopped) 🥚

  • Cheese: 100g Grated Mozzarella or Cheddar 🧀

  • Freshness: 1 bunch Parsley (chopped) 🌱

  • Seasoning: Salt and black pepper to taste 🧂


👩‍🍳 Step-by-Step Instructions

  1. Prep the Meat Filling ➡️ In a pan, sauté the chopped onion with a little oil until soft. Add the minced meat and cook until browned. Season with salt, pepper, and dried basil. Drain any excess fat and let it cool slightly. 🍳

  2. Prepare the Dough ➡️ Roll out your puff pastry sheet on a lightly floured surface or parchment paper. 📜

  3. Layer the Flavors ➡️ Spread the cooked minced meat evenly across the pastry, leaving a small border at the edges. Top with the chopped boiled eggs and half of the chopped parsley. 🌿

  4. Add the Cheese ➡️ Sprinkle the grated cheese generously over the meat and egg layer. 🧀

  5. Roll It Up ➡️ Carefully roll the pastry tightly (like a Swiss roll) starting from the long edge. Pinch the ends to seal everything inside. 🌀

  6. Bake to Golden Perfection ➡️ Place the roll on a greased baking tray. Brush the top with melted butter or an egg wash for extra shine. Bake at 200°C for about 20–25 minutes until the pastry is puffed and deep golden brown. 🕒

  7. Final Touch ➡️ Remove from the oven, sprinkle with the remaining fresh parsley, and slice into thick rounds while warm. ✨


❓ Common Questions (Q&A)

Q: Can I use raw meat directly on the pastry? A: It is much safer and tastier to cook the meat first. This prevents the pastry from getting soggy from the meat juices and ensures the onions are perfectly soft. 🥘

Q: My pastry isn’t rising, what happened? A: Make sure your oven is fully preheated before putting the tray in. Puff pastry needs that initial “blast” of heat to create those beautiful, flaky layers! 🔥

Q: Can I make this ahead of time? A: You can roll it up and keep it in the fridge (covered) for a few hours before baking. Just bake it fresh when you’re ready to eat! ❄️

Q: What should I serve this with? A: It pairs perfectly with a crisp green salad or a simple garlic yogurt dip. 🥗
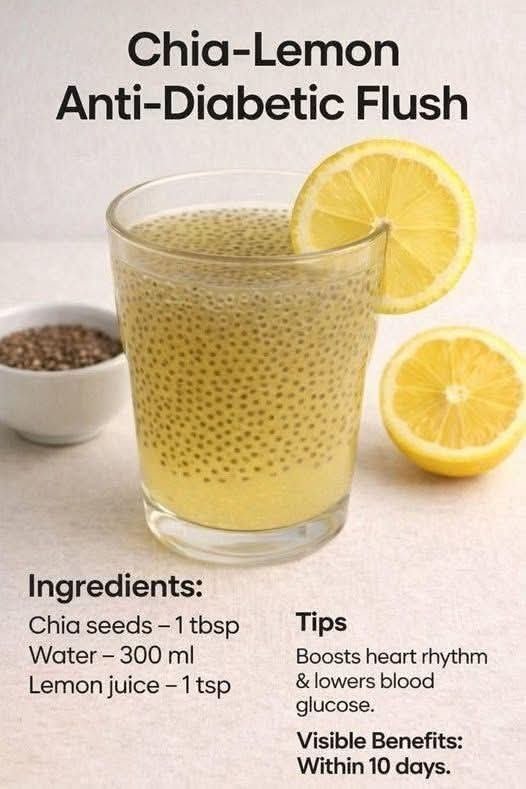
Chia–Lemon Drink (Chia Lemon Water)

Chia–Lemon Drink (Chia Lemon Water)

Description

Chia–Lemon Drink is a refreshing hydration beverage made by soaking chia seeds in water and finishing with fresh lemon juice. It’s light, mildly tangy, and packed with fiber, omega-3 fatty acids, and antioxidants. This drink is commonly enjoyed in the morning or between meals to support digestion, hydration, and overall wellness.

Ingredients

  • Chia seeds – 1 tablespoon

  • Water – 300 ml (about 1¼ cups)

  • Fresh lemon juice – 1 teaspoon

  • (Optional) Honey or stevia – to taste

  • (Optional) A pinch of salt – for electrolytes

Instructions (How to Make)

  1. Soak the chia seeds
    Add chia seeds to the water and stir well to prevent clumping.

  2. Rest and gel
    Let sit for 10–15 minutes, stirring once or twice, until the seeds swell and form a gel.

  3. Add lemon juice
    Stir in fresh lemon juice.

  4. Optional flavoring
    Add honey, stevia, or a pinch of salt if desired.

  5. Serve
    Drink immediately or refrigerate for up to 24 hours.

 Prep Time

  • Prep: 5 minutes

  • Soaking: 10–15 minutes

  • Total: ~15–20 minutes

 Servings

  • 1 serving

 Nutritional Information (Approx. per serving)

  • Calories: 60–70 kcal

  • Fiber: 5–6 g

  • Protein: 2 g

  • Fat: 4 g (mostly omega-3s)

  • Carbohydrates: 6 g

  • Sugar: <1 g

  • Sodium: Very low (unless salt added)

(Values may vary slightly based on ingredients used.)

 Potential Benefits

✔ Supports hydration
✔ High in dietary fiber for digestion
✔ Provides omega-3 fatty acids for heart health
✔ May help promote fullness and reduce overeating
✔ Lemon adds vitamin C and antioxidants
✔ Low glycemic impact when unsweetened

Important: While chia seeds may help support stable blood sugar when part of a balanced diet, they do not replace medication or medical care.

 Tips for Best Results

  • Always soak chia seeds before drinking to avoid digestive discomfort.

  • Stir well to prevent clumps.

  • Use fresh lemon juice, not bottled, for better flavor and nutrients.

  • Start with ½ tablespoon chia seeds if new to chia.

  • Drink slowly, especially if consuming fiber-rich foods.

 Cautions

  • Avoid dry chia seeds—they can swell and cause choking.

  • People with digestive issues should start with smaller amounts.

  • Those on blood sugar or blood pressure medication should consult a healthcare professional before daily use.

Frequently Asked Questions (Q&A)

Q: Can I drink this every day?
A: Yes, in moderation. Once daily is generally safe for most healthy adults.

Q: Is this drink good for diabetes?
A: It may support blood sugar control due to fiber content, but it does not treat diabetes. Always follow medical advice.

Q: When is the best time to drink it?
A: Morning on an empty stomach or between meals works best for many people.

Q: Can I prepare it in advance?
A: Yes, refrigerate for up to 24 hours in a sealed container.

Q: Can I skip the sweetener?
A: Absolutely. It’s healthiest unsweetened.

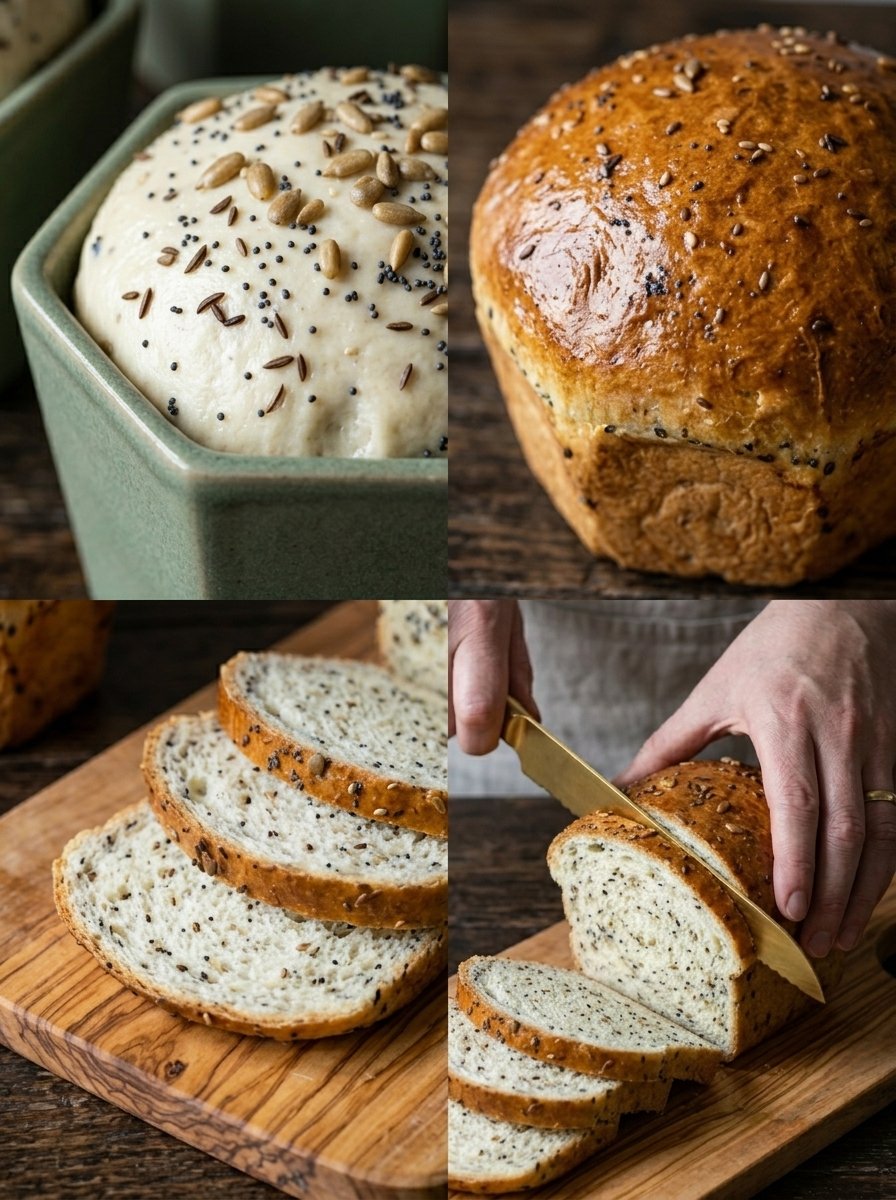
Grandmother’s Secret Vinegar & Flaxseed Bread

Grandmother’s Secret Vinegar & Flaxseed Bread

🛒 Ingredients:

  • 500g Sifted All-Purpose Flour: Sifting is key for a light texture! 🌾

  • 2 tbsp Flax Seeds: Plus extra for sprinkling on top. 🟤

  • 1 tsp Salt: To enhance the flavor. 🧂

  • 8g Dry Yeast: About 1 standard packet. 📈

  • 1 tbsp Sugar: To feed the yeast. 🍬

  • 300ml Warm Water: Not hot, just comfortably warm. 💧

  • 2 tbsp Vegetable Oil: Or melted butter for richness. 🫗

  • 1 tbsp White Vinegar: The “secret” ingredient for a perfect rise! 🧪

  • 1 Egg: For brushing on top (optional). 🥚


🥣 Step-by-Step Instructions:

  1. Activate the Yeast 🫧

    • In a small bowl, mix the warm water, sugar, and dry yeast.

    • Let it sit for about 5–10 minutes until it becomes frothy. ➡️ This proves the yeast is alive and ready!

  2. Mix the Dry Ingredients 🌾

    • In a large bowl, combine the sifted flour, flax seeds, and salt.

    • Make a “well” or hole in the center of the flour. 🥣

  3. The Secret Mixture 🧪

    • Pour the yeast mixture, oil, and the secret tablespoon of vinegar into the center of the flour. ➡️ The vinegar will react with the yeast and flour to create a much softer crumb!

  4. Knead the Dough 🤲

    • Mix until a dough forms, then knead on a lightly floured surface for 8–10 minutes.

    • The dough should be smooth, elastic, and not too sticky. ➡️ ✨

  5. The First Rise ⏳

    • Place the dough in a greased bowl and cover it with a warm, damp cloth.

    • Let it rise in a warm spot for 1 hour or until it has doubled in size. ➡️ 📈

  6. Shape and Second Rise 🏺

    • Punch the dough down to release air. Divide it into small balls and place them into greased mugs or small ceramic bowls (as seen in the photo).

    • Cover again and let them rise for another 20–30 minutes. ➡️ ⏲️

  7. Bake 🔥

    • Preheat your oven to 180°C (350°F).

    • (Optional) Brush the tops with a beaten egg and sprinkle more flax seeds.

    • Bake for 25–30 minutes until the tops are golden brown and the bread sounds hollow when tapped. 🥖✨


❓ Common Questions (Q&A)

Q: Will the bread taste like vinegar? A: No! ➡️ The small amount of vinegar evaporates during baking, leaving only a soft, airy texture behind with no sour taste.

Q: Can I use Apple Cider Vinegar? A: Yes, you can use Apple Cider Vinegar or White Vinegar. Both work perfectly as dough conditioners. 🍏

Q: Why do I need to sift the flour? A: Sifting aerates the flour, which prevents clumps and ensures your bread isn’t too dense. ➡️ 💨

Q: Can I make this in a regular loaf pan? A: Absolutely! This recipe works great in a standard 9×5 loaf pan or as individual rolls. 🍞

Nun’s Puffs Recipe

Nun’s Puffs Recipe

🛒 Ingredients:

  • 1 stick Butter (1/2 cup): Cubed for even melting. 🧈

  • 1 cup Milk: Whole milk works best for richness. 🥛

  • 3/4 cup All-Purpose Flour: Sifted to avoid lumps. 🌾

  • 4 Large Eggs: Room temperature is ideal. 🥚

  • 1/2 – 1 tbsp Sugar (optional): For the batter. 🍬

  • Sugar: For sprinkling on top. ✨

  • Honey or Maple Syrup: For serving. 🍯

  • Whipped Cream/Fruit: For garnish. 🍓


🥣 Step-by-Step Instructions:

  1. Preheat and Prep 🌡️

    • Preheat your oven to 375°F (190°C).

    • Generously grease a 12-cup muffin tin with butter or non-stick spray. ➡️ This is crucial to help them “puff” and slide out easily!

  2. Heat the Milk and Butter 🔥

    • In a medium saucepan, combine the milk and the stick of butter.

    • Bring to a gentle boil over medium heat until the butter is completely melted. ➡️ 🧈💨

  3. Incorporate the Flour 🥄

    • As soon as the milk mixture boils, turn the heat to low and add all the flour (and sugar, if using) at once.

    • Stir vigorously with a wooden spoon until the mixture forms a smooth ball and pulls away from the sides of the pan. ➡️ Remove from heat and let it cool for about 5 minutes.

  4. Add the Eggs 🥚

    • Add the eggs one at a time. Beat well after each addition until the egg is fully incorporated and the batter is smooth and glossy before adding the next one. ➡️ Pro Tip: You can do this by hand or with a hand mixer.

  5. Fill the Tins 🧁

    • Spoon the batter into the prepared muffin tins, filling each cup about 1/2 to 2/3 full. ➡️ 🥄

  6. Bake to Golden Perfection ⏲️

    • Bake for 25 to 30 minutes or until they have puffed up high and turned a deep golden brown.

    • Important: Do not open the oven door during the first 20 minutes, or they might deflate! 🚫💨

  7. The Finishing Touch ✨

    • Remove from the oven and immediately sprinkle the tops with a little sugar while they are still hot.


❓ Common Questions (Q&A)

Q: Why didn’t my puffs rise? A: This usually happens if the oven wasn’t hot enough or if the eggs were added while the flour mixture was still boiling hot (which “cooks” the eggs too soon). ➡️ Ensure the oven is fully preheated!

Q: Can I make these savory instead of sweet? A: Absolutely! ➡️ Omit the sugar and honey, and add 1/2 cup of shredded Gruyère or Cheddar cheese and a pinch of black pepper to the batter. 🧀

Q: How do I serve these? A: They are best served warm. Drizzle them with honey and serve with a side of whipped cream or fresh berries. 🍯🍓

Q: Can I store the leftovers? A: They are best eaten fresh, but you can store them in an airtight container for 2 days. ➡️ Reheat them in the oven for a few minutes to restore their crispness.

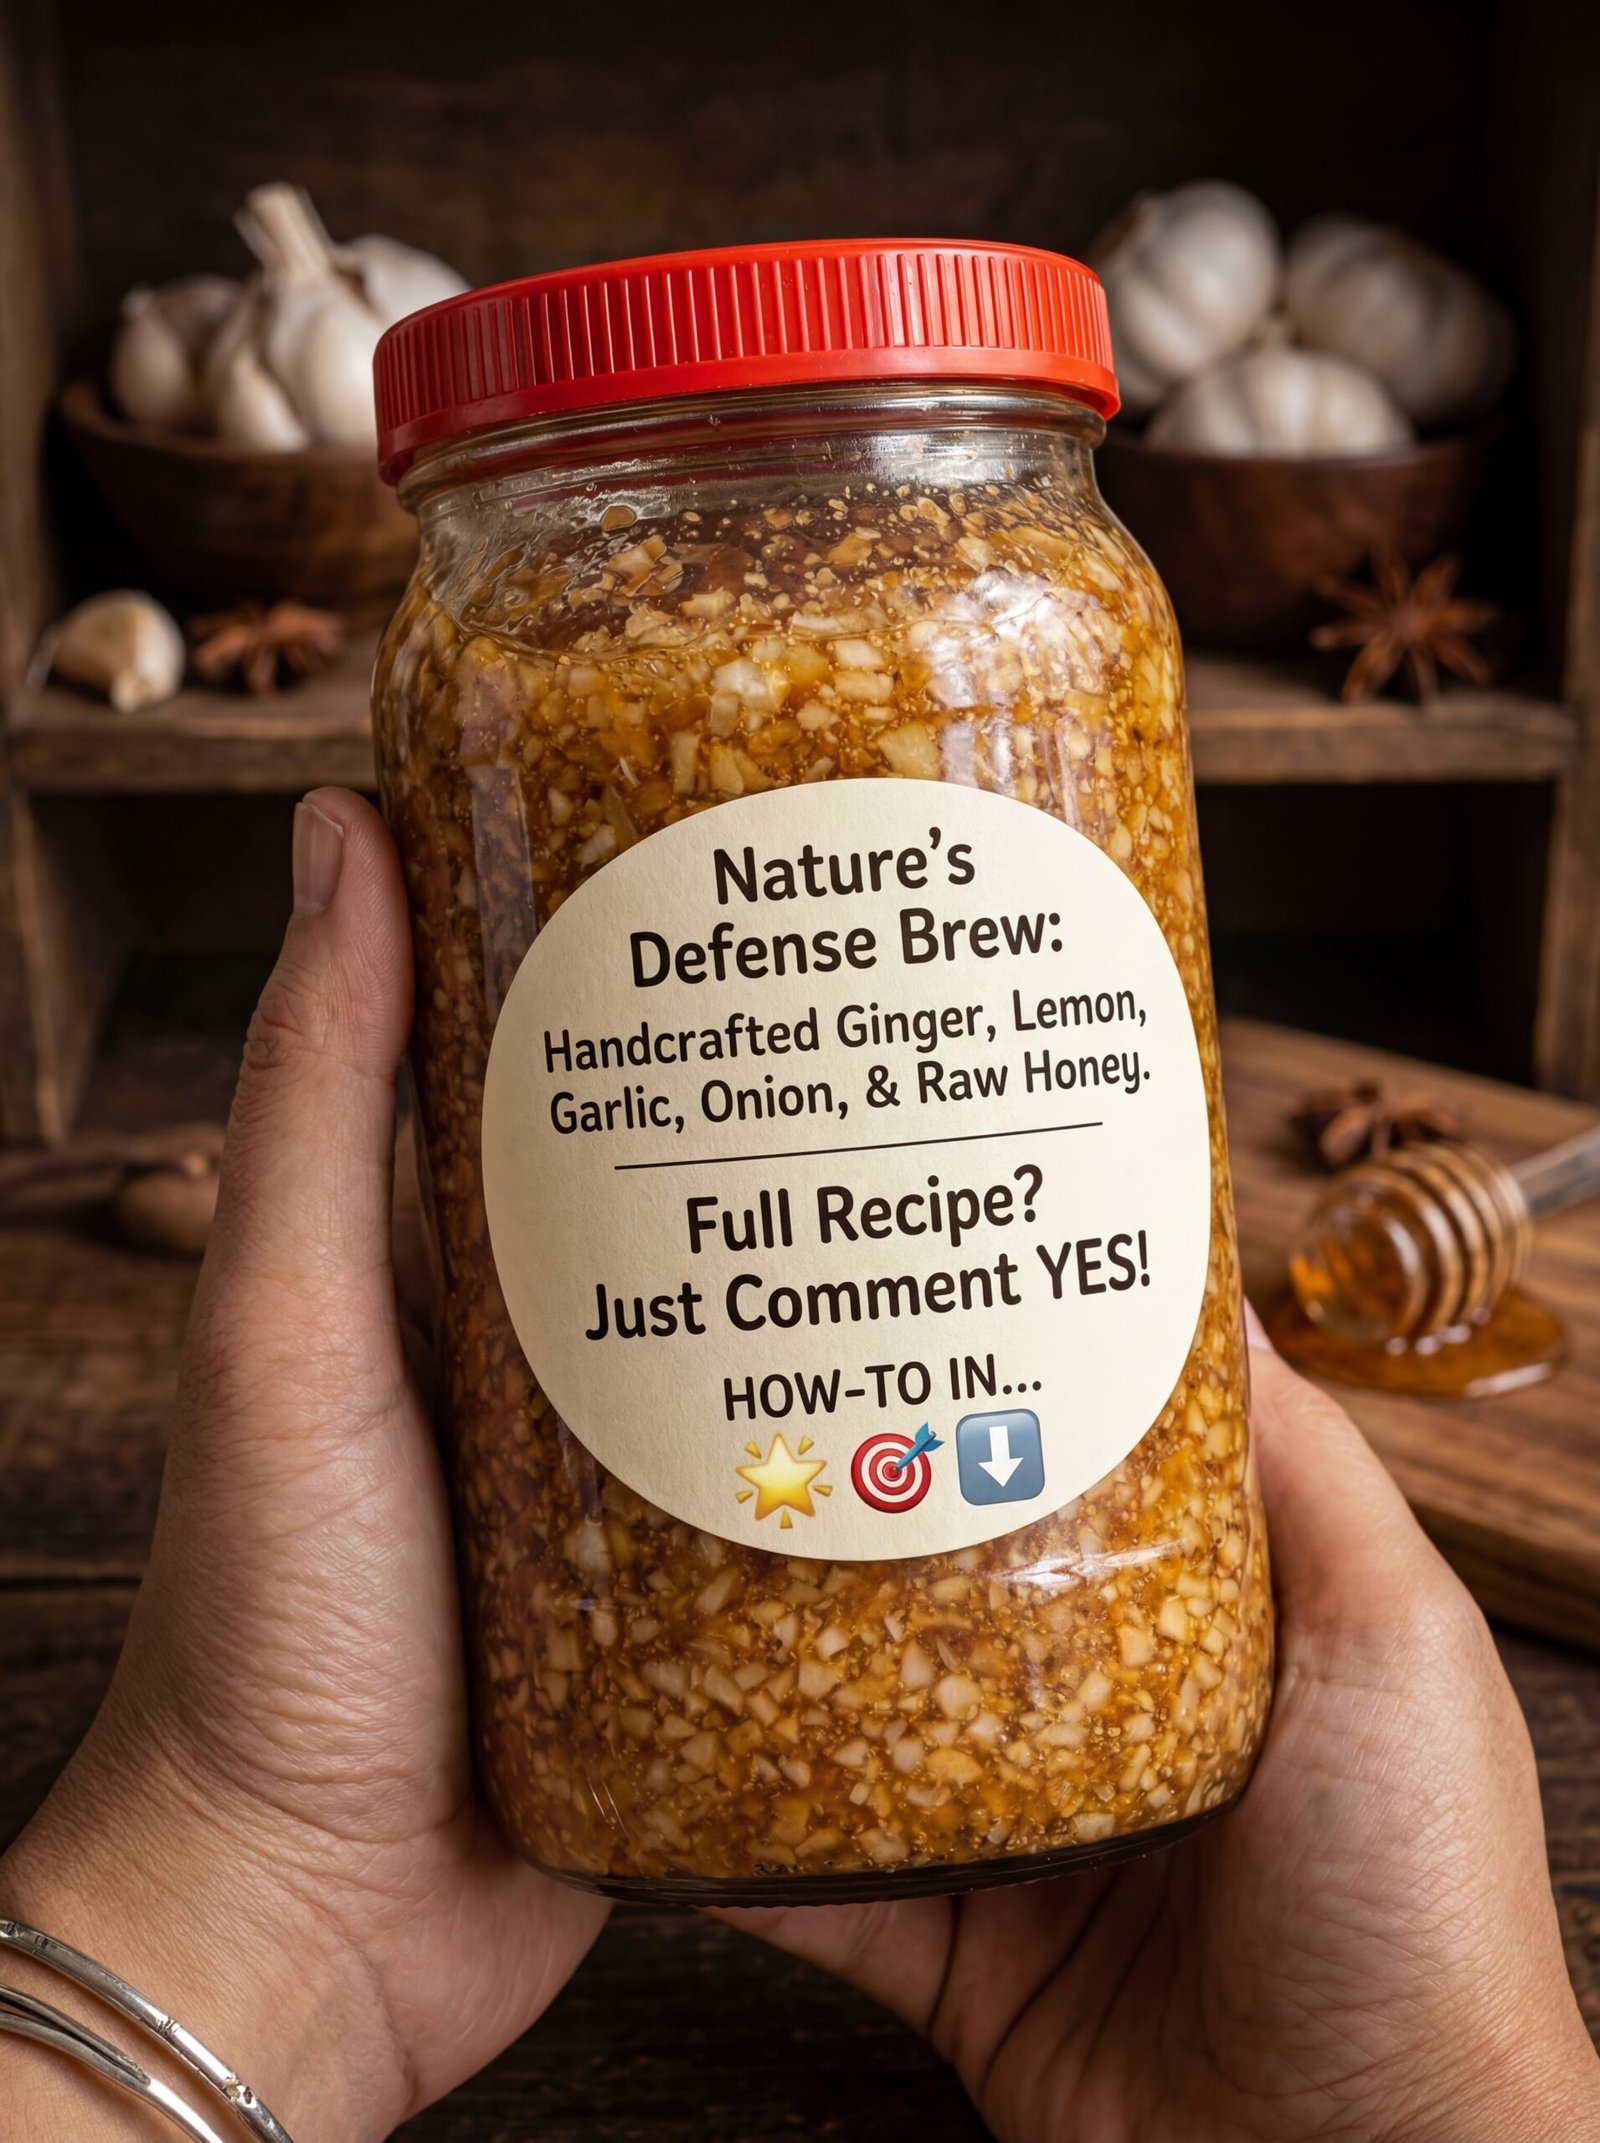
Nature’s Defense Brew Recipe


🍯 Nature’s Defense Brew Recipe

🛒 Ingredients You’ll Need:

  • 1 cup Raw Honey: It must be raw (unpasteurized) to provide the necessary enzymes for fermentation. 🐝

  • 1/2 cup Fresh Ginger: Peeled and finely minced. 🫚

  • 1/2 cup Garlic: Finely minced (about 1–2 whole heads). 🧄

  • 1/4 cup Red or White Onion: Finely diced. 🧅

  • 2 Organic Lemons: Zested and juiced. 🍋

  • Optional: A pinch of cayenne pepper or a few slices of fresh turmeric root.


🥣 Step-by-Step Instructions:

  1. Prepare the Aromatics 🔪

    • Mince the garlic, ginger, and onion very finely.

    • Pro Tip: Let the minced garlic sit on the cutting board for 10 minutes before adding it to the jar; this activates allicin, its beneficial compound. ➡️ ⏱️

  2. Zest and Juice 🍋

    • Zest the lemons, then squeeze the juice into a small bowl, removing any seeds.

  3. Layer the Jar 🫙

    • In a clean, sterilized glass mason jar, add the minced garlic, ginger, onion, and lemon zest.

    • Pour the lemon juice over the mixture.

  4. Add the Honey 🍯

    • Slowly pour the raw honey over the ingredients.

    • Note: The honey will eventually thin out as it draws moisture from the vegetables. ➡️ 💧

  5. Stir and Seal 🥄

    • Gently stir with a clean wooden or plastic spoon to ensure everything is coated and there are no large air bubbles.

    • Wipe the rim and seal the lid loosely (fermentation creates gases, so don’t tighten it 100%).

  6. The Fermentation Process ⏳

    • Store the jar in a dark, cool cupboard for 2 to 4 weeks.

    • Every day: Turn the jar upside down (ensure it’s sealed for this part!) to keep the ingredients submerged in honey, then flip it back.

  7. Store and Use ✅

    • After 2-4 weeks, the flavors will have melded. You can strain the solids out or keep them in. Store the jar in the refrigerator to slow down further fermentation.


❓ Common Questions (Q&A)

Q: Why is my honey becoming watery? A: This is normal! ➡️ The salt and sugar in the honey draw the natural juices out of the onion, ginger, and garlic. This creates the “syrup” or “brew.”

Q: Is it safe if I see small bubbles? A: Yes! 🫧 Bubbles are a sign of active fermentation. If the honey starts to foam significantly, just “burp” the jar by opening the lid for a second to release the pressure.

Q: How do I take this? A: Many people take 1 tablespoon daily for wellness, or mix it into warm (not boiling) water or tea. ☕

Q: How long does it last? A: When kept in the refrigerator, this brew can last for several months. 🗓️


⚠️ A Quick Safety Note:

  • Infants: Never give honey (especially raw) to children under 1 year old due to the risk of botulism. 🚫👶

  • Consultation: Always check with a healthcare professional before starting new herbal remedies, especially if you are on medication or pregnant. 🩺

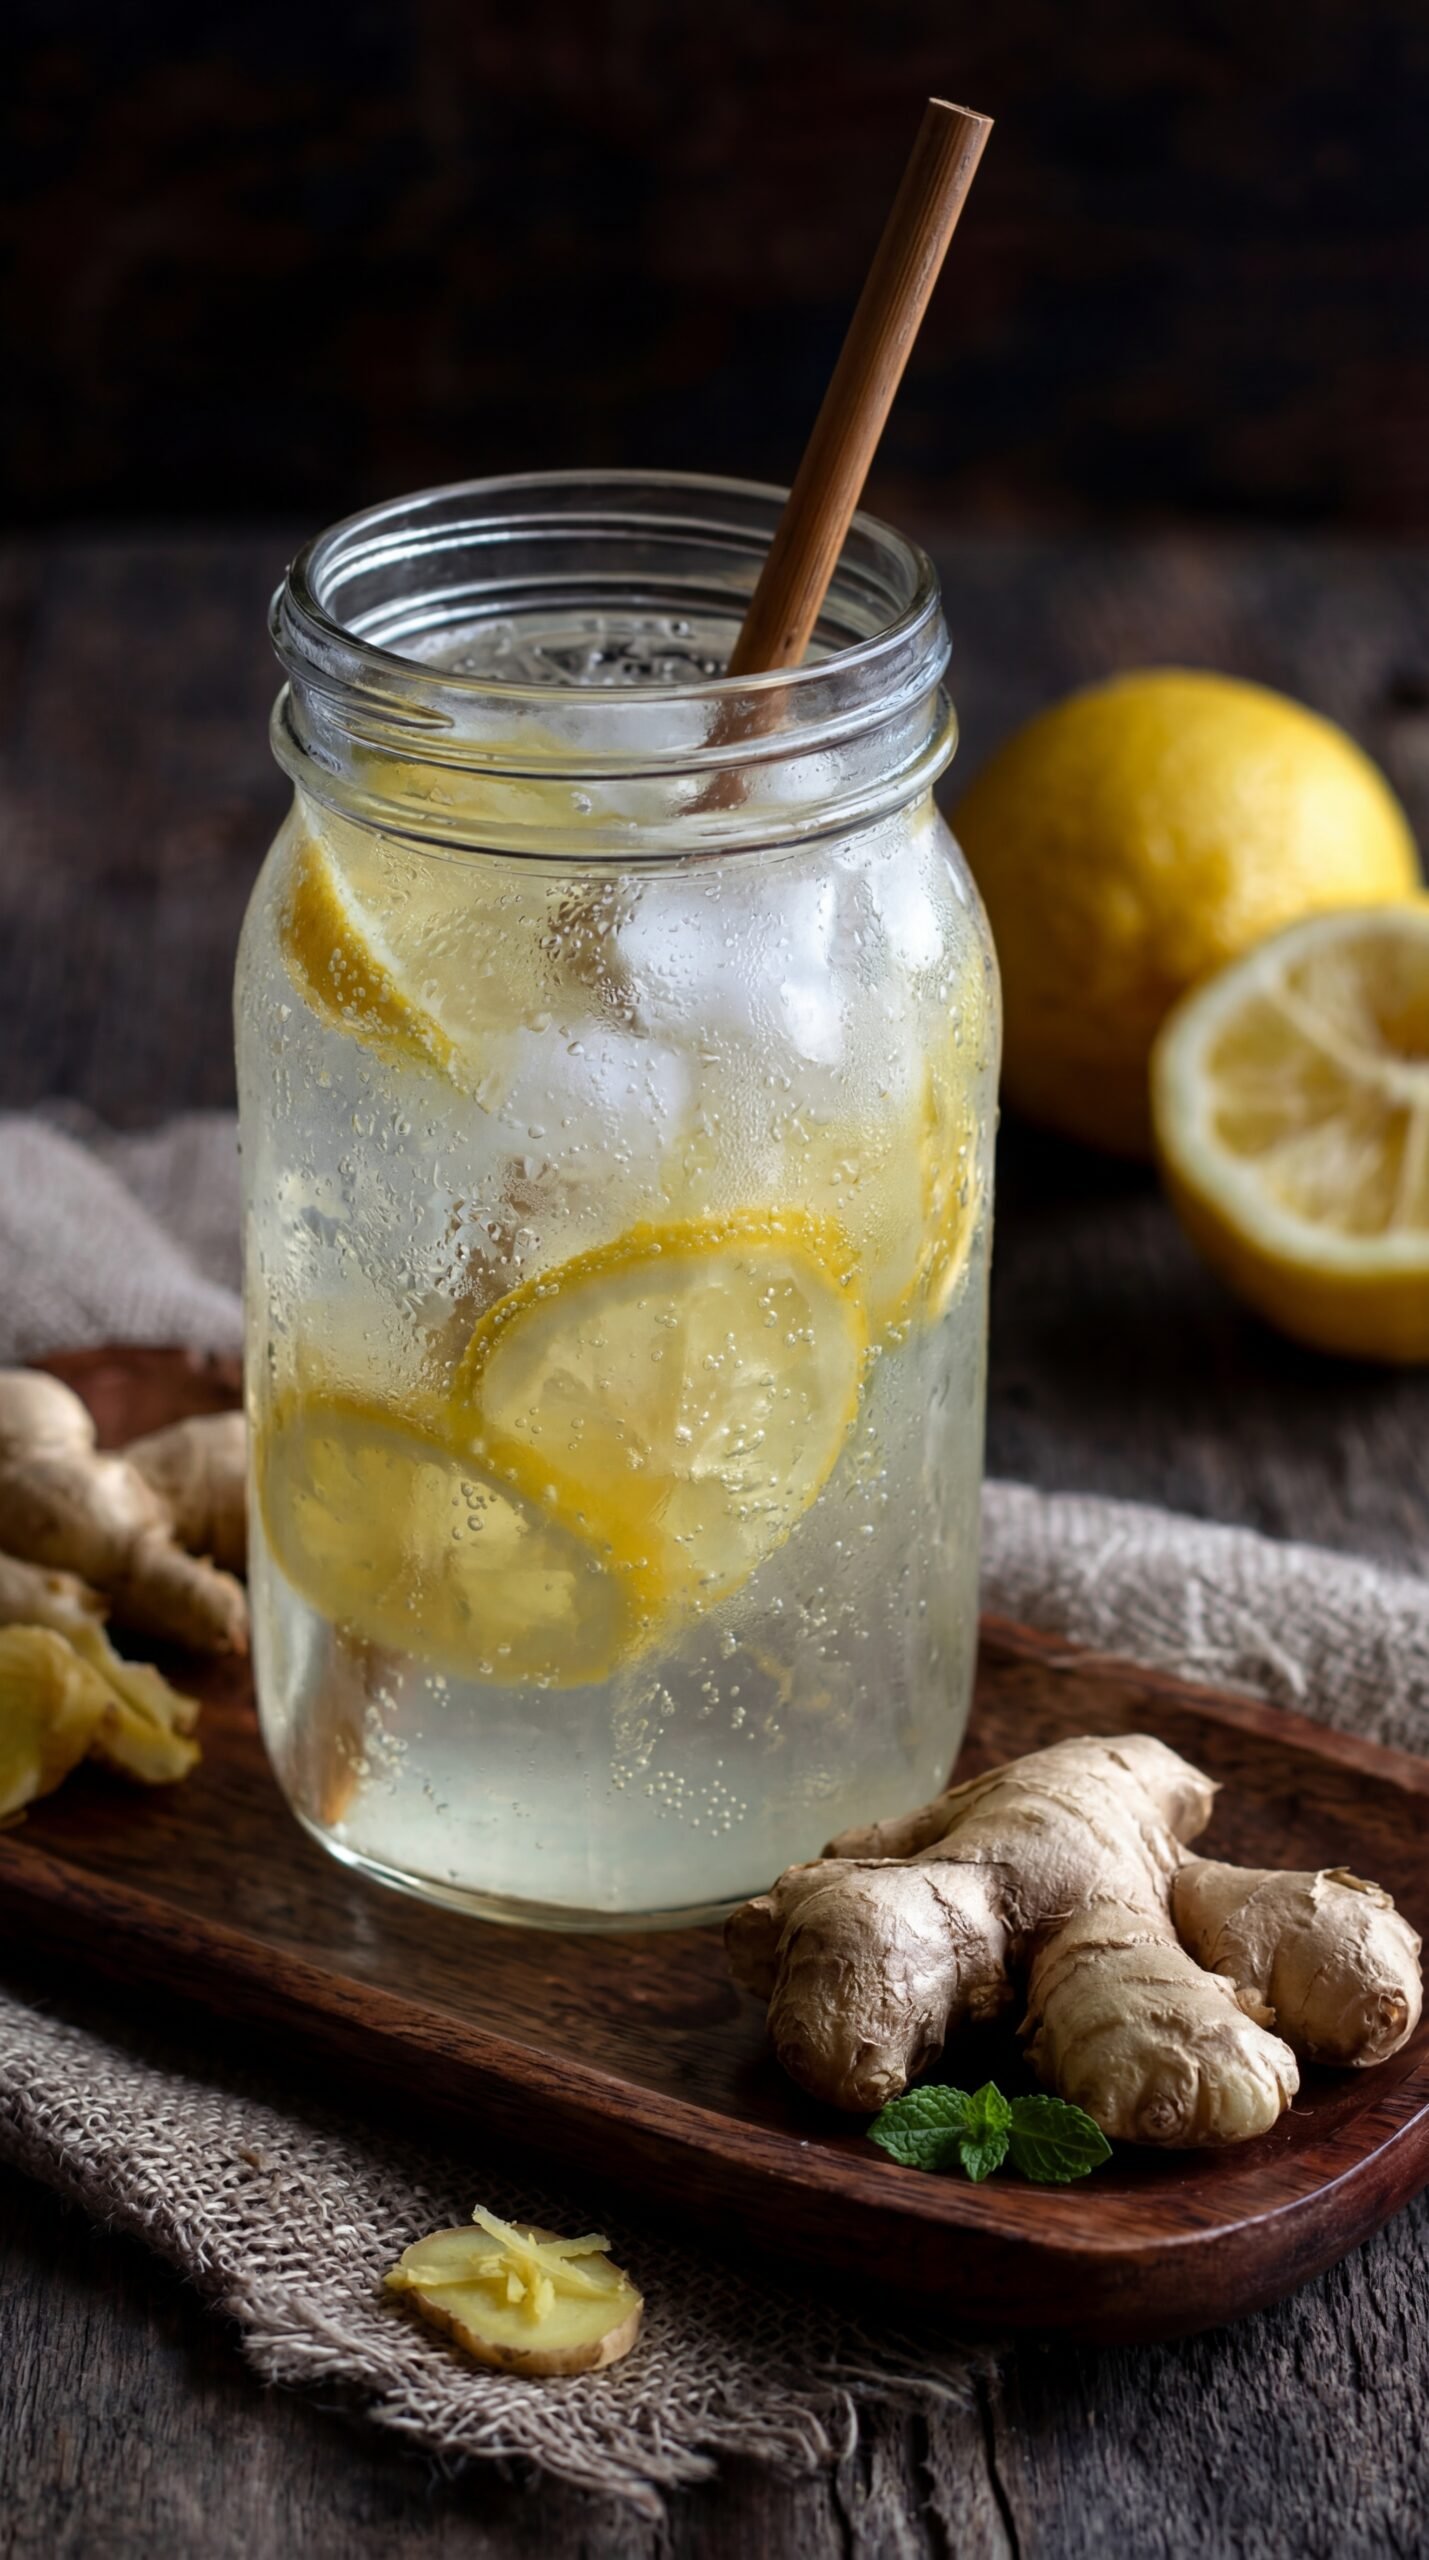
Zesty Ginger Lemon Infusion

Zesty Ginger Lemon Infusion 🥤

Ingredients 🛒

  • 2 inches fresh ginger root (peeled and sliced thin) 🫚

  • 1 large lemon (half sliced into rounds, half juiced) 🍋

  • 4 cups filtered water 💧

  • 1 tsp honey or maple syrup (optional for sweetness) 🍯

  • A few fresh mint leaves (optional for garnish) 🍃

  • Ice cubes (as needed) 🧊


Preparation Steps 👨‍🍳

  1. Prepare the Ginger ➡️ Wash the ginger root thoroughly. Peel the skin using the edge of a spoon and slice it into thin coins to maximize the surface area.

  2. Infuse the Water ➡️ Bring 2 cups of the water to a gentle boil in a small pot. Add the sliced ginger, reduce the heat, and let it simmer for 10–15 minutes. ♨️

  3. Strain and Cool ➡️ Remove the pot from the heat and strain the ginger liquid into a glass pitcher. Discard the boiled ginger pieces. 🥣

  4. Add the Flavor ➡️ Add the remaining 2 cups of cold water to the pitcher. Stir in the fresh lemon juice and your sweetener of choice if you prefer a milder taste. 🍋

  5. Assemble ➡️ Add the fresh lemon slices and mint leaves to the pitcher for extra aroma.

  6. Chill and Serve ➡️ Fill a glass with ice cubes, pour the infusion over the top, and enjoy! 🧊✨


Questions & Answers 💡

Q: Can I make this drink without boiling the ginger? A: ➡️ Yes! You can grate the ginger directly into cold water and let it sit overnight in the fridge. This “cold brew” method results in a milder, less spicy flavor. ❄️

Q: Is it okay to leave the lemon peel in the water? A: ➡️ It is perfectly fine, but if you leave the slices in the water for more than a few hours, the white pith of the lemon might make the drink taste slightly bitter. For long-term storage, it’s better to use just the juice. 🍋

Q: Can I drink this warm instead of cold? A: ➡️ Absolutely! This recipe works wonderfully as a hot tea. Simply skip the ice and the extra cold water, and enjoy it right after the simmering process is complete. ☕

Q: How can I make the ginger flavor stronger? A: ➡️ To increase the intensity, you can grate the ginger before boiling it or simply simmer it for a longer duration (up to 20 minutes). This will release more of the natural oils and spice. 🔥