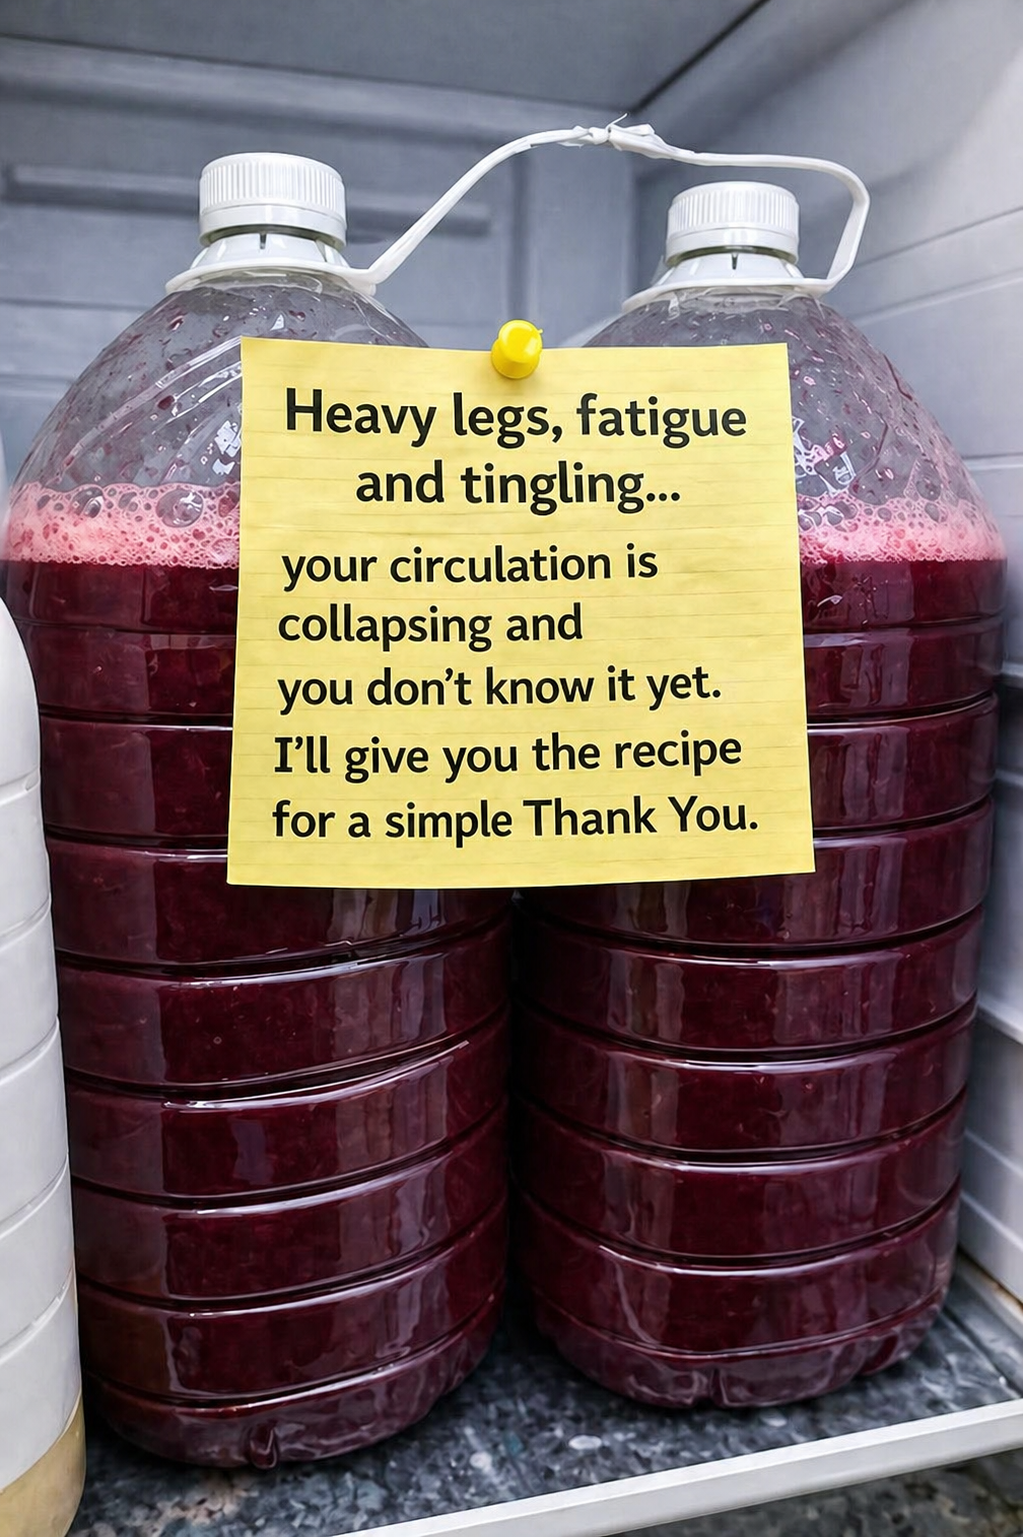
Beetroot Circulation Juice

🧾 Ingredients

  • 4–5 medium fresh beets
  • 2 carrots
  • 1 apple
  • 1-inch piece fresh ginger
  • Juice of 1 lemon
  • Optional: handful of spinach or celery

πŸ₯£ Instructions

  1. Wash & prep
    • Wash all ingredients Χ”Χ™Χ˜ Χ”Χ™Χ˜ (very well)
    • Peel beets if desired
    • Cut everything into small pieces
  2. Juice or blend
    • Add beets, carrots, apple, and ginger into a juicer
    • If using a blender: add a little water and blend, then strain
  3. Add lemon
    • Stir in fresh lemon juice
  4. Store
    • Pour into bottles or jars
    • Keep refrigerated

πŸ₯€ How to use

  • Drink Β½ to 1 cup daily
  • Best taken in the morning or midday

πŸ’‘ Tips

  • Always use fresh ingredients
  • Shake before drinking
  • Don’t store longer than 2–3 days

⚠️ Important

This is a wellness drink, not a cure.
If you have ongoing symptoms like heavy legs or tingling, it’s best to check with a doctor.

πŸ‘οΈ Can you really improve vision overnight

πŸ‘οΈ Can you really improve vision overnight? Not exactly.

Eating foods like pumpkin seeds, green tea, fatty fish, berries, egg yolks, and cacao supports long-term eye healthβ€”but they won’t magically sharpen your vision by morning.

✨ What they actually do:

  • πŸ₯œ Pumpkin seeds β†’ zinc for retinal health
  • 🐟 Fatty fish β†’ omega-3s for dry eyes & vision support
  • 🫐 Berries β†’ antioxidants for macular protection
  • πŸ₯š Egg yolks β†’ lutein & zeaxanthin for eye function
  • 🍫 Raw cacao β†’ improves blood flow
  • 🍡 Green tea β†’ reduces oxidative stress

πŸ“Š Reality check:
Benefits build over weeks to months, not overnight.

πŸ’‘ Best approach:
Consistency mattersβ€”eat nutrient-rich foods, protect your eyes, and maintain a healthy lifestyle.

⚠️ If you notice vision changes, always consult an eye specialist.

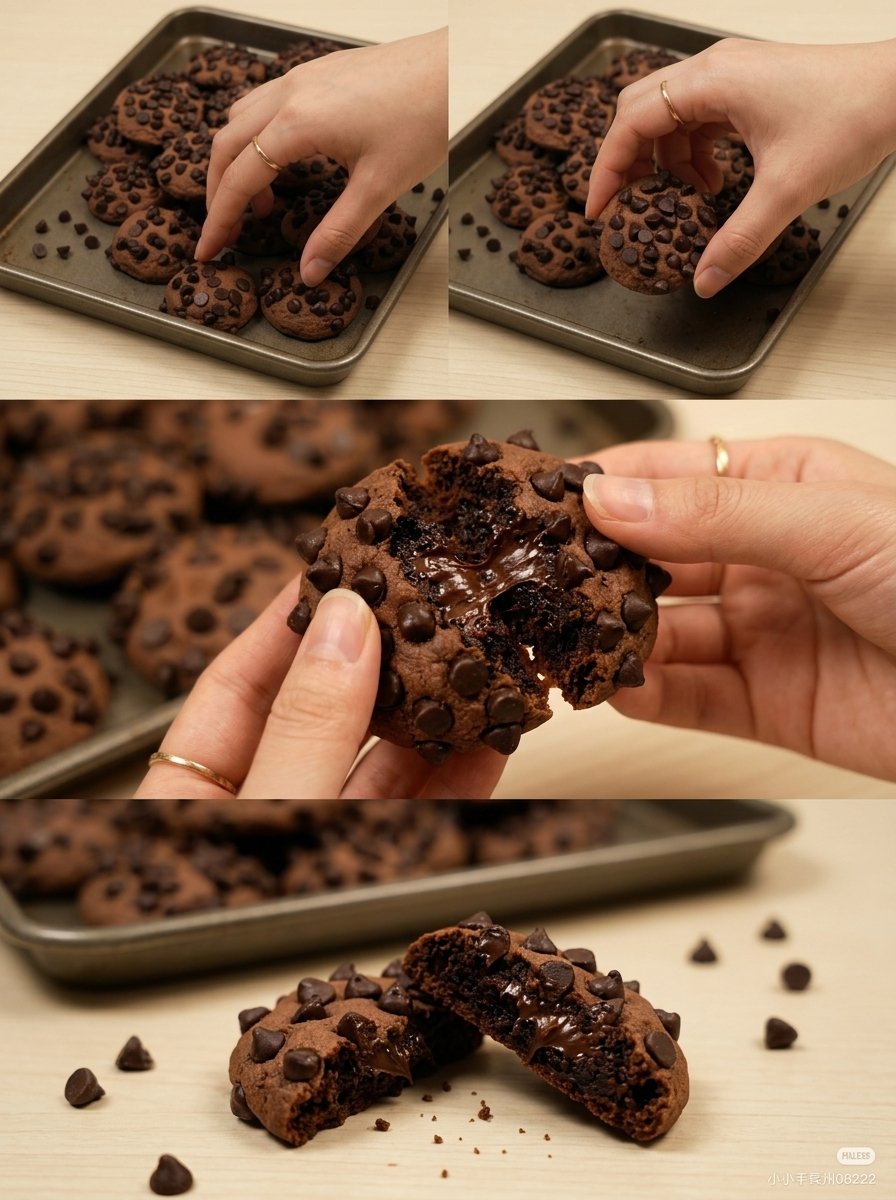
Gooey Double Chocolate Chip Cookies

Gooey Double Chocolate Chip Cookies

πŸ›’Β  Ingredients

  • 🍫 1 cup all-purpose flour
  • 🍫 1/2 cup unsweetened cocoa powder
  • πŸ₯„ 1/2 tsp baking soda
  • πŸ§‚ 1/4 tsp salt
  • 🧈 1/2 cup unsalted butter, softened
  • 🍬 1/2 cup brown sugar
  • 🍚 1/4 cup white sugar
  • πŸ₯š 1 egg
  • 🍦 1 tsp vanilla extract
  • 🍫 3/4 cup chocolate chips
  • 🍫 8 to 10 extra chocolate chunks or chips for the gooey centers

πŸ‘©β€πŸ³ Step-by-Step Recipe

  • 1️⃣ Prep the oven
    • Preheat your oven to 350Β°F (175Β°C).
    • Line a baking tray with parchment paper. πŸ”₯
  • 2️⃣ Mix the dry ingredients
    • In a bowl, add:
      • flour
      • cocoa powder
      • baking soda
      • salt
    • Whisk until combined. πŸ₯£
  • 3️⃣ Cream the butter and sugars
    • In another bowl, beat the softened butter, brown sugar, and white sugar.
    • Mix until smooth and creamy. 🧈✨
  • 4️⃣ Add the wet ingredients
    • Add the egg and vanilla extract.
    • Mix again until fully combined. πŸ₯š
  • 5️⃣ Make the cookie dough
    • Add the dry ingredients into the wet mixture.
    • Stir until a thick chocolate dough forms.
    • Fold in the chocolate chips. 🍫
  • 6️⃣ Fill the centers
    • Scoop a small amount of dough into your hand.
    • Flatten it slightly.
    • Place a few extra chocolate chunks or chips in the center.
    • Cover with a little more dough and roll gently into a ball.
    • Repeat for all cookies. 🀲
  • 7️⃣ Shape and top
    • Place the dough balls on the tray, leaving space between them.
    • Press a few extra chocolate chips on top of each cookie for that bakery-style look. ✨
  • 8️⃣ Bake
    • Bake for 9 to 11 minutes.
    • The edges should look set, but the centers should still be soft. ⏲️
  • 9️⃣ Cool slightly
    • Let the cookies rest on the tray for 5 to 10 minutes.
    • This helps them finish setting while keeping the middle gooey. πŸͺ
  • πŸ”Ÿ Serve
    • Enjoy warm for the best melty center. 🀎

βœ… Quick Tips

  • 🍫 Do not overbake or the center will lose its gooey texture.
  • 🧈 Softened butter mixes more smoothly than cold butter.
  • ❄️ If the dough feels too soft, chill it for 10 to 15 minutes before baking.
  • πŸͺ Slightly underbaked cookies will stay fudgy inside.

❓Q / A Related to This Recipe

  • Q: How do I get the gooey center?
    • A: Put extra chocolate in the middle and avoid overbaking the cookies.
  • Q: Can I use only chocolate chips instead of chunks?
    • A: Yes, chocolate chips work fine for both the dough and the center.
  • Q: Why are my cookies dry?
    • A: They were likely baked too long or had too much flour.
  • Q: Can I chill the dough first?
    • A: Yes, chilling helps make thicker cookies.
  • Q: How do I know when they are done?
    • A: The edges should look set, but the centers should still look soft.
  • Q: Can I make them ahead of time?
    • A: Yes, you can refrigerate the dough for up to 24 hours before baking.
  • Q: How should I store them?
    • A: Keep them in an airtight container at room temperature for up to 3 days.
  • Q: How do I make them gooey again later?
    • A: Warm one in the microwave for about 8 to 10 seconds. πŸ”₯
  • Q: Can I freeze the dough?
    • A: Yes, freeze the dough balls and bake later straight from frozen, adding 1 to 2 extra minutes.

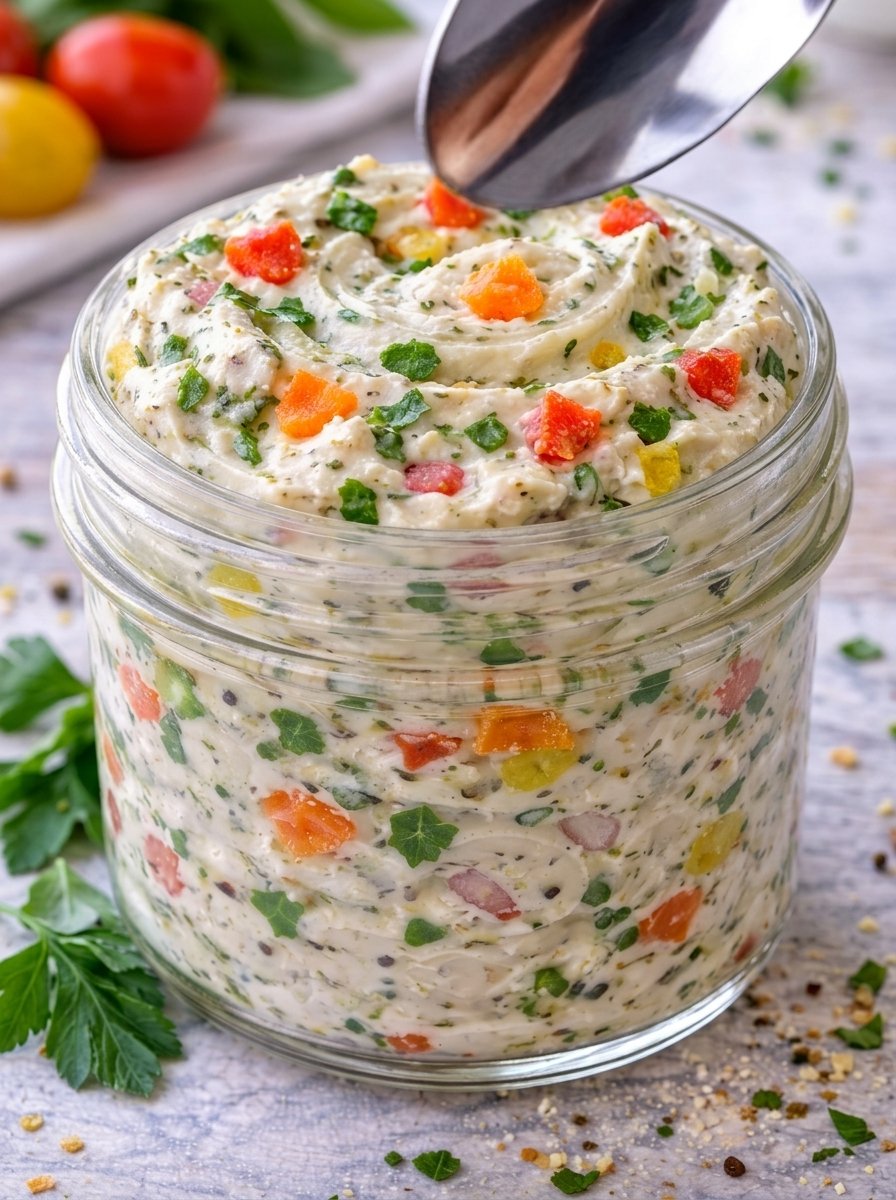
Creamy Herbed Veggie Cheese Spread

Creamy Herbed Veggie Cheese Spread
πŸ›’ Necessary ingredients
πŸ§€ 200 g cream cheese, softened
πŸ₯„ 2 tbsp mayonnaise or thick yogurt
πŸ«‘ 3 tbsp finely diced bell peppers
🌿 2 tbsp finely chopped parsley
πŸ§… 1 tbsp very finely chopped onion or green onion
πŸ§‚ 1/2 tsp salt
⚫ 1/4 tsp black pepper
πŸ§„ 1 small garlic clove, grated or minced
πŸ‹ 1 tsp lemon juice
πŸ‘©β€πŸ³ Method
πŸ₯£ Add the softened cream cheese to a bowl.
πŸ₯„ Mix in the mayonnaise or yogurt until smooth and fluffy.
πŸ§„ Add garlic, lemon juice, salt, and black pepper.
πŸ«‘ Stir in the finely diced bell peppers.
🌿 Add parsley and onion/green onion.
πŸŒ€ Mix everything well until evenly combined.
❄️ Chill for 20–30 minutes so the flavors blend.
🍞 Serve as a spread for bread, crackers, toast, or sandwiches.
✨ Tips
πŸ”ͺ Chop the vegetables very finely so the spread stays smooth.
🌢️ Add a little chili if you want it spicy.
🧊 Keep it in a sealed jar in the fridge for up to 3 days.
πŸ₯ͺ It works well as a sandwich filling too.
❓Q/A about the recipe
Q: Can I make it without mayonnaise?
βœ… Yes, use thick yogurt instead.
Q: Can I use different herbs?
βœ… Yes, cilantro, dill, or chives work well.
Q: Why should the cream cheese be softened?
βœ… It mixes more easily and gives a smooth texture.
Q: Can I make it ahead of time?
βœ… Yes, making it a few hours earlier actually improves the flavor.
Q: What can I serve it with?
βœ… Crackers, toasted bread, veggie sticks, wraps, or sandwiches.
Q: Can I make it lighter?
βœ… Yes, use low-fat cream cheese and yogurt instead of mayonnaise.
Q: How do I make it more colorful like the picture?
βœ… Use red, yellow, and orange bell peppers finely diced.
Q: Can I blend it completely smooth?
βœ… Yes, but leave a few chopped veggies for texture if you like.
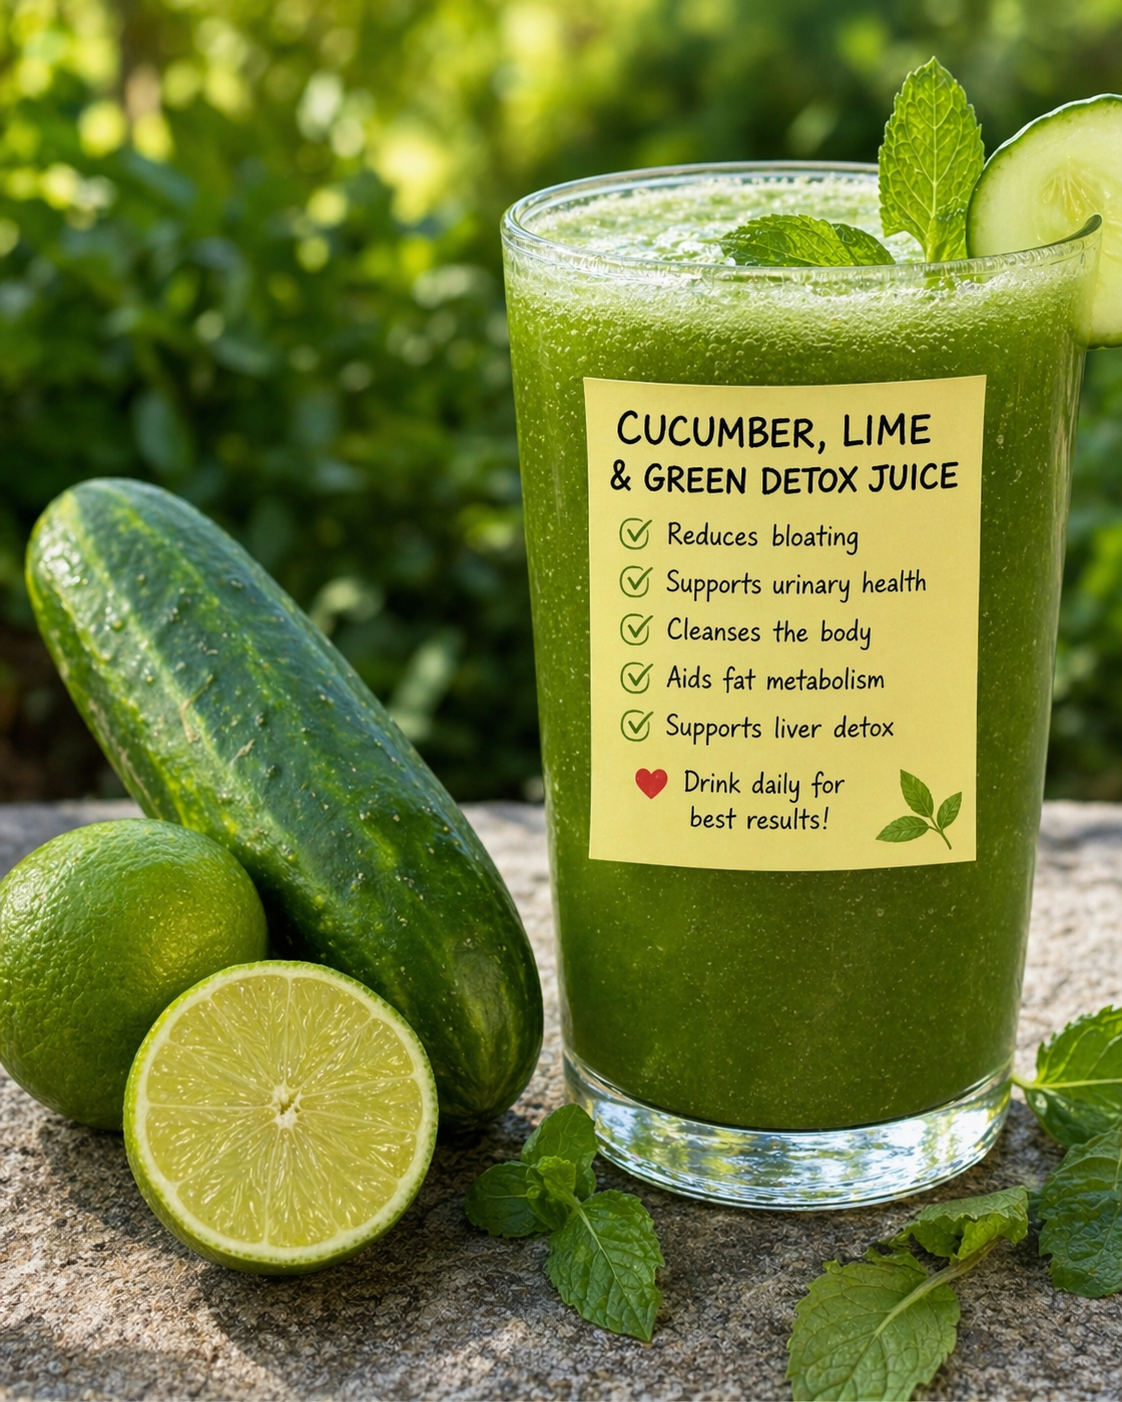
🌿 Benefits of Cucumber and Lemon Drink

🌿 Benefits of Cucumber and Lemon Drink

  1. May Help Reduce Bloating
    Cucumber is rich in water and fiber, which may help reduce water retention and support digestion. Lemon may help stimulate digestive juices, which can support digestion.
  2. Supports Hydration
    Both cucumber and lemon are refreshing and hydrating. Staying hydrated is important for energy, digestion, and skin health.
  3. Provides Antioxidants
    Cucumber contains phytonutrients, while lemon is a source of vitamin C. Together, they help support the body against oxidative stress.
  4. May Support Normal Liver Function
    No drink can β€œclean” the liver on its own, but hydration and antioxidant-rich foods can support overall wellness and normal liver function.
  5. Refreshing and Low in Calories
    This drink is a light, refreshing alternative to sugary beverages and may support weight-management goals when combined with a balanced lifestyle.

πŸ₯’πŸ‹ Ingredients

  • 1 fresh cucumber, chopped
  • 2 lemons, chopped
  • 2 glasses of water

πŸ₯€ Preparation Method

  • Wash all ingredients well.
  • Cut the cucumber and lemons into small pieces.
  • Add them to a blender with 2 glasses of water.
  • Blend until smooth.
  • Strain if desired.
  • Serve fresh.

⏰ How to Drink It

  • Drink 1 glass in the morning.
  • Enjoy for up to 7 days as part of a balanced routine.
  • Stay hydrated throughout the day.

⚠️ Important Note
This drink does not cure infections, fatty liver, or other medical conditions. If you have symptoms like pain, burning during urination, or persistent bloating, please speak with a healthcare professional.

βœ… Final Thoughts
Cucumber and lemon drink is a refreshing option that may support hydration, digestion, and general wellness. It’s not a miracle cure, but it can be a simple addition to a healthy lifestyle.

Crispy Garlic Parmesan Cauliflower

Crispy Garlic Parmesan Cauliflower

πŸ›’ Ingredients

The Roast:

  • 1 Large head of cauliflower (cut into bite-sized florets)

  • 3 tbsp Extra virgin olive oil

  • 1/2 cup Freshly grated Parmesan cheese

  • 1/2 cup Panko breadcrumbs (for extra crunch)

  • 1 tsp Garlic powder

  • 1 tsp Paprika (for that golden color) 🌢️

  • Salt and black pepper to taste

The Garlic Butter Drizzle:

  • 2 tbsp Unsalted butter (melted)

  • 2 Cloves garlic (minced)

  • 2 tbsp Fresh parsley (finely chopped) 🌿

For Serving:

  • Ranch dressing or a Garlic Aioli dip πŸ₯£


πŸ‘©β€πŸ³ Step-by-Step Instructions

1. Prep & Dry 🚿

  • Preheat your oven to 200Β°C. Line a large baking sheet with parchment paper.

  • Wash the cauliflower florets and pat them very dry with a kitchen towel. ➑️ Excess water will cause the cauliflower to steam rather than crisp up!

2. The Coating πŸ₯£

  • In a large mixing bowl, toss the florets with the olive oil until every piece is shiny.

  • In a small separate bowl, mix the Parmesan, Panko, garlic powder, paprika, salt, and pepper.

  • ➑️ Sprinkle the dry mix over the cauliflower and toss again until the crumbs stick to the oil-coated florets.

3. Arrange for Airflow πŸ’¨

  • Spread the cauliflower onto the baking sheet in a single layer.

  • ➑️ Make sure they aren’t touching each other! Space is the secret to getting those crispy, browned edges.

4. The Golden Bake πŸ”₯

  • Bake for 20–25 minutes.

  • Halfway through, use a spatula to flip the florets. ➑️ Bake until they are tender when pierced with a fork but dark golden-brown on the outside.

5. The Flavor Finish ✨

  • While the cauliflower is hot, mix the melted butter, minced garlic, and parsley in a small bowl.

  • ➑️ Drizzle this mixture over the roasted bites and give them a quick toss right on the tray.

6. Serve Hot 🍽️

  • Transfer to a platter and serve immediately while they are at peak crunchiness. ➑️ Pair with a cool dipping sauce to balance the warm garlic flavor!


❓ Common Questions (Q&A)

Q: Can I make these in an Air Fryer? A: Yes! Air fry at 190Β°C for 12–15 minutes, shaking the basket halfway through. They come out even crunchier this way! 🌬️πŸ”₯

Q: Why isn’t the coating sticking to my cauliflower? A: Usually, this happens if the florets are too dry or if there isn’t enough oil. Make sure the cauliflower is well-coated in oil before you add the dry Parmesan mixture. πŸ§€βœ”οΈ

Q: Is there a vegan alternative? A: Absolutely! Replace the Parmesan with nutritional yeast or a vegan parm alternative, and use olive oil or vegan butter for the final drizzle. 🌱✨


✨ Pro-Tips for Success:

  • Fresh is Best: Use a fresh block of Parmesan and grate it yourself. The pre-shredded kind in bags often has starch that prevents it from melting and crisping properly. πŸ§€πŸ”ͺ

  • The Squeeze: A tiny squeeze of fresh lemon juice right before serving can brighten up the heavy garlic and cheese flavors! πŸ‹

  • High Heat: Don’t be afraid of the high temperature; that’s what creates the “caramelization” (the brown bits) which carries all the flavor! 🌑️