Crispy Salmon Strips & Herb Tartar Dip


🐟 Crispy Salmon Strips & Herb Tartar Dip

Ingredients

For the Salmon:

  • 1 lb Fresh salmon fillet (skin removed, cut into 1-inch wide strips)

  • 1 tbsp Olive oil

  • 1 tsp Smoked paprika

  • 1 tsp Garlic powder

  • Β½ tsp Onion powder

  • Β½ tsp Black pepper

  • A pinch of Salt

  • 1 tbsp Fresh parsley (finely chopped for garnish)

For the Herb Tartar Dip:

  • Β½ cup Greek yogurt or Mayonnaise

  • 1 tbsp Capers (minced)

  • 1 tbsp Fresh dill (finely chopped)

  • 1 tsp Lemon juice

  • Β½ tsp Dijon mustard


Step-by-Step Instructions

  1. Prep the Salmon πŸ”ͺ

    • Pat the salmon dry with a paper towel. This is the secret to getting that crispy exterior!

    • Slice the fillet into even strips, roughly 1 inch thick.

    • ➑️ Place them in a bowl and coat with olive oil.

  2. Seasoning πŸ§‚

    • In a small ramekin, mix the paprika, garlic powder, onion powder, salt, and pepper.

    • ➑️ Sprinkle the spice mix evenly over the salmon strips, ensuring all sides are coated.

  3. Cooking (Air Fryer or Pan-Sear) πŸ”₯

    • Air Fryer: Arrange strips in a single layer at 200Β°C for 8–10 minutes until the edges are dark and crispy.

    • Pan-Sear: Heat a non-stick skillet over medium-high heat. Sear each side for about 2–3 minutes.

    • ➑️ Look for that beautiful deep golden-brown char shown in your photo.

  4. Whisk the Dip πŸ₯£

    • While the salmon cooks, combine the yogurt/mayo, capers, dill, lemon juice, and mustard in a small bowl.

    • ➑️ Stir until smooth and top with a little extra parsley.

  5. Garnish & Serve ✨

    • Plate the hot salmon strips and sprinkle with fresh parsley.

    • ➑️ Serve immediately with the chilled dip on the side.


Common Questions & Answers

Q: Can I use frozen salmon? A: Yes! Just ensure it is completely thawed and patted very dry before seasoning. If it’s too wet, it will steam rather than crisp up.

Q: How do I know when the salmon is done? A: The salmon should flake easily with a fork and have an internal temperature of about 63Β°C.

Q: What are some good side dishes for this? A: This pairs beautifully with a fresh cucumber salad, roasted asparagus, or even some garlic quinoa.

Q: Can I make the dip ahead of time? A: Absolutely. In fact, making it an hour early allows the herbs and lemon to meld together for a better flavor. Store it in the fridge! 🧊
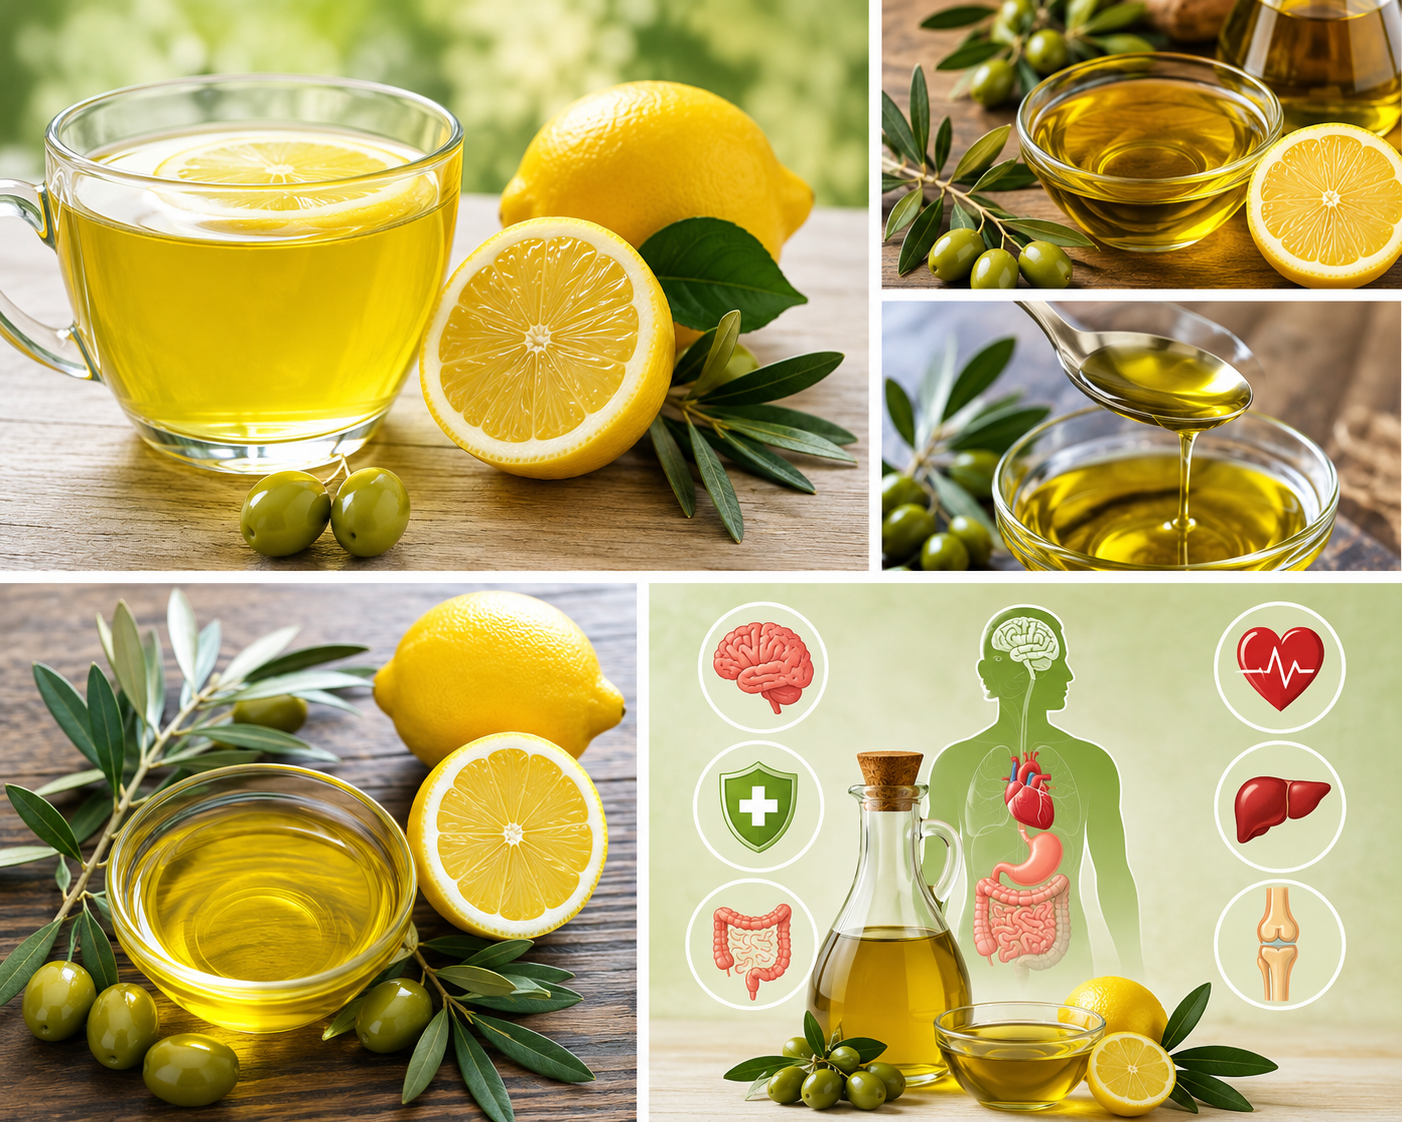
Olive Oil with Lemon: Natural Morning Wellness Drink

Olive Oil with Lemon: Natural Morning Wellness Drink πŸ‹πŸ«’

Ingredients

  • 1 tablespoon extra virgin olive oil
  • Juice of Β½ fresh lemon

Instructions

  1. Squeeze fresh lemon juice into a small glass.
  2. Add the extra virgin olive oil.
  3. Stir well until combined.
  4. Drink first thing in the morning on an empty stomach.
  5. Wait about 30 minutes before eating breakfast.

Potential Benefits

  • Supports digestion
  • May help relieve constipation
  • Rich in antioxidants
  • Supports heart health
  • Helps hydrate and nourish skin
  • May support metabolism and energy
  • Helps absorption of vitamins A, D, E, and K

Important Notes

  • Scientific evidence for some claimed benefits is limited or mixed.
  • It is not a cure for diseases or a replacement for medical treatment.
  • People with gallbladder disease, acid reflux, ulcers, or certain digestive conditions should consult a healthcare professional before using this daily.
  • Use only extra virgin olive oil for best quality and nutrition.

Tips

  • Use fresh lemon juice, not bottled juice.
  • Start with small amounts if you have a sensitive stomach.
  • Pair with a balanced diet and healthy lifestyle for best results.

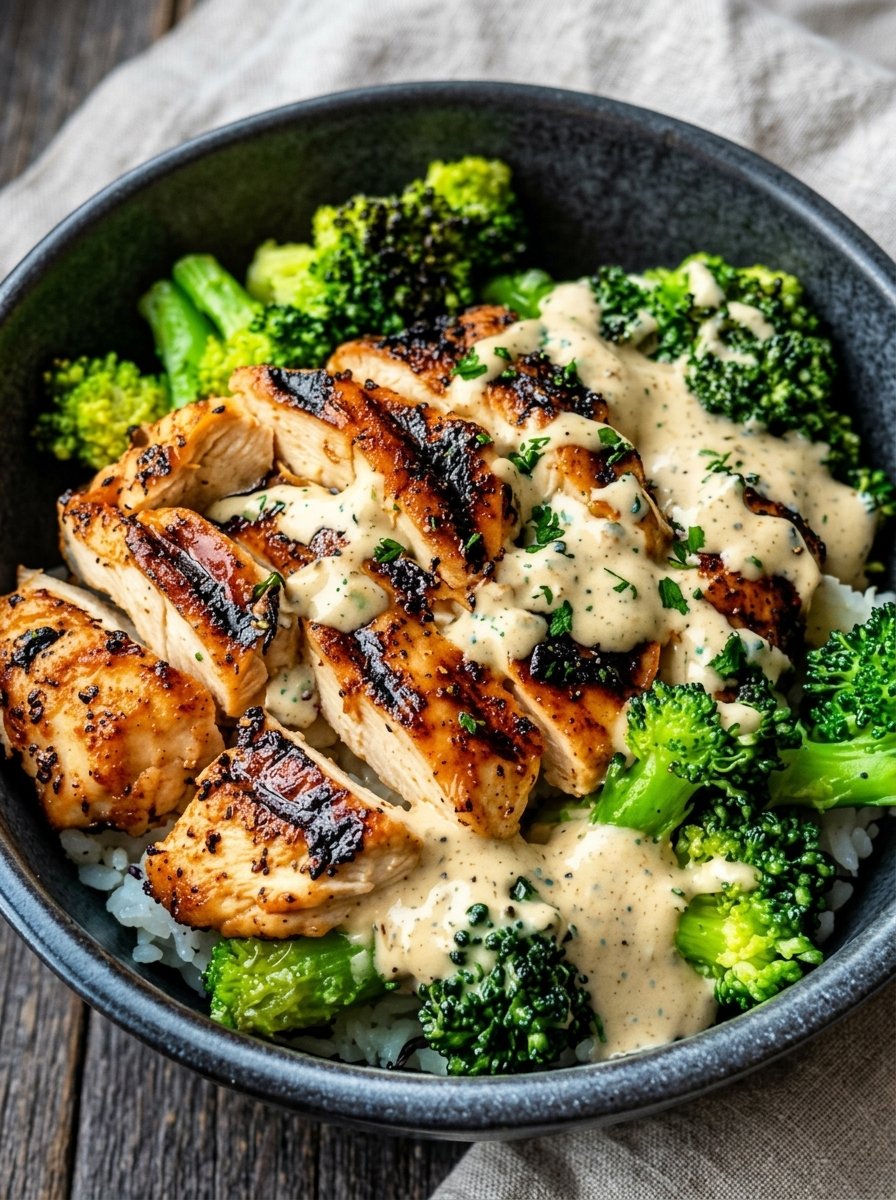
Creamy Garlic Grilled Chicken & Broccoli Bowl

πŸ₯— Creamy Garlic Grilled Chicken & Broccoli Bowl

Servings: 2 | Prep time: 10 mins | Cook time: 15 mins

πŸ›’ Ingredients

The Base:

  • 2 Chicken breasts (sliced into thin strips)

  • 2 cups Broccoli florets (fresh or frozen) πŸ₯¦

  • 1 cup Cooked rice (white, brown, or cauliflower rice)

  • 1 tbsp Olive oil

  • Seasoning: Β½ tsp garlic powder, Β½ tsp paprika, salt, and black pepper.

The Creamy Sauce:

  • ΒΌ cup Plain Greek yogurt

  • 1 tbsp Dijon mustard

  • 1 tsp Fresh lemon juice πŸ‹

  • 1 clove Garlic (minced finely)

  • 1–2 tsp Water (for consistency)


πŸ‘©β€πŸ³ Step-by-Step Instructions

  1. Season the Chicken ➑️ In a bowl, toss chicken strips with olive oil, garlic powder, paprika, salt, and pepper until fully coated.

  2. Grill to Perfection ➑️ Heat a grill pan or skillet over medium-high heat. Cook chicken for 4 minutes undisturbed to get those golden char marks, then flip and cook for another 4–5 minutes. πŸ—

  3. Steam the Broccoli ➑️ Steam florets for 4–5 minutes until vibrant green and fork-tender. πŸ₯¦

  4. Whisk the Sauce ➑️ Combine yogurt, mustard, lemon juice, and minced garlic. Add water a teaspoon at a time until it reaches a smooth “drizzling” texture.

  5. Assemble the Bowl ➑️ Scoop rice into two bowls, add the broccoli to the sides, and place the grilled chicken in the center. πŸ₯£

  6. The Final Touch ➑️ Drizzle that creamy garlic sauce over the top. Garnish with fresh parsley or red pepper flakes for a little kick! πŸ”₯


❓ Common Questions & Answers

Q: Can I use different vegetables? A: Absolutely! ➑️ Asparagus, green beans, or sliced bell peppers work beautifully if you want to switch things up.

Q: How do I store leftovers? A: Store the chicken, rice, and broccoli in an airtight container for up to 3 days. ➑️ Pro-Tip: Keep the sauce in a separate small jar and add it after reheating to keep it creamy!

Q: Is there a substitute for Greek yogurt? A: You can use sour cream or a dairy-free plain yogurt alternative for a similar tangy profile. πŸ₯£

Q: What if I don’t have a grill pan? A: No worries! ➑️ A regular non-stick skillet works perfectly; you’ll still get a delicious sear.


✨ Success Tips

  • Don’t Overcrowd: Give the chicken space in the pan so it sears rather than steams. πŸ’¨

  • Bright Broccoli: Rinse steamed broccoli under cold water briefly to stop the cooking and keep it bright green. πŸ₯¦

  • Flavor Boost: Grate some lemon zest into the sauce for an extra punch of freshness! πŸ‹

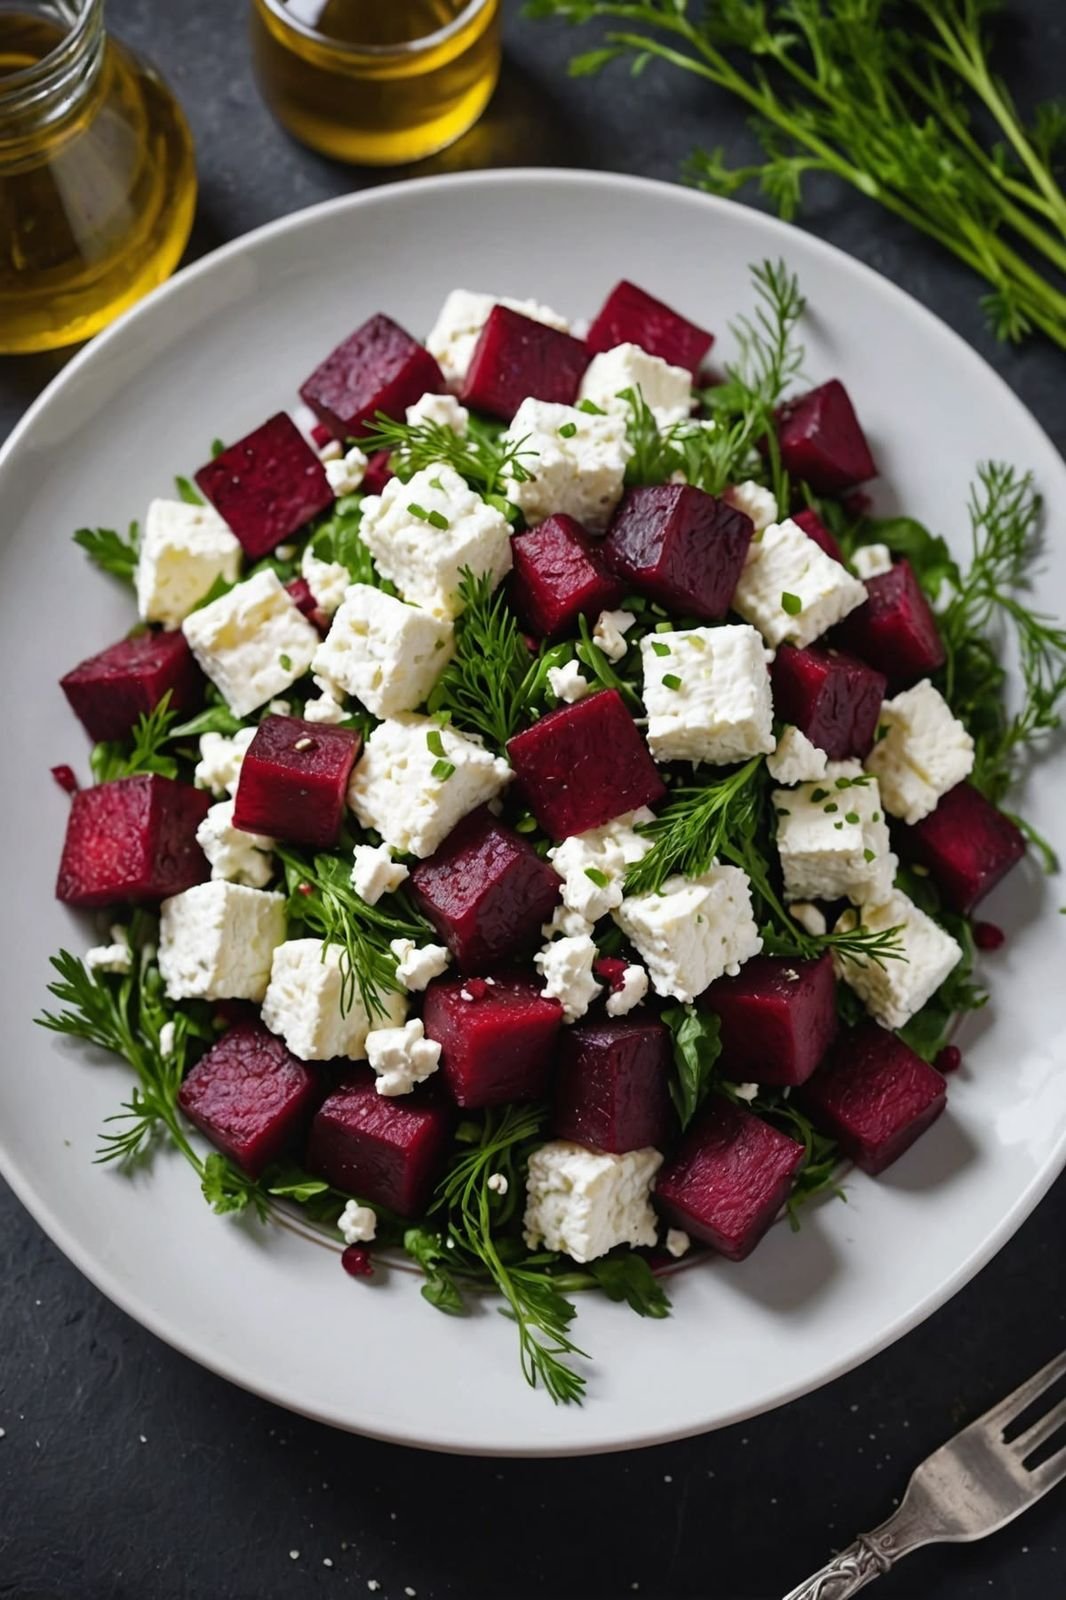
Roasted Beet & Feta Herb Salad

πŸ₯— Roasted Beet & Feta Herb Salad

πŸ›’ Ingredients

The Salad Base:

  • 3-4 medium Beets (peeled and cut into 1-inch cubes) ➑️ Red or golden beets work great!

  • 1 cup Feta cheese (cut into cubes or roughly crumbled) πŸ§€

  • 2 cups Fresh greens (arugula or mixed baby greens) πŸ₯¬

  • Β½ cup Fresh dill and parsley (roughly chopped) 🌿

The Simple Vinaigrette:

  • 3 tbsp Extra virgin olive oil πŸ«’

  • 1 tbsp Balsamic vinegar or lemon juice πŸ‹

  • 1 tsp Honey or maple syrup 🍯

  • Salt and black pepper to taste


πŸ‘©β€πŸ³ Step-by-Step Instructions

  1. Roast the Beets ➑️ Preheat your oven to 400Β°F (200Β°C). Toss the beet cubes with 1 tbsp of olive oil and a pinch of salt. Spread them on a baking sheet and roast for 35–45 minutes until tender when pierced with a fork. 🌑️πŸ”₯

  2. Cool Down ➑️ Let the beets cool to room temperature. This prevents the feta cheese from melting and the greens from wilting. ❄️

  3. Whisk the Dressing ➑️ In a small jar, combine the remaining olive oil, balsamic vinegar, honey, salt, and pepper. Shake well until combined. πŸ₯£βœ¨

  4. Layer the Greens ➑️ Place a bed of fresh greens on a large serving plate or in a shallow bowl. πŸ₯¬

  5. Assemble ➑️ Arrange the roasted beet cubes over the greens. Top with the feta cheese cubes. πŸ§€βž‘οΈπŸ₯—

  6. Garnish and Dress ➑️ Sprinkle the fresh dill and parsley generously over the top. Drizzle the vinaigrette evenly over the salad just before serving. 🌿🍯

  7. Serve ➑️ Toss lightly or serve as composed layers to maintain that striking color contrast! 🎨🍴


❓ Common Questions & Answers

Q: Can I use pre-cooked beets to save time? A: Absolutely! ➑️ You can find steamed or vacuum-packed beets in most grocery stores. Just cube them up and skip straight to the assembly! πŸ•’

Q: How do I stop the beets from staining the feta? A: To keep the white cheese looking bright, don’t toss the salad too vigorously. ➑️ Lay the beets down first, then place the feta on top right before serving. πŸ§€βœ¨

Q: Can I add some crunch to this? A: Definitely. ➑️ Toasted walnuts, pine nuts, or even pumpkin seeds add a wonderful texture to this dish. πŸ₯œ

Q: Is this salad good for meal prep? A: Yes! ➑️ Keep the roasted beets, feta, and dressing in separate containers. Combine them when you’re ready to eat to keep everything fresh and crisp. πŸ₯‘

Enjoy your vibrant, nutrient-packed salad! πŸ₯—πŸŒΏβœ¨

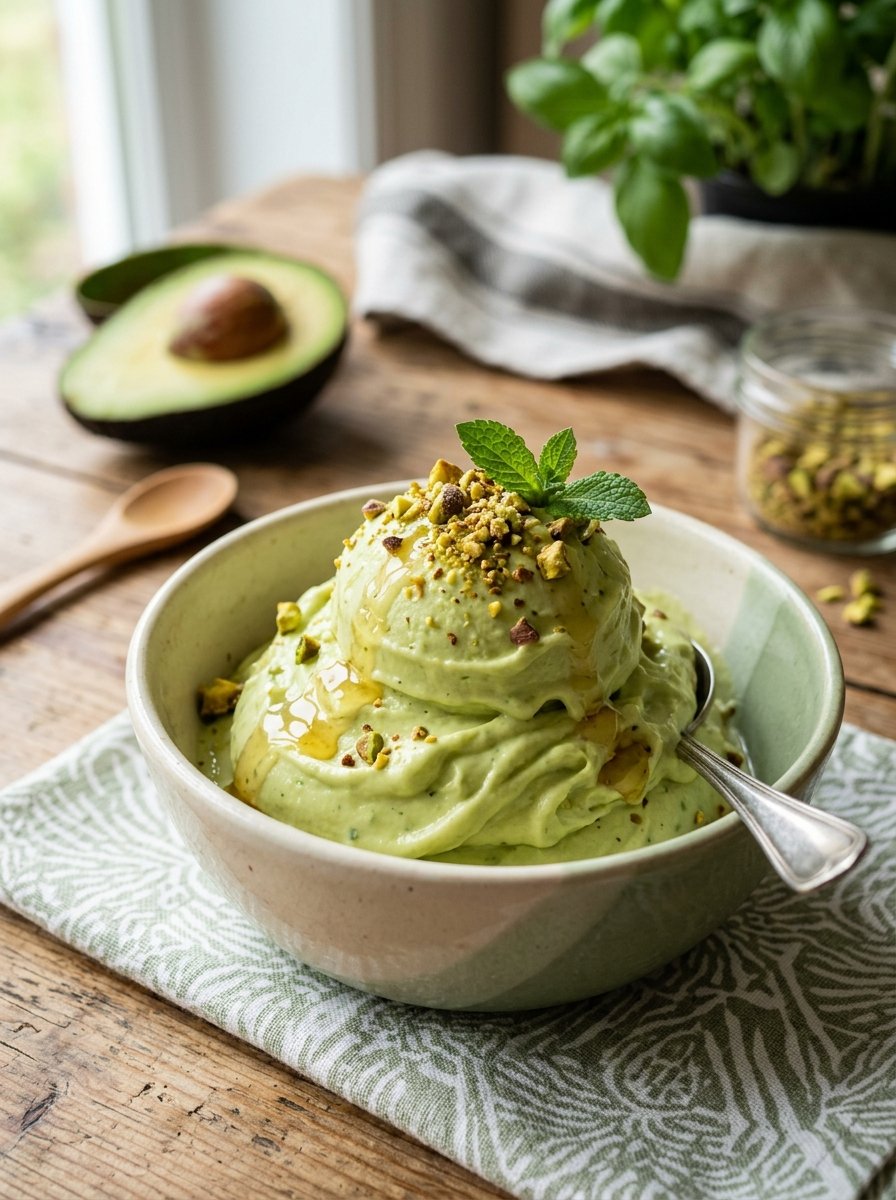
Healthy Creamy Avocado Ice Cream

Healthy Creamy Avocado Ice Cream πŸ₯‘πŸ¦βœ¨

Cool, silky, and naturally creamy β€” this avocado ice cream is a refreshing dessert packed with healthy fats and tropical flavor! πŸŒΏπŸ’š

πŸ›’ Ingredients

The Creamy Base πŸ₯‘πŸ₯₯

  • 2 ripe avocados
  • 1 can (13.5 oz) full-fat coconut milk, chilled overnight
  • Β½ cup honey or maple syrup
  • 1 tbsp lime juice
  • 1 tsp vanilla extract

Toppings 🌿

  • 2 tbsp chopped pistachios
  • Honey for drizzling
  • Fresh mint leaves

πŸ‘©β€πŸ³ Step-by-Step Instructions

1️⃣ Prepare the Coconut Cream πŸ₯₯

Open the chilled coconut milk can carefully.
Scoop out only the thick cream from the top and place it into a blender. Save the liquid for smoothies or drinks.

2️⃣ Add the Main Ingredients πŸ₯‘

Add:

  • Avocado flesh
  • Coconut cream
  • Honey or maple syrup
  • Lime juice
  • Vanilla extract

3️⃣ Blend Until Creamy πŸŒͺ️

Blend everything on high speed until the mixture becomes completely smooth and fluffy.
The texture should look rich and silky with no avocado chunks remaining.

4️⃣ Churn or Freeze 🍦

If using an ice cream maker:
➑️ Churn for about 15–20 minutes until thick and creamy.

For the no-churn method:
➑️ Pour the mixture into a shallow container and freeze for at least 4 hours.

5️⃣ Keep It Smooth ❄️

During the first 2 hours of freezing, stir the mixture every 45 minutes.
This helps create a softer and creamier texture.

6️⃣ Soften Before Serving πŸ₯„

Let the ice cream sit at room temperature for 5–10 minutes before scooping for the best texture.

7️⃣ Garnish & Enjoy 🌿✨

Top with chopped pistachios, honey drizzle, and fresh mint leaves before serving.


❓Q & A

Q: Does avocado make the ice cream taste savory?

➑️ No! The avocado mainly adds creaminess while the vanilla, honey, and lime create a sweet tropical flavor.

Q: Can I make this dairy-free?

➑️ Yes! This recipe is naturally dairy-free because it uses coconut milk instead of cream.

Q: How do I keep the green color bright?

➑️ Lime juice helps prevent browning and keeps the ice cream vibrant green.

Q: How long can I store it?

➑️ Keep it in the freezer for up to 1 week. Let it soften slightly before scooping.

Enjoy your creamy homemade avocado ice cream! πŸ₯‘πŸ¦πŸ’š

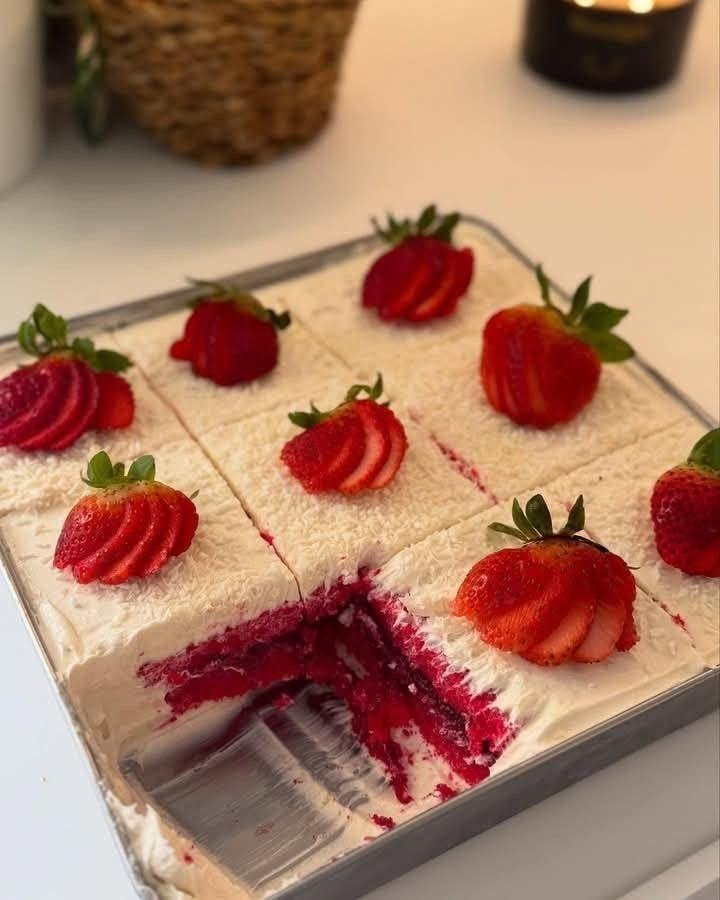
Red Velvet Coconut Strawberry Cake

🍰 Red Velvet Coconut Strawberry Cake

πŸ›’ Ingredients

For the Cake:

  • 1 box Red Velvet cake mix (plus ingredients listed on the box: usually eggs, oil, and water) ➑️ Or your favorite homemade recipe!

  • 1 tsp Vanilla extract

For the Filling:

  • 1 cup Strawberry jam or preserves πŸ“

  • 2 tbsp Water

For the Topping:

  • 1 Β½ cups Heavy whipping cream (cold)

  • ΒΌ cup Powdered sugar

  • 1 tsp Coconut extract

  • Β½ cup Shredded sweetened coconut πŸ₯₯

  • Fresh strawberries for garnish


πŸ‘©β€πŸ³ Step-by-Step Instructions

  1. Bake the Base ➑️ Preheat your oven according to the cake mix instructions. Grease a 9×13 inch baking pan. Mix your red velvet batter, add the vanilla extract, and bake until a toothpick comes out clean.

  2. The “Poke” Stage ➑️ While the cake is still slightly warm, use the handle of a wooden spoon or a large fork to poke holes all over the top of the cake, spaced about an inch apart.

  3. Prepare the Filling ➑️ In a small bowl, microwave the strawberry jam and water for 20–30 seconds until fluid. Stir until smooth. πŸ₯£

  4. Fill the Cake ➑️ Pour the warm strawberry mixture over the cake, ensuring it drips down into the holes. Let the cake cool completely. ❄️

  5. Make the Whipped Cream ➑️ In a large bowl, beat the heavy cream, powdered sugar, and coconut extract until stiff peaks form.

  6. Assemble ➑️ Spread the whipped cream evenly over the cooled cake. Sprinkle the shredded coconut generously over the top. πŸ₯₯✨

  7. Final Flourish ➑️ Slice fresh strawberries and place them on each square before serving. Refrigerate for at least 1 hour for the best texture! πŸ“πŸ°


❓ Common Questions & Answers

Q: Can I use cream cheese frosting instead of whipped cream? A: Absolutely! ➑️ Cream cheese frosting is a classic pairing for red velvet. Just fold in a little coconut milk or extract to keep that tropical flavor profile.

Q: How do I store leftovers? A: Because of the fresh fruit and whipped cream, this cake should be kept in the refrigerator in an airtight container for up to 3 days. 🧊

Q: My cake is too soggyβ€”what happened? A: This usually happens if the cake hasn’t cooled enough before adding the topping, or if too much liquid was added to the jam. ➑️ Make sure the cake is room temperature before frosting!

Q: Can I make this ahead of time? A: Yes! ➑️ You can bake and “poke” the cake a day in advance. Add the whipped cream and fresh strawberries right before you plan to serve it to keep them looking fresh.

Enjoy your baking! πŸ“πŸ₯₯✨