Creamy Mexican Street Corn Cups 

🌽 Creamy Mexican Street Corn Cups

Sweet, smoky corn coated in a creamy chili-lime sauce and topped with cheese — this easy Mexican-inspired snack is bursting with flavor in every bite! 🧀🍋✨

🛒 Ingredients

  • 🌽 4 cups corn kernels
  • 🧈 2 tbsp butter
  • 🥄 ¼ cup mayonnaise
  • 🥛 ¼ cup sour cream
  • 🧀 ½ cup Cotija or feta cheese, crumbled
  • 🧄 1 garlic clove, minced
  • 🍋 2 tbsp lime juice
  • 🌶️ 1 tsp chili powder or Tajín
  • 🌿 ¼ cup chopped cilantro
  • 🧂 Salt to taste
  • 👩‍🍳 Instructions

    1️⃣ Char the Corn

    ➡️ Melt butter in a skillet over medium-high heat.
    ➡️ Add corn and cook for 8–10 minutes until lightly charred and golden. 🌽🔥

    2️⃣ Make the Creamy Sauce

    ➡️ In a bowl, mix mayonnaise, sour cream, garlic, lime juice, chili powder, and salt. 🥄🍋

    3️⃣ Combine Everything

    ➡️ Add the warm corn to the sauce.
    ➡️ Stir in most of the cheese and cilantro until creamy and well coated. 🌿🧀

    4️⃣ Assemble the Cups

    ➡️ Spoon the corn mixture into serving cups.
    ➡️ Sprinkle extra chili powder, cheese, and cilantro on top. 🌶️✨

    5️⃣ Serve & Enjoy

    ➡️ Serve warm with lime wedges and enjoy every creamy, smoky bite! 🍋🥄

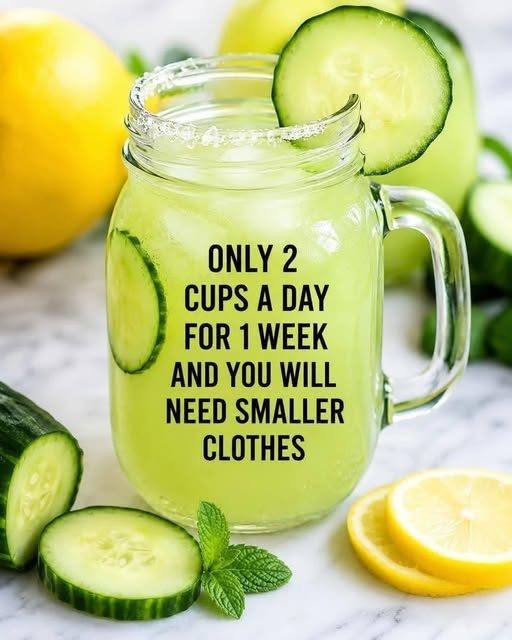
Fresh Cucumber Lemonade

Fresh Cucumber Lemonade

A light, refreshing cucumber lemonade that’s naturally hydrating and lower in calories than traditional lemonade. This drink is great for hot weather, post-workout hydration, or as a flavorful alternative to sugary sodas. While it won’t magically “melt fat,” it can support healthy habits when paired with balanced nutrition and exercise.

Recipe Description

Fresh cucumber lemonade combines cool cucumber, bright lemon juice, mint, and water into a crisp, spa-style drink. The cucumber gives it a smooth, refreshing taste while lemon adds tanginess and freshness. It’s easy to make, naturally refreshing, and perfect served over ice.

Servings

  • Makes: 4 servings
  • Serving Size: About 1 cup

Ingredients

  • 1 large cucumber, peeled and chopped
  • 3 large lemons, freshly squeezed
  • 4 cups cold water
  • 2–3 tablespoons honey or maple syrup (optional)
  • 6–8 fresh mint leaves
  • 1 cup ice cubes
  • Lemon slices and cucumber rounds for garnish

Instructions

  1. Prepare the cucumber
    Peel and chop the cucumber into chunks.
  2. Blend
    Add cucumber, lemon juice, mint leaves, and 1 cup of water to a blender. Blend until smooth.
  3. Strain (Optional)
    Pour through a fine mesh strainer for a smoother drink.
  4. Mix
    Transfer to a pitcher and add remaining water and sweetener if desired.
  5. Chill and Serve
    Add ice and garnish with lemon slices and cucumber rounds. Serve cold.

Recipe Notes

  • Use English cucumbers for a milder flavor.
  • Fresh lemon juice tastes much better than bottled juice.
  • Straining gives a smoother lemonade, but keeping the pulp adds extra fiber.
  • Chill ingredients beforehand for the best flavor.

Helpful Tips

  • Add sparkling water for a fizzy version.
  • Freeze cucumber slices and use them instead of ice cubes.
  • For extra flavor, add fresh ginger or basil.
  • Adjust sweetness gradually to avoid making it overly sugary.

Nutritional Information (Approx. Per Serving)

  • Calories: 35–50
  • Carbohydrates: 10g
  • Sugar: 6–8g
  • Fiber: 1g
  • Vitamin C: 20–30% DV
  • Fat: 0g
  • Protein: 0.5g

Values vary depending on sweetener used.

Potential Benefits

Hydration

Cucumbers and water help maintain hydration, especially during warm weather.

Lower-Calorie Beverage Option

This drink can replace sugary soft drinks or sweet tea.

Vitamin C

Lemons provide vitamin C, which supports immune function.

Refreshing and Filling

Cold, water-rich drinks may help some people feel fuller temporarily.

Reduced Bloating

Some people notice less bloating when drinking more water and reducing salty processed foods.

Important Reality Check

This drink alone will not cause dramatic weight loss in a week. Sustainable fat loss comes from:

  • Balanced nutrition
  • Regular physical activity
  • Good sleep
  • Long-term calorie balance

Drinks marketed as “fat melting” are usually exaggerated.

Frequently Asked Questions

Can I drink this every day?

Yes, in moderation. It’s generally safe as part of a balanced diet.

Does cucumber lemonade burn fat?

No specific drink directly burns body fat. This drink may help support hydration and lower calorie intake if replacing sugary beverages.

How long does it last?

Store refrigerated for up to 2 days. Stir before serving.

Can I make it sugar-free?

Absolutely. Skip the sweetener or use a low-calorie alternative.

Can I use lime instead of lemon?

Yes. Lime gives a slightly different but equally refreshing flavor.

Is it good for detox?

Your liver and kidneys naturally detox your body. This drink mainly helps with hydration rather than “detoxing.”

Can I make it ahead of time?

Yes. Prepare and refrigerate for several hours before serving for even better flavor.

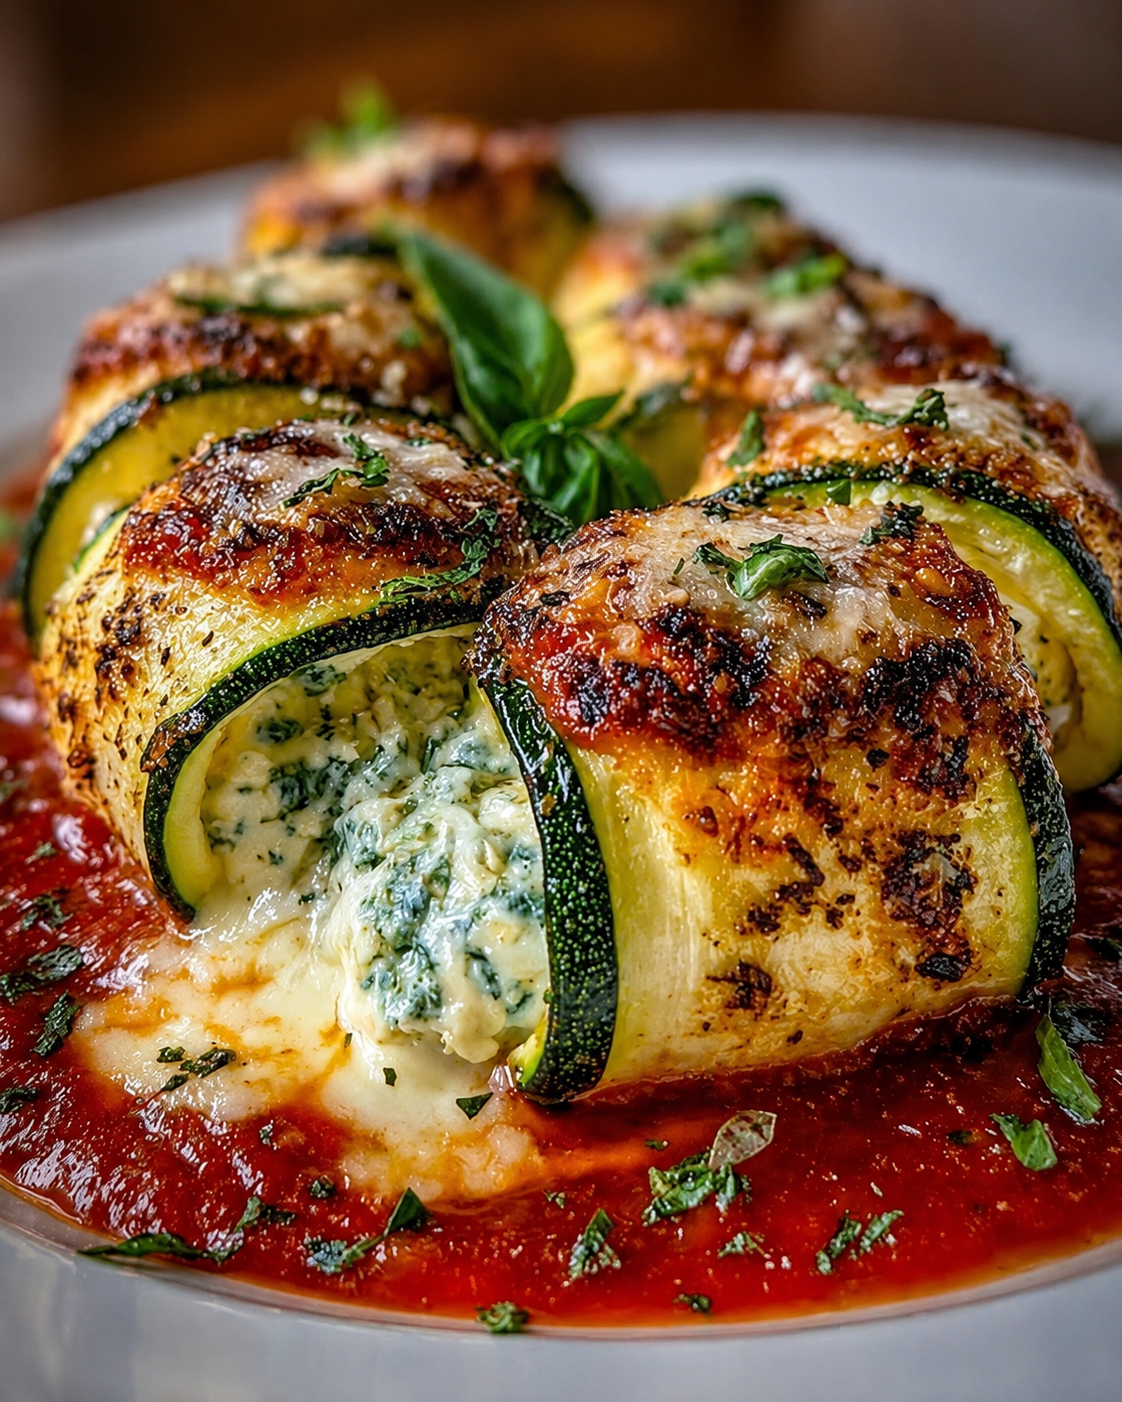
Zucchini Ricotta Involtini Recipe

🍽️ Zucchini Ricotta Involtini Recipe

🛒 Ingredients

For the Zucchini & Filling:

  • 3 large zucchini (straight ones work best for slicing)

  • 15 oz (425g) ricotta cheese

  • 1 cup fresh spinach, finely chopped

  • 1/2 cup parmesan cheese, grated

  • 1 large egg (to bind the filling)

  • 1 clove garlic, minced

  • Salt and black pepper to taste

For the Assembly:

  • 2 cups marinara sauce (homemade or your favorite store-bought brand)

  • 1 cup mozzarella cheese, shredded

  • Fresh basil or parsley, chopped (for garnish)


👩‍🍳 Step-by-Step Instructions

Step 1: Prep the Zucchini Slices 🔪

  • Cut off the ends of the zucchini. Using a mandoline slicer or a very sharp knife, slice the zucchini lengthwise into thin, flexible strips (about 1/8-inch thick).

  • Pro Tip: Lay the slices on paper towels and sprinkle a pinch of salt over them. Let them sit for 10 minutes, then pat dry. This draws out excess moisture so your dish doesn’t get watery!

Step 2: Mix the Filling 🥣

  • In a medium bowl, combine the ricotta cheese, chopped spinach, grated parmesan, minced garlic, and the egg.

  • Season with a pinch of salt and black pepper. Stir everything together until smooth and well combined.

Step 3: Sauce the Pan 🍅

  • Preheat your oven to 375°F (190°C).

  • Spread about 1.5 cups of the marinara sauce evenly across the bottom of a large baking dish.

Step 4: Roll Them Up 🌀

  • Lay out a zucchini slice on a clean cutting board.

  • Spoon about 1 tablespoon of the ricotta mixture onto the slice, spreading it gently along the length.

  • Starting from one end, carefully roll the zucchini strip up tightly around the filling.

  • Place the roll-up seam-side down into the prepared baking dish on top of the sauce. Repeat with the remaining slices.

Step 5: Top and Bake 🔥

  • Spoon the remaining marinara sauce over the tops of the zucchini rolls.

  • Sprinkle the shredded mozzarella cheese generously over everything.

  • Bake in the preheated oven for 20 to 25 minutes, or until the cheese is melted, bubbling, and perfectly golden brown.

Step 6: Garnish and Serve ✨

  • Let the dish cool for about 5 minutes out of the oven. Garnish with fresh chopped basil or parsley, and enjoy!


❓ Frequently Asked Questions

Q: My zucchini rolls turned out a bit soggy. What went wrong? ➡️ A: Zucchini holds a lot of water! To prevent sogginess, make sure to do the salting step listed in Step 1. Letting them sweat on paper towels and patting them completely dry before rolling makes a massive difference.

Q: Can I make this dish ahead of time? ➡️ A: Absolutely! You can assemble the entire dish (up to Step 4), cover the baking dish tightly with foil, and keep it in the refrigerator for up to 24 hours. When you’re ready to eat, just top with cheese and bake—you may just need to add 5 extra minutes to the baking time since it’s starting cold.

Q: Can I add meat to this recipe? ➡️ A: Yes! If you want to add protein, you can brown some ground turkey, beef, or Italian sausage and mix it directly into the marinara sauce before layering it into the pan.

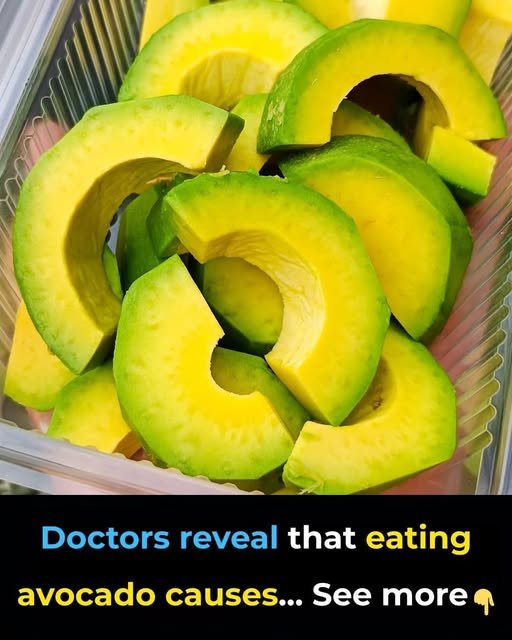
Avocado Seed Benefits

🥑 Don’t Throw Away the Avocado Seed Just Yet!

Most people enjoy the creamy green flesh of avocados and toss the large seed straight into the trash without a second thought. But that overlooked avocado seed may actually hold some surprising benefits! 🌿

The avocado seed is packed with natural plant compounds like antioxidants, polyphenols, and flavonoids — sometimes in even higher amounts than the avocado flesh itself. These compounds may help support the body against everyday oxidative stress caused by modern lifestyles.

✨ Why People Are Talking About Avocado Seeds:
• Rich in dietary fiber
• Contains natural antioxidants
• May support overall wellness
• Traditionally used in natural remedies in some cultures

Some people dry and grind avocado seeds into powder for smoothies, teas, or recipes. However, because research is still ongoing, moderation is important and avocado seed should not replace medical advice or a balanced diet.

🥑 Nature hides powerful things in unexpected places

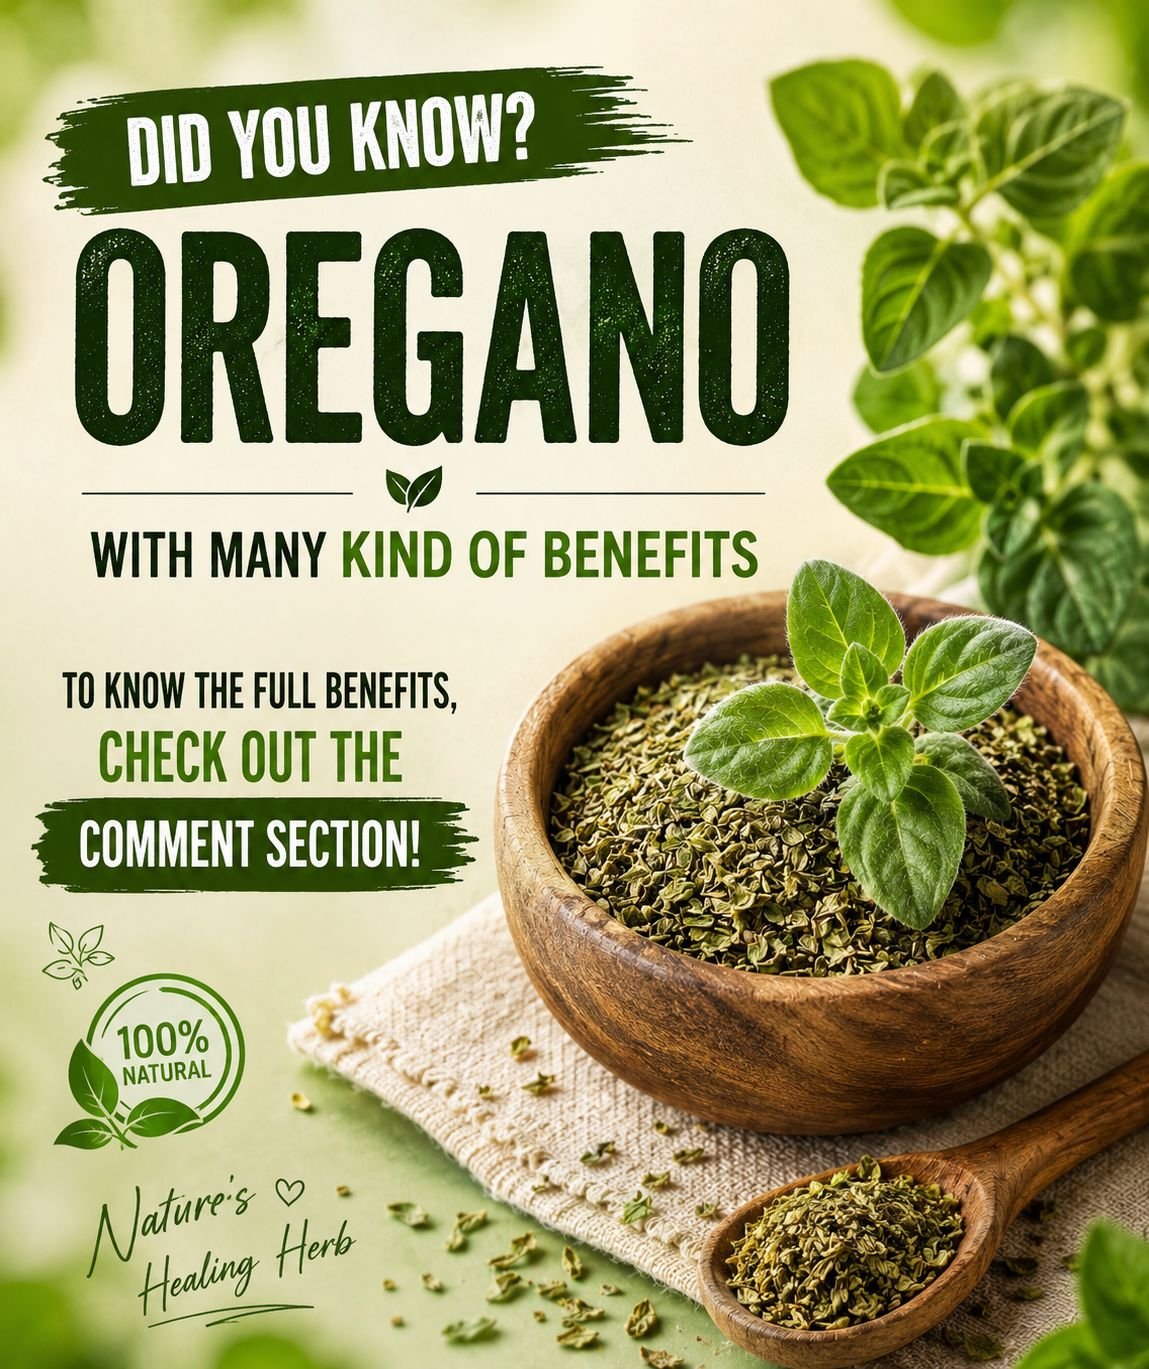
The Incredible Health Benefits of Oregano

The Incredible Health Benefits of Oregano

Oregano is a culinary staple, but it is also a powerhouse of health benefits. Packed with antioxidants and essential compounds, this natural healing herb has been used for centuries to support wellness.

1. Packed with Powerful Antioxidants

Oregano is rich in antioxidants like carvacrol and thymol. These compounds help fight off harmful free radicals in the body, protecting your cells from oxidative stress and supporting long-term health.

2. Natural Antibacterial Properties

Research shows that oregano contains compounds that can help fight against certain strains of bacteria. Adding it to your diet provides a natural shield to help keep your body defended.

3. Supports a Strong Immune System

Thanks to its high nutrient content and antiviral properties, oregano is an excellent herb for reinforcing your immune defense—especially during seasonal changes when your body needs an extra boost.

4. Helps Reduce Inflammation

Chronic inflammation can lead to various health issues. The active components in oregano, particularly carvacrol, have been shown to help reduce inflammation throughout the body.

5. Promotes Healthy Digestion

Oregano has traditionally been used to soothe the stomach. It helps stimulate bile flow, which aids the digestive process and can ease common discomforts like bloating or gas.

6. Easy to Add to a Healthy Diet

Whether you use fresh leaves, dried flakes, or a high-quality oil, oregano is incredibly versatile. It seamlessly fits into Mediterranean dishes, soups, roasted vegetables, and healthy dressings without adding extra calories or sugar.


Tip for Your Followers: To get the absolute most out of dried oregano, crush the leaves gently between your fingers just before adding them to your dish to release those potent, healthy essential oils!

Creamy Bacon Pea Potato Salad Recipe

Creamy Bacon Pea Potato Salad Recipe

This creamy potato salad is loaded with crispy bacon, peas, cheese, and a rich dressing — perfect for BBQs, lunch, or family dinners 😍

🛒 Ingredients

  • 🥔 4 cups potatoes (boiled & cubed)
  • 🟢 1 cup green peas
  • 🥓 6 strips bacon (cooked crispy & chopped)
  • 🧀 1 cup shredded cheddar cheese
  • 🧅 ½ cup diced ham or turkey ham
  • 🥚 2 boiled eggs (optional)

For the Dressing

  • 🥛 1 cup mayonnaise
  • 🍶 2 tbsp sour cream or yogurt
  • 🟡 1 tbsp mustard
  • 🧂 Salt to taste
  • ⚫ Black pepper
  • 🌿 1 tsp dried herbs or parsley

👩‍🍳 Step-by-Step Recipe

1️⃣ Cook the Potatoes

  • Boil potatoes until fork tender.
  • Drain and let cool slightly. 🥔

2️⃣ Prepare the Bacon

  • Fry bacon until crispy. 🔥
  • Place on paper towel and chop into small pieces.

3️⃣ Make the Dressing

  • In a bowl mix:
    • mayonnaise
    • sour cream
    • mustard
    • salt
    • black pepper
    • herbs
  • Stir until creamy. 🥣

4️⃣ Combine Everything

  • In a large bowl add:
    • potatoes
    • peas
    • diced ham
    • cheese
    • eggs (if using)
  • Pour dressing over everything and mix gently.

5️⃣ Add Bacon

  • Sprinkle crispy bacon on top. 🥓
  • Add extra cheese if desired.

6️⃣ Chill & Serve

  • Refrigerate for at least 30 minutes before serving.
  • Serve cold and enjoy 😋

💡 Tips

  • Use chilled potatoes for best texture.
  • Don’t overmix or potatoes may break apart.
  • Add chopped pickles for extra flavor.

❓Q/A

❓Can I make it ahead of time?

✅ Yes, it tastes even better after chilling overnight.

❓Can I use frozen peas?

✅ Yes, just thaw them before mixing.

❓What potatoes work best?

✅ Yukon Gold or red potatoes hold their shape best.