Quick Jam-Swirl Sponge Cake

Quick Jam-Swirl Sponge Cake

Ingredients

  • The Batter:

    • 3 Large eggs

    • A pinch of salt

    • 150 g (4/5 cup) Sugar

    • 120 ml (1/2 cup + 2 tbsp) Milk

    • 120 ml (1/2 cup + 1 tbsp) Vegetable oil

    • 2 tsp Vanilla extract

    • 250 g (1 cup + 2/3 cup) All-purpose flour

    • 15 g (3 tsp) Baking powder

  • The Topping:

    • 150 g (approx. 1/2 cup) Jam of your choice (cherry, apricot, or strawberry work beautifully)

    • Powdered sugar for dusting


Instructions

1. Prepare Your Setup

  • Preheat your oven to 350°F (180°C).

  • Line a rectangular baking pan (approx. 8×11 inches) with parchment paper or grease it thoroughly with oil or butter.

2. Beat the Eggs and Sugar

  • In a large mixing bowl, combine the 3 eggs, salt, and sugar.

  • Using a hand mixer or whisk, beat the mixture for about 3–5 minutes until it becomes pale, thick, and doubles in volume. This step ensures the cake is light and fluffy.

3. Add the Liquids

  • Pour in the milk, vegetable oil, and vanilla extract.

  • Mix on low speed just until combined.

4. Sift in Dry Ingredients

  • Sift the flour and baking powder into the wet mixture.

  • Gently fold or whisk the batter until smooth and no flour pockets remain. Do not overmix, as this can make the cake dense.

5. Add the Jam Swirl

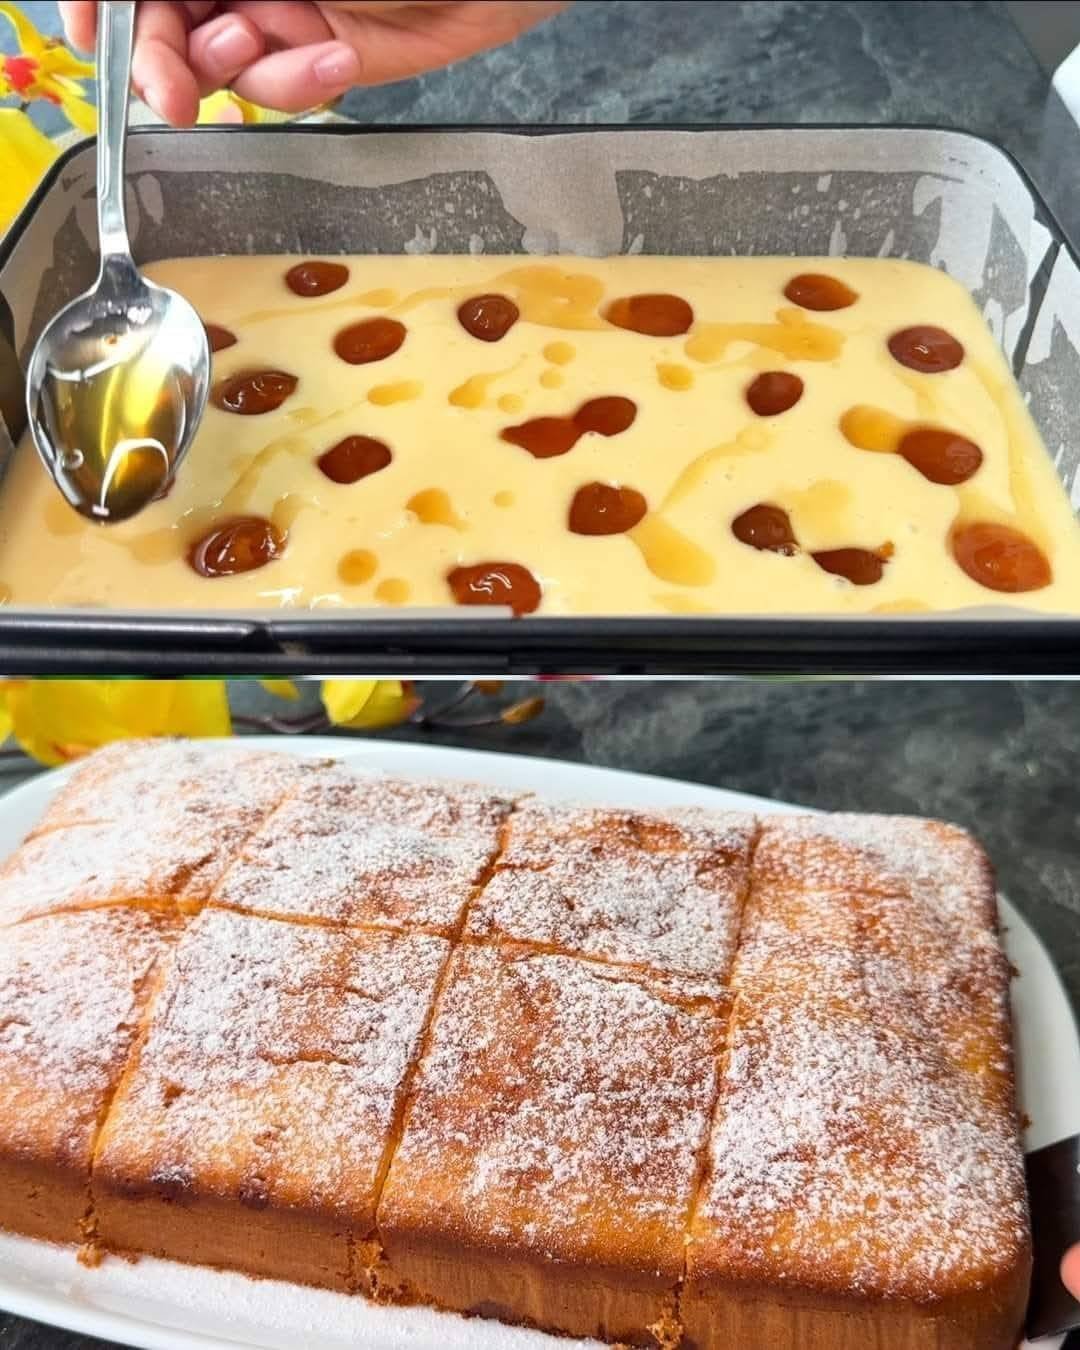
  • Pour the batter into your prepared baking pan and smooth the top with a spatula.

  • Drop small spoonfuls of jam onto the surface of the batter, spacing them out evenly.

  • Use the tip of a knife or a toothpick to gently swirl the jam into the batter for a marbled effect.

6. Bake and Finish

  • Bake for 30–35 minutes, or until a toothpick inserted into the center of the cake comes out clean.

  • Remove from the oven and allow it to cool in the pan for 10 minutes.

  • Once cooled, dust the top generously with powdered sugar before slicing into squares.


Pro Tip

If your jam is very thick, stir it in a small bowl with a teaspoon of warm water before adding it to the cake; this makes it much easier to create those beautiful swirls!
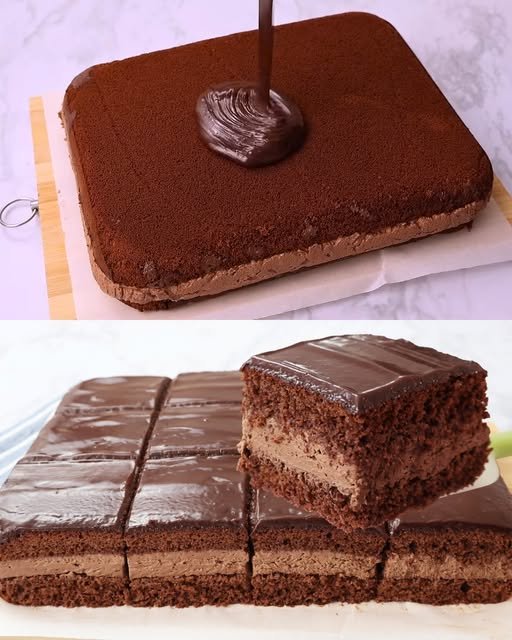
Chocolate Cream Dream Cake

Chocolate Cream Dream Cake

Ingredients

The Cake

  • 1 + 1/4 cups (150g) All-purpose flour

  • 1/3 cup (30g) Unsweetened cocoa powder

  • 2 tsp (8g) Baking powder

  • 1/4 tsp (1g) Salt

  • 1/2 cup (120g) Milk (room temp)

  • 1/4 cup (55g) Vegetable oil

  • 1 tsp (5g) Vanilla extract

  • 4 Large eggs (separated into yolks and whites)

  • 1 cup (200g) Granulated sugar

The Soaking Syrup

  • 1/3 cup (80g) Heavy cream

  • 2 tbsp (25g) Granulated sugar

  • 1 tbsp (6g) Unsweetened cocoa powder

  • 2/3 cup (160g) Milk

The Filling

  • 1 + 1/3 cups (200g) Milk chocolate (melted and cooled slightly)

  • 1 + 1/3 cups (300g) Cream cheese (room temp)

  • 1 cup (240g) Heavy cream (cold)

The Ganache

  • 1 cup (150g) Milk chocolate

  • 1/3 cup (80g) Heavy cream


Instructions

1. Prepare the Cake Base

  • Preheat your oven to 350°F (180°C). Grease and line a rectangular baking pan (approx. 9×13 inch) with parchment paper.

  • Whisk Dry Ingredients: Sift the flour, cocoa powder, baking powder, and salt together in a bowl.

  • Mix Liquids: In a separate bowl, whisk the egg yolks with the milk, oil, and vanilla extract until smooth.

  • Beat Egg Whites: In a clean bowl, beat the egg whites while gradually adding the sugar. Continue beating until stiff peaks form.

  • Combine: Gently fold the yolk mixture into the dry ingredients. Finally, gently fold in the whipped egg whites in three batches to keep the batter airy.

  • Bake: Pour into the pan and bake for 25–30 minutes. Let it cool completely, then slice the cake horizontally into two even layers.

2. Make the Soaking Syrup

  • In a small saucepan, combine the heavy cream, sugar, cocoa powder, and milk.

  • Bring to a simmer over medium heat, stirring until the sugar and cocoa are dissolved.

  • Remove from heat and let it cool.

3. Prepare the Creamy Filling

  • Beat Cream Cheese: Whisk the room-temperature cream cheese until smooth and fluffy.

  • Add Chocolate: Pour in the melted milk chocolate and mix until combined.

  • Whip Cream: In a separate chilled bowl, whip the cold heavy cream until stiff peaks form.

  • Fold: Gently fold the whipped cream into the chocolate-cheese mixture until you have a uniform, light mousse.

4. Assemble the Cake

  • Place the bottom layer of the cake back into the baking pan or on a serving tray.

  • Soak: Brush or pour half of the cocoa syrup evenly over the cake layer.

  • Layer: Spread all of the creamy filling over the soaked base.

  • Top: Place the second cake layer on top and soak it with the remaining syrup. Refrigerate for at least 1 hour to set.

5. Add the Ganache

  • Heat the heavy cream in the microwave for 20 seconds (don’t let it boil).

  • Pour the warm cream over the chocolate chips/pieces. Let it sit for 1 minute, then stir until shiny and smooth.

  • Pour the ganache over the top of the chilled cake and spread evenly.


Pro Tip

For the best flavor and cleanest slices, let the cake rest in the refrigerator for at least 4 hours (or overnight) before serving. This allows the syrup to fully hydrate the sponge and the filling to firm up.

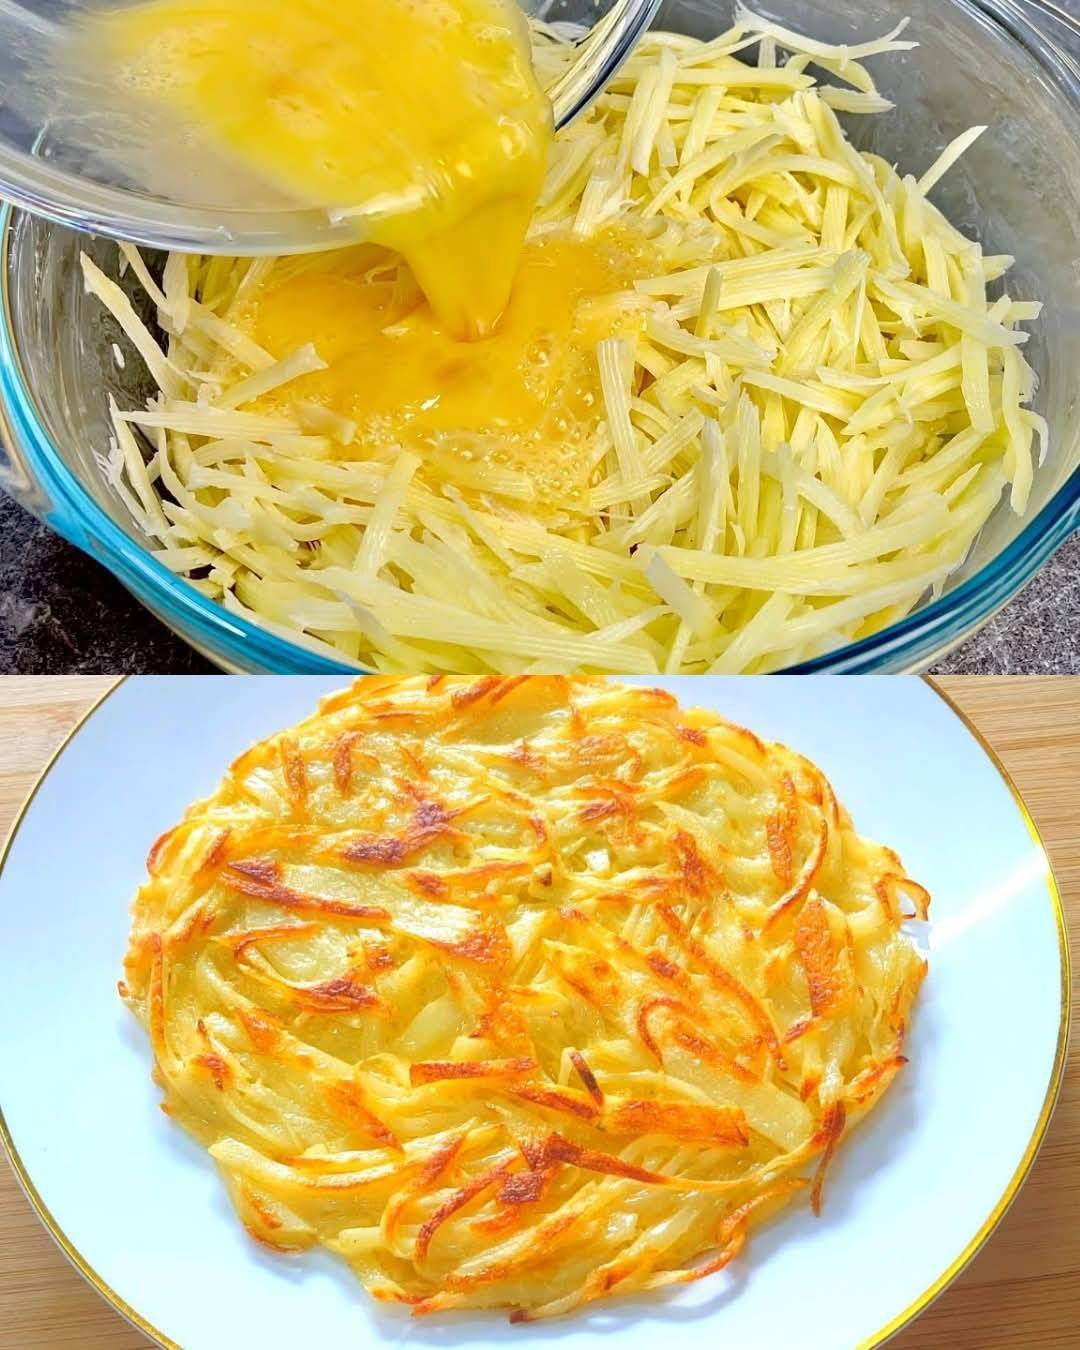
Crispy Potato Pancakes

Crispy Potato Pancakes

Ingredients

  • 1 medium potato (about 150g), peeled and grated

  • 1 large egg

  • 2 tbsp all-purpose flour (16g)

  • 2 tbsp water (30ml)

  • 1 tbsp vegetable oil (15ml), for frying

  • Optional: A pinch of salt and black pepper to taste


Instructions

1. Prepare the Potato

  • Peel the potato and grate it using the large holes of a box grater.

  • Important: To ensure the pancakes are truly crispy, place the grated potato in a clean kitchen towel or cheesecloth and squeeze out as much excess liquid as possible.

2. Mix the Batter

  • In a medium mixing bowl, whisk the egg, water, and all-purpose flour together until you have a smooth, thin batter without any flour lumps.

  • Stir the grated potato into the batter until every strand is evenly coated. Add your salt and pepper at this stage if desired.

3. Fry the Pancake

  • Heat the vegetable oil in a non-stick skillet over medium-high heat.

  • Once the oil is shimmering, pour the potato mixture into the pan. Use a spatula to spread it out into a thin, even circle (about 1/2 inch thick).

4. Cook Until Golden

  • Fry for about 3–5 minutes on the first side. You want the edges to look golden brown and crispy.

  • Carefully flip the pancake over.

  • Cook the second side for another 3–4 minutes until the potato is tender in the middle and the outside is deeply golden and crunchy.

5. Drain and Serve

  • Slide the pancake onto a plate lined with a paper towel to remove any excess oil.

  • Serve immediately while hot and crispy.


Quick Tip

For extra flavor, you can stir in a tablespoon of finely chopped green onions or a sprinkle of garlic powder into the batter before frying!

Oatmeal and Apple Breakfast Cakes

Oatmeal and Apple Breakfast Cakes

Prep Time: 15 minutes
Bake Time: 35–40 minutes
Yield: 8–10 small cakes (or 6–8 larger ones)


Ingredients

  • 1 cup (90 g) oatmeal (rolled oats work best)

  • 150 ml (⅔ cup) warm milk (dairy or plant-based)

  • 2 medium apples, peeled and diced

  • 20 g (1½ tablespoons) butter, melted

  • ½ teaspoon vanillin powder or 1 teaspoon pure vanilla extract

  • 2 large eggs


Instructions

1. Soak the Oats

  1. Place the oatmeal in a large mixing bowl.

  2. Pour the warm milk over the oats and stir briefly to combine.

  3. Let the mixture sit for about 10 minutes. This softens the oats and creates a naturally moist structure for the cakes without needing flour.

2. Prepare the Apple Mixture

  1. Peel and dice the apples into small, uniform cubes.

  2. In a separate bowl, whisk the eggs with the melted butter and vanillin/vanilla extract until well combined.

3. Combine All Ingredients

  1. Add the egg and butter mixture to the soaked oats and stir until evenly combined.

  2. Gently fold in the diced apples until they are evenly distributed throughout the batter.

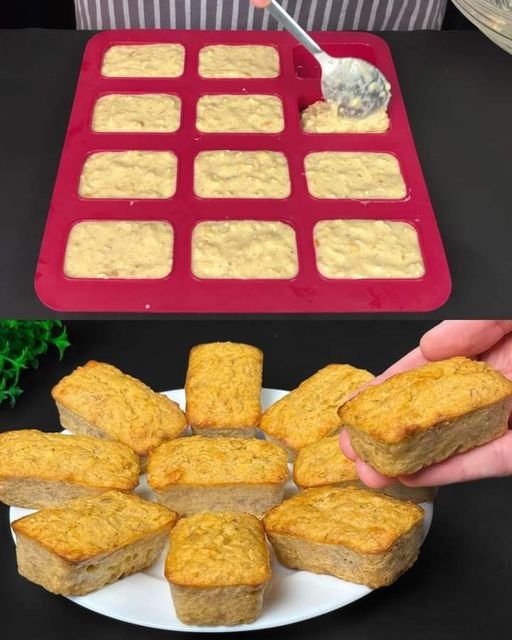
4. Fill the Molds

  1. Preheat your oven to 350°F (180°C).

  2. Grease a silicone muffin tin, a loaf pan, or a rectangular bar mold.

  3. Distribute the batter evenly into the molds, filling them almost to the top. These cakes do not rise significantly, so a nearly full mold ensures a good shape.

5. Bake and Cool

  1. Bake for 35–40 minutes, or until the tops are golden brown and a toothpick inserted in the center comes out clean.

  2. Let the cakes cool in the mold for at least 10 minutes before removing. This allows them to firm up and prevents them from breaking apart.


Serving Suggestions

  • Serve warm for a cozy breakfast.

  • Store cooled cakes in an airtight container in the refrigerator for up to 4 days.

  • Optional toppings: a drizzle of honey, a sprinkle of cinnamon, or a smear of nut butter.


Tips for Best Results

  • Use a sweet, crisp apple variety like Fuji or Honeycrisp for natural sweetness and texture.

  • For added flavor, stir in ½ teaspoon cinnamon or nutmeg with the oats.

  • If you want a slightly firmer texture, add 1–2 tablespoons of finely ground oats or almond flour.

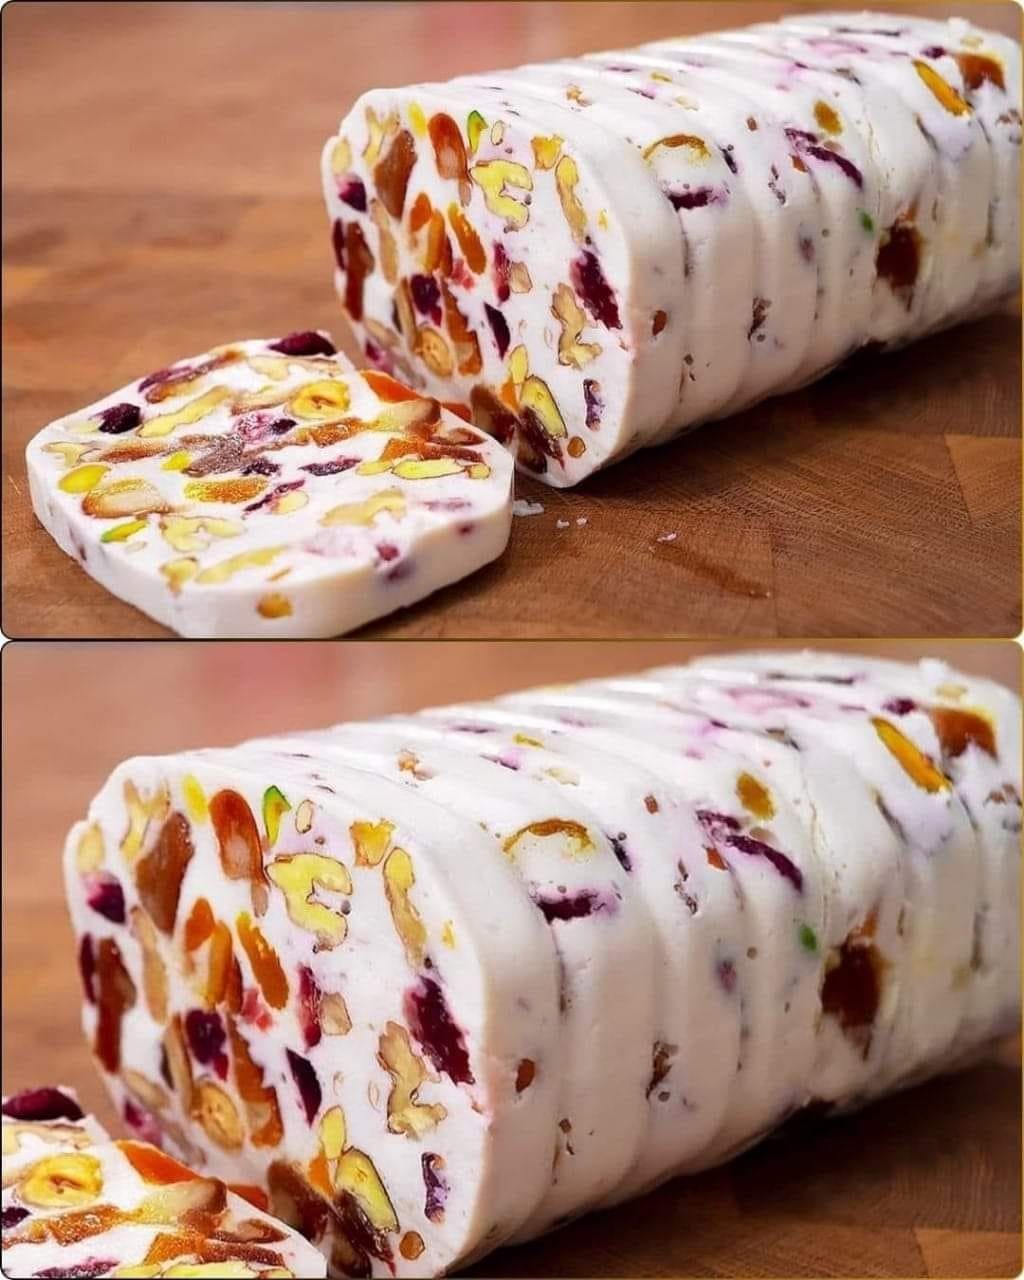
Nutty Cottage Cheese Dessert Log

Nutty Cottage Cheese Dessert Log

A creamy, nutty, and naturally sweet dessert packed with protein, healthy fats, and chewy fruits. Perfect for a wholesome treat or snack.

Prep Time: 20 minutes
Chill Time: 4–6 hours (overnight recommended)
Yield: 8–10 servings


Ingredients

For the Base:

  • 12.5 oz (350 g) cottage cheese, smooth or small-curd

  • 3.5 oz (100 g) sour cream (or Greek yogurt for extra protein)

  • 2.5 oz (70 g) honey (adjust to taste)

  • 1/4 tsp vanillin powder or 1 tsp pure vanilla extract

  • 0.7 oz (20 g) instant gelatin

  • 3–4 tbsp water (to bloom the gelatin)

For the Mix-ins:

  • 1.8 oz (50 g) hazelnuts, toasted

  • 3.5 oz (100 g) walnuts, toasted

  • 1.5 oz (45 g) peeled pistachios

  • 3.5 oz (100 g) dried apricots, chopped

  • 3.5 oz (100 g) dates, pitted and chopped


Instructions

1. Prepare the Fruit and Nuts

  1. Chop the dried apricots and dates into small, bite-sized pieces.

  2. Toast the nuts if they are raw:

    • Place nuts in a dry skillet over medium heat.

    • Stir frequently for 3–5 minutes until fragrant and lightly golden.

  3. Combine all nuts and dried fruits in a bowl and set aside.

2. Bloom the Gelatin

  1. Place the instant gelatin in a small heat-proof bowl with 3–4 tablespoons of water.

  2. Let it sit for 5 minutes to absorb water and soften.

  3. Melt the gelatin gently:

    • Microwave for 10–15 seconds or use a double boiler.

    • Stir until liquid and clear. Avoid boiling, which reduces gelatin’s setting ability.

3. Make the Smooth Base

  1. In a large mixing bowl or blender, combine cottage cheese, sour cream, honey, and vanillin/vanilla extract.

  2. Blend until completely smooth and creamy. Use a whisk if doing by hand, ensuring no large curds remain.

  3. Gradually pour in the melted gelatin while blending or whisking continuously. Mix until fully incorporated.

4. Fold in Nuts and Fruits

  1. Add the toasted nuts and chopped dried fruits to the cheese mixture.

  2. Gently fold with a spatula until evenly distributed.

5. Mold the Dessert Log

Option 1: Using a Plastic Bottle

  1. Take a clean, empty plastic water or soda bottle and carefully cut off the top.

  2. Pour the mixture into the bottle.

  3. Tap firmly on the counter to remove air bubbles and settle the mixture.

Option 2: Using a Loaf Pan

  1. Line a standard loaf pan with plastic wrap, leaving enough overhang on the sides.

  2. Pour the mixture into the pan and tap gently to remove air pockets.

6. Chill Until Firm

  1. Cover with plastic wrap and refrigerate for at least 4–6 hours (overnight is best) until fully set.

7. Serve

  1. For the bottle: Carefully cut the plastic down the side and peel it away.

  2. For the loaf pan: Lift the dessert out using the overhanging plastic wrap.

  3. Slice into thick rounds using a sharp knife. Serve chilled.


Tips for Best Results

  • Use smooth cottage cheese for a creamier texture; small-curd works too but may be slightly chunkier.

  • Adjust honey depending on desired sweetness. You can replace part of it with maple syrup or date syrup.

  • For extra flavor, lightly toast the dried fruits in a dry skillet for 1–2 minutes.

  • Garnish slices with extra chopped nuts or a drizzle of honey before serving.

Decadent Frozen Chocolate Peanut Bars

Decadent Frozen Chocolate Peanut Bars

Prep time: 20 mins | Freezing time: 2–3 hours | Yield: 6–8 bars

Ingredients

The Creamy Center

  • 300g cottage cheese: (or curd cheese/cream cheese for a smoother finish).

  • 40g coconut or cocoa butter: (regular butter works as a substitute).

  • 40g honey: Adjust to your preferred sweetness.

  • 1 tsp vanilla extract

  • 20g cocoa powder

The Crunchy Coating

  • 160g dark chocolate: High-quality chocolate melts most evenly.

  • 40g peanuts: Ground or finely chopped.


Instructions

1. Blend the Filling

In a food processor or high-speed blender, combine the cottage cheese, melted butter (coconut, cocoa, or regular), honey, vanilla extract, and cocoa powder. Blend until the mixture is completely smooth and no lumps from the cheese remain.

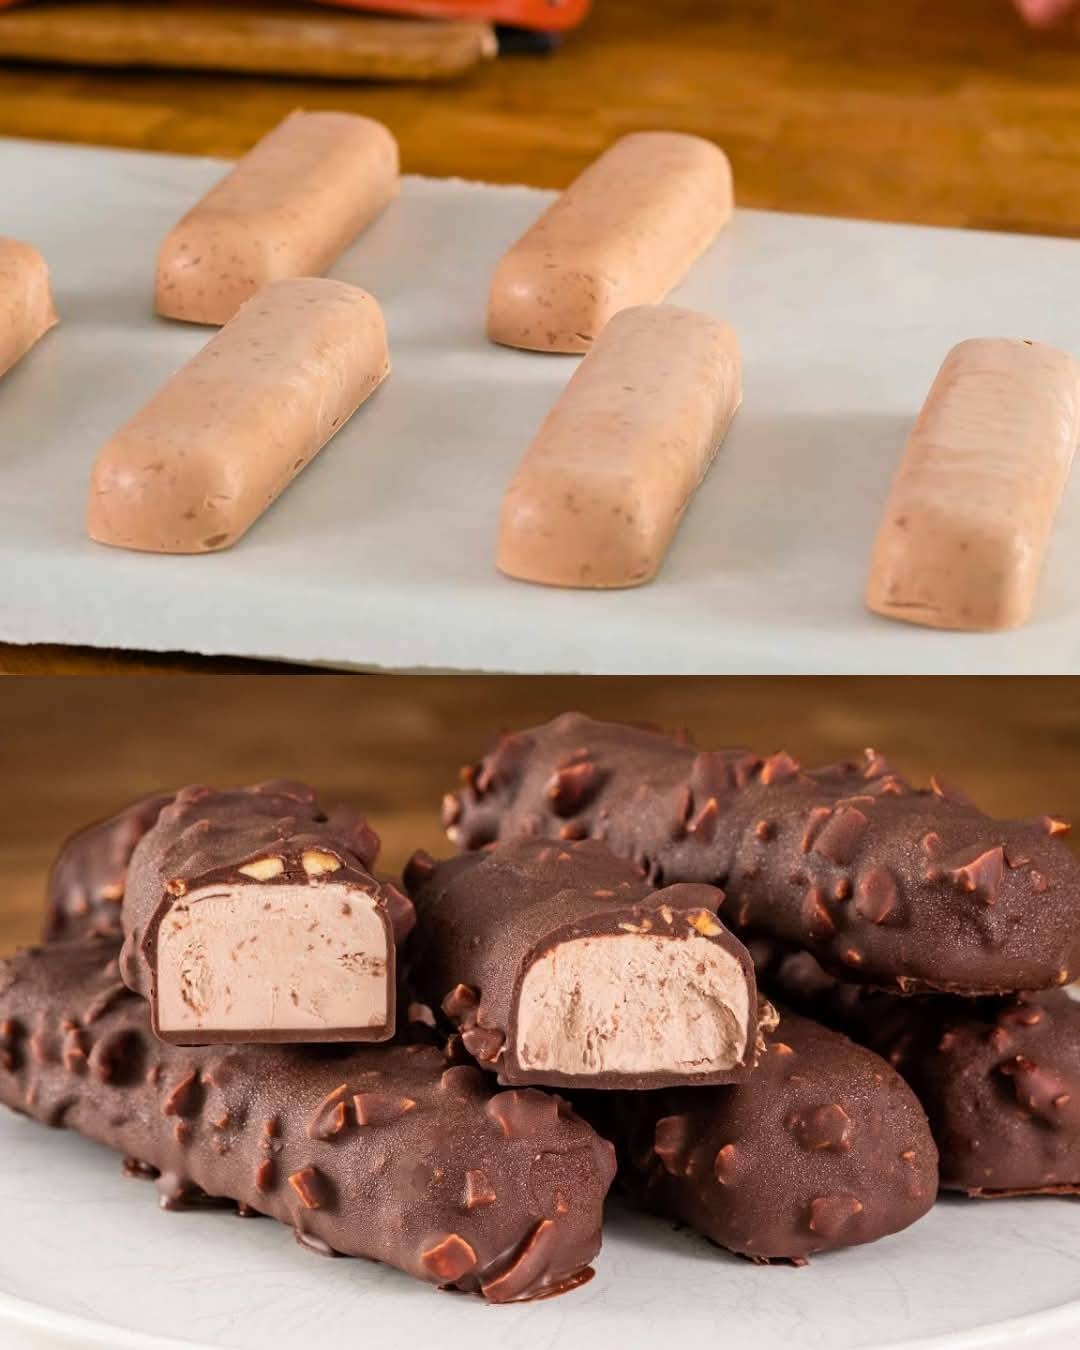
2. Shape the Bars

Pour the mixture into silicone bar molds. If you do not have molds, you can pour the mixture into a parchment-lined square pan and cut them into bars once partially frozen. Place in the freezer for at least 2 hours or until they are firm enough to handle.

3. Prepare the Coating

While the bars are freezing, melt the dark chocolate in a microwave-safe bowl in 30-second intervals or using a double boiler. Once smooth, stir in the ground peanuts. Pour the chocolate mixture into a tall glass; this makes dipping the bars much easier and ensures an even coat.

4. Dip and Set

Remove the frozen bars from their molds. Working quickly, dip each bar into the chocolate-peanut mixture until fully coated. Because the bars are frozen, the chocolate will set almost instantly.

5. Storage

Place the finished bars back in the freezer for another 15–20 minutes to fully set. Store them in an airtight container in the freezer.


Pro Tips for Success

  • Texture Secret: If using cottage cheese with large curds, pulsing the cheese by itself first before adding the other ingredients ensures the smoothest possible texture.

  • Butter Choice: Using coconut or cocoa butter will give the filling a firmer, “snap” quality when bitten into compared to regular butter.

  • Peanut Prep: Toast your peanuts slightly before grinding them to significantly enhance the nutty aroma of the coating.


Nutritional Highlight (Per Bar)

  • High Protein: Thanks to the cottage cheese base.

  • Antioxidants: Provided by the dark chocolate and cocoa powder.

  • Healthy Fats: From the peanuts and coconut butter.