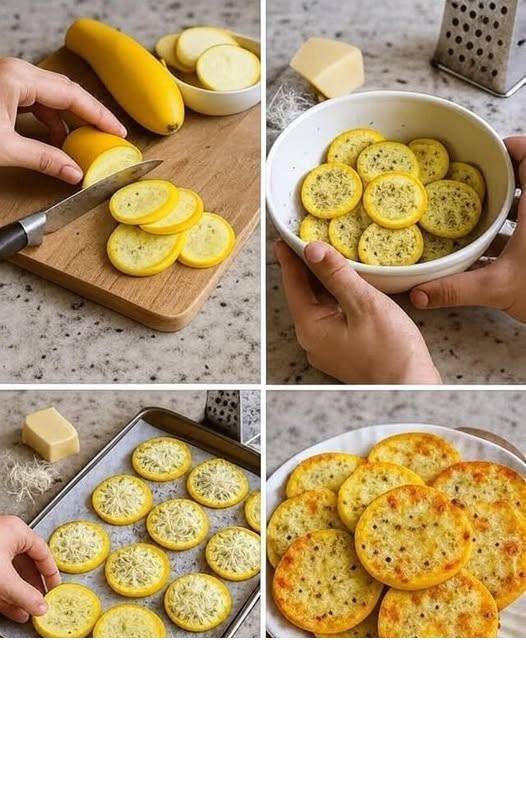
Cheesy Baked Yellow Squash Rounds

Cheesy Baked Yellow Squash Rounds

Crispy, Savory, and Gluten-Free

Ingredients

  • 2 Medium Yellow Squash: Sliced into 1/4-inch rounds.

  • 1 tbsp Olive Oil: To help the seasonings stick and the edges crisp up.

  • 1/2 tsp Garlic Powder: For a savory punch.

  • 1/2 tsp Italian Seasoning: A blend of dried herbs for classic flavor.

  • Salt & Black Pepper: To taste.

  • 1 cup Shredded Mozzarella Cheese: For that perfect melt.

  • 1/4 cup Grated Parmesan Cheese: For a salty, golden crust.

Instructions

  1. Prep the Oven: Preheat your oven to 400°F (200°C). Line a large baking sheet with parchment paper.

  2. Season the Squash: In a large bowl, toss the yellow squash rounds with olive oil, garlic powder, Italian seasoning, salt, and pepper until every slice is evenly coated.

  3. Arrange: Place the squash rounds in a single layer on the prepared baking sheet. Make sure they aren’t overlapping so they can crisp up properly.

  4. First Roast: Bake in the oven for 10–12 minutes. This softens the squash before you add the cheese.

  5. Add the Cheese: Remove the tray from the oven. Top each squash round with a generous pinch of shredded mozzarella and a sprinkle of Parmesan.

  6. The Final Crisp: Return the tray to the oven and bake for another 5–8 minutes, or until the cheese is melted, bubbly, and starts to turn golden brown.

  7. Serve: Let them cool for 2–3 minutes so the cheese sets. These are best served warm!


Why this supports your 15 kg loss journey:

  • Low Calorie, High Flavor: Squash is mostly water and fiber, meaning you can eat a large portion for very few calories.

  • Simple Ingredients: You likely already have most of these spices in your pantry, making it a budget-friendly win.

  • Satiety: The protein from the cheese helps keep you satisfied between meals.

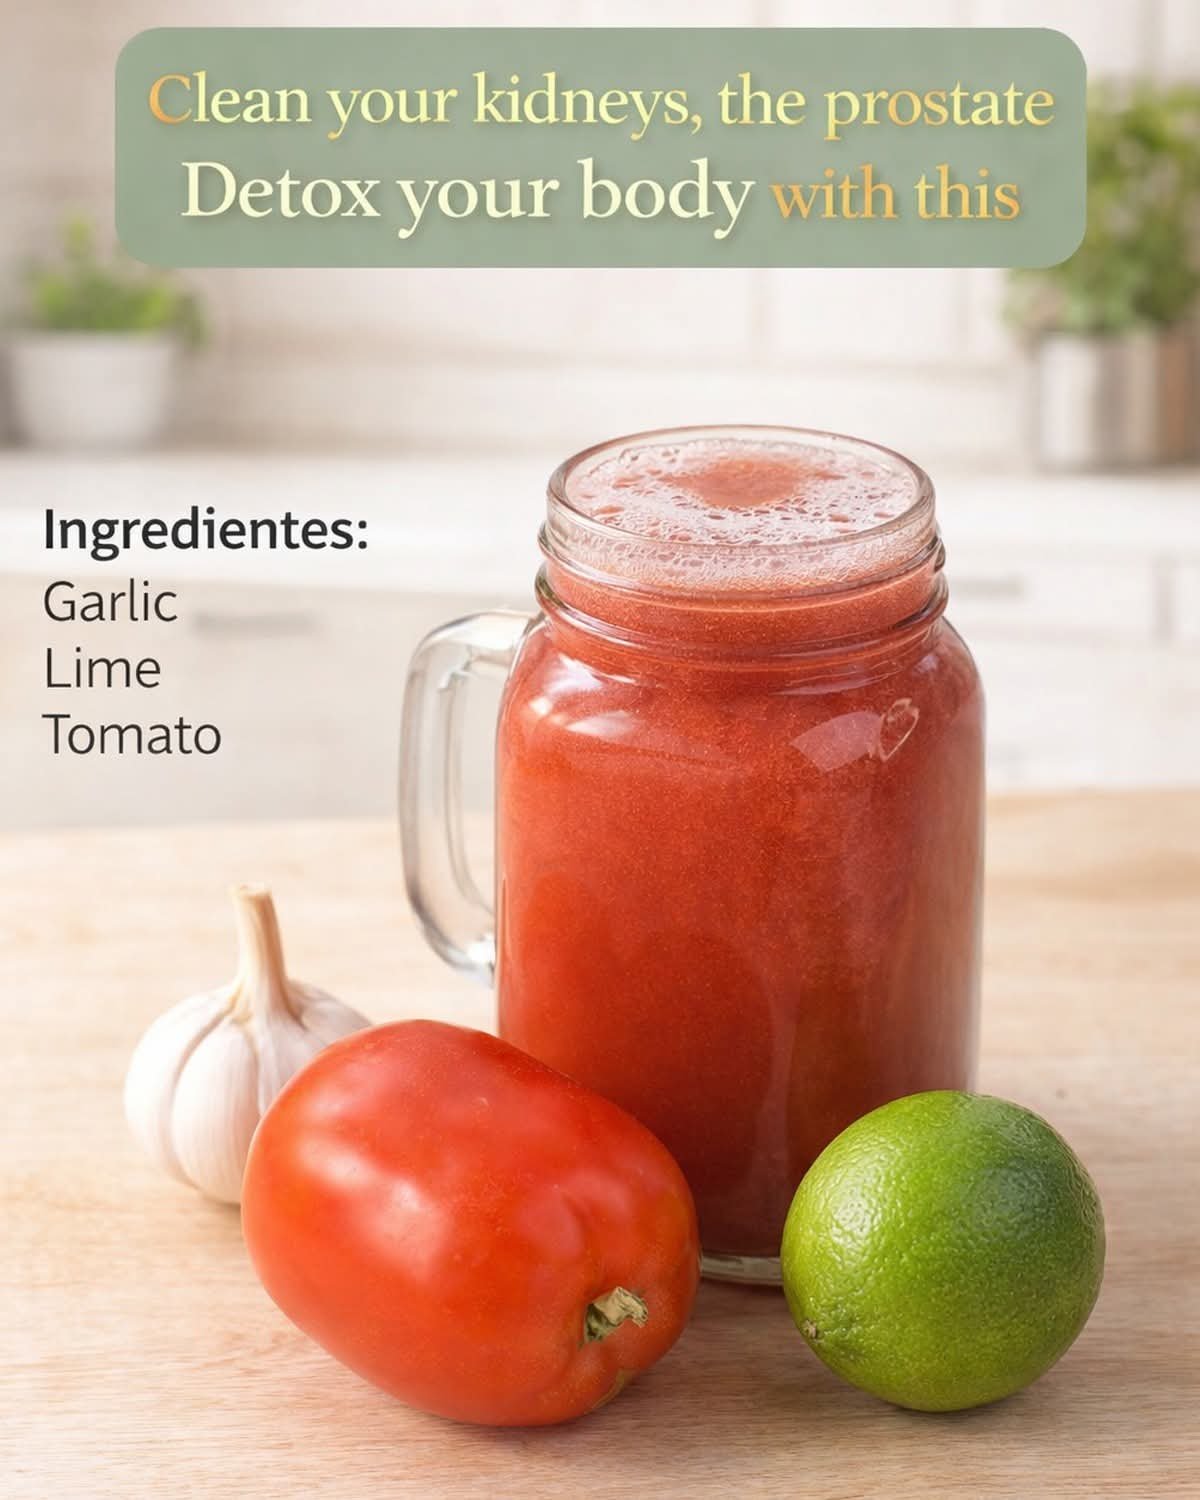
Morning Honey & Lemon Drink

Morning Honey & Lemon Drink

A simple homemade drink made with natural ingredients for daily hydration and general wellness.

⏱ Prep Time: 2 minutes

🍽 Serves: 1


📝 Ingredients

  • 1 cup warm water (not boiling)

  • 1 tablespoon raw honey

  • 1 tablespoon fresh lemon juice

  • (Optional) a pinch of ground ginger or cinnamon


👩‍🍳 Instructions

  1. Warm the water until it is comfortably hot, not boiling.

  2. Add the honey and stir until fully dissolved.

  3. Stir in the lemon juice.

  4. Add ginger or cinnamon if using.

  5. Drink slowly in the morning or any time of day.


🌿 Optional Variations

  • Add a few drops of apple cider vinegar

  • Add fresh grated ginger

  • Use lime instead of lemon

  • Add turmeric with a pinch of black pepper


🧊 Storage

  • Best prepared fresh

  • Can be mixed and stored in the refrigerator for up to 24 hours

10-Minute Prep Creamy Berry Pastry

10-Minute Prep Creamy Berry Pastry

Flaky, Elegant, and Effortless

Ingredients

  • 1 sheet Puff Pastry: Thawed (usually takes about 20 minutes on the counter).

  • 4 oz Cream Cheese: Softened to room temperature.

  • 2 tbsp Greek Yogurt: For added creaminess and a protein boost.

  • 2 tbsp Honey or Maple Syrup: (Or a sugar-free sweetener of your choice).

  • 1/2 cup Fresh Berries: Raspberries, blueberries, or sliced strawberries.

  • 1 Egg: Beaten, for the egg wash.

  • 1/2 tsp Vanilla Extract: For a touch of warmth.

Instructions

  1. Heat it Up: Preheat your oven to 400°F (200°C) and line a baking sheet with parchment paper.

  2. The 2-Minute Filling: In a small bowl, whisk together the softened cream cheese, Greek yogurt, sweetener, and vanilla until smooth and creamy.

  3. Prepare the Pastry: Lay the puff pastry sheet onto the baking sheet. Use a knife to lightly score a 1-inch border all the way around (don’t cut through). Use a fork to poke several holes in the center area to keep it from rising too much.

  4. Assemble: Spread the cream cheese mixture inside the border you created. Top with your fresh berries, pressing them slightly into the cream.

  5. The Golden Edge: Brush the 1-inch border with the beaten egg wash. This ensures that beautiful, bakery-style golden crunch.

  6. Bake: Slide it into the oven for 15–20 minutes until the edges are high and golden brown.

  7. Serve: Let it sit for 5 minutes. This is great served warm, but it holds up beautifully if you’re taking it to a dinner party later.


Why this works for your lifestyle:

  • Speed: The 10-minute prep means you can whip this up even on a weeknight without stress.

  • Balance: Using a mix of cream cheese and Greek yogurt keeps the filling light and satisfying.

  • Real Food: By using fresh fruit and natural sweeteners, you are avoiding the processed additives found in store-bought desserts.

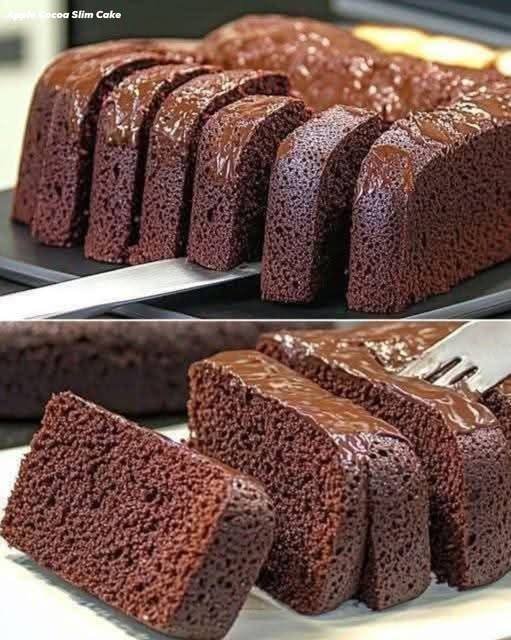
Apple & Chocolate “Magic” Cake

2-Ingredient Base: Apple & Chocolate “Magic” Cake

Sugar-Free, Flourless, and Dairy-Free

Ingredients

  • 4 Medium Sweet Apples: (Like Gala, Fuji, or Honeycrisp) peeled, cored, and sliced.

  • 4 Large Eggs: At room temperature.

  • 5 tbsp Unsweetened Cocoa Powder: Sifted to ensure a smooth batter.

  • 1 tsp Baking Powder: To give the cake its lift.

  • Olive Oil: Just a small amount for greasing the baking mold.

Step-by-Step Instructions

  1. Steam the Apples: Place your sliced apples in a steamer or a microwave-safe bowl with a splash of water. Cook until they are very soft and fork-tender (about 8–10 minutes). Drain any excess liquid.

  2. Puree: Place the softened apples into a blender or food processor. Blend until you have a completely smooth apple puree. Let it cool slightly so it doesn’t cook the eggs instantly.

  3. Combine: Add the 4 eggs, cocoa powder, and baking powder directly into the blender with the apple puree.

  4. Final Blend: Blend on medium speed until the mixture is uniform, dark, and glossy.

  5. Prepare the Mold: Lightly grease a 6 or 7-inch baking tin or silicone mold with a little olive oil.

  6. Bake: Pour the batter into the mold.

    • Oven Method: Bake at 350°F (175°C) for 35–40 minutes.

    • Air Fryer Method: Bake at 320°F (160°C) for 25–30 minutes.

  7. The Test: Insert a toothpick into the center. If it comes out clean, the cake is ready.

  8. The Setting Phase: This is the most important part! Let the cake cool completely in the mold, then refrigerate for at least 2 hours (or overnight). This allows the natural fibers to set into a fudgy, truffle-like consistency.


Why this supports your weight loss:

  • High Fiber: The apples provide bulk and fiber, which helps you feel full without the heavy calories of flour.

  • Natural Sweetness: By using sweet apple varieties, you eliminate the need for any added sugars or artificial sweeteners.

  • Metabolic Boost: Pure cocoa is rich in antioxidants and can help satisfy chocolate cravings without the insulin spike.

Mechanism: Flavorful incentive. Sustained moisture. Share with someone needing a boost. Benefit 14: Reduced Toxin Buildup Accumulation overwhelming? Collective power flushes gently. Science-backed: Enhanced liver-kidney teamwork. Try this today and note changes. Benefit 15: Elevated Overall Energy Final fatigue fighter? Integrated benefits compound. Imagine 30 days from now: Vibrant, active you. Tying It All Together: Your Path Forward The “one thing” tying everything: Consistency in small habits. The cost of inaction: Lingering discomfort vs. reward: Renewed vitality. Join thousands who’ve discovered this—start with one glass today. Every day you wait, opportunities slip; others gain results now. P.S. Ultimate revelation: Dilute if strong—customize for perfection. This article is for informational purposes only and does not replace professional medical advice. Consult your healthcare provider for personalized guidance

  1. Mechanism: Flavorful incentive. Sustained moisture. Share with someone needing a boost. Benefit 14: Reduced Toxin Buildup Accumulation overwhelming? Collective power flushes gently. Science-backed: Enhanced liver-kidney teamwork. Try this today and note changes. Benefit 15: Elevated Overall Energy Final fatigue fighter? Integrated benefits compound. Imagine 30 days from now: Vibrant, active you. Tying It All Together: Your Path Forward The “one thing” tying everything: Consistency in small habits. The cost of inaction: Lingering discomfort vs. reward: Renewed vitality. Join thousands who’ve discovered this—start with one glass today. Every day you wait, opportunities slip; others gain results now. P.S. Ultimate revelation: Dilute if strong—customize for perfection. This article is for informational purposes only and does not replace professional medical advice. Consult your healthcare provider for personalized guidance

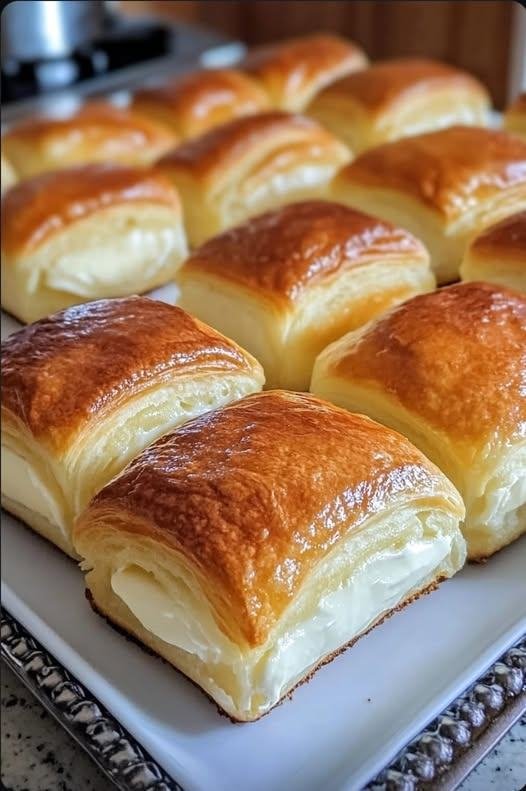
Simple Creamy Morning Pastry Squares

Simple Creamy Morning Pastry Squares

Flaky, Smooth, and Quick to Prepare

Ingredients

  • 1 package Puff Pastry Sheets: Thawed according to package directions.

  • 8 oz Cream Cheese: Softened to room temperature for a smooth, lump-free filling.

  • 1/4 cup Granulated Sugar: (Or your preferred sugar-free powdered sweetener).

  • 1 tsp Vanilla Extract: To give the filling a warm, dessert-like flavor.

  • 1 Large Egg: Beaten (to be used as an egg wash for that golden shine).

  • Optional: A dusting of powdered sugar or a drizzle of honey for serving.

Instructions

  1. Preparation: Preheat your oven to 400°F (200°C). Line a large baking sheet with parchment paper.

  2. The Creamy Filling: In a medium bowl, whisk together the softened cream cheese, sugar (or sweetener), and vanilla extract until the mixture is light and completely smooth.

  3. Shape the Pastry: Lay your puff pastry sheet on a flat surface. Cut the sheet into even squares (about 3×3 inches).

  4. Assemble: Place a generous tablespoon of the cream cheese mixture into the center of half of the squares.

  5. The Lid: Place a second pastry square on top of each filled one. Use a fork to crimp and seal the four edges tightly so the filling stays inside while baking.

  6. The Golden Finish: Lightly brush the tops of the squares with the beaten egg wash. Using a sharp knife, poke a tiny “X” or a small slit in the center of the top square to allow steam to escape.

  7. Bake: Place on the baking sheet and bake for 15–18 minutes. You are looking for a deep golden-brown color and a significant “puff” in the pastry.

  8. Serve: Allow them to cool for at least 5 minutes before serving to let the creamy center set slightly.


Why this works for your morning:

  • Efficiency: Using pre-made puff pastry gives you that “melt-in-your-mouth” texture without the hours of labor usually required for laminated dough.

  • Satiety: The protein and fats from the cream cheese help keep you full, mirroring the success you’ve had with your cheesecake fluff and keto mousse.

  • Family Friendly: It’s a crowd-pleaser that looks much more difficult to make than it actually is.