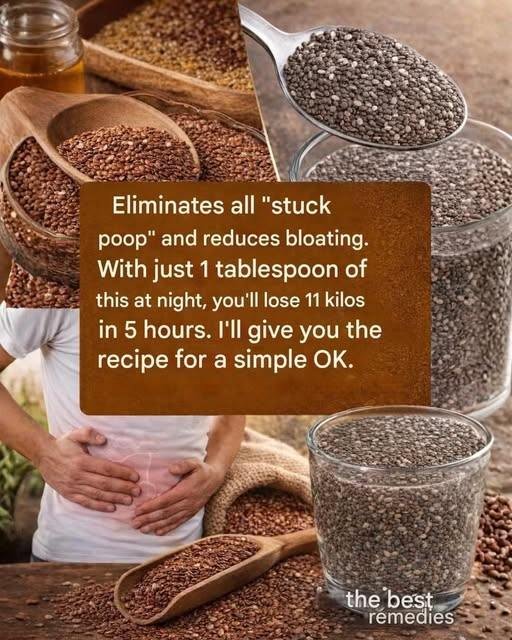
Digestive Support Chia–Flax Smoothie

Digestive Support Chia–Flax Smoothie

 Description

A high-fiber nighttime smoothie designed to gently support bowel regularity, reduce mild bloating, and promote gut health. This is not a weight-loss miracle drink — it supports digestion when combined with a balanced diet and hydration.

 Ingredients (1 Serving)

  • 1 tablespoon chia seeds

  • 1 tablespoon ground flaxseed (important: ground, not whole)

  • 1 cup unsweetened almond milk (or milk of choice)

  • ½ banana (optional, for taste and potassium)

  • ½ cup plain Greek yogurt (optional for probiotics)

  • ½ teaspoon cinnamon (optional)

  • 1 teaspoon honey (optional)

 Instructions

  1. Add all ingredients to a blender.

  2. Blend until smooth.

  3. Let sit for 5–10 minutes (chia thickens).

  4. Drink slowly, preferably in the evening.

  5. Drink an extra glass of water afterward (fiber needs water to work properly).

 Notes

  • Start with 1 teaspoon of each seed if you’re new to fiber.

  • Too much fiber too fast can cause gas or cramping.

  • Always use ground flaxseed for proper digestion.

Tips for Reducing Bloating

  • Drink at least 2 liters of water daily.

  • Avoid overeating late at night.

  • Walk 10–15 minutes after meals.

  • Limit ultra-processed and very salty foods.

  • Manage stress (stress affects gut motility).

 Servings

Makes 1 serving.
Can be used 3–4 times per week.

 Approximate Nutritional Info (per serving)

  • Calories: 220–280 kcal (depending on additions)

  • Fiber: 10–14g

  • Protein: 8–15g

  • Healthy fats (Omega-3s): 5–8g

  • Sugar: 6–12g (mostly natural)

 Benefits

  • Supports bowel regularity

  • Provides omega-3 fatty acids

  • Feeds beneficial gut bacteria (prebiotic fiber)

  • May reduce mild bloating over time

  • Helps you feel full longer

 Q & A

Q: Can this make me lose 11 kilos overnight?
No. That claim is false and unsafe.

Q: How much weight can I realistically lose?
Healthy fat loss is about 0.5–1 kg (1–2 lbs) per week with proper diet and activity.

Q: Can I drink this every day?
Yes, but monitor how your body reacts to fiber. Hydration is essential.

Q: Who should avoid this?
People with bowel obstruction, severe IBS, or on certain medications should consult a healthcare provider before increasing fiber intake.
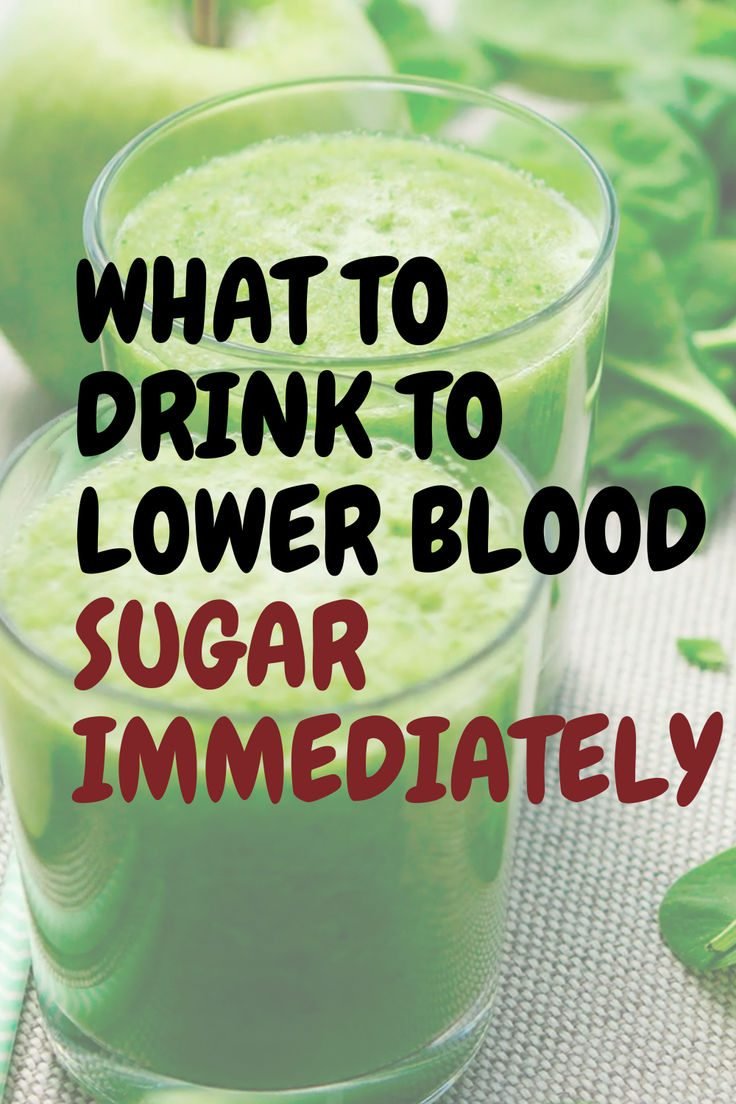
Green Blood Sugar Balancing Smoothie

Green Blood Sugar Balancing Smoothie

A refreshing, fiber-rich green drink designed to help support healthy blood sugar levels naturally. This smoothie focuses on low-glycemic vegetables, healthy fats, and plant compounds that may improve insulin sensitivity.

Description

This smoothie combines leafy greens, cucumber, lemon, chia seeds, and cinnamon to create a nutrient-dense drink that may help stabilize blood sugar levels. It’s low in sugar, high in fiber, and contains ingredients known for supporting metabolic health.

Perfect for:

  • Morning blood sugar support

  • A mid-day balanced snack

  • People managing insulin resistance or type 2 diabetes (as part of a healthy diet)

 Ingredients (1 Serving)

  • 1 cup fresh spinach

  • ½ medium cucumber

  • ½ green apple (optional, for mild sweetness)

  • 1 tablespoon chia seeds

  • ½ teaspoon ground cinnamon

  • 1 tablespoon fresh lemon juice

  • 1 cup unsweetened almond milk (or water)

  • Ice cubes (optional)

 Instructions

  1. Add all ingredients into a blender.

  2. Blend until smooth (about 30–45 seconds).

  3. Taste and adjust lemon or cinnamon if desired.

  4. Serve immediately.

 Notes

  • Omit apple for an even lower-carb version.

  • Use unsweetened almond milk only (sweetened versions can spike sugar).

  • Fresh spinach can be replaced with kale.

 Tips for Best Results

  • Drink in the morning or before meals.

  • Pair with a protein source (boiled egg, nuts, Greek yogurt) for better blood sugar stability.

  • Avoid adding honey, bananas, or sweetened yogurt.

  • Consistency matters — include regularly in a balanced diet.

 Servings

Makes: 1 serving
Can be doubled for 2 servings.

Nutritional Information (Approximate per serving)

Without apple:

  • Calories: 120

  • Carbohydrates: 8g

  • Fiber: 5g

  • Net Carbs: 3g

  • Protein: 4g

  • Fat: 8g

  • Sugar: 2g

With ½ apple:

  • Calories: 160

  • Carbohydrates: 18g

  • Fiber: 6g

  • Net Carbs: 12g

  • Sugar: 9g

 Health Benefits

✔ High fiber helps slow glucose absorption
✔ Cinnamon may improve insulin sensitivity
✔ Chia seeds provide omega-3 fatty acids
✔ Lemon supports digestion
✔ Low glycemic ingredients

 Q & A

Q1: How fast will this lower blood sugar?

It may help stabilize blood sugar, but it does not instantly “cure” high blood sugar. Effects vary by person.

Q2: Can diabetics drink this daily?

Yes, if ingredients fit within their carb goals. Always consult a healthcare provider.

Q3: Can I drink this at night?

Yes, but morning or pre-meal is often better for blood sugar control.

Q4: Can I replace almond milk?

Yes — use water, coconut milk (unsweetened), or oat milk (unsweetened, but slightly higher carb).

Q5: Is this safe during pregnancy?

Generally yes, but always check with your healthcare provider.

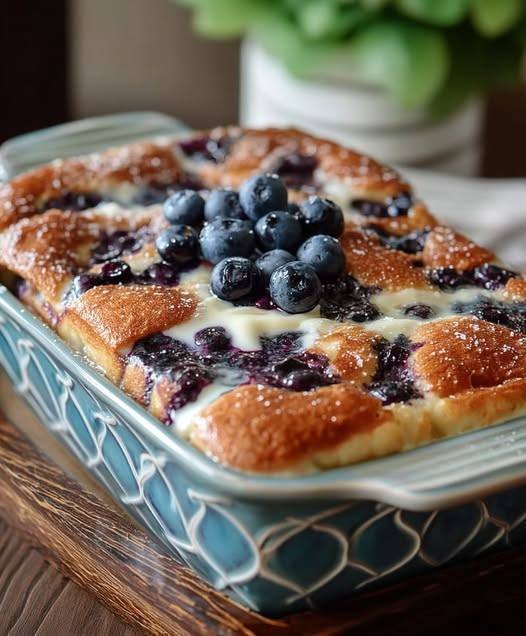
3-Ingredient Blueberry Yogurt “Cloud” Cake

3-Ingredient Blueberry Yogurt “Cloud” Cake

Prep time: 5 minutes | Bake time: 35–40 minutes | Servings: 6

Ingredients

  • 1 ½ cups (350g) Plain Greek yogurt (For the best texture, use full-fat or 2% Greek yogurt).

  • 3 large Eggs.

  • 3 tbsp Cornstarch (This provides the structure without using flour).

  • Optional: ½ cup fresh blueberries (as seen in your photo) and a few drops of vanilla extract or your favorite liquid sweetener.


Instructions

  1. Preheat and Prep: Preheat your oven to 350°F (175°C). Line a small baking dish or a 6-inch cake pan with parchment paper. Note: Greasing alone may not be enough, as this cake is very delicate.

  2. Mix the Base: In a medium bowl, whisk the eggs and Greek yogurt together until the mixture is completely smooth and there are no lumps.

  3. Incorporate the Thickener: Sift in the cornstarch. Whisk vigorously until the starch is fully incorporated and the batter is silky. If you are using vanilla or a sweetener, stir it in now.

  4. Add Fruit: Gently fold in most of your blueberries, saving a few to place on top.

  5. Bake: Pour the batter into the prepared dish. Top with the remaining blueberries. Bake for 35 to 45 minutes. The cake should be set around the edges but still have a slight “jiggle” in the very center.

  6. The Most Important Step (Cooling): Let the cake cool completely at room temperature, then refrigerate for at least 2 hours before serving. This cake behaves like a cheesecake; it needs time to set its structure.


Pro-Tips for the Best Result

  • Texture: This cake will puff up in the oven like a soufflé and then sink slightly as it cools—this is perfectly normal!

  • Sweetness: Since this recipe relies on the yogurt, using a “Vanilla” flavored Greek yogurt can add sweetness without needing extra ingredients.

  • Serving: It is delicious on its own, but a light dusting of powdered sweetener or a few extra fresh berries on top makes it look “bakery-quality.”

3-Ingredient Flourless Cheesy Chicken Roll-Ups

3-Ingredient Flourless Cheesy Chicken Roll-Ups

Prep time: 10 minutes | Bake time: 20 minutes | Servings: 3–4

Ingredients

  • 12–15 slices of thin-cut Deli Chicken Breast (This acts as your “flourless” wrap).

  • 2 cups shredded Mozzarella or Cheddar cheese (plus extra for the top).

  • 1 cup Sugar-free Marinara or Mild Salsa.

  • Optional: Fresh parsley or red pepper flakes for garnish (as seen in your photo).


Instructions

  1. Preheat and Prep: Preheat your oven to 400°F (200°C). Lightly grease a glass baking dish with a small amount of olive oil or cooking spray.

  2. Assemble the Rolls: Take one slice of chicken breast and place a generous tablespoon of shredded cheese at one end.

  3. Roll it Up: Carefully roll the chicken slice tightly around the cheese. Place it seam-side down in the baking dish so it doesn’t unroll. Repeat until the dish is full.

  4. Top it Off: Pour your marinara or salsa evenly over the center of the chicken rolls. Sprinkle the remaining shredded cheese over the top.

  5. Bake: Place in the oven for 15–20 minutes, or until the cheese is bubbling and starting to turn golden brown.

  6. Serve: Let it cool for 5 minutes. Garnish with fresh parsley if desired.


Why This Recipe Works

  • High Protein: Using lean chicken as the “wrapper” provides a significant protein boost compared to traditional pasta or flour tortillas.

  • Low Carb: By eliminating flour and sugar-heavy sauces, this dish is very keto-friendly and helpful for those managing blood sugar levels.

  • Versatile: You can easily add baby spinach or thinly sliced bell peppers inside the rolls for extra nutrients.

Flourless Apple & Oatmeal Pancakes

Flourless Apple & Oatmeal Pancakes

Prep time: 10 minutes | Cook time: 10 minutes | Servings: 2

Ingredients

  • 1 cup Oatmeal (rolled or quick oats)

  • 2 Apples (medium, any variety)

  • 2 Eggs

  • 150g Yogurt (plain Greek yogurt works best for protein)

  • 1 tsp Baking powder

  • Optional: ½ tsp cinnamon and a splash of vanilla extract for extra flavor.


Instructions

  1. Prepare the Apples: Core the apples and either grate them finely or cut them into small chunks. If you prefer a smoother pancake, you can blend them with the liquid ingredients later.

  2. Blend the Base: For a smoother texture, pulse the oatmeal in a blender until it reaches a flour-like consistency.

  3. Mix the Batter: In a large bowl, whisk the eggs and yogurt until smooth. Stir in the oatmeal (or oat flour), baking powder, and the prepared apples. Let the batter sit for 5 minutes to allow the oats to hydrate.

  4. Heat the Pan: Lightly grease a non-stick skillet with a small amount of butter or coconut oil over medium-low heat.

  5. Cook: Spoon about 2 tablespoons of batter for each pancake onto the skillet. Cook for 2–3 minutes until bubbles form on the surface and the bottom is golden brown.

  6. Flip: Gently flip and cook the other side for another 1–2 minutes until cooked through.

  7. Serve: Enjoy these warm. They pair beautifully with a dollop of extra yogurt or a few fresh berries.


Why This Recipe is a Great Choice

  • High Fiber: Oats and apples provide significant fiber, which aids digestion and helps maintain steady energy levels.

  • Protein Boost: Using yogurt and eggs provides protein to help keep you feeling satisfied until lunch.

  • No Added Sugar: The natural sweetness of the apples eliminates the need for refined sweeteners.

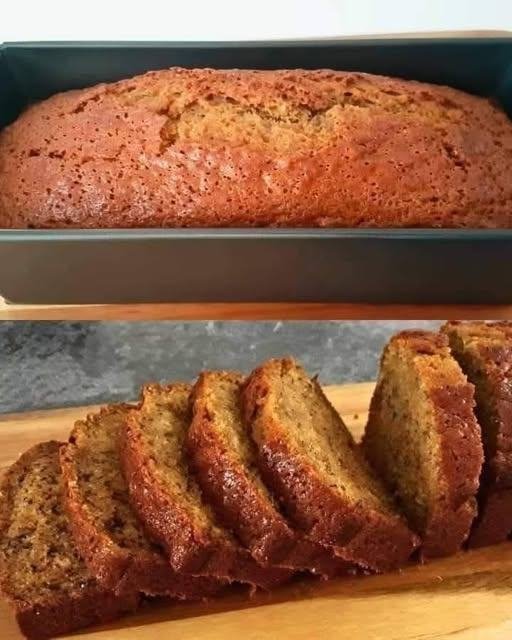
Classic Moist Banana Bread

Classic Moist Banana Bread

Prep time: 15 minutes | Bake time: 50–60 minutes | Yield: 1 Loaf

Ingredients

  • Bananas: 2 to 3 very ripe bananas, mashed

  • Eggs: 2 large eggs

  • Butter: ⅓ cup (75 g) butter, melted

  • Sugars: ¼ cup (50 g) brown sugar and ½ cup (100 g) white granulated sugar

  • Milk: ½ cup (120 ml) milk

  • Flour: 1 ½ cups (200 g) all-purpose flour

  • Leavening: 1 tsp (4 g) baking powder and 1 tsp (5 g) baking soda

  • Flavorings: 1 tsp (5 ml) vanilla essence, ¼ tsp cinnamon powder, and ¼ tsp salt


Instructions

  1. Preheat and Prep: Preheat your oven to 350°F (175°C). Grease a 9×5 inch loaf pan with butter or line it with parchment paper.

  2. Mash and Mix Wet: In a large bowl, mash the ripe bananas with a fork until smooth. Stir in the melted butter.

  3. Incorporate Liquids: Add the brown sugar, white sugar, beaten eggs, milk, and vanilla essence. Whisk until the mixture is well combined.

  4. Sift Dry Ingredients: In a separate bowl, whisk together the flour, baking powder, baking soda, cinnamon, and salt.

  5. Combine: Gradually add the dry ingredients to the wet banana mixture. Stir gently with a spatula until just combined. Do not over-mix, as this can make the bread tough.

  6. Bake: Pour the batter into your prepared loaf pan. Bake for 50 to 60 minutes.

    • Testing for doneness: Insert a toothpick into the center; if it comes out clean or with just a few moist crumbs, it’s ready.

  7. Cool: Let the bread cool in the pan for 10 minutes, then transfer it to a wire rack to cool completely before slicing.


Pro-Tips for Success

  • The Bananas: The spottier the banana, the better! Overripe bananas provide the most natural sweetness and moisture.

  • Storage: This bread tastes even better the next day. Wrap it tightly in plastic wrap and store it at room temperature for up to 3 days, or in the fridge for up to a week.

  • Add-ins: Feel free to fold in ½ cup of walnuts or dark chocolate chips if you want some extra texture.