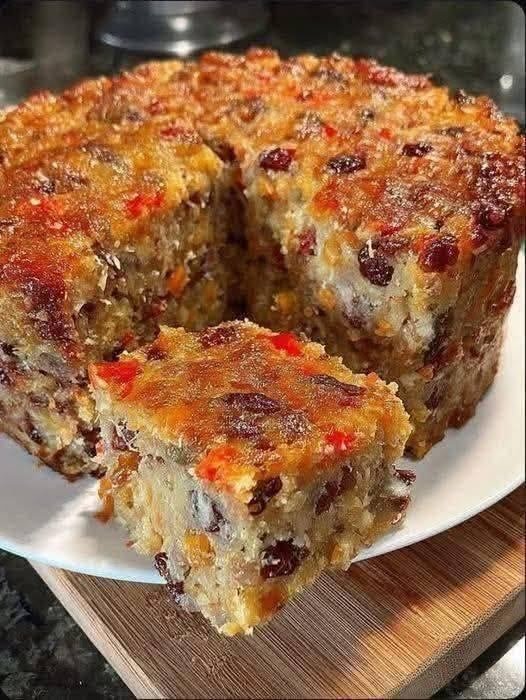
3-Ingredient Base “Morning” Fruit Cake

3-Ingredient Base “Morning” Fruit Cake

Prep time: 10 minutes | Bake time: 35–40 minutes | Servings: 6 slices

Ingredients

  • 2 cups Rolled oats (blended into a coarse flour)

  • 3 large Ripe bananas (mashed well—these provide the moisture and sweetness)

  • 1 cup Mixed dried fruits and nuts (such as raisins, dried cranberries, and chopped walnuts for that jeweled look)

  • Optional for better texture: 2 eggs and 1 tsp baking powder.


Instructions

  1. Prepare the “Flour”: Place your oats into a blender or food processor and pulse until they reach a coarse, flour-like consistency.

  2. Mash the Base: In a large bowl, mash the ripe bananas until they are liquid and smooth. This acts as your sugar and oil replacement.

  3. Combine: Stir the oat flour into the mashed bananas until a thick batter forms. Fold in your mixed dried fruits and nuts.

    • Note: If you are using eggs and baking powder for a fluffier rise, whisk them into the bananas before adding the oats.

  4. Bake: Pour the mixture into a greased or parchment-lined small cake pan or loaf tin. Smooth the top with a spatula.

  5. Cook: Bake at 350°F (175°C) for 35 to 40 minutes. The cake is done when the top is golden brown and a toothpick comes out clean.

  6. Cool: Let it cool completely in the pan before slicing. This type of flourless cake needs time to “set” so it doesn’t crumble when cut.


Why This is a Great Breakfast

  • Sustained Energy: The complex carbohydrates in the oats provide slow-releasing energy to keep you full longer.

  • Naturally Sweet: The ripeness of the bananas provides all the sweetness needed, eliminating the need for refined sugar.

  • Fiber-Rich: Between the oats, bananas, and dried fruits, this cake is excellent for digestive health.

2-Ingredient Fluffy Cream Biscuits

2-Ingredient Fluffy Cream Biscuits

Prep time: 5 minutes | Bake time: 10–12 minutes | Yield: 8–10 biscuits

Ingredients

  • 2 cups White Lily self-rising flour (This specific brand is low-protein, which is the secret to that light, airy texture)

  • 1 cup Heavy whipping cream (The high fat content replaces both the butter and the liquid found in traditional recipes)

  • Optional: 1 tbsp melted butter (for brushing the tops)


Instructions

  1. Preheat and Prep: Preheat your oven to 450°F (230°C). Lightly grease a baking sheet or line it with parchment paper.

  2. Mix the Dough: Place the self-rising flour in a large bowl. Make a small well in the center and pour in the heavy whipping cream. Stir gently with a wooden spoon or spatula just until the flour is moistened and a dough forms.

    • Tip: Do not over-mix! Over-working the dough makes the biscuits tough rather than fluffy.

  3. Knead Lightly: Turn the dough out onto a lightly floured surface. Fold the dough over on itself 3 or 4 times very gently.

  4. Cut the Biscuits: Pat the dough out to a ¾-inch thickness. Use a floured biscuit cutter to press straight down—don’t twist the cutter, as twisting “seals” the edges and prevents them from rising high.

  5. Bake: Place the biscuits on the baking sheet so they are just touching (this helps them climb upward as they bake). Bake for 10 to 12 minutes or until the tops are a beautiful light golden brown.

  6. Finishing Touch: If desired, brush the tops with a little melted butter immediately after taking them out of the oven.


Why This Recipe Works

  • Simplicity: By using self-rising flour, you eliminate the need for measuring out baking powder and salt separately.

  • Richness: Heavy cream provides the fat needed for a “buttery” flavor without the labor-intensive process of cutting cold butter into flour.

  • Texture: These biscuits are famous for having a crisp exterior and a cloud-like interior.

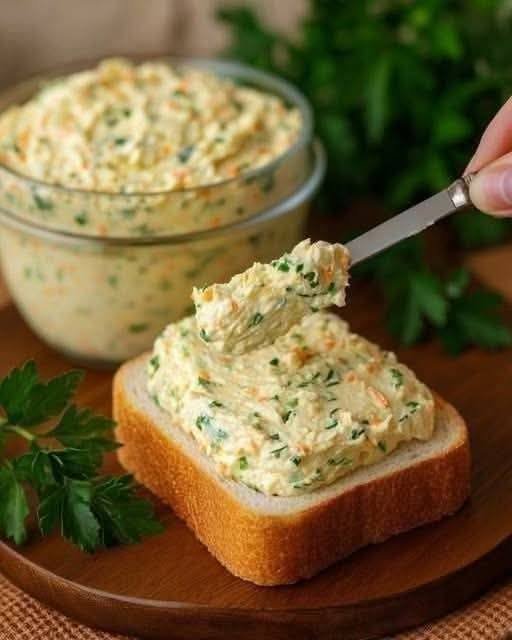
Golden Garlic & Herb Butter Spread

Golden Garlic & Herb Butter Spread

Description

This rich, creamy butter spread is whipped with fresh herbs, garlic, and a hint of sweetness for balance. It’s soft enough to spread straight from the fridge and melts beautifully over warm bread, vegetables, or meats. Simple ingredients, huge flavor—this is the kind of recipe you pass down.

 Ingredients

  • 1 cup (225 g) unsalted butter, softened

  • 2–3 cloves garlic, finely minced or grated

  • 2 tbsp fresh parsley, finely chopped

  • 1 tbsp fresh chives or green onions, chopped

  • 1 tbsp fresh dill or cilantro (optional but lovely)

  • 1 tbsp olive oil (for extra smoothness)

  • ½ tsp salt (adjust to taste)

  • ¼ tsp black pepper

  • Optional flavor boosts:

    • ½ tsp paprika or chili flakes

    • 1 tsp lemon juice or zest

    • 1 tsp honey (very subtle sweetness)

 Instructions

  1. Place softened butter in a mixing bowl.

  2. Add garlic, herbs, olive oil, salt, and pepper.

  3. Mix with a spoon or hand mixer until fluffy and fully combined.

  4. Taste and adjust seasoning.

  5. Spoon into a jar or shape into a log using parchment paper.

  6. Chill for 30 minutes to firm up—or enjoy immediately.

Tips for Best Results

  • Use room-temperature butter for the creamiest texture

  • Finely chop herbs to avoid chunky bites

  • Roasted garlic = sweeter, milder flavor

  • Add a splash of cream if you want ultra-whipped butter

  • Keeps beautifully in the freezer—slice as needed

 Servings

  • Makes about 1 cup

  • Serves 8–10 as a spread

 Nutritional Info (per tablespoon, approx.)

  • Calories: ~100

  • Fat: 11 g

  • Saturated Fat: 7 g

  • Carbs: 0–1 g

  • Protein: 0 g

  • Sodium: varies by salt used

 Benefits

  • Fresh herbs provide antioxidants

  • Garlic supports heart and immune health

  • Homemade = no preservatives or additives

  • Small amount adds big flavor (less need for excess sauces)

Q & A

Q: Can I use salted butter?
Yes—just reduce or skip added salt.

Q: How long does it last?

  • Fridge: up to 2 weeks

  • Freezer: 3 months

Q: What can I use it on?
Bread, toast, corn, potatoes, pasta, steak, fish, eggs, rice, roasted veggies—anything.

Q: Can I make it vegan?
Absolutely. Use a high-quality plant-based butter.

Bacon-Wrapped Cream Cheese Stuffed Chicken Rolls

🛒 Ingredients:
• 3–4 large chicken breasts
• 8 oz (1 block) cream cheese, softened
• 1 cup shredded mozzarella (or cheddar – works great!)
• 2 cloves garlic, minced
• 1 tsp Italian seasoning
• ½ tsp black pepper
• ½ tsp paprika
• Salt to taste
• 10–12 strips bacon
• Fresh parsley (optional, for garnish)

⸻

👩‍🍳 Step-by-Step Instructions:

Step 1: Prep the Chicken
1. Preheat oven to 375°F (190°C).
2. Slice each chicken breast in half lengthwise (or pound thin).
3. Lightly season both sides with salt, pepper, and paprika.

⸻

Step 2: Make the Creamy Filling
1. In a bowl, mix:
• Cream cheese
• Mozzarella (or cheddar)
• Garlic
• Italian seasoning
2. Stir until smooth and well combined.

⸻

Step 3: Stuff & Roll
1. Spread 2–3 tablespoons of the cheese mixture onto each chicken piece.
2. Roll the chicken tightly into a log shape.
3. Wrap each roll with 1–2 slices of bacon (overlapping slightly).
4. Place seam-side down on a greased baking sheet.

⸻

Step 4: Bake
1. Bake uncovered for 30–35 minutes.
2. Then broil for 3–5 minutes to crisp up the bacon (watch carefully so it doesn’t burn!).

Internal temperature should reach 165°F (75°C).

⸻

Step 5: Rest & Serve
1. Let rest for 5 minutes.
2. Garnish with fresh parsley.
3. Serve warm and watch them disappear 😍

⸻

🔥 Optional Flavor Twists:
• Add chopped spinach to the filling
• Mix in crispy cooked bacon bits
• Use sharp cheddar for stronger flavor
• Brush bacon with BBQ sauce before baking

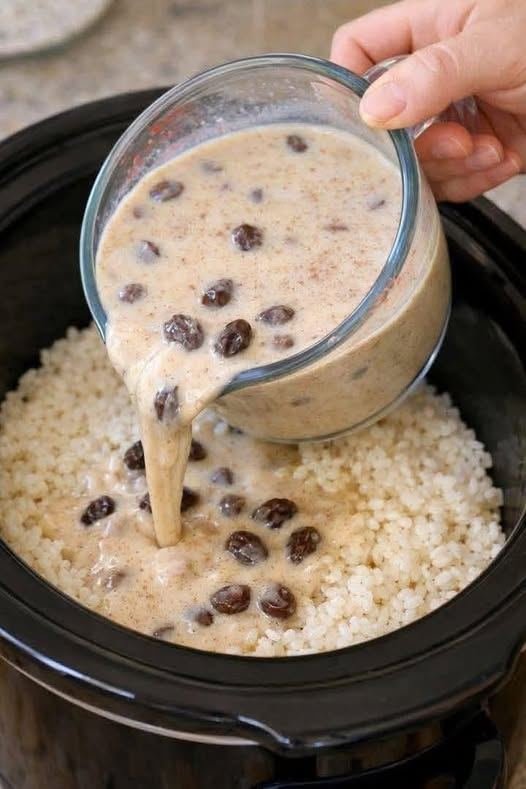
Creamy Raisin Rice Pudding (Slow Cooker Style)

Creamy Raisin Rice Pudding (Slow Cooker Style)

Description

This rich and comforting Creamy Raisin Rice Pudding is a classic dessert made with tender rice, warm cinnamon, sweet plump raisins, and a velvety milk custard. Slow-cooked to perfection, it develops a creamy texture with deep, cozy flavors. Perfect as a dessert or sweet breakfast treat.

 Ingredients

  • 1 cup uncooked white rice (or 3 cups cooked rice)

  • 2 cups water (if cooking rice first)

  • 4 cups whole milk

  • 1 cup heavy cream (optional for extra richness)

  • ¾ cup granulated sugar

  • 1 cup raisins

  • 2 large eggs (room temperature)

  • 2 teaspoons vanilla extract

  • 1 teaspoon ground cinnamon

  • ¼ teaspoon salt

  • 1 tablespoon butter

Instructions

Step 1: Cook the Rice

  • If using uncooked rice, cook with 2 cups water until tender (about 15 minutes).

  • Fluff and set aside.

Step 2: Prepare the Custard Mixture

  • In a bowl, whisk together milk, cream, sugar, eggs, vanilla, cinnamon, and salt.

Step 3: Combine in Slow Cooker

  • Add cooked rice and raisins to the slow cooker.

  • Pour custard mixture over rice.

  • Stir gently to combine.

  • Add butter on top.

Step 4: Cook

  • Cook on LOW for 2–3 hours, stirring once or twice, until thick and creamy.

  • It will thicken more as it cools.

Step 5: Serve

  • Serve warm for comfort or chilled for a firmer texture.

  • Sprinkle extra cinnamon on top if desired.

 Tips for Best Results

✔ Use whole milk for creaminess (low-fat works but less rich).
✔ Soak raisins in warm water for 10 minutes to make them extra plump.
✔ Stir gently to avoid breaking the rice grains.
✔ If too thick, add a splash of warm milk before serving.
✔ Add nutmeg for deeper flavor.

 Servings

Serves: 6–8 portions

Nutritional Information (Approx. per serving)

  • Calories: 320–380 kcal

  • Carbohydrates: 55g

  • Protein: 8g

  • Fat: 12g

  • Saturated Fat: 7g

  • Fiber: 2g

  • Sugar: 28g

(Values vary depending on ingredients used.)

Benefits

  • Provides energy from carbohydrates

  • Contains calcium from milk

  • Raisins add natural sweetness and antioxidants

  • Comfort food that supports satiety

Frequently Asked Questions

Q: Can I use brown rice?
Yes, but it will require longer cooking and slightly more liquid.

Q: Can I make this dairy-free?
Yes. Substitute almond milk or coconut milk and use dairy-free butter.

Q: How long does it last?
Store in an airtight container in the refrigerator for up to 4 days.

Q: Can I freeze rice pudding?
It can be frozen, but texture may change slightly. Stir well after thawing.

Q: Can I make it without eggs?
Yes, simply omit eggs; the pudding will be less custard-like but still creamy.

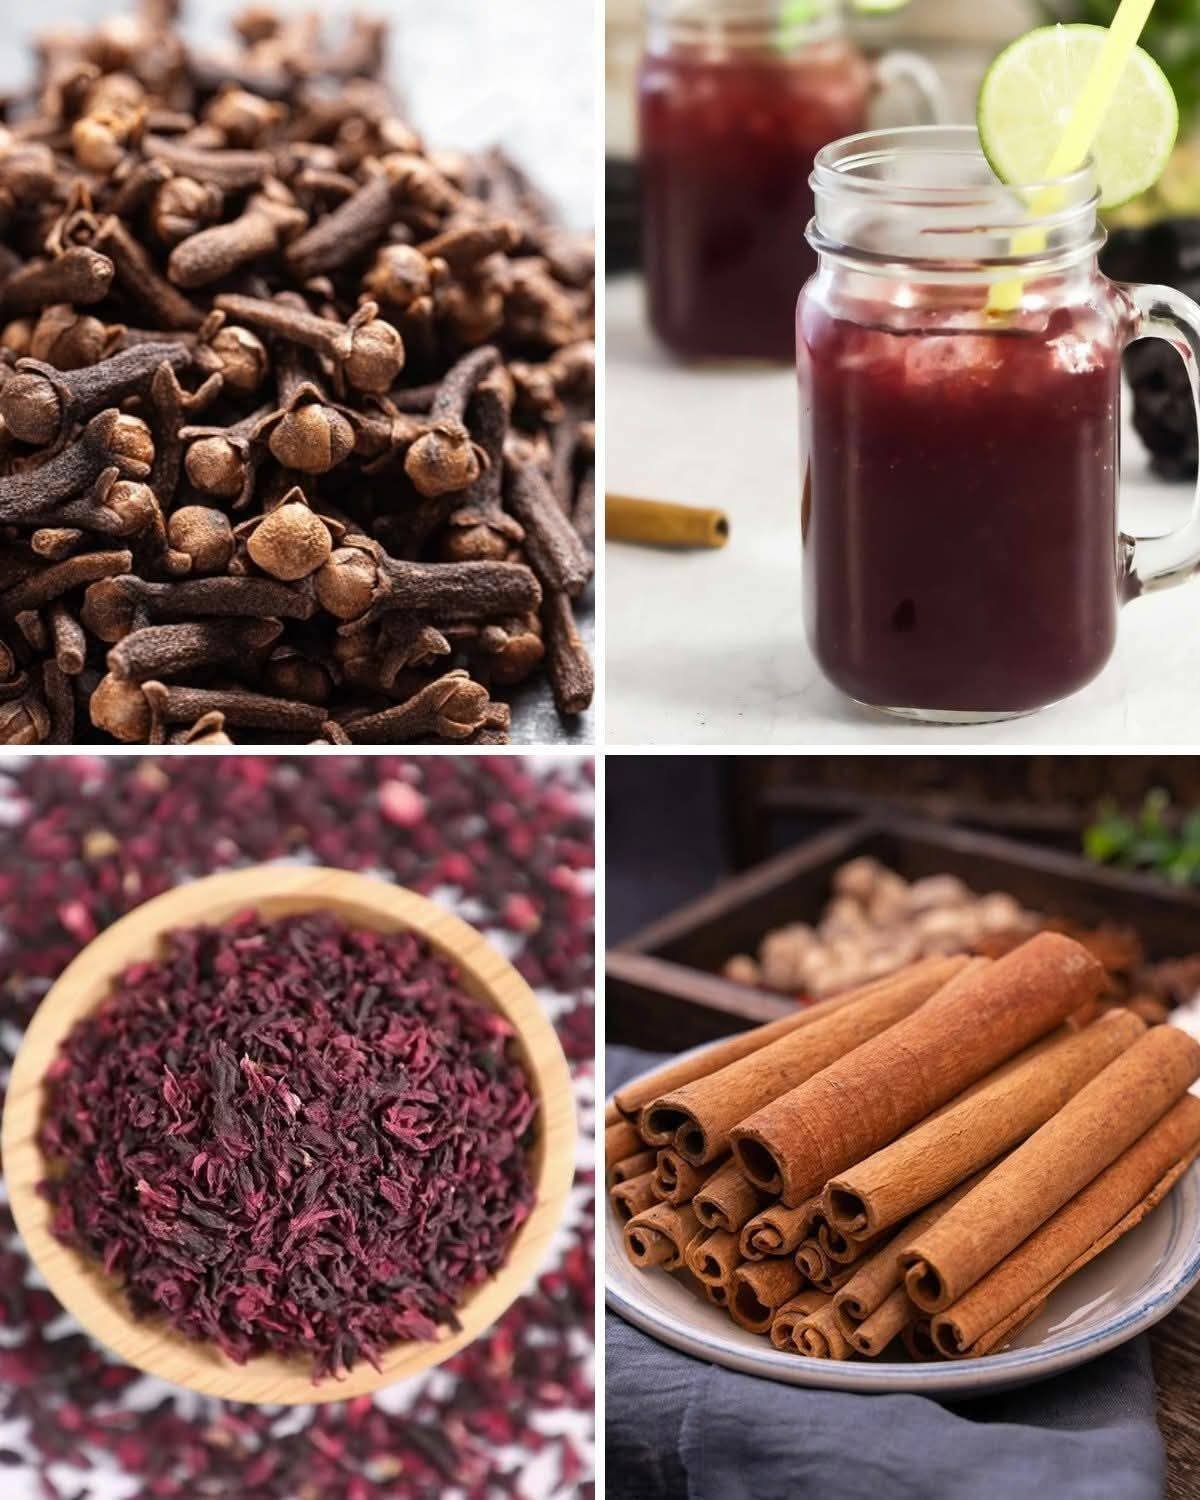
Hibiscus Clove Cinnamon Wellness Drink (Iced or Hot)

Hibiscus Clove Cinnamon Wellness Drink (Iced or Hot)

A refreshing, immune-boosting herbal drink made with dried hibiscus petals, whole cloves, and cinnamon sticks. This vibrant ruby beverage is tangy, lightly spiced, and naturally caffeine-free. It can be enjoyed hot as a soothing tea or chilled as a refreshing wellness drink.

 Description

This traditional-style herbal infusion combines:

  • Hibiscus – Tart, cranberry-like flavor

  • Cloves – Warm, slightly sweet and spicy

  • Cinnamon – Comforting and aromatic

It’s popular in many cultures as a cooling drink in warm weather and as a soothing remedy during cold seasons.

 Ingredients (4 Servings)

  • 4 cups (1 liter) water

  • 2 tablespoons dried hibiscus petals

  • 4–5 whole cloves

  • 1 cinnamon stick

  • 2–3 tablespoons honey or preferred sweetener (optional)

  • 1 tablespoon fresh lime or lemon juice (optional)

  • Ice cubes (if serving cold)

 Instructions

  1. Boil Water
    Bring 4 cups of water to a boil.

  2. Add Spices
    Add hibiscus petals, cloves, and cinnamon stick.

  3. Simmer
    Reduce heat and simmer for 10–15 minutes.

  4. Steep
    Turn off heat and let steep another 5–10 minutes for deeper flavor.

  5. Strain
    Strain into a pitcher or teapot.

  6. Sweeten & Adjust
    Add honey and lime/lemon juice if desired.

  7. Serve

    • Serve hot

    • Or chill for 1–2 hours and serve over ice

 Tips

✔ For stronger flavor: Use more hibiscus or simmer longer
✔ For a smoother taste: Add a slice of fresh ginger
✔ For weight management: Drink without sweetener
✔ For parties: Add sparkling water for a fizzy version
✔ Store in refrigerator up to 3 days

Servings

  • Makes: 4 cups

  • Serving Size: 1 cup

 Nutritional Information (Per 1 Cup, Unsweetened Approx.)

  • Calories: 5

  • Carbohydrates: 1g

  • Sugar: 0g (without sweetener)

  • Fat: 0g

  • Protein: 0g

  • Caffeine: 0mg

(Calories increase if sweetener is added.)

 Health Benefits

  • Rich in antioxidants

  • May support heart health

  • May help lower blood pressure

  • Supports digestion

  • Anti-inflammatory properties

  • Immune-supportive spices

  • Hydrating and caffeine-free

Q & A

Q: Can I drink this daily?
Yes, in moderate amounts (1–2 cups daily) unless you have low blood pressure or are advised otherwise by a doctor.

Q: Can pregnant women drink this?
Hibiscus is sometimes not recommended during pregnancy. Consult your healthcare provider first.

Q: Can I use hibiscus tea bags instead?
Yes. Use 2 tea bags in place of dried petals.

Q: How do I make it stronger?
Increase hibiscus to 3 tablespoons or simmer longer.

Q: Can I drink it for weight loss?
It may support metabolism and reduce sugar cravings when consumed unsweetened, but it’s not a magic solution.