Keto Grilled Chicken & Broccoli Bowl

This Keto Grilled Chicken & Broccoli Bowl with creamy garlic sauce is a flavorful dish of American cuisine. This dish contains proteins and fat, and it is also low in carbs, so this dish is good for the keto diet, and it also satisfies the hunger for dinner. This saucy chicken and broccoli bowl is prepared quickly in only thirty minutes, so it is easy to prepare for busy weeknights. This saucy chicken and broccoli bowl is perfect to have for those with a gluten allergy or on a low-carb or high-protein diet. This Keto Grilled Chicken & Broccoli Bowl with creamy garlic sauce goes well along with salad, bacon, or keto rice.

STATS:

  • Total time: 30 mints.
  • Cuisine: American
  • Calories: 450 kcal
  • Course: Dinner
  • Diet: Low carb & Keto
  • Time of preparation: Ten (10) mints.
  • Serving size: 1 bowl
  • Cook time: 20 mints.
  • Servings: 4

EQUIPMENT:

  • Grill
  • Saucepan
  • Mixing bowl
  • Whisk
  • Tongs
  • Cutting board
  • Knife

INGREDIENTS:

CHICKEN BOWL:

  • 1.5 lbs. chicken breasts (no bone & skin)
  • Black pepper
  • Four cups florets of broccoli
  • Two tablespoon olive oil
  • Salt
  • One teaspoon smoked paprika
  • ½ tsp. garlic powder

GARLIC SAUCE:

  • 2 tbsp. butter
  • 3 cloves of garlic
  • 1 cup heavy cream
  • ½ cup Parmesan cheese
  • Salt and pepper
  • Nutmeg

INGREDIENT NOTES:

CHICKEN:

  • We have to use boneless and skinless chicken breast or thigh fillet to prepare this dish.

BROCCOLI:

  • It is best to use fresh broccoli florets to prepare this dish for the nice taste, but we can also use frozen florets if required.

OLIVE OIL:

  • It is used to season the chicken and to prepare the dish, and it also helps to add healthy fats to the dish.

BUTTER:

  • Butter is used to form the base of the creamy sauce, and it should be unsalted so we can include the salt as we like.

GARLIC:

  • We use fresh garlic to add a fresh aroma to the dish, and it also increases the depth of the sauce.

HEAVY CREAM:

  • It is used to form the creamy texture of the sauce or to utilize coconut cream for the dairy-free version of this dish.

PARMESAN CHEESE:

  • We have to use the parmesan cheese to provide a strong and classic taste in the sauce.

SALT & PEPPER:

  • This is used to season the dish to make the tasty dish.

NUTMEG:

  • It is used to add slight warmth to the sauce.


INSTRUCTIONS:

  1. We have to warm up the grill before time on moderate settings.
  2. Then we can apply paprika, olive oil, black pepper, salt, and garlic seasoning on the chicken fillet.
  3. We can grill the chicken 5–7 minutes on each side or until its temperature reaches 165 degrees F, and then slice the chicken after some time.
  4. We can grill broccoli for around 5–6 minutes until tender & crisp.
  5. Then we can liquefy the butter in a pan and add garlic to toss for two minutes.
  6. We can add cream and simmer till the sauce gets thick.
  7. Then we can add parmesan cheese along with black pepper, nutmeg, and salt, and mix the cheese.
  8. We can add the broccoli and chicken slices to 4 bowls and drizzle the garlic sauce into the bowls.
  9. Decorate the Grilled Chicken & Broccoli Bowl with parsley and serve.

SERVING SUGGESTIONS:

  • We can include cauliflower rice for the additional fiber content.
  • You can also add some bacon crumble for the additional crunch.
  • These bowls greatly pairs with vinaigrette or green salad.
  • You can also include avocado slices for the additional healthy fats.
  • We can sprinkle red pepper flakes to make the spicy dish.
  • Serve this bowl with keto breadsticks.

TIPS:

  • We can also infuse the chicken for thirty minutes to prepare the tastier chicken.
  • You don’t have to overcook the broccoli, and keep it slightly crisp.
  • We would also utilize the meat thermometer so that the chicken would not get overcooked.
  • You can also add some broth to thin the consistency of this sauce.
  • We can add fresh herbs like basil or thyme to the sauce for different flavors.

STORAGE INFORMATION:

FRIDGE:

  • Put this dish in a sealed box and store it for four days, and store the sauce in a different container for good consistency.

FREEZER:

  • Put the chicken and sauce in different boxes and preserve the dish for two months, but the sauce’s texture might change.

FAQs:

Can you make this dish with rotisserie chicken?

  • We can easily make this dish with rotisserie chicken to save time and to add flavor.

Is this dish dairy-free?

  • This dish is not dairy-free as it contains heavy cream and cheese, but we can use coconut cream and dairy-free cheese or nutritional yeast to prepare a dairy-free dish.


NUTRITIONAL INFORMATION:

Total Carbs: 8g
Fiber: 2g
Protein: 40g
Calories: 450 kcal
Fat: 30g
Sodium: 480mg
Potassium: 750mg
Calcium: 180mg
Iron: 1.5mg
Vitamin A: 900 IU
Net Carbs: 6g
Serving Size: 1 bowl
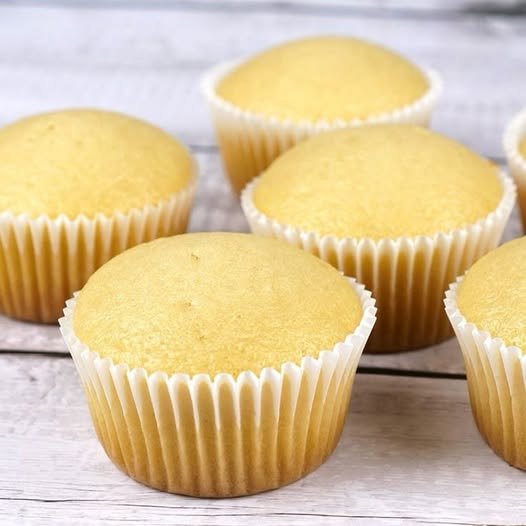
Two Ingredient Cupcakes

Ingredients
– 1 1/2 cups all-purpose flour
– 1 cup granulated sugar
– 1 1/2 tsp baking powder
– 1/2 tsp salt
– 1/2 cup vegetable oil
– 1/2 cup milk
– 2 large eggs
– 1 tsp vanilla extract
Instructions
Preheat your oven to 350°F (175°C) and line a muffin tin with cupcake liners.
In a bowl, whisk together the flour, sugar, baking powder, and salt.
In another bowl, combine the vegetable oil, milk, eggs, and vanilla extract. Mix until smooth.
Gradually add the wet ingredients to the dry ingredients, mixing until just combined. Be careful not to overmix.
Fill each cupcake liner about 2/3 full with batter.
Bake for 18-20 minutes, or until a toothpick inserted into the center comes out clean. Let the cupcakes cool in the pan for a few minutes, then transfer to a wire rack to cool completely.
Enjoy your budget-friendly vanilla cupcakes!

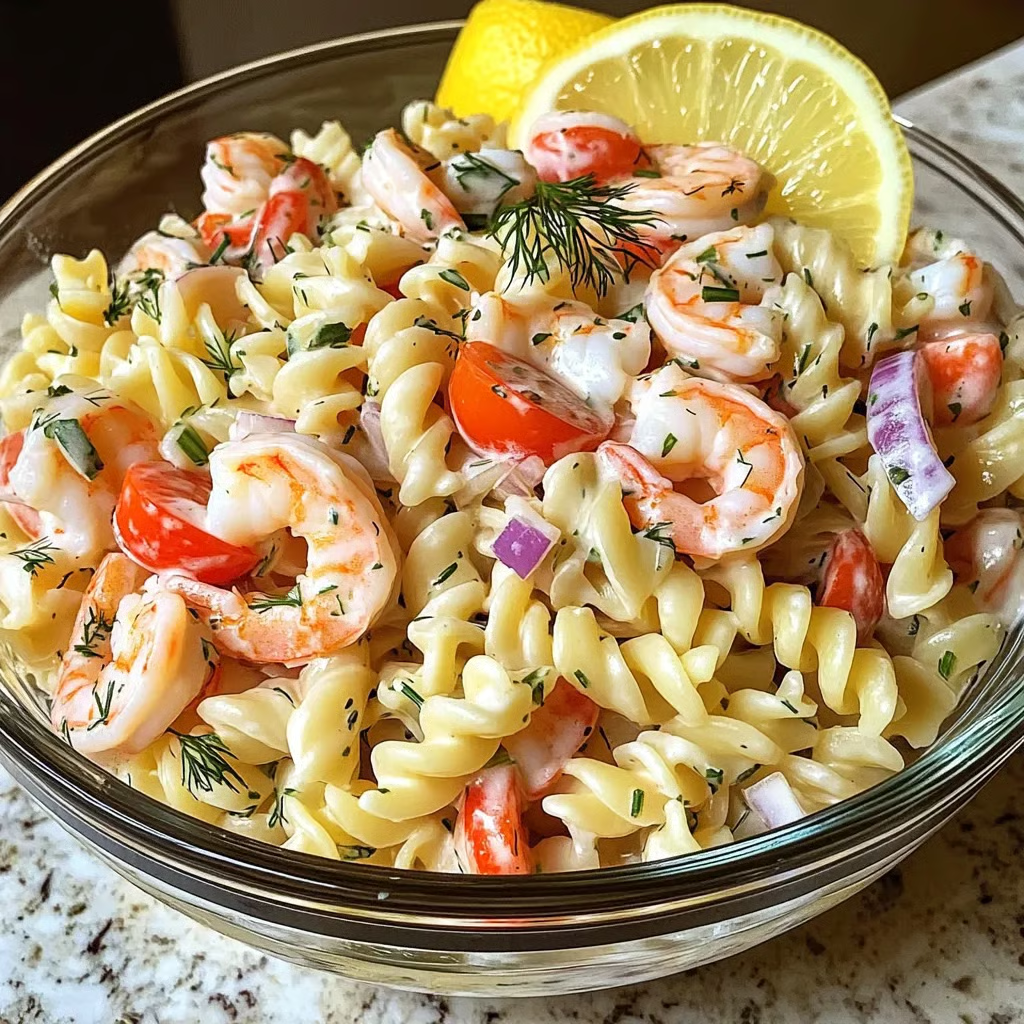
Seafood Pasta with Shrimp & Crab

A light, creamy, and refreshing cold pasta salad perfect for warm weather gatherings or weeknight dinners!

🧾 Ingredients

→ Pasta & Seafood

  • 8 oz rotini, penne, or your favorite pasta

  • 1 cup cooked shrimp, peeled

  • 1 cup fresh crab meat, picked through for shells

→ Fresh Vegetables

  • ½ cup celery, chopped

  • ½ cup cherry tomatoes, halved

  • ¼ cup red onion, finely diced

→ Creamy Dressing

  • ½ cup mayonnaise

  • 2 tbsp fresh lemon juice

  • 1 tbsp Dijon mustard

  • Salt & freshly ground black pepper, to taste

  • 1 tbsp fresh dill, finely chopped

  • Lemon wedges, for serving

👨‍🍳 Instructions

  1. Cook the Pasta
    Cook pasta according to package directions until al dente. Drain and rinse under cold water to stop the cooking. Set aside to cool.

  2. Combine Main Ingredients
    In a large mixing bowl, combine the cooled pasta, shrimp, crab meat, celery, tomatoes, and red onion. Toss gently to mix.

  3. Make the Dressing
    In a separate bowl, whisk together the mayonnaise, lemon juice, Dijon mustard, salt, and pepper until smooth and creamy.

  4. Toss Together
    Pour the dressing over the pasta and seafood mixture. Add chopped dill and toss gently to coat everything evenly.

  5. Chill and Serve
    Refrigerate for at least 30 minutes before serving. Serve cold, garnished with lemon wedges.

💡 Tips & Variations

  • Swap crab with imitation crab or lobster if preferred.

  • Add capers, cucumber, or chopped bell pepper for extra crunch.

  • Use Greek yogurt instead of mayo for a lighter version.

Would you like this turned into a printable PDF, recipe card, or meal prep planner format?

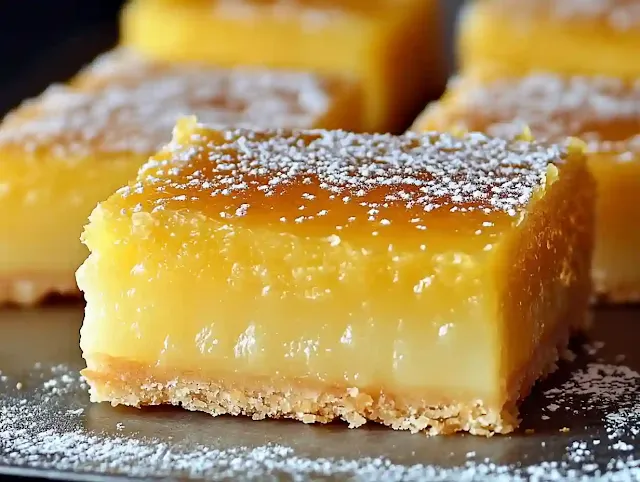
Two-Ingredient Lemon Bars

Why You’ll Love This Recipe

  • Super Simple: Only 2 main ingredients, no eggs or oil needed.

  • Quick Prep: Just mix, pour, and bake!

  • Light & Zesty: Fluffy texture with tangy lemon punch.

  • Customizable: Use angel food or yellow cake mix; add toppings if desired.

  • Kid-Friendly: Fun and easy for all ages.

  • Perfect for Any Occasion: From picnics to parties.

🧾 Ingredients

  • 1 box angel food or yellow cake mix

  • 1 can (15 oz) lemon pie filling

Angel food cake mix = light & airy
Yellow cake mix = rich & buttery

👩‍🍳 Instructions

  1. Preheat your oven to 350°F (175°C).

  2. Mix cake mix and lemon pie filling in a large bowl until smooth and fully combined.

  3. Prepare a pan by greasing a 9×13-inch baking dish.

  4. Spread the batter evenly in the dish, smoothing the top with a spatula.

  5. Bake for 25–30 minutes, or until the top is golden and edges are set.

  6. Cool completely in the pan to allow bars to firm up.

  7. (Optional) Dust with powdered sugar for a pretty finish.

  8. Slice into squares and serve.

🍽 Tips & Variations

  • Add blueberries or raspberries to the mix for a fruity twist.

  • Use parchment paper for easier removal.

  • Top with lemon glaze or whipped cream for extra flair.

Would you like this exported as a printable PDF or formatted for a recipe card?

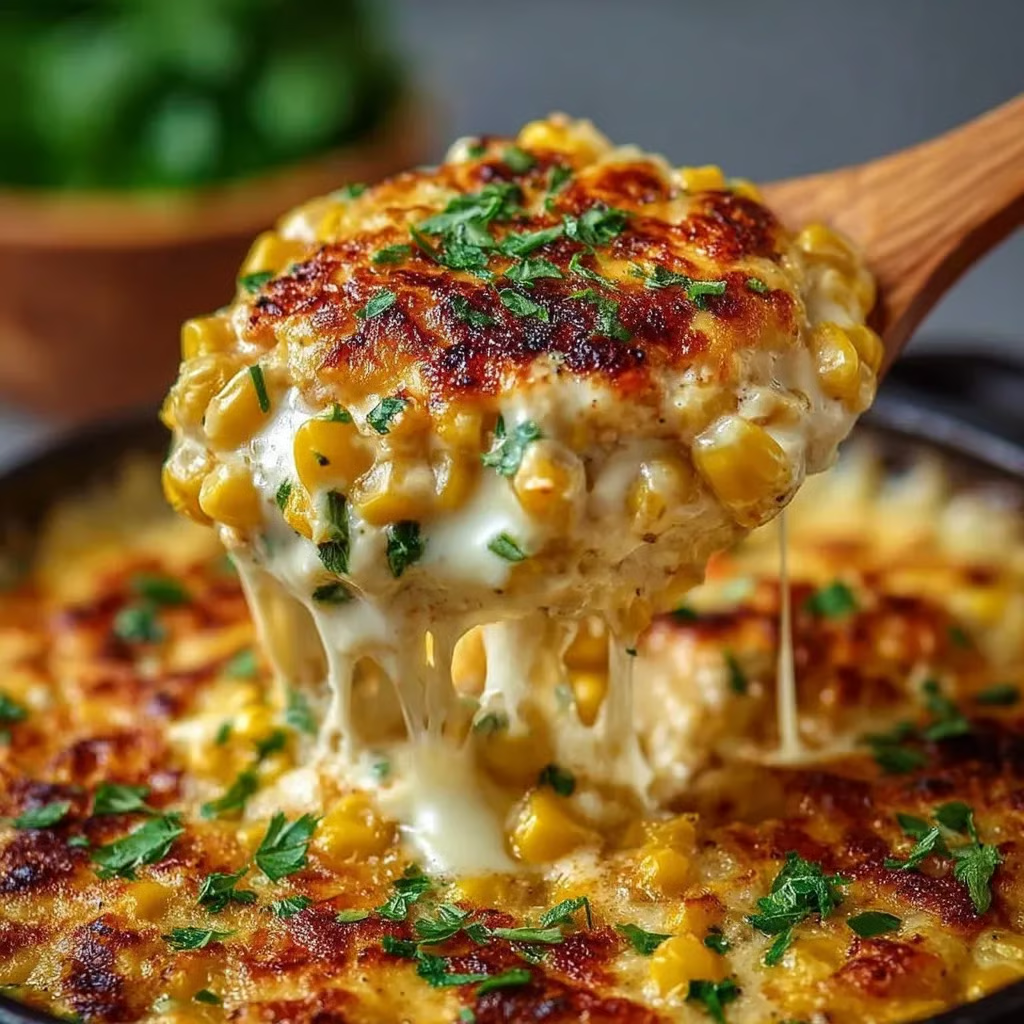
Street Corn Chicken Casserole

A creamy, cheesy, flavor-packed casserole inspired by Mexican street corn and loaded with tender chicken, vibrant spices, and crunchy tortilla chips.

🧾 Ingredients

Casserole Base

  • 2 cups cooked shredded chicken (rotisserie recommended)

  • 4 cups corn kernels (fresh, frozen, or canned & drained)

  • 8 oz cream cheese, softened

  • 1 cup sour cream

  • ½ cup mayonnaise

  • 1 cup shredded Monterey Jack (or Mexican blend cheese)

  • ½ cup crumbled cotija cheese (or feta)

  • ¼ cup chopped fresh cilantro

  • 2 tbsp chili powder

  • 1 tsp garlic powder

  • 1 tsp ground cumin

  • Juice of 1 lime

  • Salt and pepper, to taste

Topping

  • 1 cup crushed tortilla chips

  • ½ cup shredded Monterey Jack cheese

Optional Garnishes

  • Extra chopped cilantro

  • Lime wedges

  • Hot sauce

👨‍🍳 Instructions

1. Preheat & Prepare
Preheat oven to 375°F (190°C). Lightly grease a 9×13-inch baking dish.

2. Mix the Base
In a large bowl, combine:

  • Chicken

  • Corn

  • Cream cheese

  • Sour cream

  • Mayonnaise

  • Monterey Jack (1 cup)

  • Half of the cotija

  • Cilantro

  • Chili powder, garlic powder, cumin

  • Lime juice

  • Salt & pepper

Mix thoroughly until smooth and evenly incorporated.

3. Assemble the Casserole
Spread the chicken mixture evenly into the prepared baking dish. Sprinkle remaining cotija cheese over the top.

4. Add Crunchy Topping
In a small bowl, toss together crushed tortilla chips and the remaining ½ cup Monterey Jack. Sprinkle this over the casserole.

5. Bake
Bake uncovered for 25–30 minutes, or until hot and bubbly and the topping is golden.

6. Garnish & Serve
Let cool slightly. Garnish with extra cilantro, lime wedges, or hot sauce, if desired. Serve warm!

✅ Pro Tips

  • Rotisserie chicken saves time and adds flavor.

  • Feta works well if cotija isn’t available.

  • Add jalapeños or hot sauce to the mix if you like it spicy.

  • Serve with a side salad, rice, or tortilla chips.

Would you like this saved as a printable PDF or recipe card?

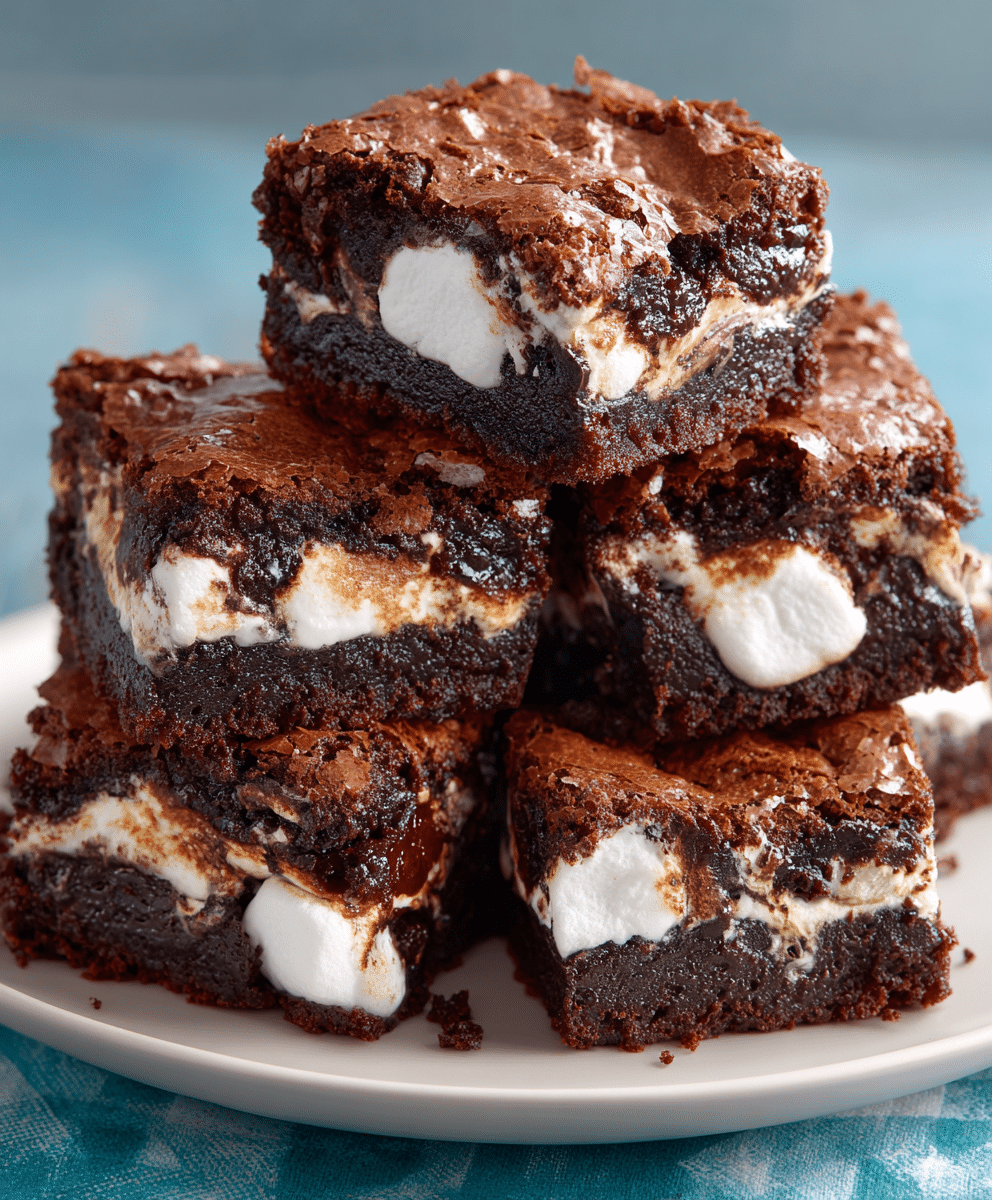
Ultimate Marshmallow Brownies

Rich, fudgy brownies swirled with gooey marshmallow crème and studded with chocolate chips. The perfect combo of chewy, melty, and irresistibly decadent.

🧾 Ingredients

Wet Ingredients

  • 2 cups granulated sugar

  • 3 large eggs

  • 1 egg yolk

  • ½ cup unsalted butter, melted

  • 2 tsp pure vanilla extract

  • ½ cup canola or vegetable oil

Dry Ingredients

  • ¾ cup all-purpose flour

  • 1 cup Dutch process cocoa powder

  • 1½ tbsp cornstarch

  • ½ tsp salt

Add-ins

  • 1 cup semi-sweet chocolate chips

  • 1 cup marshmallow creme

👩‍🍳 Instructions

Step 1: Preheat & Prep

  • Preheat oven to 350°F (175°C).

  • Line a 9×13-inch baking pan with parchment paper, leaving an overhang.

  • Lightly grease the parchment with cooking spray or butter.

Step 2: Mix Wet Ingredients

In a large bowl:

  • Whisk together sugar, eggs, and egg yolk until lightened in color.

  • Add melted butter, vanilla, and oil. Mix until smooth.

Step 3: Sift Dry Ingredients

In a separate bowl:

  • Sift together flour, cocoa powder, cornstarch, and salt.
    This ensures a lump-free, soft brownie crumb.

Step 4: Make the Batter

  • Gradually fold the dry ingredients into the wet mixture.

  • Don’t overmix. Stop when everything is just combined.

  • Fold in the chocolate chips.

Step 5: Layer & Swirl

  • Spread half the brownie batter into the prepared pan.

  • Drop spoonfuls of marshmallow creme over the batter.

  • Spread the remaining brownie batter on top.

  • Use a knife to swirl the batter and marshmallow for a marbled effect.

Step 6: Bake

  • Bake for 28–32 minutes, or until a toothpick inserted into the brownie (not marshmallow) comes out with a few moist crumbs.

  • The marshmallow will puff up and turn golden.

Step 7: Cool & Cut

  • Let brownies cool completely in the pan before slicing.

  • Use the parchment paper to lift them out for easier, cleaner cutting.

✅ Tips for Success

  • Do not overmix the batter—it affects texture.

  • Let brownies cool completely before cutting to avoid marshmallow mess.

  • Store tightly covered at room temperature for up to 3 days, or refrigerate for a firmer texture.

Would you like this formatted as a printable PDF or recipe card?