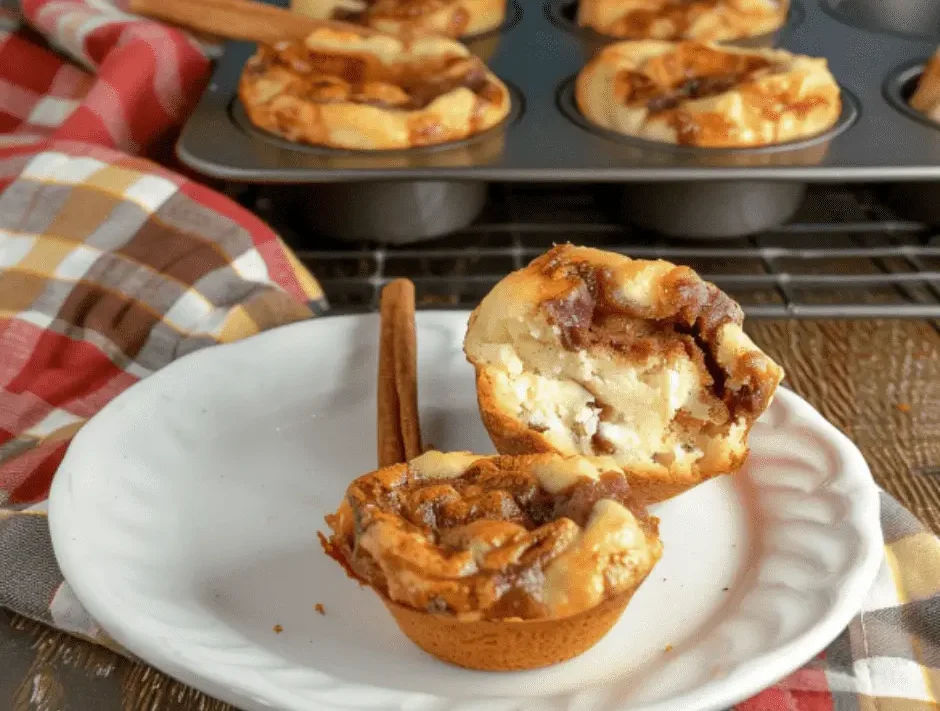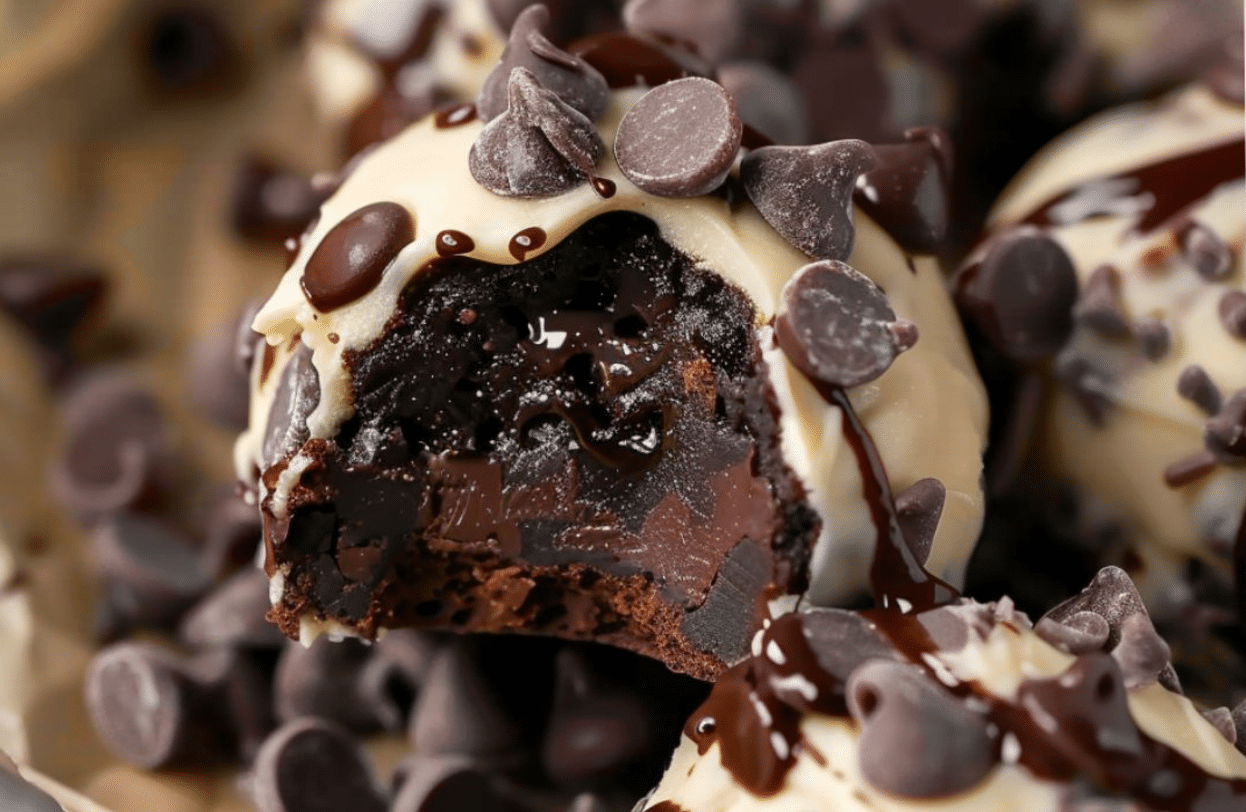
Chocolate Chip Cookie Dough Brownie Bombs

Rich fudge brownies wrapped around edible chocolate chip cookie dough and coated in smooth melted chocolate — a triple-layered treat that’s pure dessert bliss!

Prep Time: 30 minutes (plus chilling)
Cook Time: 0 minutes
Chill Time: ~1½ hours
Total Time: ~2 hours
Servings: 20–24 bombs
Dietary: Decadent dessert, No-bake cookie dough

Ingredients

For the edible cookie dough:

  • Unsalted butter – ½ cup, softened

  • Brown sugar – ½ cup

  • White sugar – ¼ cup

  • Whole milk – 2 tbsp

  • Vanilla extract – 1 tsp

  • All-purpose flour – 1 cup (toast for safety if desired)

  • Salt – ¼ tsp

  • Mini chocolate chips – 1 cup

For the brownie layer:

  • Fudge brownies – 1 batch, cooled and cut into 1-inch squares

For the coating:

  • Candiquik or chocolate almond bark – 16 oz, melted

  • Mini chocolate chips – 1 cup (for topping)

Instructions

  1. Make the cookie dough: Beat butter, brown sugar, and white sugar together until light and fluffy. Mix in milk and vanilla. Gradually stir in flour and salt until combined. Fold in 1 cup mini chocolate chips.

  2. Form & freeze: Scoop tablespoon-sized dough balls, place on a foil-lined sheet, and freeze for at least 1 hour.

  3. Wrap with brownies: Cut cooled brownies into 1-inch squares. Flatten a brownie piece in your hand, place a cookie dough ball in the center, and wrap the brownie around it to seal. Repeat for all balls. Freeze again for 30 minutes.

  4. Coat in chocolate: Melt Candiquik or almond bark according to package directions. Dip each brownie bomb in the melted chocolate, allowing excess to drip off. Place on wax paper.

  5. Decorate & set: Immediately sprinkle with remaining mini chocolate chips. Chill until the coating is fully set.

Quick Notes & Pro Tips

  • Toast the flour: Bake at 350°F for 5 minutes to make it safe to eat raw.

  • Chill in stages: Freezing between steps makes the bombs easier to handle and dip.

  • Use a fork for dipping: It helps excess chocolate drip off cleanly.

Why You’ll Love It

Three desserts in one: soft cookie dough, chewy brownie, and a crisp chocolate shell. Perfect for parties, holidays, or anytime you need an indulgent bite-sized treat.

Ingredient Details & Substitutions

  • Brownies: Use homemade or a boxed mix for convenience.

  • Coating: Swap almond bark for dark, milk, or white chocolate.

  • Mix-ins: Add sprinkles, crushed cookies, or toffee bits inside or on top.

Variations & Serving Suggestions

  • Holiday twist: Decorate with colored sprinkles or drizzle with white chocolate.

  • Peanut butter lovers: Add 2 tbsp peanut butter to the cookie dough.

  • Party platter: Serve in mini cupcake liners for an easy grab-and-go dessert.

Storage & Make-Ahead

  • Refrigerate: Store in an airtight container for up to 1 week.

  • Freeze: Freeze for up to 2 months. Thaw in the fridge before serving.

FAQs

Q: Can I make these without the brownie layer?
A: Absolutely — just dip the cookie dough balls directly in chocolate for a simpler treat.

Q: Can I use pre-made cookie dough?
A: Yes, but make sure it’s labeled safe-to-eat raw (no eggs and heat-treated flour).

Q: How do I keep the chocolate coating smooth?
A: Melt chocolate slowly and stir often to prevent seizing.

Personal Note

These bombs are a personal favorite for when I can’t choose between brownies, cookies, or chocolate. They’re rich, decadent, and always the first thing gone at parties!

Your turn!
Tried these Chocolate Chip Cookie Dough Brownie Bombs? Leave a comment or tag me on social media — I’d love to see your creations!

Would you like me to make a “peanut butter cup version” (with peanut butter cookie dough and chocolate drizzle) or a “holiday version” decorated with festive colors?
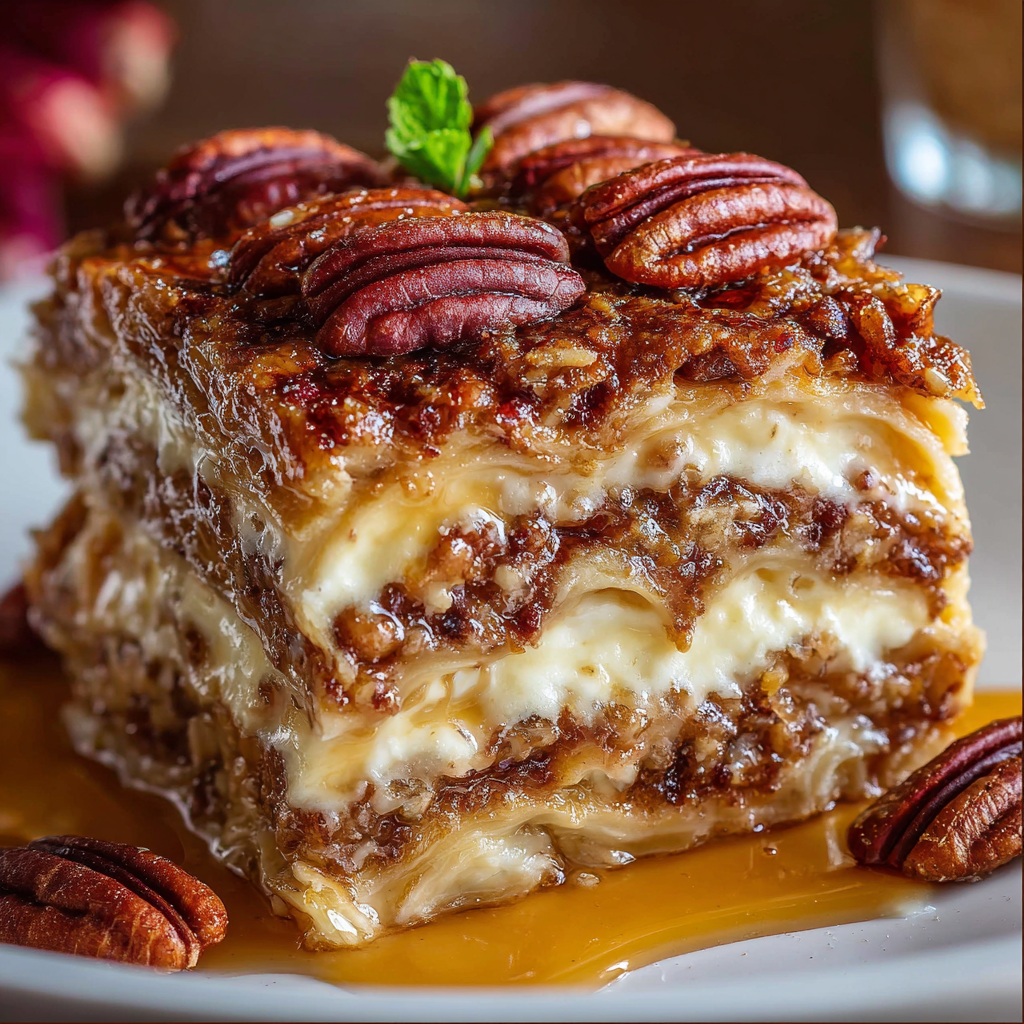
No-Bake Pecan Pie Layered Dessert

A creamy, crunchy layered dessert featuring a buttery graham cracker crust, fluffy cream cheese filling, gooey pecan pie topping, and whipped cream — no oven needed!

Prep Time: 20 minutes
Chill Time: 2+ hours
Total Time: ~2½ hours
Servings: 12–15
Dietary: No-bake, Make-ahead friendly

Ingredients

  • Butter – melted (1 cup)

  • Powdered sugar – 1 cup

  • Brown sugar – packed (1 cup)

  • Graham crackers – crushed (1 pkg / 9 oz)

  • Cream cheese – softened (1 pkg / 8 oz)

  • Whipped topping – divided (1 tub / 8 oz)

  • Pecan pie filling – (1 jar / 12 oz)

  • Pecans – toasted & chopped (1 cup)

Instructions

  1. Make the crust: Mix crushed graham crackers with melted butter and brown sugar. Press into a 9×13-inch dish.

  2. Prepare the filling: Beat softened cream cheese with powdered sugar until smooth. Fold in half the whipped topping. Spread evenly over the crust.

  3. Add the pecan layer: Spread pecan pie filling evenly over the cream cheese layer.

  4. Top & garnish: Spread the remaining whipped topping on top. Sprinkle with toasted pecans.

  5. Chill: Refrigerate for at least 2 hours (or overnight) before serving.

Quick Notes & Pro Tips

  • Soft cream cheese: Let it come to room temp for a silky-smooth filling.

  • Crust firmness: Press crust firmly to prevent crumbling when slicing.

  • Make ahead: Chill overnight for the best set and flavor.

Why You’ll Love It

This dessert is creamy, crunchy, and indulgently sweet — a no-bake treat perfect for holidays, potlucks, or anytime you want the flavors of pecan pie without turning on the oven.

Ingredient Details & Substitutions

  • Crust: Swap graham crackers for vanilla wafers or crushed shortbread cookies.

  • Filling: Add a splash of vanilla extract for extra flavor depth.

  • Topping: Drizzle with caramel sauce or sprinkle mini chocolate chips for added indulgence.

Variations & Serving Suggestions

  • Mini cups: Assemble in individual dessert cups for parties.

  • Chocolate twist: Add a layer of chocolate pudding between the cream cheese and pecan filling.

  • Holiday flair: Top with a drizzle of cinnamon glaze or crushed toffee bits.

Storage & Make-Ahead

  • Refrigerate: Store covered in the fridge for up to 4 days.

  • Freeze: Freeze (without whipped topping) for up to 1 month; thaw and top before serving.

FAQs

Q: Can I use homemade pecan filling?
A: Absolutely — homemade filling gives a richer, more customized flavor.

Q: Can I make this gluten-free?
A: Use gluten-free graham crackers or cookies for the crust.

Q: Can I double the whipped topping?
A: Yes — for an extra fluffy, creamy top layer.

Personal Note

This recipe is one of my favorite no-bake desserts for the holidays — it’s decadent, easy to assemble, and always a hit at gatherings.

Your turn!
Tried this No-Bake Pecan Pie Layered Dessert? Leave a comment or tag me on social media — I’d love to see your version!

Apple Spice Cake Muffins

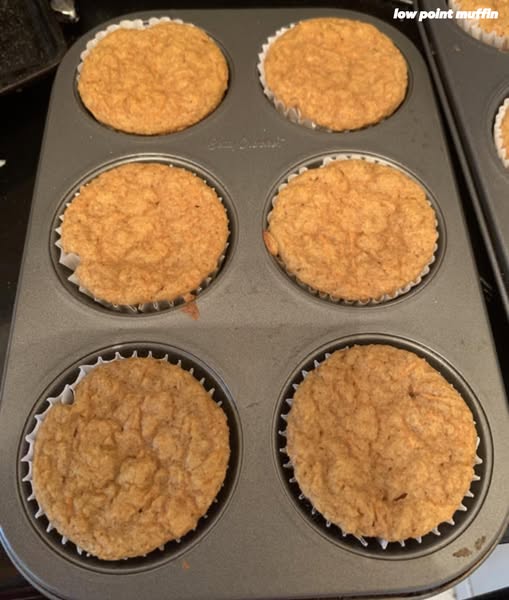
When doing my weekend food prep, I usually make a banana loaf for the week but being that my bananas aren’t ripe enough yet, i asked chat GPT for a low point muffin recipe and made these 1 point carrot ones. They turned out really good. I added a bit of sugar free maple syrup and I used apple pie spice instead of cinnamon and nutmeg. I also used blueberry kodiak mix with a tad of cinammon oat one too.
1 cup shredded carrots
2 eggs
1/4 cup unsweetened applesauce
1/2 cup nonfat plain Greek yogurt
1/2 cup monk fruit sweetener or other zero-point sweetener
1 tsp vanilla extract
1 tsp baking powder
1/2 tsp baking soda
1 tsp cinnamon
1/4 tsp nutmeg
Pinch of salt
1 cup Kodiak Cakes Power Cakes mix
1. Preheat oven to 350°F (175°C) and line a muffin tin with 12 liners or spray with nonstick spray.
2. Mix wet ingredients: eggs, applesauce, Greek yogurt, sweetener, vanilla, and either grated carrots or pumpkin.
3. Stir in dry ingredients: Kodiak mix, baking powder, baking soda, spices, and salt.
4. Fold in any optional add-ins if using.
5. Spoon batter evenly into 12 muffin cups.
6. Bake for 18–22 minutes, or until a toothpick comes out clean.

Carnivore Chocolate Mousse Recipe

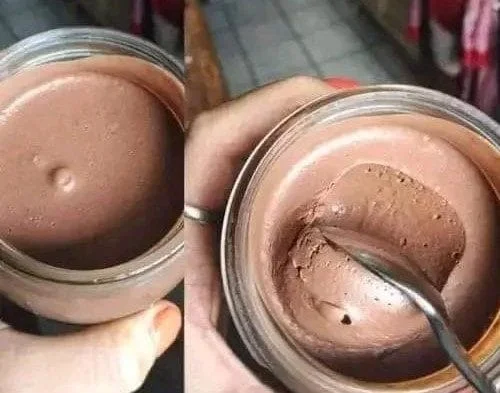
🥩 Carnivore Chocolate Mousse Recipe

✅ Ingredients (Serves 2–3):

  • 4 large egg yolks (pasture-raised preferred)

  • ½ cup beef tallow, duck fat, or unsalted butter (softened but not melted)

  • 2 tbsp collagen powder (optional, for protein boost & texture)

  • 1–2 tbsp cocoa powder (technically a plant, but tolerated by many carnivore dieters)

  • 1–2 tbsp raw honey or stevia/monk fruit (optional – skip for strict carnivore)

  • Pinch of salt

  • ¼ tsp vanilla extract (optional)

🥛 Optional additions:

  • ¼ cup whipped heavy cream or whipped egg white for a lighter mousse texture

  • Shaved raw cacao or 100% chocolate for garnish (if tolerated)


🥄 Instructions:

  1. Whip egg yolks
    In a mixing bowl, use a hand mixer to whip the yolks for 2–3 minutes until creamy and pale.

  2. Add fat
    Slowly add the softened butter, tallow, or duck fat while whipping. The mixture should become thick and smooth.

  3. Mix in flavor
    Add cocoa powder, sweetener (if using), salt, vanilla, and collagen powder. Mix until fully combined and fluffy.

  4. Optional: Fold in cream or whipped egg white
    This lightens the mousse. Use a spatula and fold gently.

  5. Chill
    Transfer into ramekins or small jars. Refrigerate for at least 1–2 hours until firm.

  6. Serve
    Garnish (optional) and enjoy!


🧊 Storage:

Keeps well in the fridge for up to 4 days. Can also be frozen and thawed slowly in the fridge.


🥩 Carnivore Compliance Notes:

  • Strict Carnivore: Skip cocoa and sweeteners; use whipped tallow + egg yolks + salt for a savory mousse.

  • Relaxed Carnivore: Cocoa, vanilla, and minimal sweetener are generally tolerated.

Cottage Cloud Swirl Muffins

Keto Cottage Cloud Swirl Muffins are ideal for breakfast or as a snack. These muffins are very fluffy, flavorful, and low-carb. These muffins have a beautiful swirl of cinnamon that adds warmth and some sweetness to this soufflé-like treat. These are made with egg whites and cheese, which adds the protein and fat content to make it keto-friendly. We make these muffins with almond flour as it adds structure and fluffiness without the additional carbs.
Go through the detailed recipe below to fulfill all your baked goods cravings without any guilt!


STATISTICAL OVERVIEW:

  • Size/serving: 1 muffin
  • Cooking time: Twenty-five mins
  • Cuisine: American
  • Working time(total): Forty minutes
  • Course: Breakfast, Snack
  • Calories: 90 kilocalories
  • Diet: Keto, Low-Carb, Gluten-Free
  • Servings: 8–10 muffins
  • Time for prep: Fifteen mins

TOOLS:

  • Knife
  • Bowl
  • Whisk
  • Spatula
  • Muffin tin
  • Small bowl
  • Rack

INGREDIENTS:

FOR THE MUFFIN BASE:

  • 4 large eggs, separated
  • ½ cup full-fat cottage cheese
  • ¼ tsp. cream of tartar
  • ¼ tsp. salt
  • 2 tbsp. almond flour
  • 1–2 tbsp. Erythritol or monk fruit
  • ½ tsp. vanilla extract

FOR CINNAMON SWIRL:

  • 2 tsp. cinnamon
  • 1 tbsp. Erythritol
  • ½ tbsp. Melted butter or coconut oil

INGREDIENTS NOTES:

EGGS:

  • We have to use the large eggs and the egg whites, and they offer structure and support, and we can beat the whites to make it light and airy.

COTTAGE CHEESE:

  • We have to use the rich cottage cheese in these muffins and blend it before adding the cheese to the batter, and it also provides nutrition and an acidic taste.

CREAM OF TARTAR:

  • We could utilize the cream of tartar to retain the volume or to make the fluffy muffins.

SALT:

  • Salt is added to the batter to balance the sweetness, and it also adds flavor.

ALMOND FLOUR:

  • Almond flour is used to give the structure and improve its ability to maintain the shape, and it is low in carbs and good for keto baking.

KETO SWEETENER:

  • We add keto sweeteners like Erythritol and Monk fruit as they add the sweetness without the additional carbs.

VANILLA EXTRACT:

  • Vanilla extract is added to remove the smell of the eggs and to make them rich and flavorful.

CINNAMON POWDER:

  • Cinnamon powder is added to provide the aroma, and it also complements the creamy cottage cheese.

BUTTER OR COCONUT OIL:

  • We can use butter or coconut oil to add richness and help spread the cinnamon flavor in the muffins.


INSTRUCTION:

  1. We can turn on the oven at 300 degrees F.
  2. Now we can place the silicon cups in the muffin tin.
  3. We can discrete the yolks from the whites & put the yolks in another dish.
  4. Now we can add cream of tartar and salt to the egg whites.
  5. Beat them till the egg whites form firm peaks.
  6. We can add the cottage cheese, almond flour, vanilla, Erythritol & egg yolks to the other dish
  7. Stir till it gets smooth.
  8. Then we have to gently incorporate the yolk mixture into the egg white mixture, and don’t overmix.
  9. We have to combine the liquid butter, cinnamon, and Erythritol in a small dish to make the cinnamon swirl.
  10. Now we can pour the muffin batter into the cups and fill them halfway.
  11. Then we can add the cinnamon swirl on top and gently mix to create the swirl.
  12. Put the muffin in the oven for twenty-five minutes.
  13. We can cool these muffins in the tin for 5 minutes.
  14. Then put these muffins on the rack and serve.

TIPS:

  • We can mix the cottage cheese for a smoother texture before the addition.
  • You can serve these muffins fresh or allow these muffins to deflate a little because they bubble up like soufflés.
  • We can add chopped nuts or a drizzle of cream cheese for an additional taste.

STORAGE INFORMATION:

FRIDGE:

  • We can put the remaining cottage cloud swirl muffins in an airtight container and store these muffins for 4 days.

FREEZER:

  • We can cover these cottage cloud swirl muffins in plastic wrap and store these muffins in the freezer for 2 months.

FAQs:

Can I make these cheese cloud swirl muffins with ricotta cheese?

  • We can make these cheese cloud bread muffins with ricotta cheese as a substitute for the cottage cheese, but the ricotta cheese is slightly high in carbs.

Are these cottage cloud swirl muffins sweet or savory?

  • These cottage cloud swirl muffins are slightly sweet with the cinnamon swirl.


NUTRITIONAL FACTS/SERVING:

Calories: 90 kcal
Total Carbs: 2.5 g
Net Carbs: Two grams
Fiber: 0.5 gram
Protein: Six grams
Fat: 6 g
Sodium: 160 milligrams

Carnivore Ice Cream Recipe

Get ready to unleash your inner carnivore with a spoonful of  creamy, dreamy, and oh-so-fluffy indulgence that’s as stealthy as it is satisfying.

If you’ve been prowling the web, hunting down a truly carnivore ice cream recipe.

You’ve likely been ambushed by a jungle of posers those sneaky recipes that boast a “carnivore” badge, only to reveal their true plant-based spots.

Duration:

Prep time: 15 minutes

Additional time: 6 hours

Total time:6 hours 15 minutes

Yield: 6

Ingredients

  • 1 1/2 cups = 350 ml heavy cream
  • 4 very fresh yolks from grass-fed organic eggs

Instructions

  1. Beat the heavy cream with an electric mixer until stiff peaks form.
  2. In another bowl, beat the yolks until pale and fluffy.
  3. Fold the egg yolks into the whipped cream. Mix with a spatula until smooth.
  4. Transfer into a 1-qt (1 liter) container. Level the surface with a spatula.
  5. Close the container or cover with a plastic foil.
  6. Freeze overnight, or at least 6 hours.
  7. Remove from the freezer 30 minutes before serving.
  8. Enjoy!