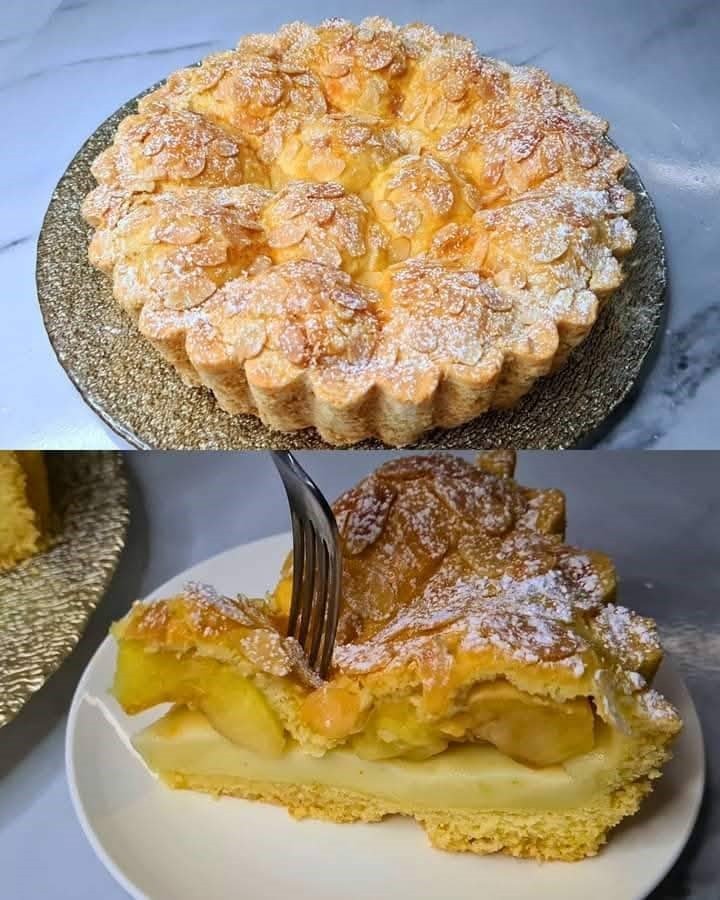
Classic Apple Pie with Lemon Cream Filling

Classic Apple Pie with Lemon Cream Filling

Yield: 1 round pie (8–10 slices)
Prep Time: 25 minutes
Bake Time: 40–45 minutes

This apple pie features a soft buttery crust, a smooth lemon cream layer, and tender apple slices on top. It is lightly sweet, gently citrusy, and perfect for tea time or dessert.


🧾 Ingredients

For the Dough

  • 2 large eggs

  • 5 tablespoons sugar (100 g)

  • 1 packet vanilla sugar (8 g) or 1 teaspoon vanilla extract

  • 5 tablespoons butter (100 g), softened

  • 3 cups all-purpose flour (360 g)

  • 2 teaspoons baking powder (8 g)


For the Lemon Cream Filling

  • 2 cups milk (500 ml)

  • 2 egg yolks

  • 4 tablespoons sugar

  • 3 tablespoons cornstarch

  • Zest of 1 lemon

  • 2 tablespoons lemon juice

  • 1 teaspoon vanilla extract


For the Apple Layer

  • 3–4 medium apples, peeled and sliced

  • 2 tablespoons sugar

  • 1 teaspoon cinnamon (optional)

  • 1 tablespoon lemon juice


For Topping

  • Powdered sugar, for dusting

  • Sliced almonds or walnuts (optional)


👩‍🍳 Instructions

1. Prepare the Dough

In a bowl, whisk eggs, sugar, and vanilla until smooth.
Add softened butter and mix until creamy.
Add flour and baking powder gradually and mix until a soft dough forms.

Divide the dough into two parts:
✔ One larger portion (for base)
✔ One smaller portion (for top)

Wrap and refrigerate for 20 minutes.


2. Make the Lemon Cream

In a saucepan, whisk milk, egg yolks, sugar, and cornstarch until smooth.
Cook over medium heat, stirring constantly, until thick and creamy.
Remove from heat and stir in lemon zest, lemon juice, and vanilla.
Set aside to cool slightly.


3. Prepare the Apples

In a bowl, mix apple slices with sugar, lemon juice, and cinnamon.
Set aside for 5 minutes to soften slightly.


4. Assemble the Pie

Preheat oven to 180°C (350°F).
Grease a round baking pan.

Roll out the larger dough portion and press into the pan, forming a base and sides.
Spread lemon cream evenly over the dough.
Arrange apple slices on top of the cream.

Roll out the remaining dough and place over apples in strips or decorative pattern.


5. Bake

Bake for 40–45 minutes, until golden and set.
Let cool completely before slicing so layers stay neat.


6. Finish and Serve

Dust with powdered sugar and sprinkle nuts if desired.
Serve plain or with tea, coffee, or vanilla sauce.


🌟 Helpful Tips

  • Use firm apples (Granny Smith, Fuji, or Golden).

  • Chill dough for easier handling.

  • For extra shine, brush top with a little milk before baking.

  • Store in refrigerator up to 3 days.
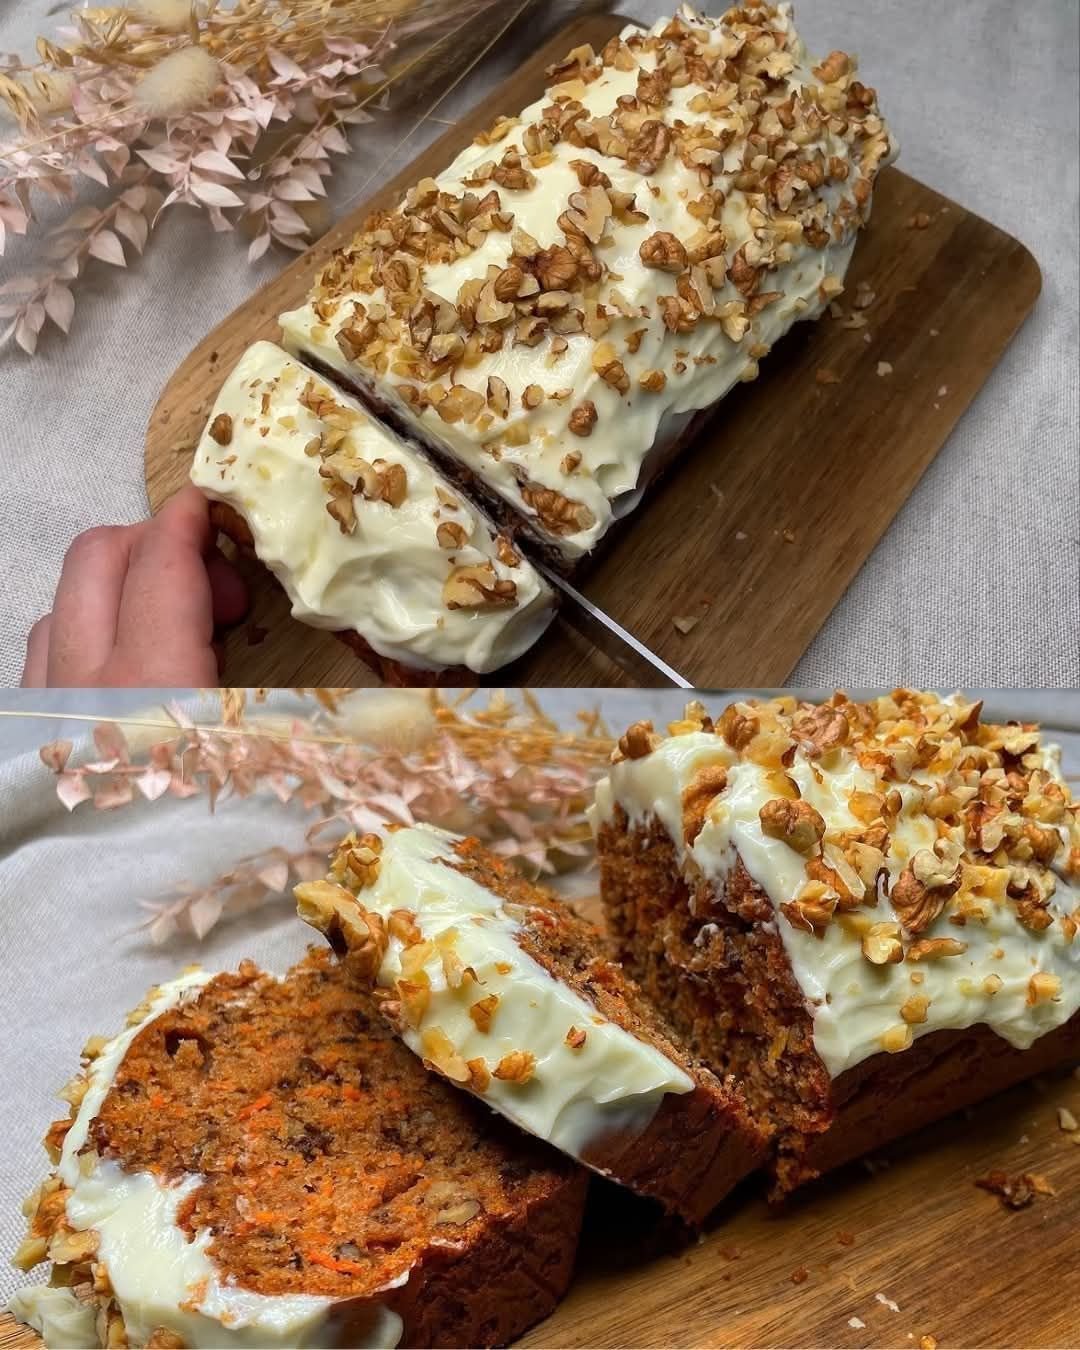
Orange–Carrot Cake with Coconut Cream

Orange–Carrot Cake with Coconut Cream

Yield: 1 loaf (8–10 slices)
Prep Time: 20 minutes
Bake Time: 45–55 minutes

This moist carrot cake is gently flavored with fresh orange zest, crunchy walnuts, coconut flakes, and sesame seeds. It is finished with a light, dairy-free coconut cream topping for a naturally rich and fragrant dessert.


🧾 Ingredients

For the Cake

  • 4 medium carrots, finely grated

  • 4 tablespoons unsweetened coconut flakes

  • 2 tablespoons sesame seeds

  • ½ cup walnuts, chopped (plus extra for topping)

  • 1½ cups all-purpose flour

  • 1 teaspoon baking soda

  • 1 teaspoon baking powder

  • 1 teaspoon ground cinnamon

  • ½ teaspoon salt

  • 3 large eggs, at room temperature

  • ¾ cup granulated sugar or brown sugar

  • ½ cup vegetable oil or melted coconut oil

  • Zest of 1 orange

  • 2 tablespoons fresh orange juice

For the Coconut Cream Topping

  • 1 can (14 oz / 400 ml) full-fat coconut milk, chilled overnight

  • 2 tablespoons maple syrup or powdered sugar

  • ½ teaspoon vanilla extract


👩‍🍳 Instructions

1. Prepare the Pan and Oven

Preheat the oven to 350°F (175°C).
Lightly grease a loaf pan and line it with parchment paper so the cake can be lifted out easily after baking.


2. Mix the Dry Ingredients

In a medium bowl, whisk together:

  • flour

  • baking soda

  • baking powder

  • cinnamon

  • salt

Stir in the coconut flakes, sesame seeds, and chopped walnuts until evenly combined.


3. Prepare the Wet Ingredients

In a large bowl, whisk the eggs and sugar until pale and slightly thick.
Slowly add the oil while whisking continuously.
Mix in the orange zest and orange juice.
Fold in the grated carrots until well distributed.


4. Combine the Batter

Add the dry ingredients to the wet mixture in two parts.
Gently fold with a spatula just until no dry flour is visible.
Do not mix too much—this helps keep the cake soft and tender.


5. Bake

Pour the batter into the prepared pan and smooth the top.
Bake for 45–55 minutes, or until a skewer or toothpick inserted in the center comes out clean.

Let the cake cool in the pan for 15 minutes, then lift it out and allow it to cool completely on a rack.


🥥 Coconut Cream Topping

6. Prepare the Coconut Cream

Open the chilled coconut milk can carefully.
Scoop out only the thick cream from the top into a bowl (reserve the liquid for drinks or smoothies).

Add the maple syrup (or powdered sugar) and vanilla extract.
Whisk or beat until smooth and creamy.


7. Decorate

Spread the coconut cream evenly over the cooled cake.
Sprinkle with extra chopped walnuts and a few sesame seeds if desired.


🌟 Helpful Tips

  • Orange Flavor: The zest gives the strongest orange taste, so use fresh orange peel for best results.

  • Cold Coconut Milk: Chilling is essential for thick, spreadable cream.

  • Storage: Keep the cake in the refrigerator for up to 3 days because of the coconut topping.

  • Serving: Best served slightly cool or at room temperature.

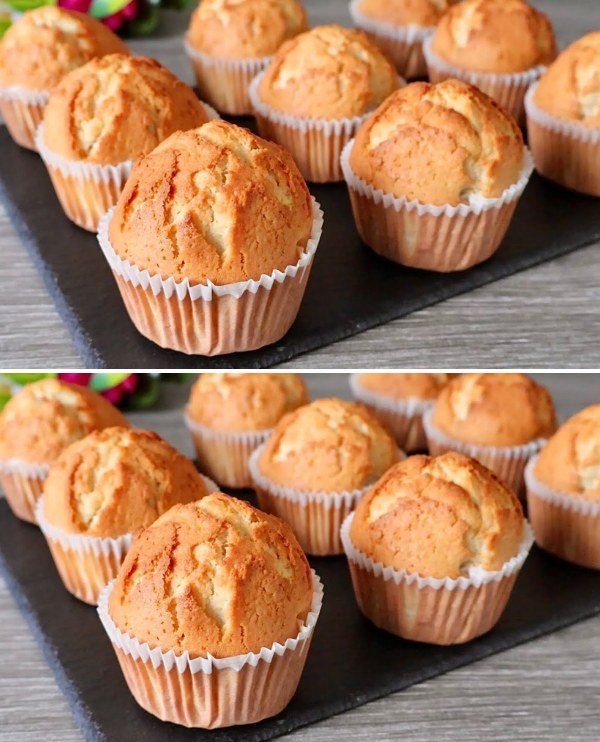
Easy and Fluffy Vanilla Muffins

Easy and Fluffy Vanilla Muffins

Prep Time: 10 minutes
Bake Time: 20–25 minutes
Yields: 12 standard muffins

Soft, airy, and golden muffins that are simple to make and perfect for breakfast, snacks, or dessert.


🧾 Ingredients

  • 2 eggs

  • 125 ml (½ cup) vegetable oil

  • 250 ml (1 cup) milk

  • 200 g (1 cup) sugar

  • 360 g (3 cups) all-purpose flour

  • 1 teaspoon baking powder

  • ½ teaspoon salt

  • 100 g (⅔ cup) raisins or chocolate chips (optional)

  • 1 teaspoon vanilla extract (optional, for extra flavor)


👩‍🍳 Step-by-Step Instructions

🔥 Step 1: Prepare Oven and Muffin Pan

  1. Preheat oven to 375°F (190°C).

  2. Line a 12-cup muffin tin with paper liners or grease each cup lightly with butter or oil.


🥄 Step 2: Whisk Wet Ingredients

  1. In a large mixing bowl, whisk eggs and sugar until pale and slightly frothy.

  2. Add vegetable oil, milk, and vanilla extract (if using).

  3. Whisk until fully combined.


🥣 Step 3: Combine with Dry Ingredients

  1. Sift flour, baking powder, and salt directly into the wet mixture.

  2. Use a spatula or wooden spoon to fold gently until just combined.

    • Stop mixing when flour streaks disappear to keep muffins light and fluffy.


🍫 Step 4: Add Mix-ins (Optional)

  1. Gently fold in raisins or chocolate chips if desired.


🧁 Step 5: Fill Muffin Cups

  1. Divide batter evenly among the 12 cups, filling about ¾ full.

  2. Place the tin in the center of the oven.


🔥 Step 6: Bake

  1. Bake for 20–25 minutes.

  2. Muffins are done when:

    • Tops are golden brown

    • They spring back when lightly pressed

    • Toothpick inserted comes out clean or with a few moist crumbs


❄ Step 7: Cool

  1. Let muffins cool in the tin for 5 minutes.

  2. Transfer to a wire rack to cool completely.


🌟 Pro-Tips for Success

  • Room Temperature Ingredients: Eggs and milk at room temperature give a smoother, well-incorporated batter.

  • Storage: Keep in an airtight container at room temperature for up to 3 days. Freeze for up to 2 months.

  • Optional Flavors: Add cinnamon, nutmeg, or lemon zest for a flavor twist.

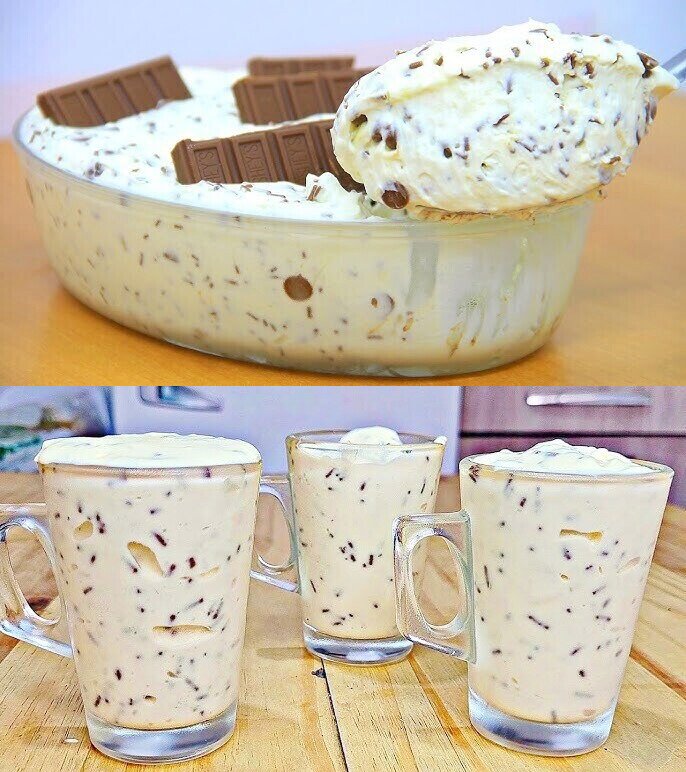
5-Minute Marshmallow Quark Cream

5-Minute Marshmallow Quark Cream

Prep Time: 5 minutes
Servings: 3–4 cups

A light, airy, and creamy dessert with a “marshmallow” texture that’s ready in just a few minutes. Perfect as a quick treat or layered in dessert glasses.


🧾 Ingredients

  • 400 g low-fat quark (or Greek yogurt if quark is unavailable)

  • 1 pack (approx. 8 g) vanilla sugar

  • 200 ml whipping cream (well chilled)

  • 2 tablespoons powdered sugar (adjust to taste)

Optional Mix-ins / Decorations

  • Chocolate chips or shavings

  • Fresh berries

  • Crumbled cookies or nuts


👩‍🍳 Step-by-Step Instructions

🥄 Step 1: Whip the Cream

  1. In a chilled bowl, combine the cold whipping cream, vanilla sugar, and powdered sugar.

  2. Beat with an electric hand mixer until stiff peaks form.

    • Do not overmix, or it will turn into butter.


🥣 Step 2: Prepare the Quark

  1. In a separate bowl, whisk the quark until smooth and creamy.

  2. This prevents lumps and creates a silky texture in the final dessert.


☁️ Step 3: Fold to Create “Marshmallow” Texture

  1. Gently fold the whipped cream into the quark using a spatula.

  2. Use a cut-and-fold motion, lifting from the bottom and folding over the top.

    • This incorporates air, giving the cream its light, fluffy consistency.


🍫 Step 4: Add Mix-ins (Optional)

  1. Fold in chocolate chips, shavings, or berries as desired.

  2. Mix gently to maintain the airy texture.


🍮 Step 5: Serve and Decorate

  1. Spoon the mixture into dessert glasses or a large serving bowl.

  2. Top with additional chocolate, berries, or nuts if desired.

  3. Can be enjoyed immediately or chilled for 30 minutes for a firmer texture.


🌟 Quick Tips

  • Thicker Quark: If your quark is very liquid, strain through a cheesecloth for 15 minutes before using.

  • Adjust Sweetness: Add an extra tablespoon of powdered sugar during whipping if you prefer a sweeter dessert.

  • Storage: Keep covered in the refrigerator for up to 1 day.

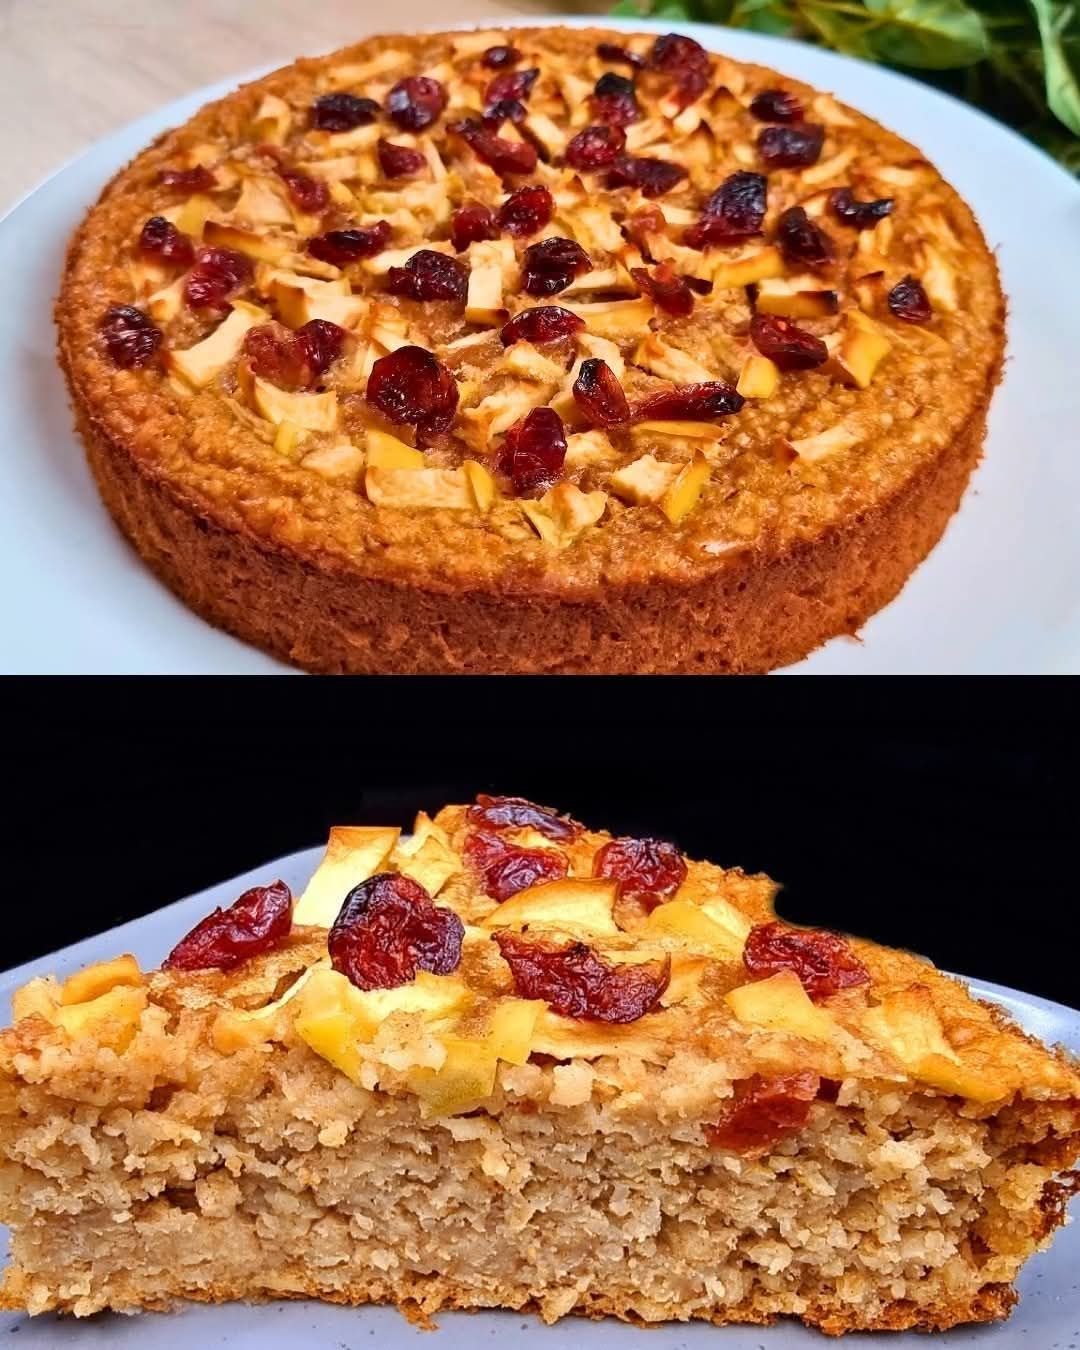
Oat, Apple & Cranberry Cake (Flour-Free)

Oat, Apple & Cranberry Cake (Flour-Free)

Prep Time: 15 minutes
Resting Time: 10 minutes
Bake Time: 35–40 minutes
Servings: 8 slices

Soft, lightly sweet, and naturally hearty, this oat-based cake is made without flour and filled with apples and cranberries for a fresh, fruity bite.


🧾 Ingredients

  • 200 g (2¼ cups) rolled oats (certified gluten-free if needed)

  • A small pinch of salt

  • 400 ml (1⅔ cups) hot milk (dairy or plant-based)

  • 2 eggs

  • 40 g (¼ cup) erythritol or preferred sweetener

  • 1 teaspoon ground cinnamon

  • 1¾ teaspoons baking powder

  • 1 small apple, finely chopped

  • Handful of dried cranberries

  • Butter or oil for greasing the pan


👩‍🍳 Step-by-Step Instructions

🥣 Step 1: Soften the Oats

  1. Place rolled oats and salt into a large bowl.

  2. Pour hot milk over the oats and stir.

  3. Cover and let sit for 10 minutes so the oats absorb the milk and soften.


🥄 Step 2: Prepare the Batter

  1. In another bowl, whisk eggs with sweetener and cinnamon.

  2. Add this egg mixture to the soaked oats.

  3. Add baking powder and stir until smooth and well combined.


🍏 Step 3: Add the Fruit

  1. Fold in:

    • About ⅔ of the chopped apple

    • Half of the cranberries

  2. Mix gently so the fruit spreads evenly.


🧁 Step 4: Assemble

  1. Preheat oven to 350°F (180°C).

  2. Grease or line a 7–8 inch (18–20 cm) round pan.

  3. Pour batter into the pan and level the top.

  4. Scatter remaining apple pieces and cranberries over the surface.


🔥 Step 5: Bake

  1. Bake for 35–40 minutes.

  2. The cake is ready when:

    • The top feels firm

    • A toothpick inserted comes out clean


❄ Step 6: Cool & Serve

  1. Let cake cool in the pan for 15 minutes.

  2. Remove, slice, and serve warm or at room temperature.


🌟 Helpful Tips

✔ Use sweet apples for best flavor
✔ Add walnuts or almonds for crunch
✔ Serve with yogurt for a breakfast-style cake
✔ Store covered in the fridge up to 3 days

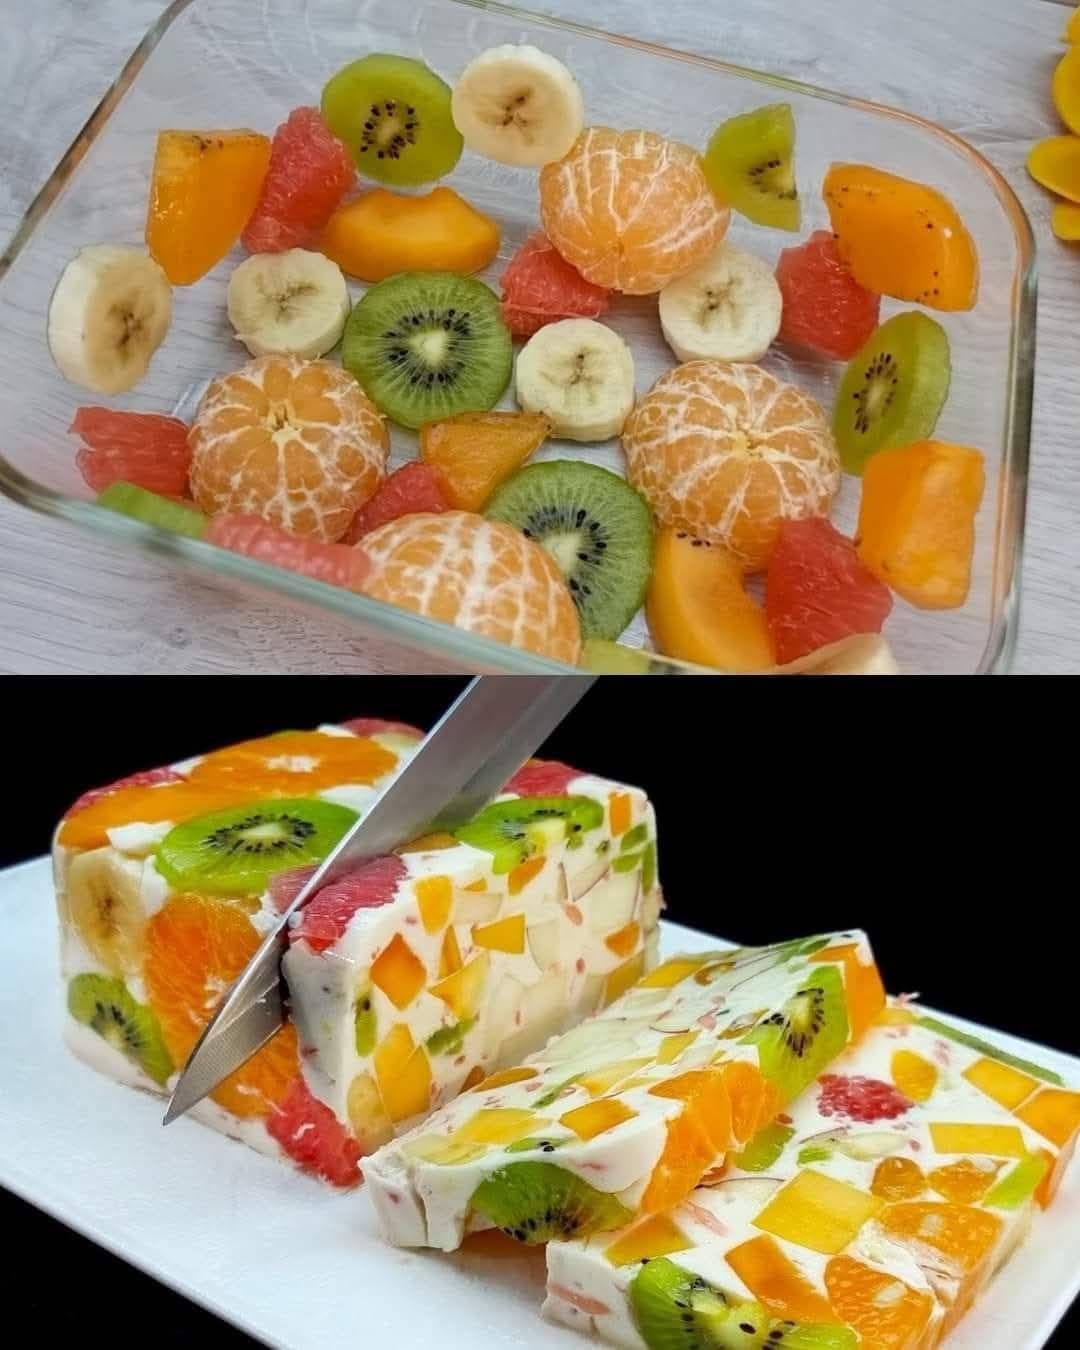
Creamy Milk & Fruit Terrine (Agar-Agar Dessert)

Creamy Milk & Fruit Terrine (Agar-Agar Dessert)

Prep Time: 15 minutes
Setting Time: 2–3 hours
Servings: 6–8 slices

This colorful terrine is a light, refreshing dessert made with fresh fruit and creamy milk, set naturally with agar-agar. Each slice looks like stained glass and tastes cool, smooth, and fruity.


🧾 Ingredients

🍊 Fruit Layer

  • 2–3 tangerines, peeled and separated

  • 2 kiwis, peeled and sliced

  • 1–2 persimmons, peeled and sliced

  • ½ grapefruit, peeled and segmented (white pith removed)

  • 1 apple, cored and finely chopped

  • 1 banana, sliced


🥛 Milk Layer

  • 500 ml (2 cups) milk

  • 3–4 tablespoons sugar or honey (adjust to taste)

  • 8 g agar-agar powder

  • 50 ml water (to dissolve agar)

  • 1 teaspoon vanilla extract (optional)


👩‍🍳 Step-by-Step Instructions

🍓 Step 1: Prepare the Fruit

  1. Wash, peel, and slice all fruits as listed.

  2. Arrange the fruit evenly inside a rectangular glass dish or silicone loaf mold.

  3. Mix colors and shapes for a bright, mosaic look in every slice.


🌿 Step 2: Dissolve the Agar-Agar

  1. In a small bowl, combine agar-agar powder and water.

  2. Stir until smooth and lump-free.

  3. Let it sit for 1 minute.


🔥 Step 3: Heat the Milk Mixture

  1. Pour milk and sugar (or honey) into a saucepan.

  2. Heat gently over medium heat until warm.

  3. Add the agar mixture to the milk and stir well.


🍲 Step 4: Activate the Agar-Agar

  1. Bring the mixture to a gentle boil while stirring continuously.

  2. Let it boil for 1–2 minutes to fully activate the agar.

  3. Remove from heat and stir in vanilla extract.


🥄 Step 5: Assemble the Terrine

  1. Let the milk mixture cool for 3–5 minutes (it must remain liquid).

  2. Slowly pour over the arranged fruit.

  3. Use a spoon to gently press down floating fruit so everything stays covered.


❄ Step 6: Set and Chill

  1. Allow the dish to cool at room temperature until it begins to firm.

  2. Transfer to the refrigerator for 2–3 hours until fully set and chilled.


🔪 Step 7: Serve

  1. Run a thin knife around the edges of the dish.

  2. Turn out onto a serving plate.

  3. Slice and serve chilled.


🌟 Helpful Tips

✔ Use firm fruit for clean slices
✔ Adjust sweetness to taste
✔ Coconut milk can replace regular milk
✔ Add a little citrus zest for extra aroma
✔ Best served cold