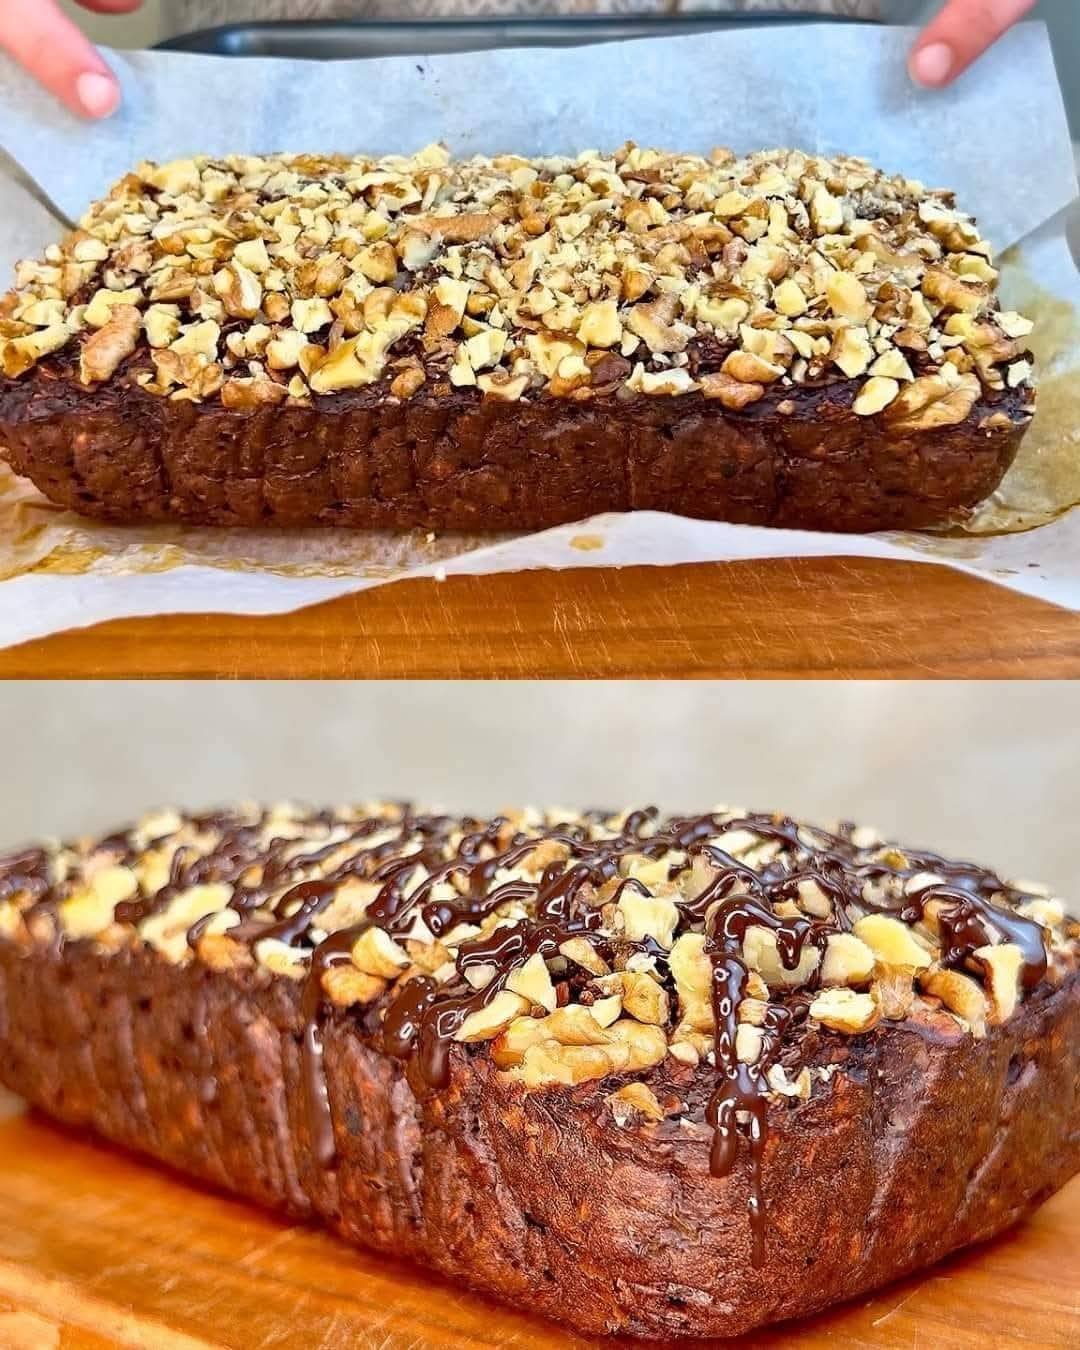
Flourless Chocolate Banana Oat Loaf

Flourless Chocolate Banana Oat Loaf

Prep Time: 10 minutes
Bake Time: 35–45 minutes
Servings: 6–8 slices

A soft, rich loaf made with oats, bananas, and cocoa. It contains no flour and has a naturally sweet flavor from ripe bananas.


🧺 Ingredients

  • 120 g oat flakes (use certified gluten-free if needed)

  • 250 ml hot milk (dairy or plant-based)

  • 2 medium ripe bananas

  • 2 eggs

  • 4 tablespoons (45 g) cocoa or carob powder

  • 1 tablespoon baking powder

  • A small pinch of salt

  • 40 g chopped nuts (walnuts, pecans, or almonds)

  • Sugar-free dark chocolate, melted or finely chopped (for topping)


👩‍🍳 Instructions

1️⃣ Soften the Oats

Place the oat flakes in a mixing bowl.
Pour the hot milk over them and stir gently.
Let them rest for about 10 minutes, so the oats absorb the liquid and become tender.


2️⃣ Prepare the Banana Mixture

Peel the bananas and place them in a separate bowl.
Mash them with a fork until smooth and creamy.

Add the eggs and whisk gently until the mixture looks evenly blended.


3️⃣ Combine the Batter

Add the cocoa powder, baking powder, and salt to the banana mixture.
Stir until smooth and well mixed.

Add the softened oats and milk to the bowl.
Mix gently until everything is evenly combined.

Fold in half of the chopped nuts, keeping the rest for the top.


4️⃣ Bake the Loaf

Lightly coat a loaf pan with oil or line it with parchment paper.

Pour the batter into the pan and spread it evenly.

Sprinkle the remaining nuts over the surface.

Bake in a preheated oven at 350°F (180°C) for 35–45 minutes, until:

  • The top looks set

  • The center feels firm

  • A toothpick inserted comes out clean


5️⃣ Finish and Serve

Allow the loaf to cool slightly in the pan.

Drizzle melted dark chocolate over the top.

Let the chocolate firm up before slicing and serving.


🍽️ Serving Ideas

  • Enjoy warm or cooled

  • Serve with yogurt or fruit

  • Pair with tea or coffee

  • Lightly dust with cocoa powder if desired


💡 Helpful Tip

For a finer, more cake-like texture, you can blend the dry oats briefly to make oat flour before adding the hot milk.
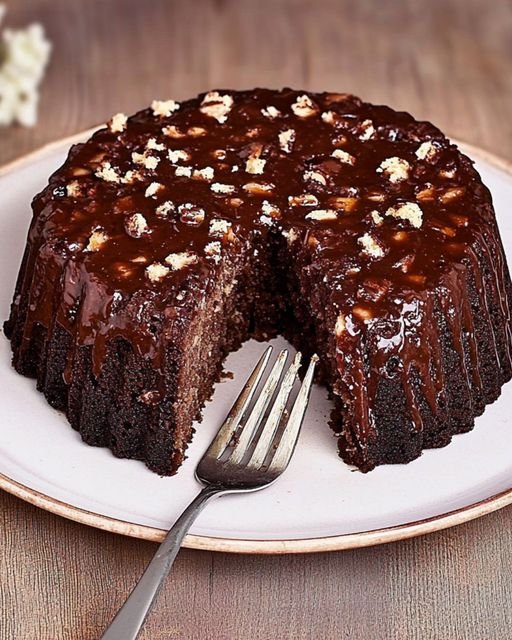
Flourless Chocolate Oat & Banana Cake

Flourless Chocolate Oat & Banana Cake

A naturally sweet, rich chocolate cake made with oats and bananas instead of flour or refined sugar.

Prep Time: 10 minutes
Bake Time: 35–40 minutes
Servings: 6–8 slices

This cake has a soft, fudgy texture and a deep chocolate flavor, making it a satisfying dessert or snack made from simple, wholesome ingredients.


🧺 Ingredients

Base

  • 1½ cups (150 g) oat flakes (rolled or quick oats)

  • ⅔ cup (150 g) milk (dairy or plant-based)

  • 2 large ripe bananas, mashed until smooth

  • 2 eggs

Flavor & Rise

  • ¼ cup (30 g) cocoa powder

  • 1 teaspoon (5 g) baking powder

  • 1 g sweetener (optional: stevia or monk fruit)

Crunch & Topping

  • 1 oz (30 g) walnuts, chopped

  • 1 oz (30 g) dark chocolate, melted or finely chopped


👩‍🍳 Instructions

1️⃣ Soften the Oats

Place the oat flakes and milk into a medium bowl.
Stir gently and allow them to rest for 10 minutes so the oats absorb the liquid and become tender.


2️⃣ Prepare the Batter

In a large bowl, mash the bananas until smooth.

Add the eggs and whisk until evenly blended.

Sprinkle in the cocoa powder, baking powder, and sweetener (if using).
Stir gently until the mixture looks smooth and well combined.

Add the softened oats and milk to the banana mixture.
Stir until everything is evenly incorporated.

Fold in most of the chopped walnuts, saving a small amount for the top.


3️⃣ Bake the Cake

Lightly coat a small cake pan or silicone mold with oil, or line it with parchment paper.

Pour the batter into the pan and gently smooth the surface.

Place in a preheated oven at 350°F (180°C) and bake for 35–40 minutes, until:

  • The top looks set

  • The center feels firm

  • A toothpick inserted comes out clean


4️⃣ Finish the Cake

Allow the cake to cool slightly in the pan.

Melt the dark chocolate and drizzle it gently over the top.

Sprinkle the remaining walnuts over the chocolate while it is still soft.

Let the topping set before slicing.


🍽️ Serving Ideas

  • Enjoy warm or chilled

  • Serve with yogurt or fruit

  • Pair with tea or coffee

  • Lightly dust with cocoa powder if desired


💡 Helpful Tip

For a smoother, more cake-like texture, you may blend the oats, milk, eggs, and bananas together in a blender before mixing in the cocoa powder and walnuts by hand.

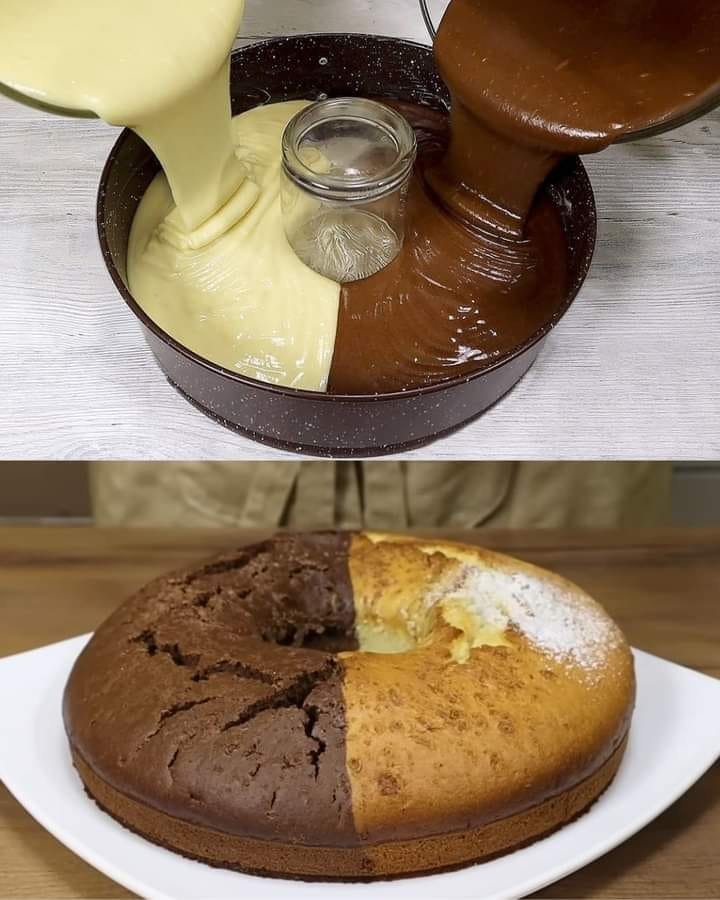
Dual-Flavor Ring Tea Cake

Dual-Flavor Ring Tea Cake

Prep Time: 5 minutes
Bake Time: 35–40 minutes
Pan: Round cake pan with heat-safe glass in center

A soft vanilla and chocolate cake baked together in a beautiful ring shape, perfect for tea time or light dessert.


🧺 Ingredients

For the Base Batter

  • 3 large eggs

  • 1 cup (200 g) granulated sugar

  • 1 cup (200 ml) milk

  • ½ cup (100 ml) vegetable oil (or any neutral oil)

  • 2¾ cups (350 g) all-purpose flour, sifted

  • 2 teaspoons (10 g) baking powder

  • 1 pinch (1 g) vanillin or 1 teaspoon vanilla extract

  • Butter, for greasing the pan

For the Chocolate Batter

  • 2 tablespoons cocoa powder

  • 2 tablespoons water


👩‍🍳 Instructions

1️⃣ Prepare the Base Batter

Mix Eggs and Sugar
In a large mixing bowl, combine the eggs and sugar. Whisk until the mixture becomes pale and slightly airy in texture.

Add Liquid Ingredients
Pour in the milk, vegetable oil, and vanillin or vanilla extract. Whisk until fully blended and smooth.

Add Dry Ingredients
Gradually add the sifted flour and baking powder.
Stir gently using a whisk or spatula until the batter becomes smooth and free of large lumps.
Mix only until combined to keep the cake soft and tender.


2️⃣ Create Two Flavors

Divide the Batter
Transfer half of the batter into a second bowl so you now have two equal portions.

Prepare Cocoa Mixture
In a small cup, mix the cocoa powder with the water until it forms a smooth paste.

Make Chocolate Batter
Add the cocoa paste to one bowl of batter. Stir gently until the color is even and rich.

Now you have:
✔ One vanilla batter
✔ One chocolate batter


3️⃣ Prepare the Pan & Create the Pattern

Grease the Pan
Lightly coat the inside of a round cake pan with butter.

Place the Center Glass
Butter the outside of a heat-safe glass or jar.
Place it gently in the middle of the pan to create the ring shape.

Pour the Batters
Slowly pour the vanilla batter on one side of the pan and the chocolate batter on the opposite side at the same time.
The batters will meet in the center while remaining mostly separate, creating a two-tone effect.


4️⃣ Bake the Cake

Preheat Oven
Set oven to 350°F (180°C).

Bake
Place the pan in the oven and bake for 35–40 minutes, until the cake is fully cooked and lightly golden.

Check for Doneness
Insert a toothpick into the thickest area of the cake.
If it comes out clean, the cake is ready.


5️⃣ Cool & Remove

Let the cake cool in the pan for about 10 minutes.

Gently twist and lift the glass from the center.
Run a knife carefully around the edge of the pan and turn the cake out onto a serving plate.

Allow to cool completely before decorating.


🍽️ Serving Ideas

  • Dust the vanilla side with powdered sugar

  • Drizzle the chocolate side with melted chocolate or ganache

  • Serve with tea, coffee, or warm milk


💡 Helpful Tips

✔ Add orange or lemon zest for fragrance
✔ Use yogurt instead of milk for extra softness
✔ Keep batters thick so the pattern stays defined
✔ Stores well for 2–3 days in an airtight container

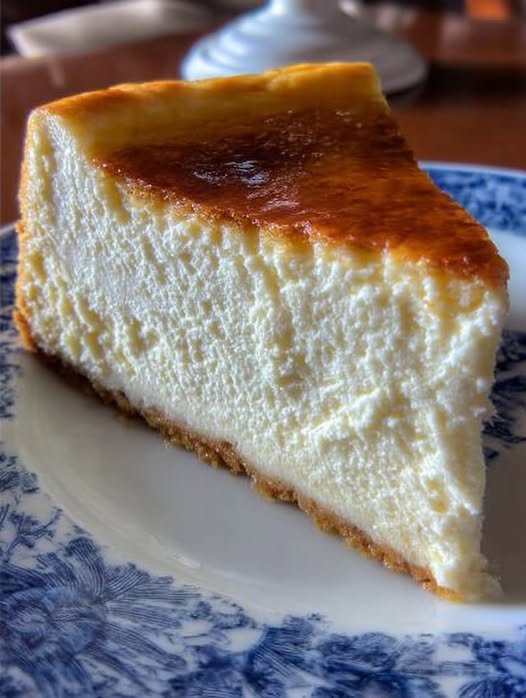
New York Cheesecake with Blueberry Sauce

New York Cheesecake with Blueberry Sauce

If you’ve never tried a classic New York Cheesecake, this recipe is the perfect introduction. Rich, creamy, and slightly tangy, this cheesecake is easy to make at home and can be prepared as individual mini cheesecakes or one large cake. Enhanced with a luscious homemade blueberry sauce, it’s a dessert that delights the eyes and the taste buds. Brought to you by tinsuf, this recipe is simple yet indulgent, perfect for celebrations or any time you want a decadent treat.


  • Author: tinsuf
  • Cuisine: American
  • Category: Dessert, Cheesecake
  • Keywords: New York cheesecake, mini cheesecakes, blueberry sauce, creamy cheesecake
  • Prep Time: 20 minutes
  • Cook Time: 16–20 minutes
  • Total Time: Approx. 5 hours 40 minutes (including chilling)
  • Yield: 6–8 mini cheesecakes


Ingredients

Crust

  • 50 g digestive biscuits, crushed
  • 1/2 tablespoon sugar
  • 2–2.5 tablespoons butter, melted

Filling

  • 275 g cream cheese (about 15 Kiri cheese squares)
  • 65 g (1/3 cup) sugar
  • A very small pinch of salt
  • 1 egg, room temperature
  • 1/2 teaspoon vanilla extract
  • 1/4 teaspoon lemon zest
  • 1/4 cup sour cream or yogurt

Blueberry Sauce

  • 1/2 cup blueberries
  • 1 1/2 tablespoons sugar
  • 3/4 teaspoon cornflour
  • A very small pinch cinnamon powder (optional)
  • A very small pinch salt
  • 2 tablespoons water
  • A drop of vanilla extract (optional)
  • A small pinch of lemon zest (optional)
  • 1/4 teaspoon lemon juice, or to taste


Instructions

  1. Prepare the crust: Crush the digestive biscuits into a coarse powder. Mix with sugar, then add melted butter and combine thoroughly. Line a muffin tin with paper liners or grease silicone molds with butter. Place equal amounts of crust in each cup and press down evenly. Cover and refrigerate while preparing the filling.
  2. Make the cheesecake filling: Preheat oven to 150°C (300°F). In a mixing bowl, beat cream cheese until smooth and creamy. Add sugar and salt, mixing gently. Add the egg and mix until incorporated—avoid overmixing to prevent excess air. Stir in vanilla, lemon zest, and sour cream or yogurt. Mix until smooth.
  3. Assemble and bake: Spoon the filling over the chilled crusts. Bake for 16–20 minutes, or until centers are set but slightly wobbly. Remove from oven and let cool completely.
  4. Chill: Cover cheesecakes and refrigerate for 4–5 hours or longer. Properly chilled cheesecakes stay fresh for several days.
  5. Prepare blueberry sauce: In a small saucepan, combine sugar, cornflour, water, salt, and cinnamon (if using). Stir over low heat until sugar dissolves. Add blueberries and cook 3–5 minutes until sauce thickens, allowing some berries to break. Remove from heat and stir in vanilla, lemon zest, and lemon juice. Let cool and store in an airtight container in the refrigerator for up to a week.
  6. Serve: Remove cheesecakes from refrigerator and peel off liners or remove from molds. Spoon blueberry sauce on top. Optionally, serve with fresh berries or drizzle chocolate sauce for extra indulgence.


Troubleshooting & Consistency Tips

For a smooth, creamy texture, ensure cream cheese and egg are at room temperature. Avoid overmixing, which can create cracks or a grainy texture. If you prefer a thicker crust, increase the amount of digestive biscuits and butter. Individual cheesecakes bake faster than a large one, so monitor closely to avoid overbaking.

ADVERTISEMENT


Storage & Make-Ahead

Store refrigerated cheesecakes in an airtight container for up to 5 days. Blueberry sauce can be made ahead and stored for up to a week. For special occasions, you can prepare crust and filling in advance, then bake and chill closer to serving time.


Why This Recipe Works

This New York Cheesecake recipe balances sweetness with a subtle tang from sour cream or yogurt. Individual portions ensure even baking and a creamy texture, while the crust adds a satisfying crunch. The optional  blueberry sauce enhances flavor and adds a vibrant, fresh finish.


ADVERTISEMENT

Expert Tips

  • Use room-temperature ingredients for smooth batter.
  • Do not overmix eggs into cream cheese to prevent cracks.
  • Mini cheesecakes bake faster than one large  cake; adjust timing accordingly.
  • Add lemon zest or juice to the filling for a subtle, bright flavor contrast.
  • Serve chilled for the best creamy texture.


This classic New York Cheesecake with blueberry sauce is brought to you by tinsuf. Enjoy this creamy, decadent dessert and explore more of our professional, easy-to-follow recipes for all occasions.

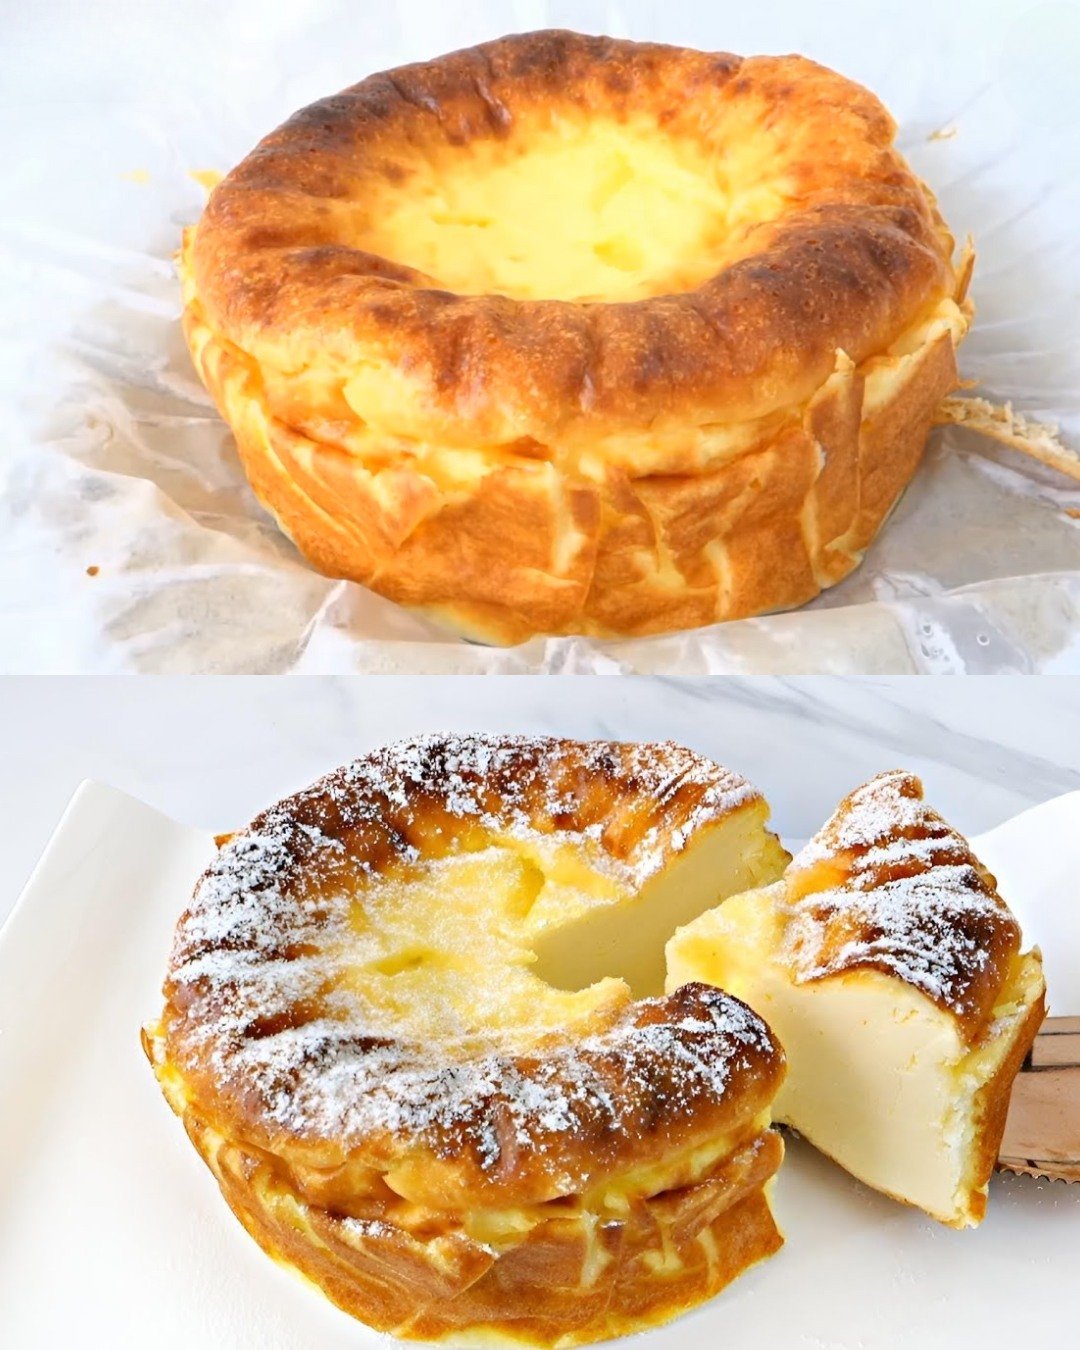
3-Ingredient Yogurt Cake

3-Ingredient Yogurt Cake

Yield: 1 round cake (8 slices)
Prep Time: 10 minutes
Bake Time: 45–55 minutes

This cake is soft, creamy, and lightly sweet. It’s perfect for tea time or as a simple dessert when you want something comforting with very few ingredients.


🧾 Ingredients

  • 500 g (2 cups) plain yogurt
    (Greek yogurt or any thick yogurt works best)

  • 4 large eggs

  • ½ cup (100 g) sugar

✔ Optional for flavor (not counted as ingredients):

  • 1 teaspoon vanilla extract

  • Powdered sugar for dusting


👩‍🍳 Instructions

1. Prepare the Pan and Oven

Preheat the oven to 170°C (340°F).
Line a round cake pan with parchment paper, allowing some paper to rise up the sides. This helps remove the cake easily after baking.


2. Mix the Batter

In a large bowl, add the yogurt and sugar.
Whisk until smooth and creamy.

Add the eggs one at a time, whisking well after each addition until the mixture is fully blended and silky.


3. Pour and Level

Pour the batter into the prepared pan.
Gently tap the pan on the counter once or twice to release air bubbles.


4. Bake

Place the pan in the oven and bake for 45–55 minutes, until the top is lightly golden and the center is set.

The cake should look firm around the edges and slightly soft in the center.


5. Cool

Remove from the oven and let the cake cool completely in the pan.
As it cools, it will gently settle and become more compact.


6. Serve

Lift the cake out using the parchment paper.
Dust with powdered sugar if desired.
Slice and serve chilled or at room temperature.


🌟 Helpful Tips

  • Use thick yogurt for the best texture.

  • Do not overbake; this keeps the cake creamy inside.

  • Refrigerate for 2–3 hours for clean slices.

  • Store in the refrigerator up to 3 days.

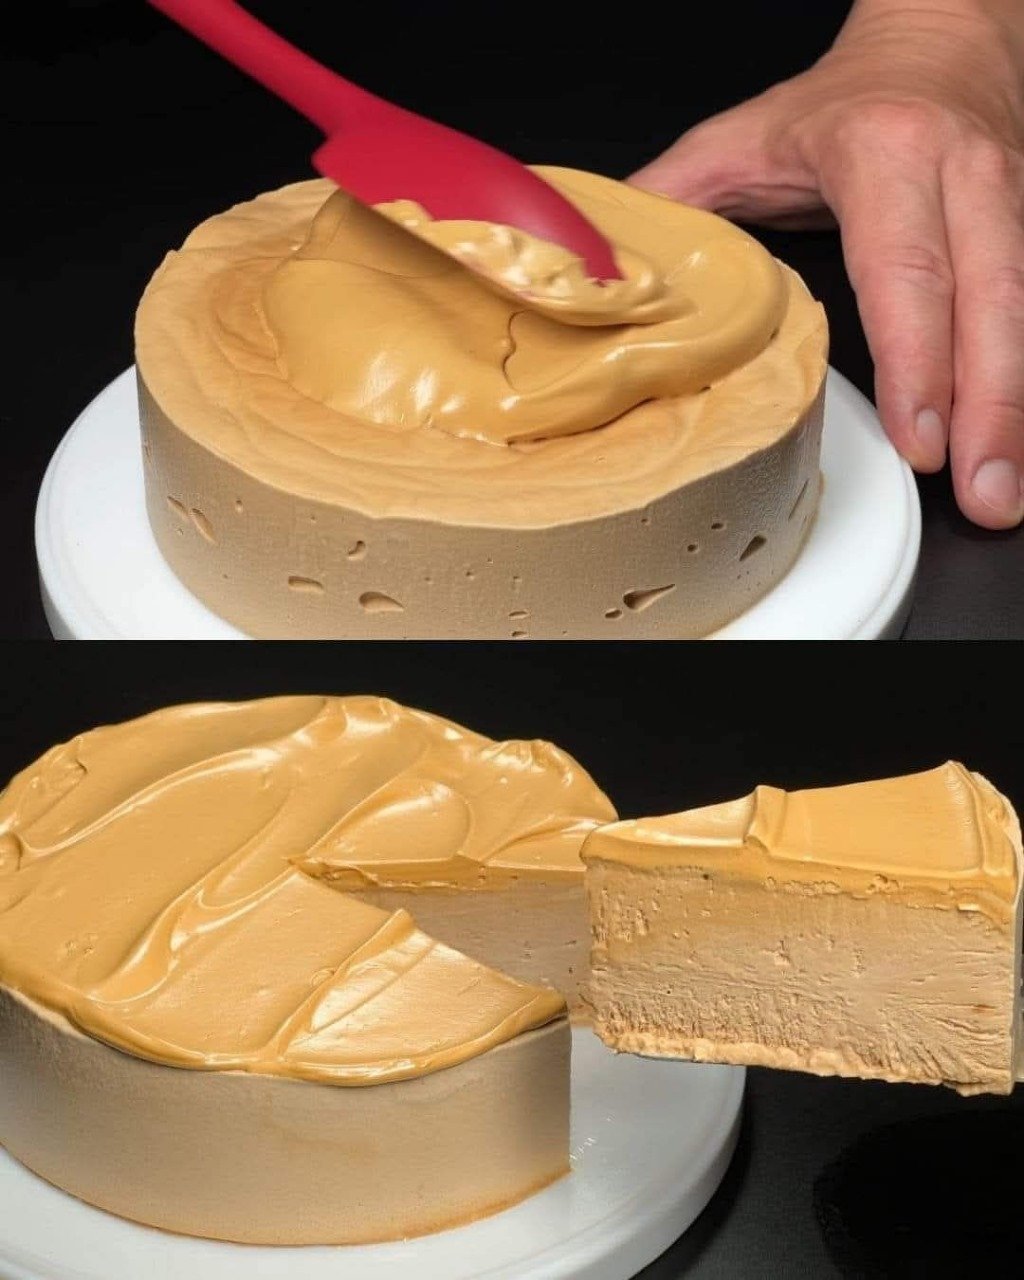
No-Bake Coffee Mousse Cake

No-Bake Coffee Mousse Cake

Yield: 1 round cake (8–10 slices)
Prep Time: 20 minutes
Chill Time: 4–6 hours

This dessert has a soft, creamy texture with a light coffee flavor. It sets beautifully in the refrigerator and can be sliced like a cake without baking.


🧾 Ingredients

For the Coffee Mousse

  • 2 cups heavy cream (cold)

  • 2 tablespoons instant coffee or espresso powder

  • 3 tablespoons hot water

  • ½ cup powdered sugar

  • 1 teaspoon vanilla extract

  • 2 teaspoons unflavored gelatin

  • 3 tablespoons warm milk


For the Base (optional, but recommended)

  • 150 g crushed biscuits (tea biscuits or digestive)

  • 5 tablespoons melted butter


👩‍🍳 Instructions

1. Prepare the Coffee

In a small bowl, dissolve the coffee in hot water.
Set aside to cool to room temperature.


2. Prepare the Base

Mix crushed biscuits with melted butter until evenly combined.
Press mixture firmly into the bottom of a lined cake ring or springform pan.
Refrigerate while preparing the mousse.


3. Activate the Gelatin

In a small bowl, mix gelatin with warm milk.
Stir gently until completely dissolved.
Let cool slightly (not hot).


4. Whip the Cream

In a large bowl, whip cold cream until soft peaks form.
Add powdered sugar and vanilla extract.
Continue whipping until smooth and fluffy.


5. Combine

Slowly pour the cooled coffee into the whipped cream while gently folding.
Add the dissolved gelatin and fold carefully until fully mixed.


6. Assemble

Pour the mousse over the chilled base.
Smooth the top with a spatula.


7. Chill

Refrigerate for at least 4–6 hours, or until fully set.


8. Serve

Carefully remove from the mold.
Slice with a warm knife for clean cuts.


🌟 Helpful Tips

  • Use cold cream for best volume.

  • Let coffee cool before mixing to avoid thinning the cream.

  • You can flavor with cocoa powder or caramel if desired.

  • Store in refrigerator up to 3 days.