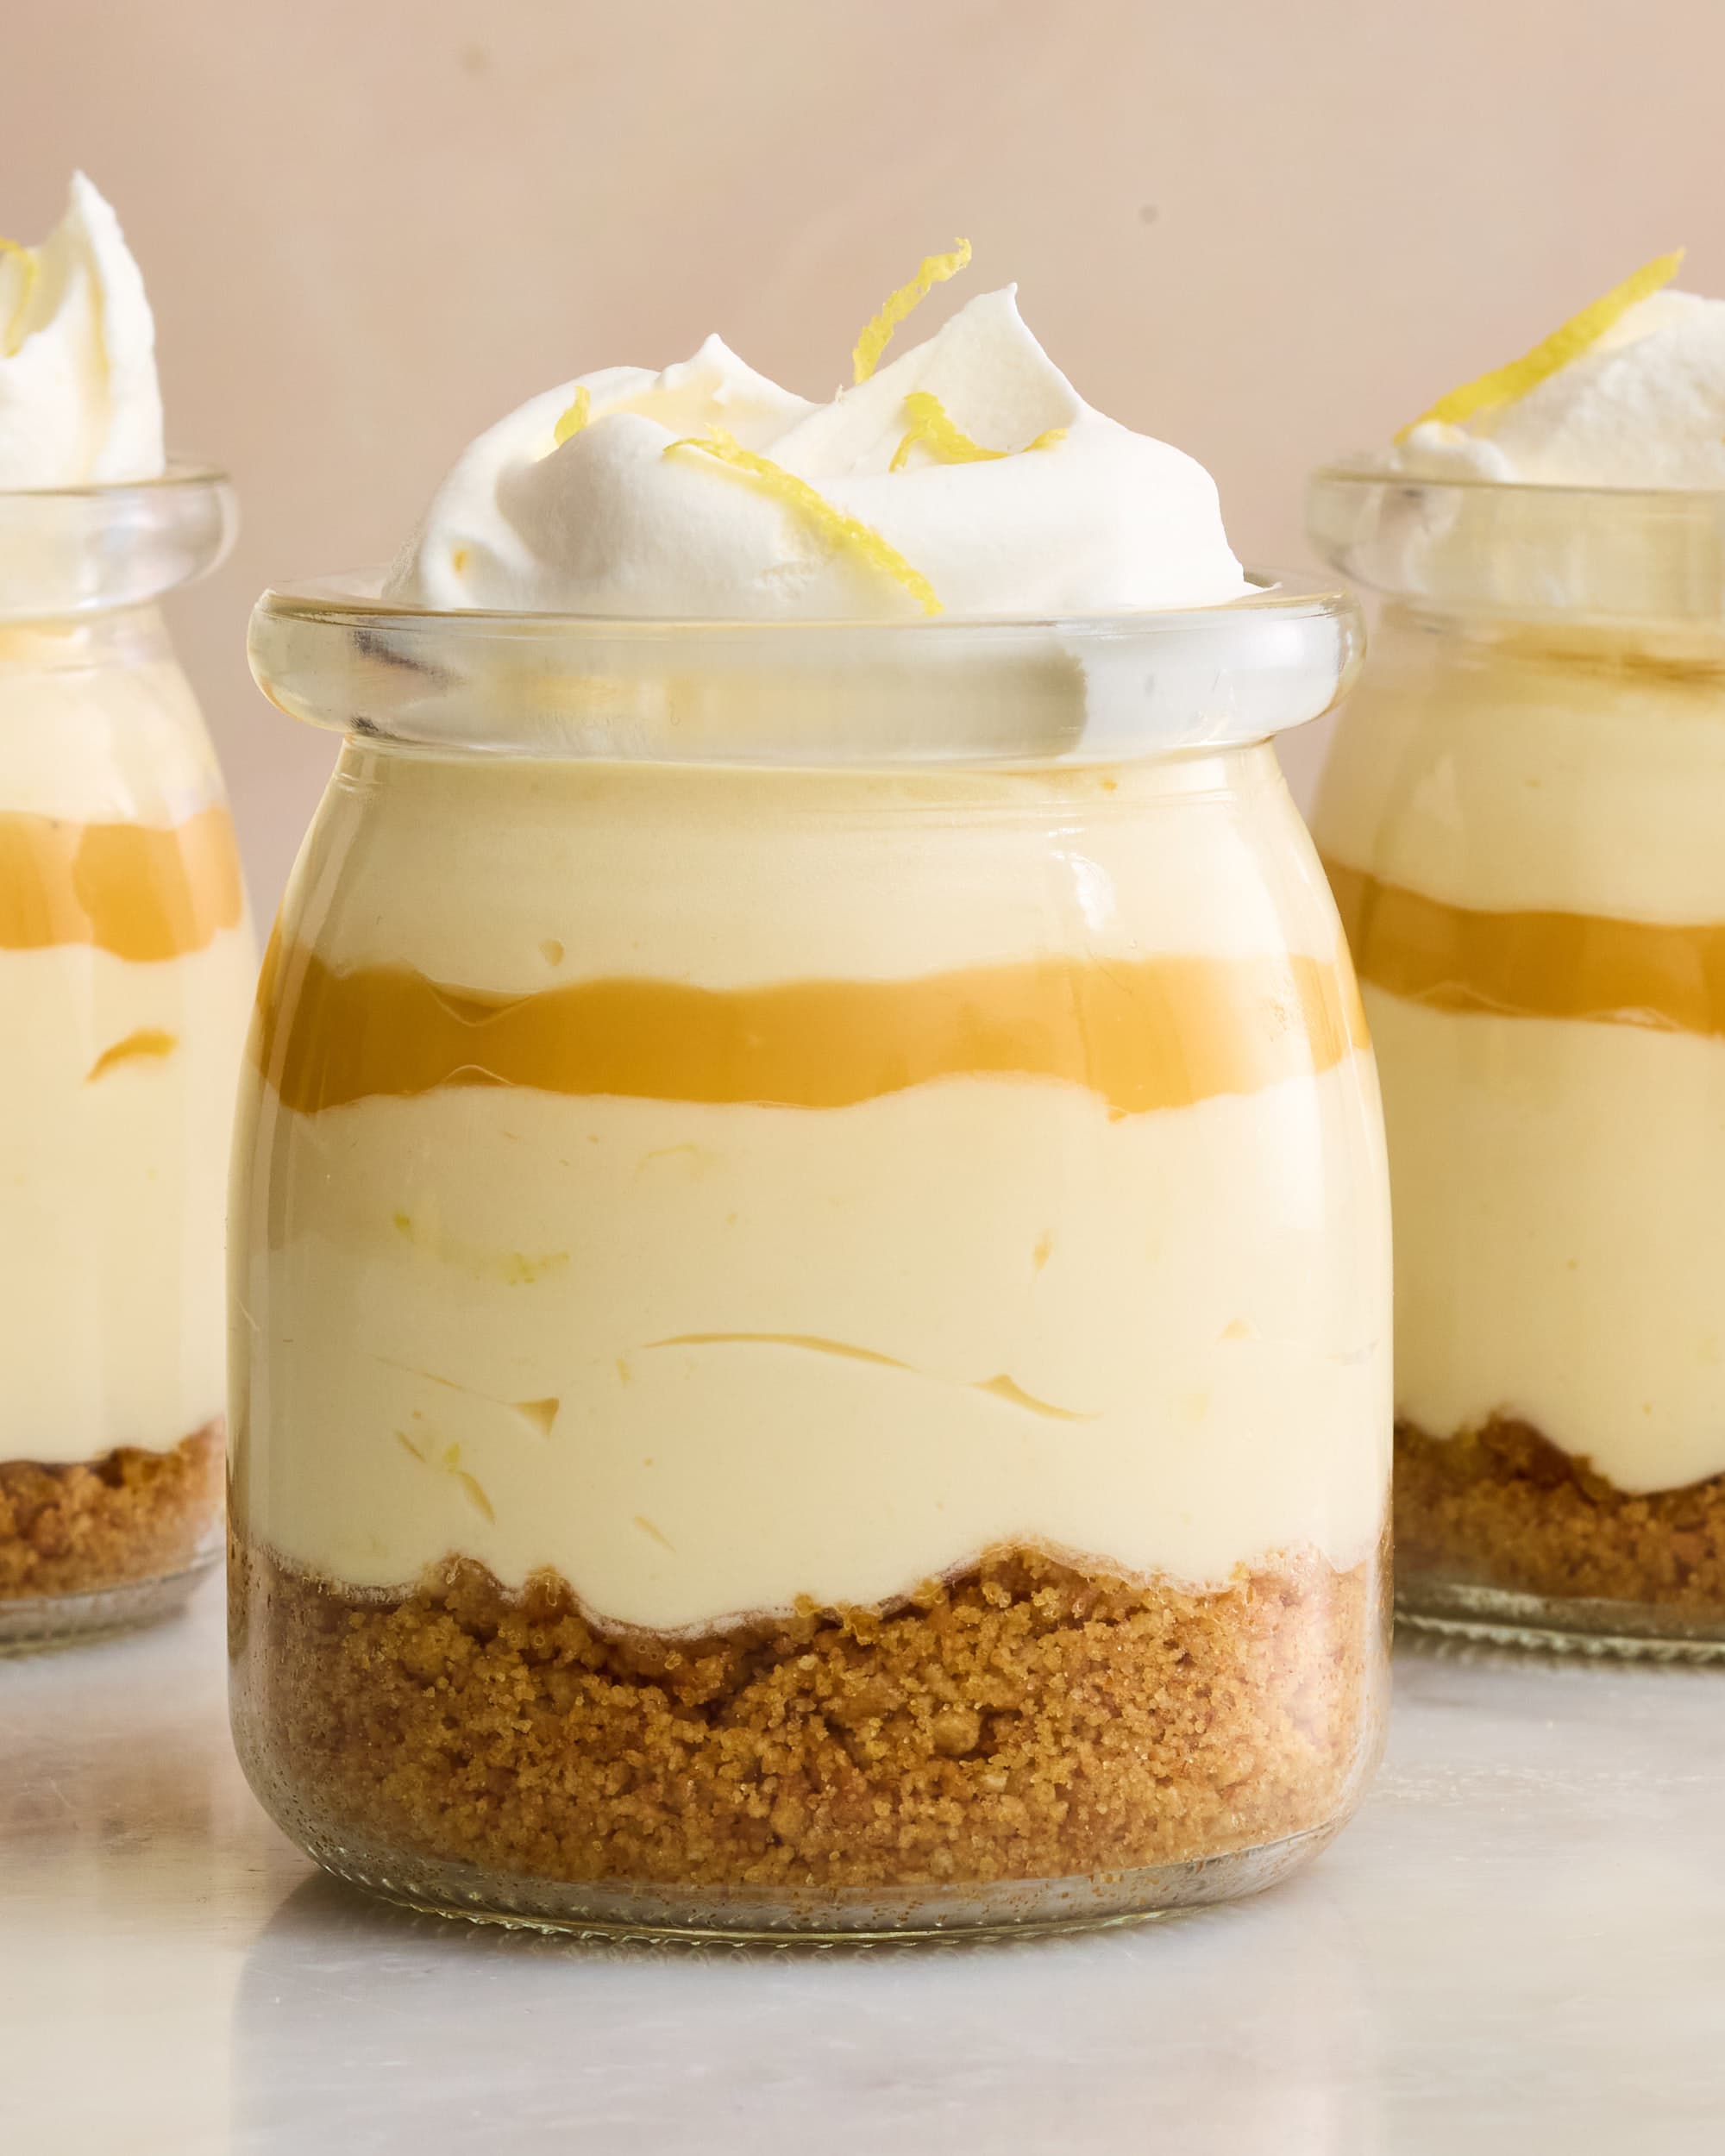
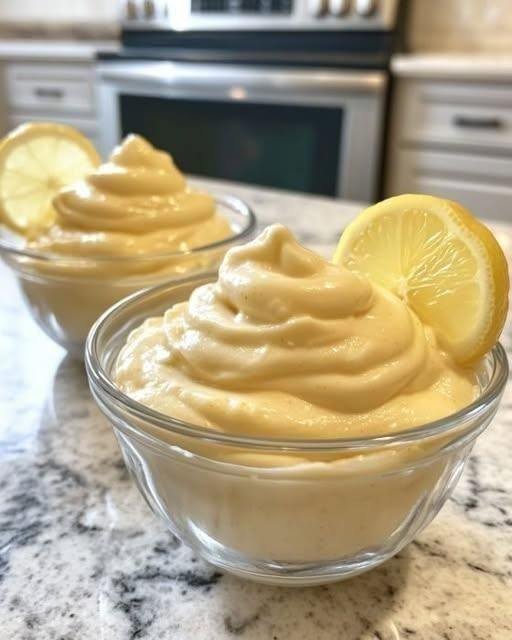
🍋 Easy 4-Ingredient Lemon Mousse

🍋 Easy 4-Ingredient Lemon Mousse

https://cdn.apartmenttherapy.info/image/upload/v1703198423/k/Photo/Recipes/2023-12-impossibly-creamy-lemony-mousse/impossibly-creamy-lemony-mousse-677.jpg
https://www.foodnetwork.com/content/dam/images/food/fullset/2014/2/27/0/BX0115H_Fresh-Lemon-Mousse_s4x3.jpg
https://cdn.apartmenttherapy.info/image/upload/f_jpg%2Cq_auto%3Aeco%2Cc_fill%2Cg_auto%2Cw_1500%2Car_1%3A1/k%2FPhoto%2FRecipes%2F2023-12-impossibly-creamy-lemony-mousse%2Fimpossibly-creamy-lemony-mousse-677
4

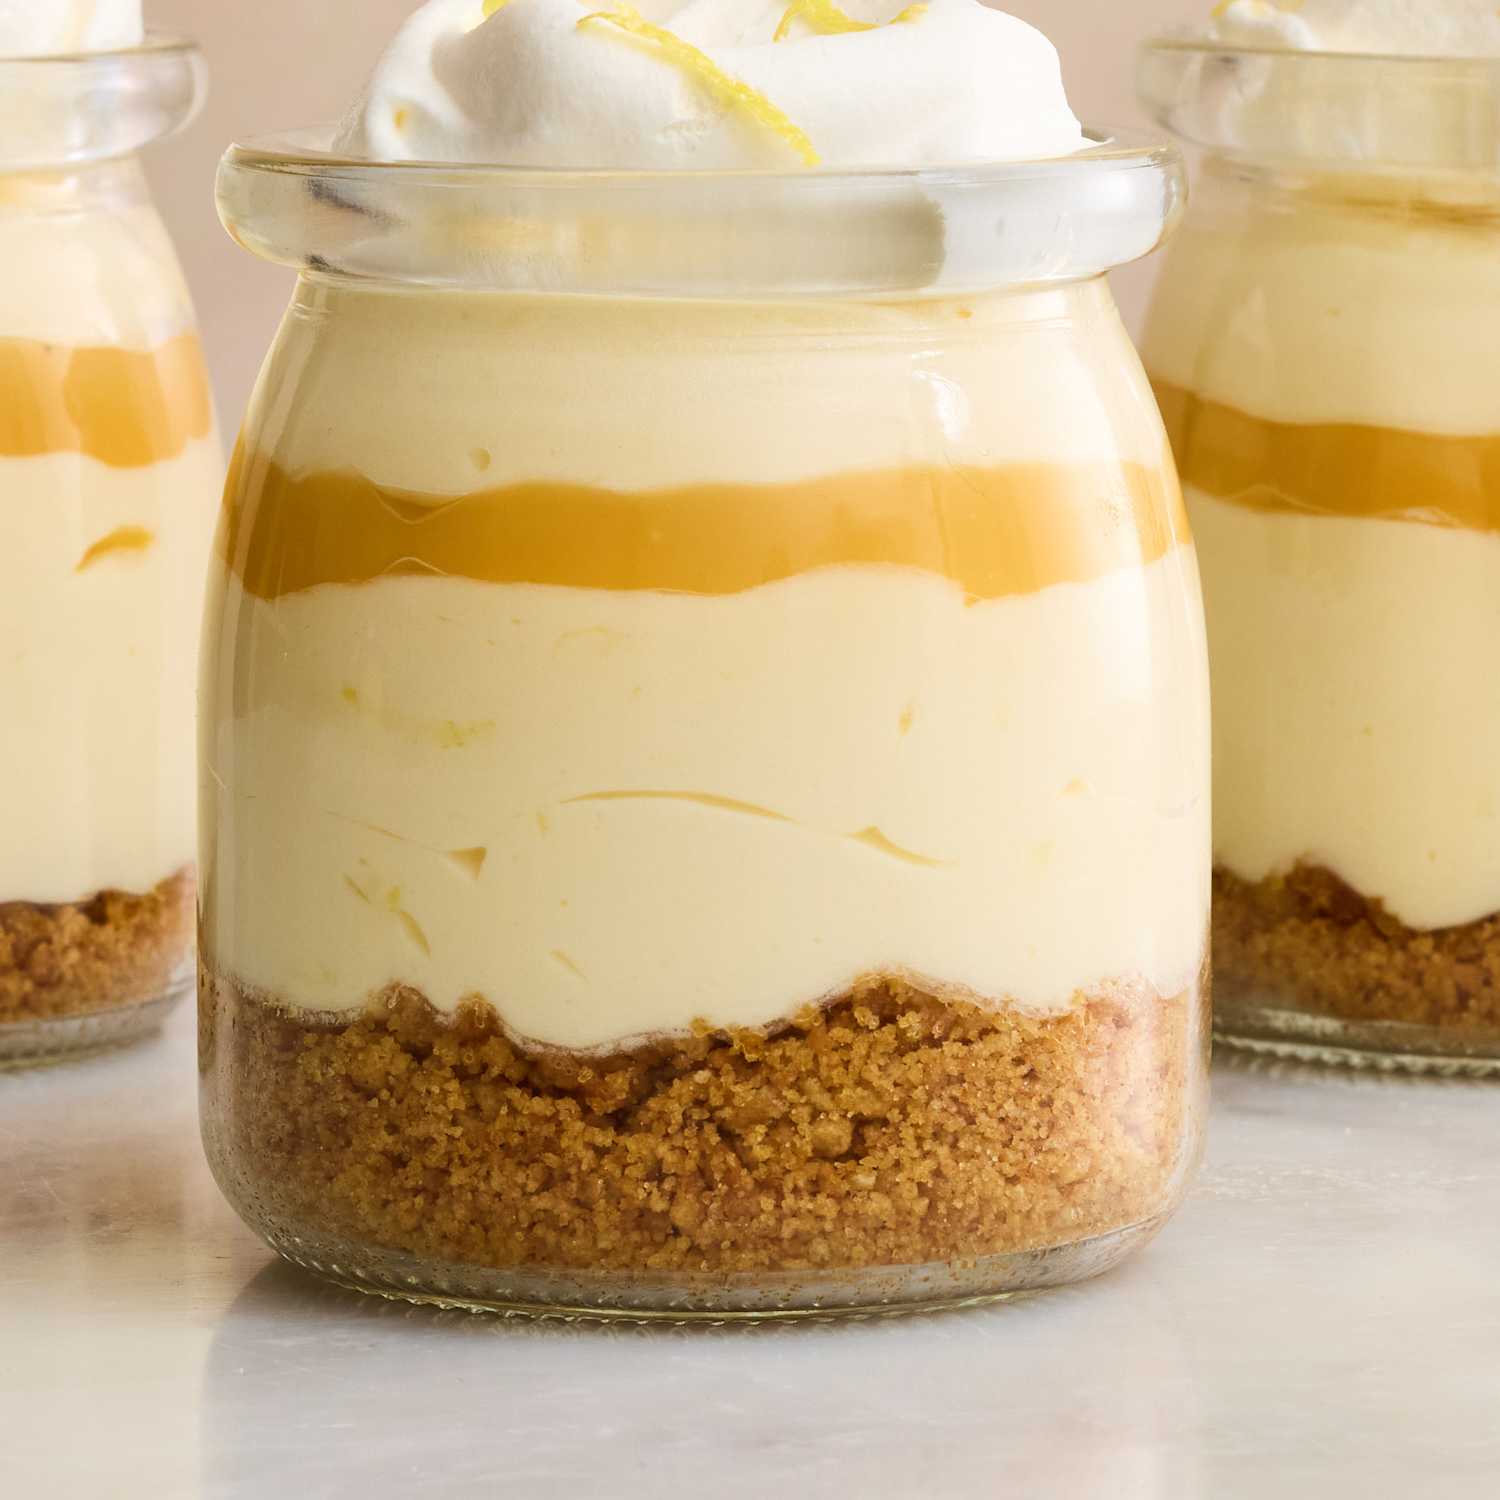
Light, creamy, and bursting with fresh lemon flavor — this simple mousse comes together in minutes with just four ingredients. It’s the perfect no-bake dessert for spring, summer, or whenever you’re craving something sweet and citrusy!


📝 Ingredients

  • 1 cup heavy whipping cream (cold)

  • ½ cup lemon curd (store-bought or homemade)

  • ¼ cup powdered sugar

  • 1 tsp vanilla extract

  • Optional: lemon slices or zest for garnish


👩‍🍳 Instructions

1️⃣ Whip the Cream

In a chilled bowl, beat the heavy whipping cream with an electric mixer until soft peaks form.

2️⃣ Sweeten It

Add powdered sugar and vanilla extract. Continue beating until stiff peaks form.

3️⃣ Fold in the Lemon

Gently fold in the lemon curd until fully incorporated.
Be careful not to overmix — you want to keep it light and fluffy.

4️⃣ Chill & Serve

Spoon into small bowls or dessert glasses.
Chill for at least 30 minutes before serving.

5️⃣ Garnish

Top with lemon zest, a thin lemon slice, or an extra dollop of whipped cream.


💡 Tips

  • For extra tang, add a squeeze of fresh lemon juice.

  • Want it lighter? Replace part of the cream with Greek yogurt.

  • Serve in mini dessert cups for parties or baby showers.

  • For a layered dessert, add crushed cookies or graham crackers at the bottom.

🍒 Heavenly Hash

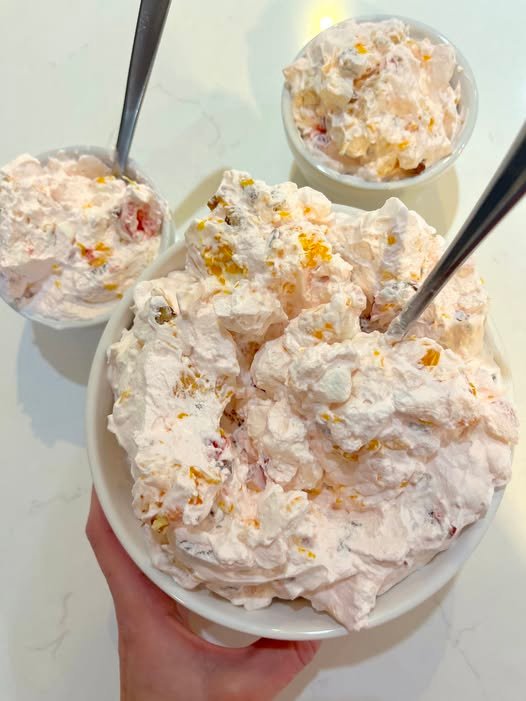
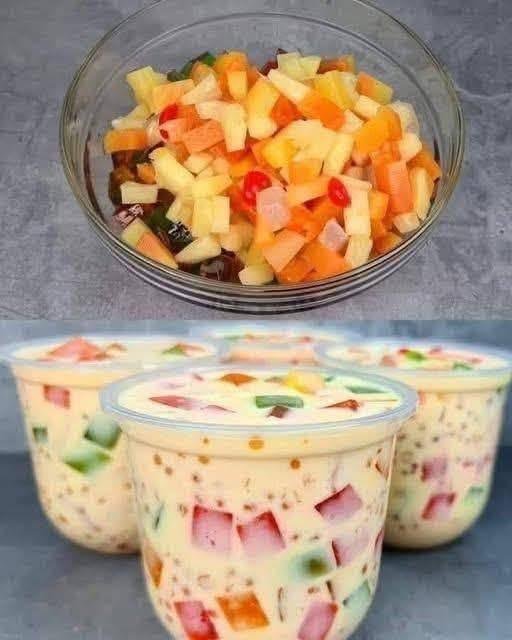
Heavenly Hash is one of those nostalgic, church-potluck classics that never really goes out of style. It’s light, fluffy, fruity, and just sweet enough — the kind of no-bake dessert that shows up at holidays, reunions, and summer gatherings.

What makes it special is the texture contrast:

  • Fluffy whipped topping

  • Juicy bursts of mandarin oranges and pineapple

  • Chewy mini marshmallows

  • Sweet pops of maraschino cherry

  • Crunchy pecans on top

And that soft pink tint? That comes from a splash of cherry juice mixed into the base.


📝 Yield

Serves 8
Prep time: 5 minutes
Chill before serving


🛒 Ingredients

  • 2 (8 oz) tubs whipped topping (thawed)

  • 1 (15 oz) can mandarin oranges, drained

  • 1 (14 oz) can pineapple chunks, drained

  • 1½ cups mini marshmallows

  • ½ cup whole red maraschino cherries, chopped

  • 2 tablespoons maraschino cherry juice (from the jar)

  • ¼ cup chopped pecans (for topping)


👩‍🍳 Instructions

  1. Soften the base
    Add whipped topping to a large bowl and gently stir to loosen it.

  2. Fold everything in
    Add oranges, pineapple, marshmallows, cherries, and cherry juice.
    Gently fold until just combined — don’t overmix. You want it light and fluffy.

  3. Top and chill
    Sprinkle chopped pecans on top right before serving.
    Chill at least 1–2 hours for best flavor and texture.


💡 Tips for the Best Heavenly Hash

  • Drain fruit very well to prevent it from becoming watery.

  • Fold gently — stirring too hard deflates the fluffiness.

  • Make it a few hours ahead; it actually tastes better after chilling.

  • Add pecans just before serving to keep them crunchy.

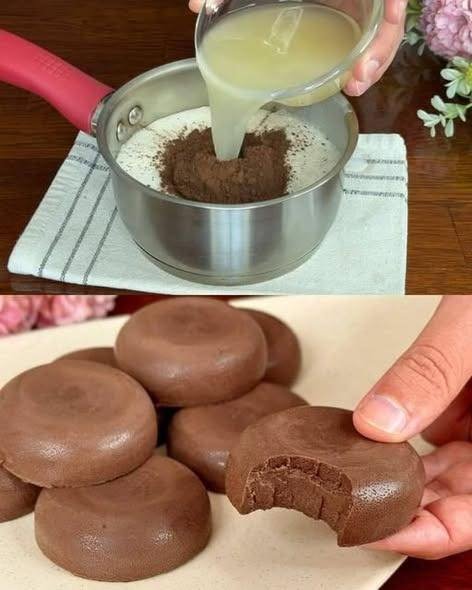
Chocolate Coconut Milk Jelly Recipe

Chocolate Coconut Milk Jelly Recipe

Ingredients:

    • 1 tablespoon agar-agar powder
      • 1 cup (240 ml) water
      • 1 ½ cups (360 ml) coconut milk
      • 1/3 cup (30 g) unsweetened cocoa powder

Directions:

        1. Prepare Agar-Agar:
          • In a medium saucepan, combine 1 tablespoon of agar-agar powder and 1 cup of water. Stir well to dissolve the agar-agar.
        1. Add Coconut Milk and Cocoa:
            • Once the agar-agar is dissolved, add 1 ½ cups of coconut milk and 1/3 cup of unsweetened cocoa powder to the saucepan. Stir until the cocoa powder is fully mixed.


      1. Boil the Mixture:
        • Place the saucepan over medium heat and bring the mixture to a boil, stirring frequently to prevent lumps. Allow the mixture to boil for about 2-3 minutes.
  1. Set the Jelly:
    • Remove the mixture from heat and pour it into a mold or serving cups. Let it cool to room temperature before refrigerating for 2 hours, or until fully set.
  2. Serve:
        • Once the jelly is set, cut into slices or serve directly from the molds. Enjoy chilled!


Serving Suggestions:

      • Serve with fresh fruit, such as berries or mango slices.
    • Drizzle with extra coconut milk or chocolate syrup for added indulgence.
    • Garnish with shredded coconut or chopped nuts for a crunchy texture.

Cooking Tips:

      • Stir the mixture constantly while heating to ensure the agar-agar dissolves evenly and the jelly sets properly.
      • For a creamier texture, you can substitute part of the water with more coconut milk.
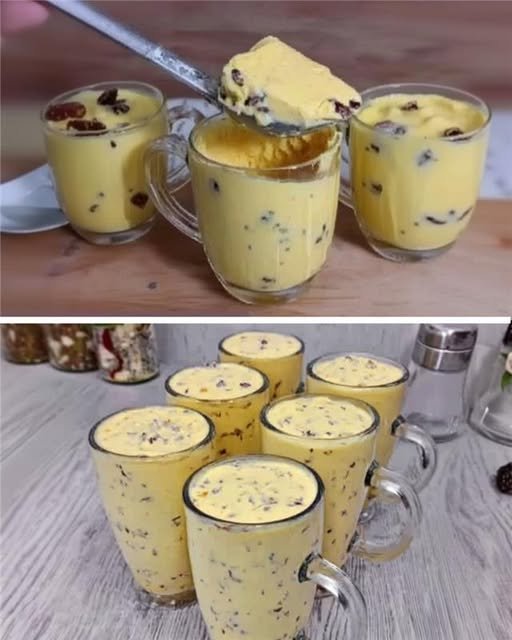
» MORE:  Whisked Milk with Raisins: A Delicious Treat to Share with Friends

Nutritional Benefits:

      • Agar-agar is a plant-based alternative to gelatin, rich in fiber and low in calories.
      • Coconut milk provides healthy fats and adds a rich, creamy flavor.
      • Cocoa powder is a good source of antioxidants and adds a deep chocolate flavor.

Dietary Information:

    • Vegan
    • Dairy-free
    • Gluten-free

Nutritional Facts (per serving, approx.):

    • Calories: 120
    • Carbohydrates: 9g
    • Protein: 1g
    • Fat: 9g
    • Fiber: 1g
    • Sugars: 2g

Storage:

  • Store the jelly in an airtight container in the refrigerator for up to 3-4 days.

Keto-Friendly Chocolate Mousse (Rich, Creamy & Sugar-Free)

Keto-Friendly Chocolate Mousse (Rich, Creamy & Sugar-Free)

Servings: 4
Prep Time: 10 minutes
Chill Time: 1 hour
Total Time: 1 hour 10 minutes
Diet: Keto, Low-Carb, Gluten-Free, Sugar-Free, WW Friendly


🍫 Introduction

Keto-Friendly Chocolate Mousse is a rich and creamy low-carb dessert made with simple ingredients and easy steps. This smooth and fluffy mousse delivers full chocolate flavor without added sugar or flour, making it a great option for low-carb lifestyles.

This recipe is quick to prepare and requires only a few basic ingredients. It works well for family desserts, special occasions, or whenever you want a chocolate treat that fits into your meal plan.

Traditional chocolate mousse usually contains sugar and high-carb ingredients. This version uses sugar-free chocolate, low-carb sweetener, and fresh cream to create a dessert that is light, smooth, and satisfying.

The texture is soft, airy, and creamy, giving it a classic mousse consistency. It looks elegant when served and tastes rich without being heavy.

One of the best features of this recipe is how flexible it is. You can adjust the sweetness, chocolate level, and toppings based on your preference.

This mousse stores well in the refrigerator, making it useful for preparing ahead of time. You can enjoy it over several days while keeping its creamy texture.

It is also a good dessert choice for guests, including those who are not following a low-carb plan. Many people enjoy it without realizing it is sugar-free.

For WW users, this dessert stays moderate in SmartPoints because the main ingredient is cream, while the sweetener and chocolate contain no added sugar.

The combination of fats and low carbohydrates helps keep the dessert filling and enjoyable as part of a balanced plan.


📝 Ingredients

Base Mousse

  • 1 cup heavy whipping cream

  • ½ cup sugar-free dark chocolate chips

  • 2 tablespoons powdered erythritol (or keto-approved sweetener)

Extra Chocolate Option

Choose one:

  • 1 tablespoon unsweetened cocoa powder
    OR

  • 2 tablespoons shaved sugar-free chocolate

Optional Toppings

  • Sugar-free whipped cream

  • Fresh berries

  • Mint leaves

  • Extra cocoa powder

  • Sugar-free chocolate curls


👩‍🍳 Instructions

Step 1: Melt the chocolate
Place the chocolate chips in a microwave-safe bowl. Heat in 20-second intervals, stirring each time, until smooth. Set aside to cool slightly.

Step 2: Whip the cream
Add the cream and powdered sweetener to a chilled bowl. Beat until stiff peaks form. Do not overmix.

Step 3: Mix in the chocolate
Slowly drizzle the melted chocolate into the whipped cream while mixing on low speed.

Step 4: Add extra chocolate flavor
Gently fold in cocoa powder or shaved chocolate.

Step 5: Chill the mousse
Divide into serving cups and refrigerate for 1 hour.

Step 6: Garnish and serve
Top with whipped cream, berries, mint, or chocolate curls before serving.


🍽 Serving Suggestions

Serve alone or with low-carb berries such as raspberries or blackberries.
It can also be used as a filling for keto crepes or low-carb cakes.


🧊 Storage

Store in an airtight container in the refrigerator for up to 4 days.
Freezing is not recommended because the texture may change.


📊 Nutrition (Per Serving – Approximate)

Calories: 210
Fat: 20g
Net Carbs: 4g
Fiber: 2g
Sugar: 0g
Protein: 3g
10-Minute Prep Creamy Berry Pastry

10-Minute Prep Creamy Berry Pastry

Flaky, Elegant, and Effortless

Ingredients

  • 1 sheet Puff Pastry: Thawed (usually takes about 20 minutes on the counter).

  • 4 oz Cream Cheese: Softened to room temperature.

  • 2 tbsp Greek Yogurt: For added creaminess and a protein boost.

  • 2 tbsp Honey or Maple Syrup: (Or a sugar-free sweetener of your choice).

  • 1/2 cup Fresh Berries: Raspberries, blueberries, or sliced strawberries.

  • 1 Egg: Beaten, for the egg wash.

  • 1/2 tsp Vanilla Extract: For a touch of warmth.

Instructions

  1. Heat it Up: Preheat your oven to 400°F (200°C) and line a baking sheet with parchment paper.

  2. The 2-Minute Filling: In a small bowl, whisk together the softened cream cheese, Greek yogurt, sweetener, and vanilla until smooth and creamy.

  3. Prepare the Pastry: Lay the puff pastry sheet onto the baking sheet. Use a knife to lightly score a 1-inch border all the way around (don’t cut through). Use a fork to poke several holes in the center area to keep it from rising too much.

  4. Assemble: Spread the cream cheese mixture inside the border you created. Top with your fresh berries, pressing them slightly into the cream.

  5. The Golden Edge: Brush the 1-inch border with the beaten egg wash. This ensures that beautiful, bakery-style golden crunch.

  6. Bake: Slide it into the oven for 15–20 minutes until the edges are high and golden brown.

  7. Serve: Let it sit for 5 minutes. This is great served warm, but it holds up beautifully if you’re taking it to a dinner party later.


Why this works for your lifestyle:

  • Speed: The 10-minute prep means you can whip this up even on a weeknight without stress.

  • Balance: Using a mix of cream cheese and Greek yogurt keeps the filling light and satisfying.

  • Real Food: By using fresh fruit and natural sweeteners, you are avoiding the processed additives found in store-bought desserts.

Creamy Apple Custard Bake

3-Ingredient Base: Creamy Apple Custard Bake

Light, Airy, and Naturally Sweet

Ingredients

  • 3 Medium Sweet Apples: (Gala or Honeycrisp work best) peeled, cored, and thinly sliced.

  • 3 Large Eggs: At room temperature.

  • 1 Glass (approx. 200ml) Milk: You can use dairy, almond, or oat milk.

  • Optional for extra flavor: 1 tsp Vanilla extract or a pinch of cinnamon.

  • Optional for texture: 1/2 cup flour (if you want it more like a cake) or leave it out for a pure custard texture.

Instructions

  1. Prep the Oven: Preheat your oven to 350°F (175°C). Grease a small baking dish or a 7-inch round pan with a little butter or coconut oil.

  2. Prepare the Apples: Arrange your thinly sliced apples in the bottom of the prepared baking dish. You can layer them in a spiral for a beautiful look.

  3. Create the Custard: In a blender or a medium bowl, whisk together the 3 eggs and the glass of milk (plus vanilla if using) until the mixture is frothy and pale.

  4. The Pour: Slowly pour the egg and milk mixture over the apples. Ensure the liquid settles between the slices so every piece of apple is “cradled” by the custard.

  5. Bake: Place in the oven and bake for 30–35 minutes. You are looking for the custard to be set (it shouldn’t jiggle too much in the middle) and the edges to be a light golden brown.

  6. Cool and Set: Let it cool for at least 15 minutes. As it cools, the custard firms up, creating that creamy, melt-in-your-mouth experience.

  7. Serving: This is delicious warm, but it’s even better cold from the fridge the next morning!


Why this works for your progress:

  • Hydration & Volume: The high water content in the apples and milk makes this a high-volume snack that feels very filling for relatively few calories.

  • Protein Boost: With 3 eggs, you’re getting a good dose of protein to help keep your energy stable.

  • Clean Eating: By avoiding processed flours and sugars, you’re sticking to the habits that helped you lose those 15 kg!