🍦 Creamy “Tang” Popsicles

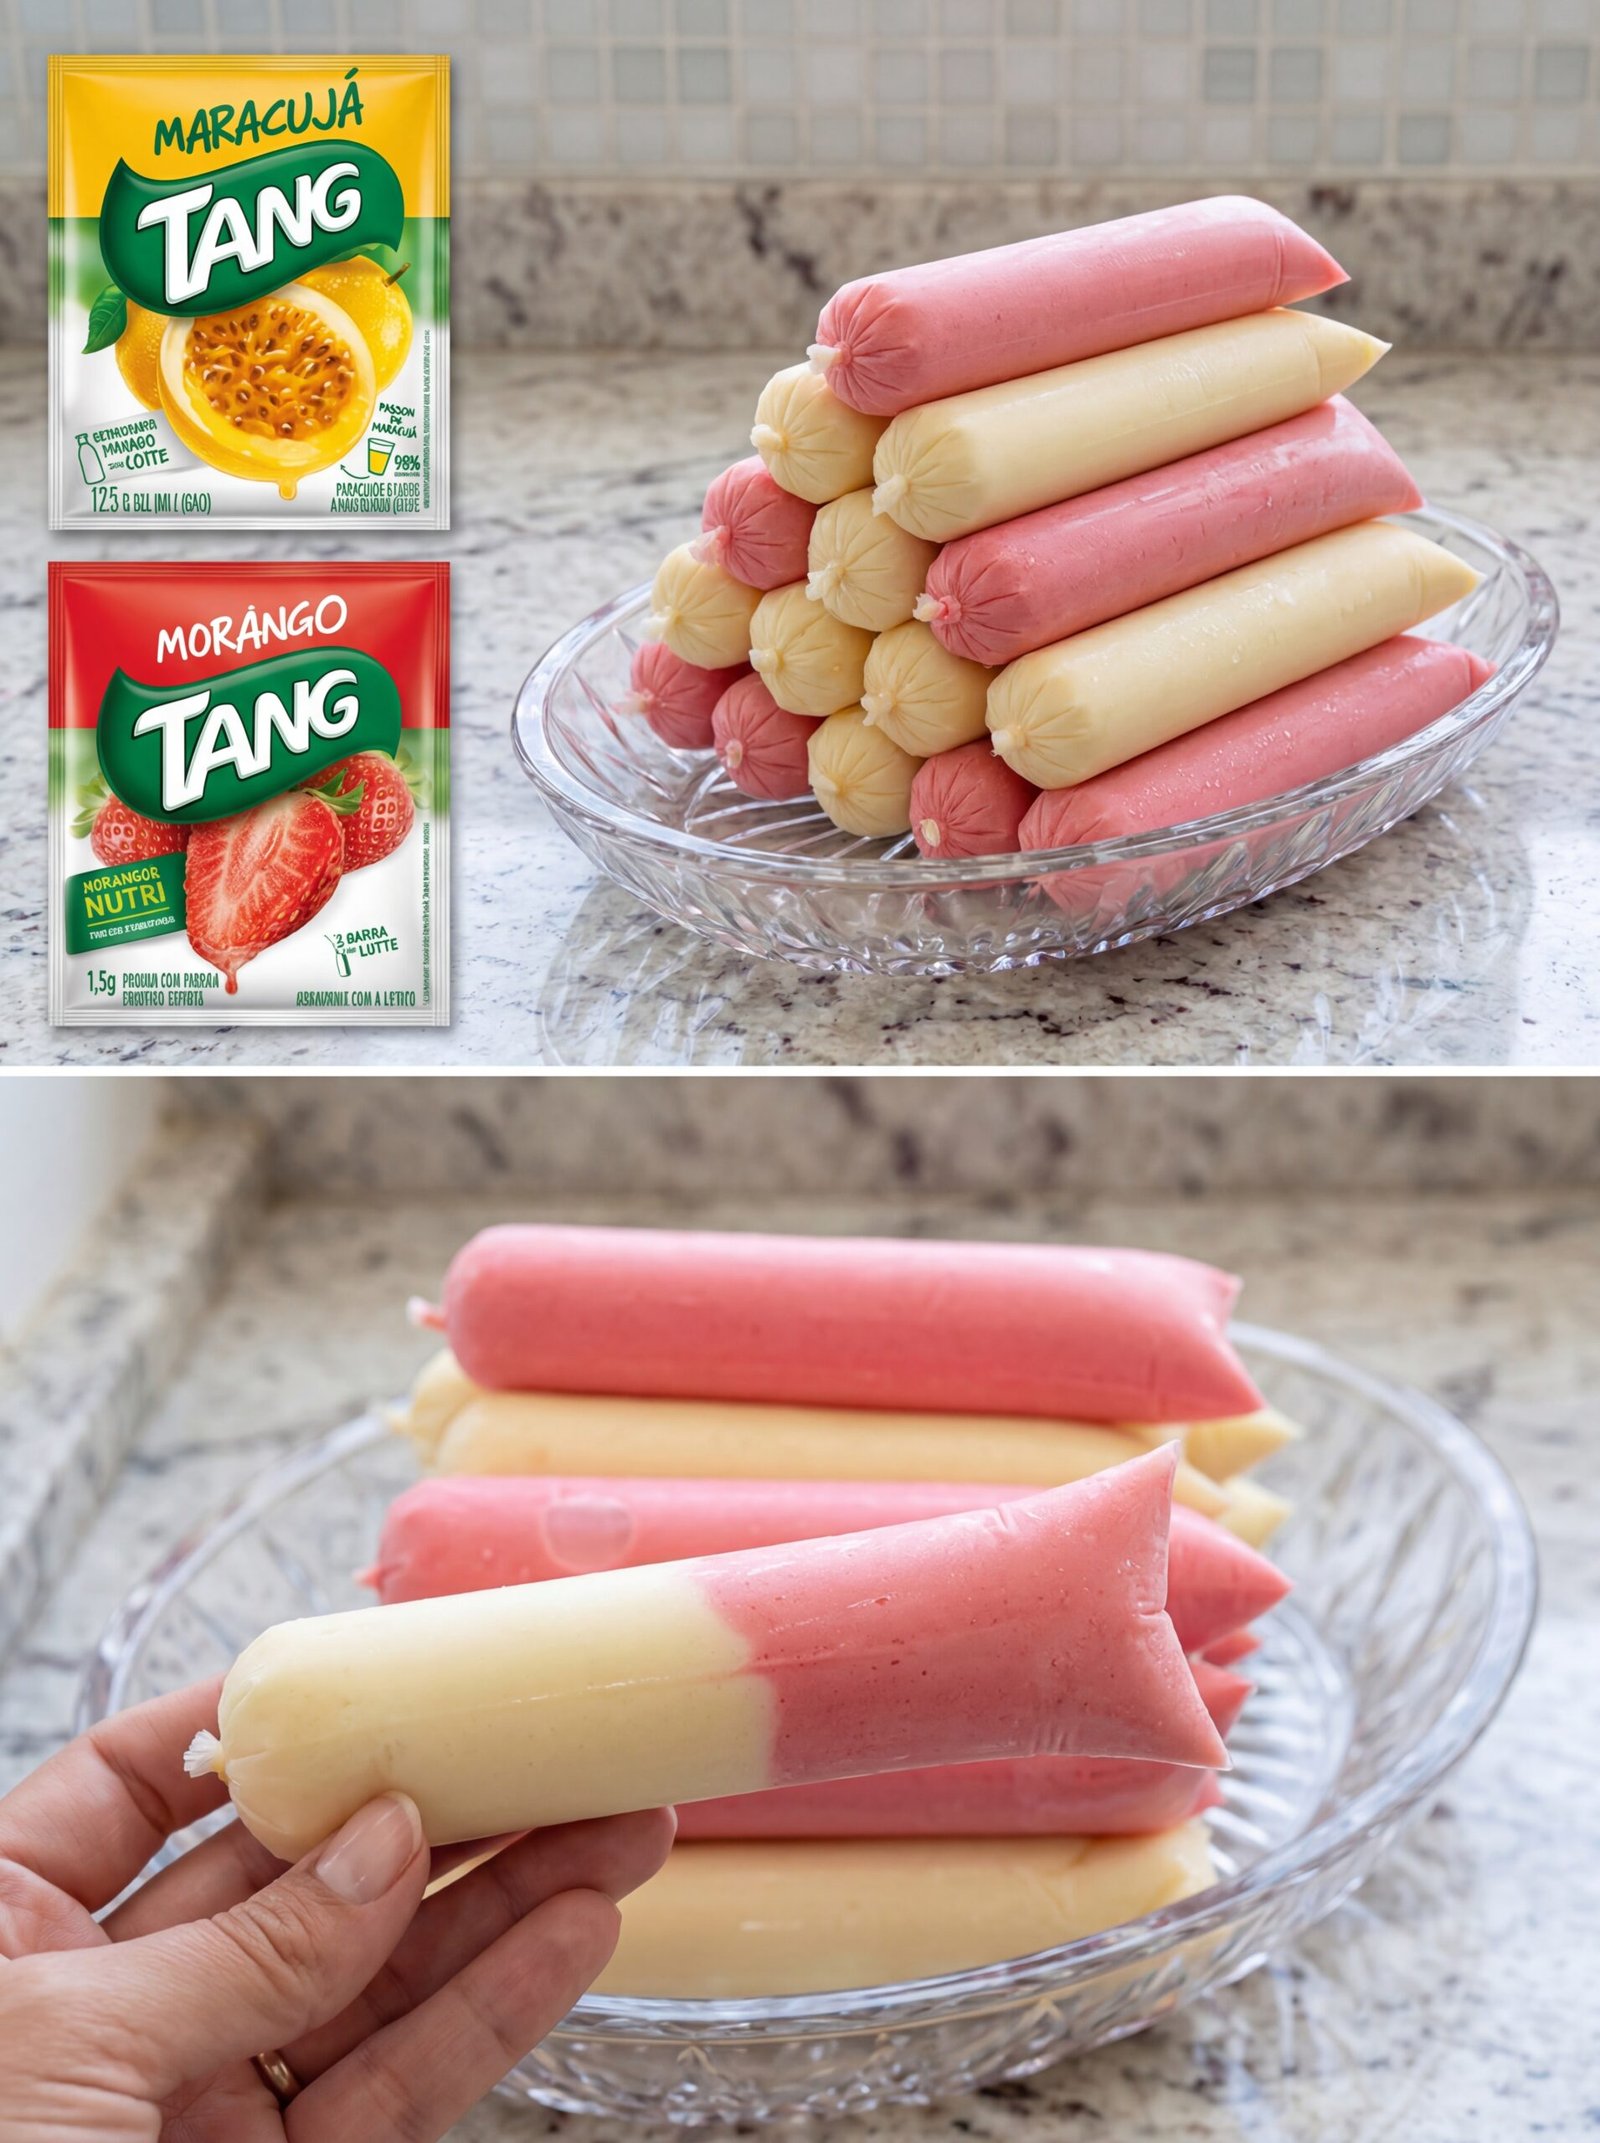
🍦 Creamy “Tang” Popsicles

🍦 Creamy “Tang” Popsicles

Effortless, refreshing, and budget-friendly.

Ingredients Checklist

Ingredient Amount Note
Whole Milk 1 Liter (33.8 fl oz) Must be very cold
Tang Powder 1 Packet Any flavor (Passion fruit is a fan favorite!)
Heavy Cream 200ml (6.7 fl oz) Adds that “velvet” mouthfeel
Stabilizer 1 Tablespoon Also known as “Neutral Base”
Sugar 5 Tablespoons Optional, adjust to your sweet tooth

Step-by-Step Preparation

  1. The Mix: In a large bowl, combine the cold milk, juice powder, heavy cream, sugar, and stabilizer.

  2. The Emulsion: Whisk vigorously by hand or use a hand mixer. If you want it extra airy, pulse in a blender for 2 minutes.

  3. The Packaging: Use a funnel to pour the liquid into popsicle bags. Be sure to leave about an inch of space at the top so you can tie a secure knot.

  4. The Freeze: Lay them flat in the freezer for at least 6 hours. For the best texture, overnight is ideal.


Pro-Tips for Success

  • Prevent Ice Crystals: That stabilizer (neutral base) is the secret ingredient. It stops the milk from turning into a block of ice and keeps it “bitable” and creamy.

  • The “Luxury” Version: If you want these to taste like premium gelato, swap 200ml of the milk for powdered milk (like Nido). It boosts the protein and fat content for a richer finish.

  • Flavor Pairing: Try “Strawberry Tang” and add a teaspoon of strawberry jam into the bag before pouring the liquid for a marbled effect.
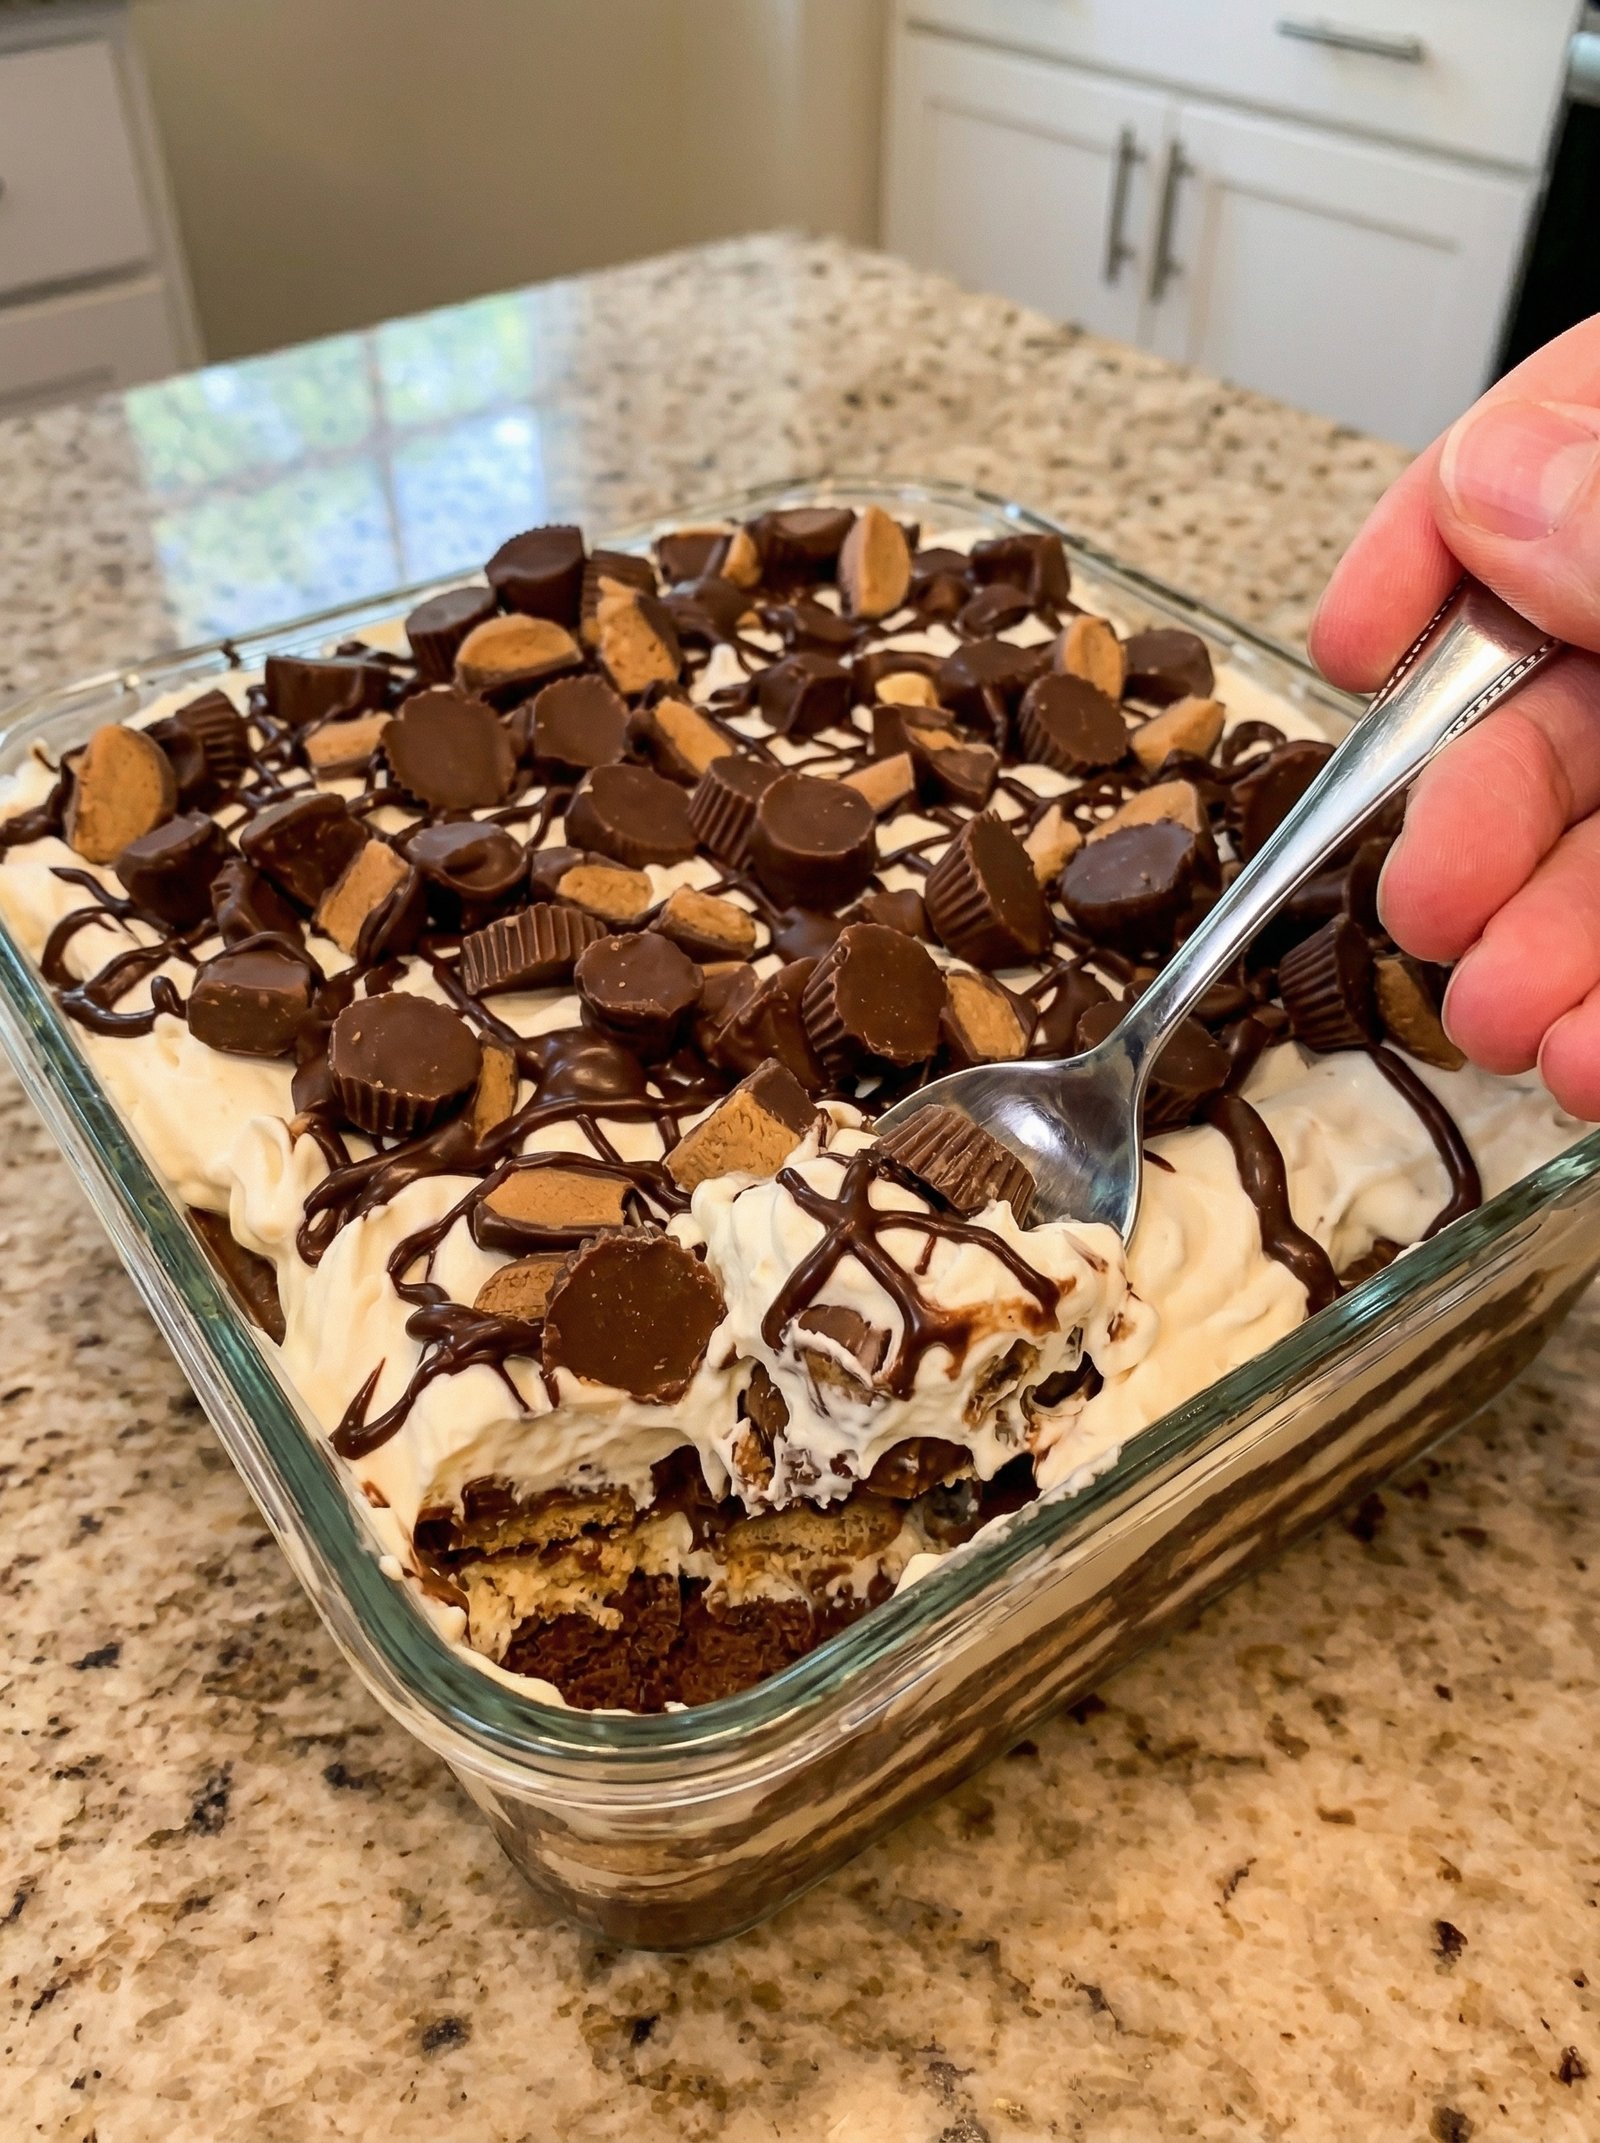
Peanut Butter Cup Dessert Lasagna 🍰


Peanut Butter Cup Dessert Lasagna 🍰

  • Prep time: 30 minutes ⏱️

  • Chilling time: 4 hours (minimum) ❄️

  • Servings: 12–15 👥

  • Difficulty: Easy (No-Bake!) ✨


Ingredients List 🛒

  • Chocolate Sandwich Cookies: 1 package (approx. 36 cookies) — For the crunchy base. 🍪

  • Melted Butter: 6 tablespoons — To bind the crust. 🧈

  • Cream Cheese: 8 oz package — Softened to room temperature. 🧀

  • Peanut Butter: 1 cup — Creamy works best for a smooth texture. 🥜

  • Powdered Sugar: 1 cup — To sweeten the peanut butter layer. 🍬

  • Milk: 2 tablespoons — To thin the peanut butter mixture slightly. 🥛

  • Whipped Topping: 1 container (12 oz) — Thawed (divided into two parts). ☁️

  • Instant Chocolate Pudding: 2 boxes (3.9 oz each). 🍫

  • Cold Milk: 3 cups — For the chocolate pudding layer. 🥛

  • Mini Peanut Butter Cups: 1.5 cups — Chopped or halved for the topping. 🍬

  • Chocolate Syrup: For drizzling. 🍯


Step-by-Step Instructions 👩‍🍳

  1. The Cookie Base 🍪

    • Crush the chocolate sandwich cookies into fine crumbs using a food processor or a rolling pin in a zip-top bag. ➡️ Mix the crumbs with melted butter until they look like wet sand. ➡️ Press the mixture firmly into the bottom of a 9×13 inch glass baking dish. ➡️ Place in the freezer for 10 minutes to set.

  2. The Creamy Peanut Butter Layer 🥜

    • In a large bowl, beat the softened cream cheese, peanut butter, powdered sugar, and 2 tablespoons of milk until completely smooth. ➡️ Gently fold in half of the whipped topping (about 1.5 cups). ➡️ Spread this mixture evenly over the chilled cookie crust.

  3. The Rich Chocolate Layer 🍫

    • In a separate bowl, whisk together both boxes of instant chocolate pudding and the 3 cups of cold milk for about 2 minutes until it starts to thicken. ➡️ Spread the pudding carefully over the peanut butter layer. ➡️ Let it sit for 5 minutes to firm up completely.

  4. The Fluffy Topping ☁️

    • Spread the remaining whipped topping over the chocolate pudding layer, smoothing it out to the edges of the dish.

  5. The Garnish 🍬

    • Sprinkle the chopped mini peanut butter cups generously over the top. ➡️ Drizzle with chocolate syrup in a zigzag pattern for that professional look.

  6. The Chill Phase ❄️

    • Cover the dish and refrigerate for at least 4 hours, or ideally overnight. ➡️ This is crucial so the layers can set and be sliced cleanly.


Q/A Section ❓

Q: Can I use homemade whipped cream instead of store-bought whipped topping? A: ➡️ Yes! Use about 3-4 cups of heavy cream whipped with a little sugar until stiff peaks form. Note that the dessert may be slightly softer than the original version.

Q: Can I make this a lower-carb version? A: ➡️ You can swap the cookies for a nut-based crust, use sugar-free pudding mixes, and use a sugar-free whipped topping and sweetener. It still tastes delicious!

Q: What is the best way to slice this cleanly? A: ➡️ Use a sharp knife and wipe it clean with a damp paper towel between every single cut. This keeps the layers looking distinct and beautiful.

Q: How long will it stay fresh? A: ➡️ You can keep this in the refrigerator for up to 3–4 days. Keep it covered so it doesn’t absorb other fridge scents.


Pro-Tips 💡

  • Room Temperature Cheese: ➡️ Make sure your cream cheese is truly soft before mixing, or you will end up with small lumps in your peanut butter layer.

  • Cold Milk for Pudding: ➡️ Always use very cold milk for instant pudding to ensure it sets quickly and firmly.

  • Freeze for Quick Slicing: ➡️ If you are in a rush, pop the dessert in the freezer for 30 minutes before serving to get those perfect, clean squares.

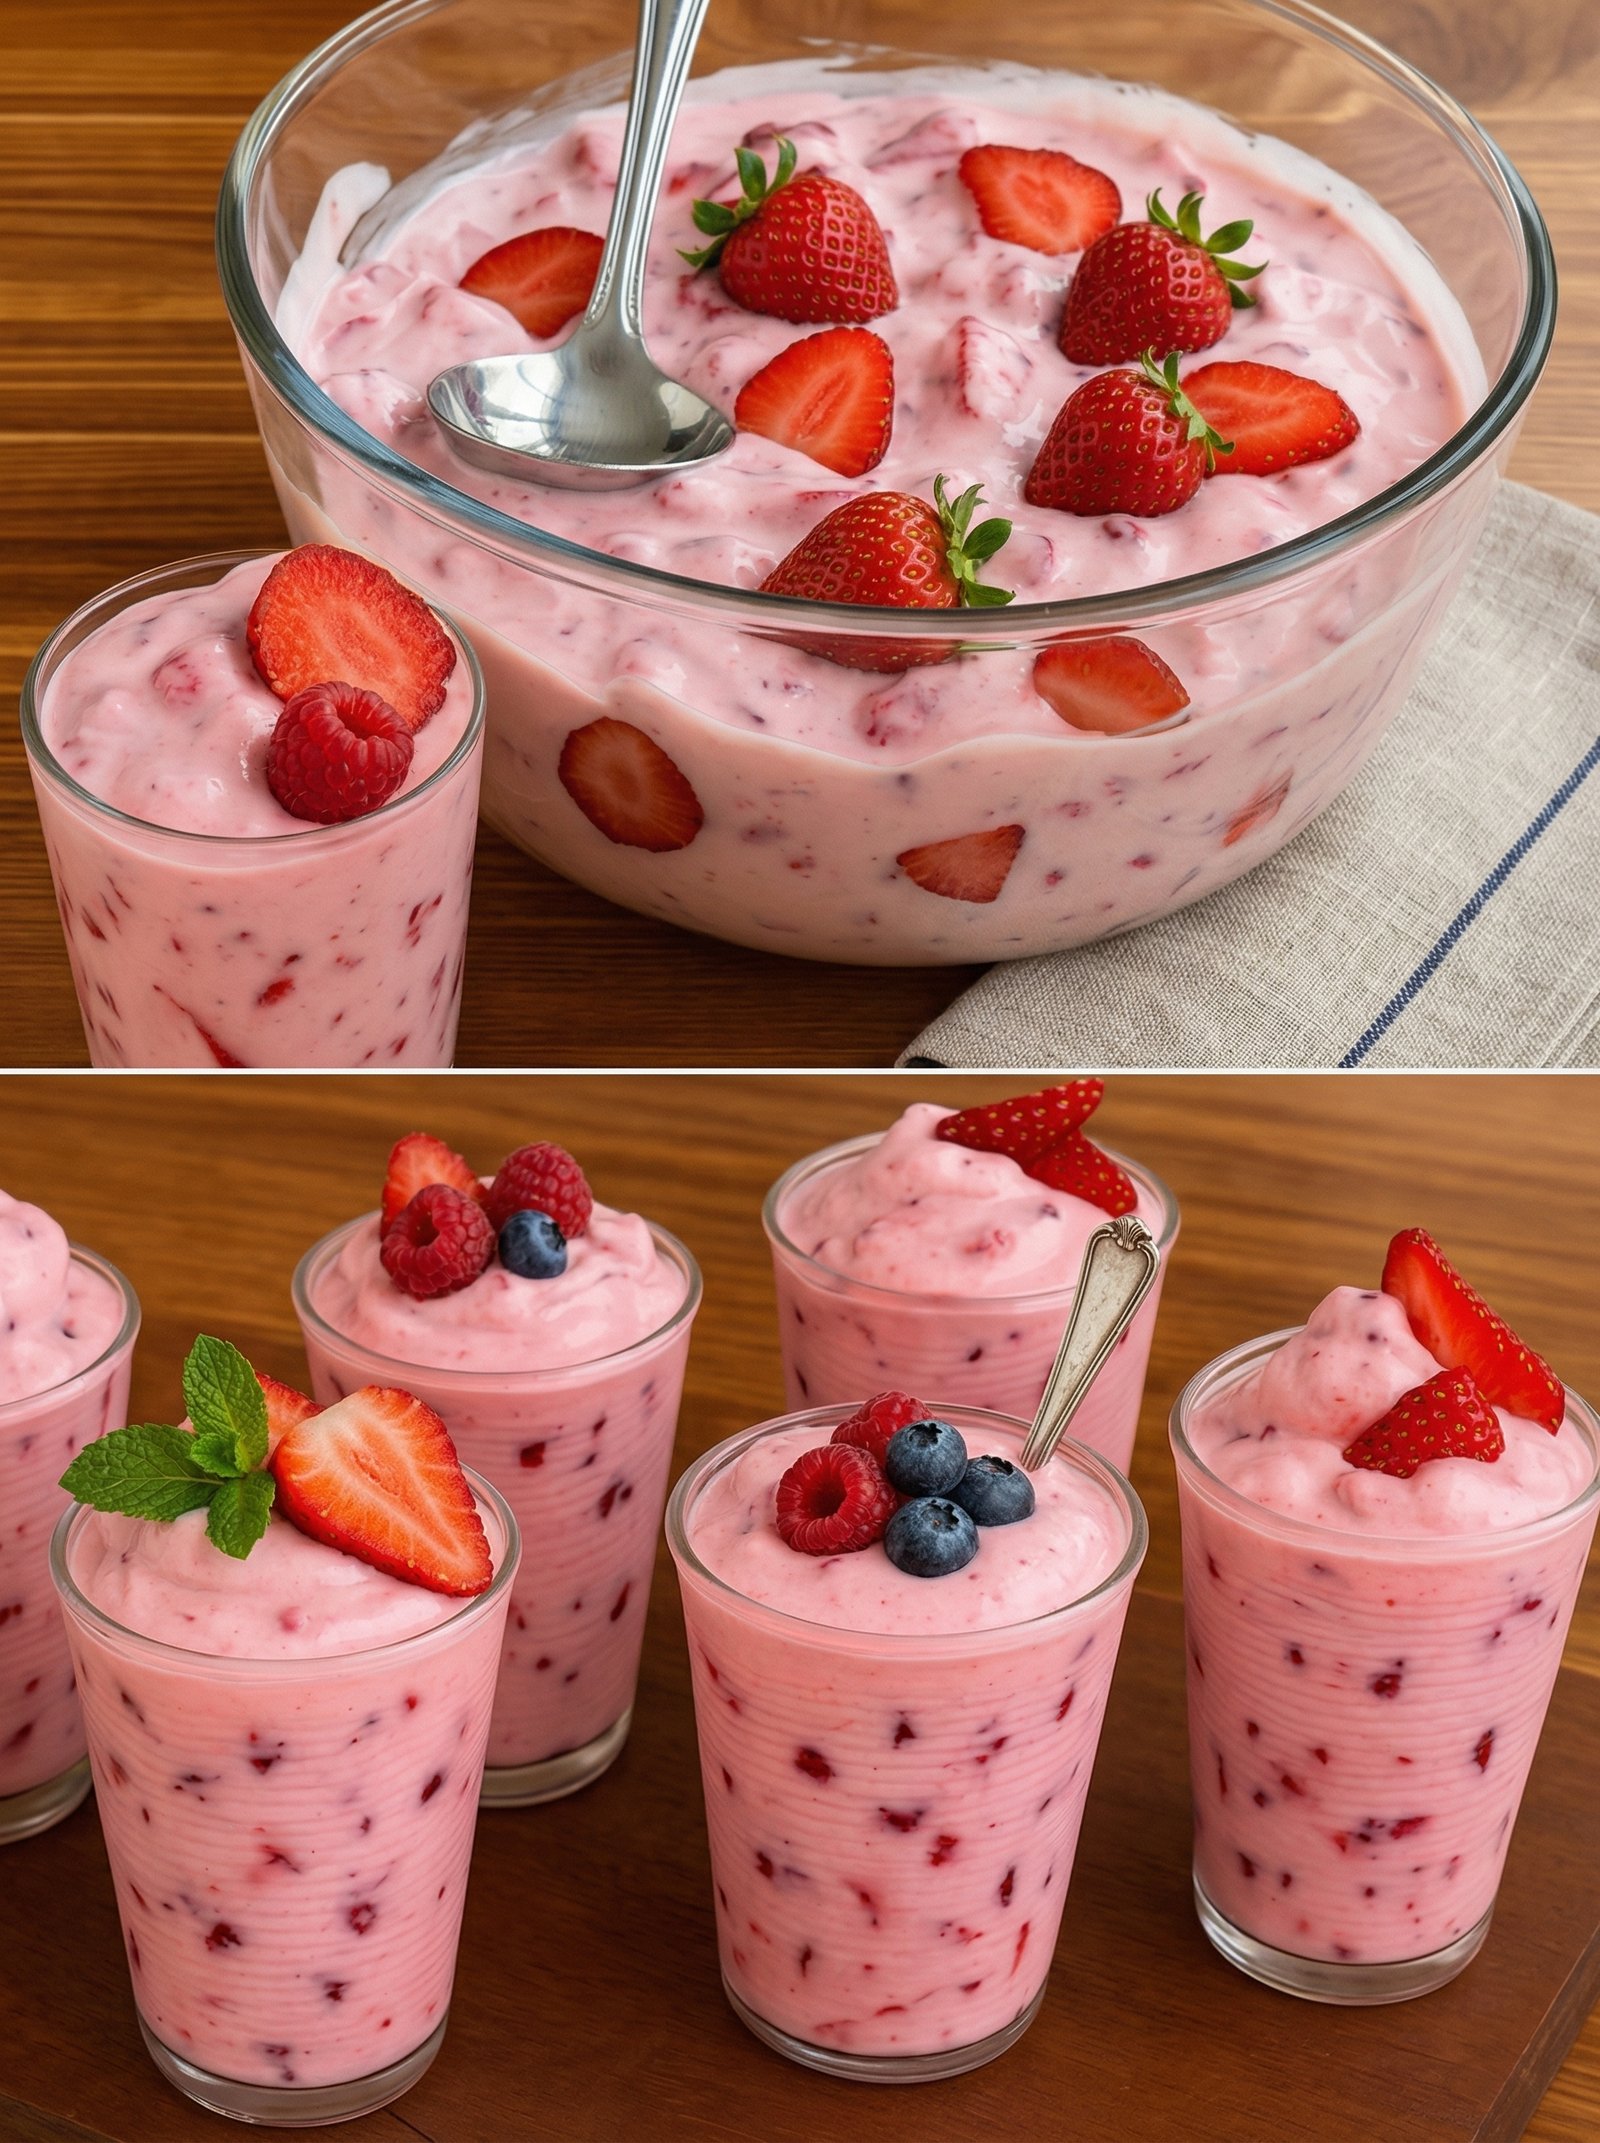
Creamy Berry Whipped Delight

Creamy Berry Whipped Delight 🍓🍨

This light and airy dessert is a celebration of fresh berries. It has a soft, mousse-like texture that is incredibly refreshing. Whether served in a large family-style bowl or individual glasses, it is a beautiful treat for any occasion.


🛒 Ingredients

  • Fresh Strawberries: 2 cups (hulled and chopped) 🍓

  • Mixed Berries: 1 cup raspberries and blueberries (optional) 🫐

  • Heavy Whipping Cream: 2 cups (chilled) 🥛

  • Greek Yogurt: 1 cup (Vanilla or Plain) 🍦

  • Sweetener: 3–4 tbsp honey, maple syrup, or powdered sugar (adjust to taste) 🍯

  • Vanilla Extract: 1 tsp 🥥

  • Fresh Mint: For garnish 🌿


👩‍🍳 Instructions

  1. Prep the Berries ➡️ Wash all berries and pat them dry. Take 1 cup of the strawberries and mash them with a fork or pulse them in a blender to create a chunky puree. Slice the remaining berries for folding in. 🍓🥣

  2. Whip the Cream ➡️ In a large chilled bowl, pour in the heavy whipping cream and vanilla extract. Use an electric mixer to beat until stiff peaks form. ➡️🥛☁️

  3. Fold in the Base ➡️ In a separate bowl, whisk together the Greek yogurt and your choice of sweetener until smooth. Gently fold the yogurt mixture into the whipped cream using a spatula. 🥣⚖️

  4. Add the Fruit ➡️ Slowly fold in the strawberry puree and the sliced fresh berries. Be careful not to over-mix so the cream stays fluffy and you get beautiful pink swirls. 🍓🌀

  5. Chill ➡️ Transfer the mixture into serving glasses or a large glass bowl. Place in the refrigerator for at least 1 hour to set and allow the flavors to combine. ❄️⏳

  6. Garnish and Serve ➡️ Just before serving, top with extra fresh berries and a sprig of fresh mint. 🍨✨


❓ Q&A Section

Q: Can I make this a low-fat version? A: ➡️ You can use a light whipped topping instead of heavy cream and fat-free Greek yogurt. However, the texture will be slightly less stable and more airy than the original recipe. 🍦📉

Q: Why did my whipped cream turn runny? A: ➡️ This usually happens if the cream wasn’t cold enough or if it was over-mixed after the yogurt and berries were added. Always keep your cream in the fridge until the very second you use it! ❄️🥛

Q: Can I use frozen berries? A: ➡️ Yes, but make sure to thaw them completely and drain all excess liquid before mashing or folding them in. If they are too wet, they will thin out the cream. 🍓💧

Q: How long does this dessert stay fresh? A: ➡️ This is best enjoyed within 24 hours of making it. After that, the berries may release juices that can make the whipped cream soften. ⏳🛍️


💡 Tips for Success

  • Chilled Tools: For the fastest and fluffiest whipped cream, place your metal bowl and beaters in the freezer for 10 minutes before you start! 🧊⚒️

  • Texture: If you want an even thicker texture, you can fold in ½ cup of softened cream cheese to the yogurt mixture before combining with the whipped cream. 🧀✨

Frozen Blueberry Yogurt Clusters

Frozen Blueberry Yogurt Clusters 🫐✨

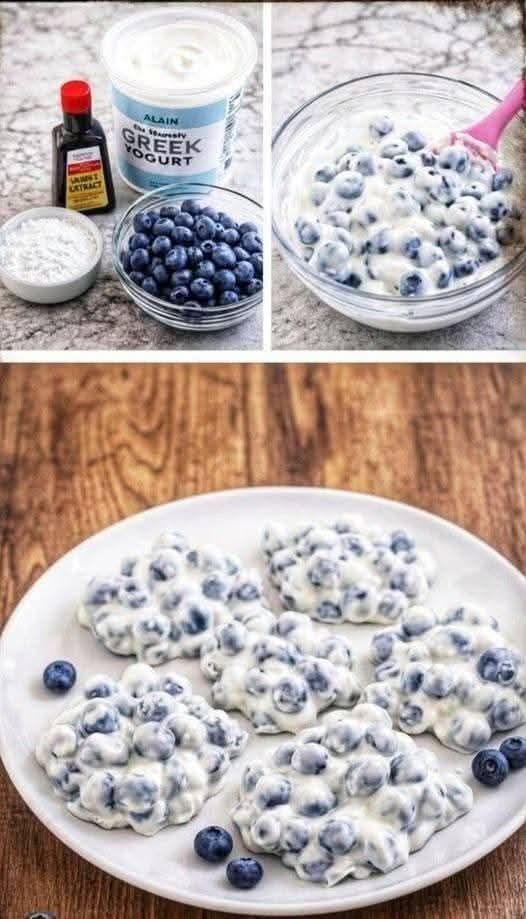
These refreshing, bite-sized treats are perfect for a light snack or a simple dessert. They are easy to prepare and satisfy a sweet craving using fresh fruit and creamy yogurt. 🥣


Ingredients 🛒

  • Fresh Blueberries: 2 cups (washed and dried thoroughly) 🫐

  • Greek Yogurt: 1 cup (Plain or Vanilla) 🍦

  • Vanilla Extract: 1 tsp 🥥

  • Sweetener (Optional): 1-2 tbsp honey, maple syrup, or a sugar-free alternative 🍯


Instructions 📋

  1. Prep the Base ➡️ In a medium mixing bowl, combine the Greek yogurt, vanilla extract, and your choice of sweetener. Stir until the mixture is smooth and creamy.

  2. Fold in Berries ➡️ Gently fold the fresh blueberries into the yogurt mixture until every berry is well-coated. 🥣

  3. Scoop and Cluster ➡️ Line a baking sheet or a large plate with parchment paper. Use a tablespoon or a small cookie scoop to drop “clusters” of the blueberry mixture onto the paper. 🥄

  4. Freeze ➡️ Place the tray in the freezer for at least 2 to 3 hours, or until the clusters are firm and completely frozen. ❄️

  5. Serve & Store ➡️ Once frozen, peel them off the parchment paper. Enjoy them immediately! Store any leftovers in a sealed container or freezer bag in the freezer. 🛍️


Common Questions & Answers ❓

Q: Can I use frozen blueberries instead of fresh? A: ➡️ It is best to use fresh blueberries. Frozen berries can release extra moisture as they mix, which might make the yogurt runny or cause the clusters to become too icy. 🫐

Q: How long do these stay fresh in the freezer? A: ➡️ When stored in an airtight container, they stay delicious for up to 2 weeks. For the best texture, let them sit at room temperature for 1-2 minutes before eating. ⏳

Q: Can I add toppings? A: ➡️ Yes! You can sprinkle a little granola on top before freezing for a crunch, or drizzle them with a bit of melted dark chocolate once they are frozen for an extra treat. 🍫

Q: Why did my clusters stick to the plate? A: ➡️ Always use parchment paper or a silicone mat. This ensures they pop right off without breaking once they are frozen. 📜

Blueberry Ice Cream (Healthy & Easy)

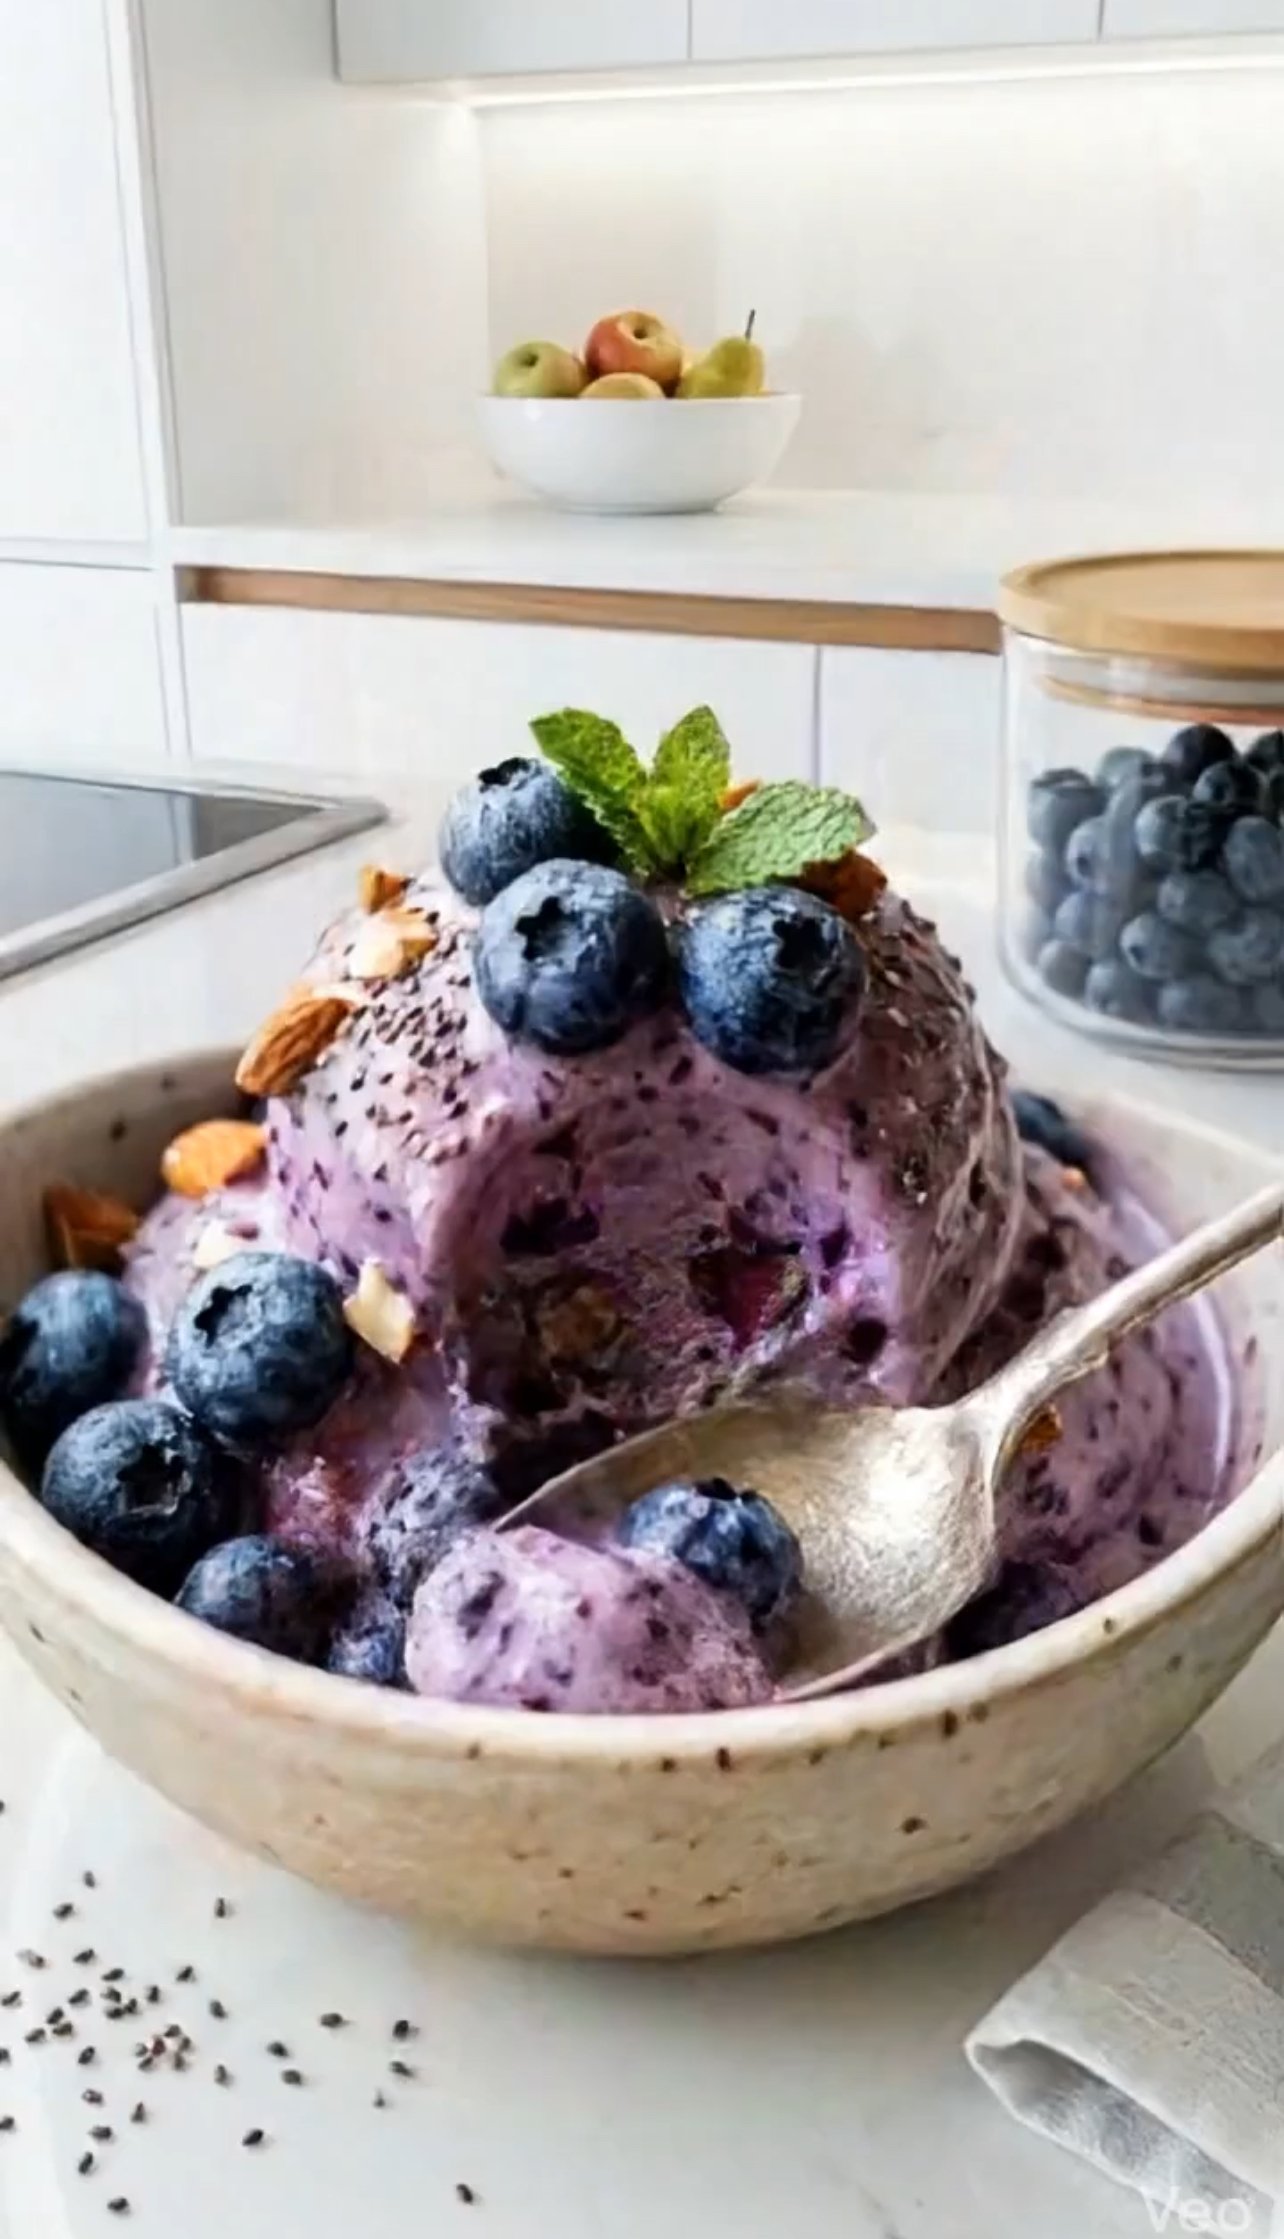
Blueberry Ice Cream (Healthy & Easy)

📝 Ingredients

  • 1 cup blueberries (fresh or frozen)
  • ½ cup Greek yogurt
  • 2 tablespoons honey
  • ⅓ cup milk
  • 1 tablespoon chia seeds

👩‍🍳 Step-by-Step Instructions

Step 1: Prepare Ingredients

Wash the blueberries (if fresh) and measure all ingredients properly.

Step 2: Blend Everything

Add to a blender:

  • Blueberries
  • Greek yogurt
  • Honey
  • Milk
  • Chia seeds

Blend until the mixture becomes smooth and creamy.

Step 3: Adjust Texture (for crispiness tip 🔥)

  • If you want a slightly crispy/icy texture, don’t over-blend
  • You can also add a few whole blueberries after blending

Step 4: Transfer to Container

Pour the mixture into an airtight box or container.

Step 5: Freeze

Place it in the freezer for at least 4 hours.

Step 6: Serve & Enjoy

  • Take it out
  • Let it sit for 2–3 minutes
  • Scoop and enjoy your creamy + slightly icy blueberry ice cream 😍

💡 Extra Tips (Important)

  • For more crispiness: stir once after 2 hours to create icy crystals
  • For extra flavor: add vanilla extract or lemon zest
  • For thicker texture: use less milk

❓ Quick Q&A

Q: Can I skip chia seeds?

Yes, but they help make it slightly thick and textured.

Q: Can I use frozen blueberries?

Yes, they actually make it more creamy and cold.

Q: Why is my ice cream too hard?

  1. Because of no preservatives — just let it sit for a few minutes before eating.

Fluffy Orange Cream Frosting

Fluffy Orange Cream Frosting

Ingredients

  • 1 cup heavy whipping cream (chilled)

  • 4 oz cream cheese (softened)

  • 2 tbsp powdered monk fruit sweetener

  • 1 tsp orange zest (finely grated)

  • 1 tbsp fresh orange juice

  • 1 drop natural orange food coloring (optional, for the tint seen in the image)

Instructions

  1. Cream the Base: In a medium bowl, beat the softened cream cheese with the sweetener, orange zest, and juice until completely smooth and lump-free.

  2. Whip the Cream: In a separate chilled bowl, whip the heavy cream until stiff peaks form.

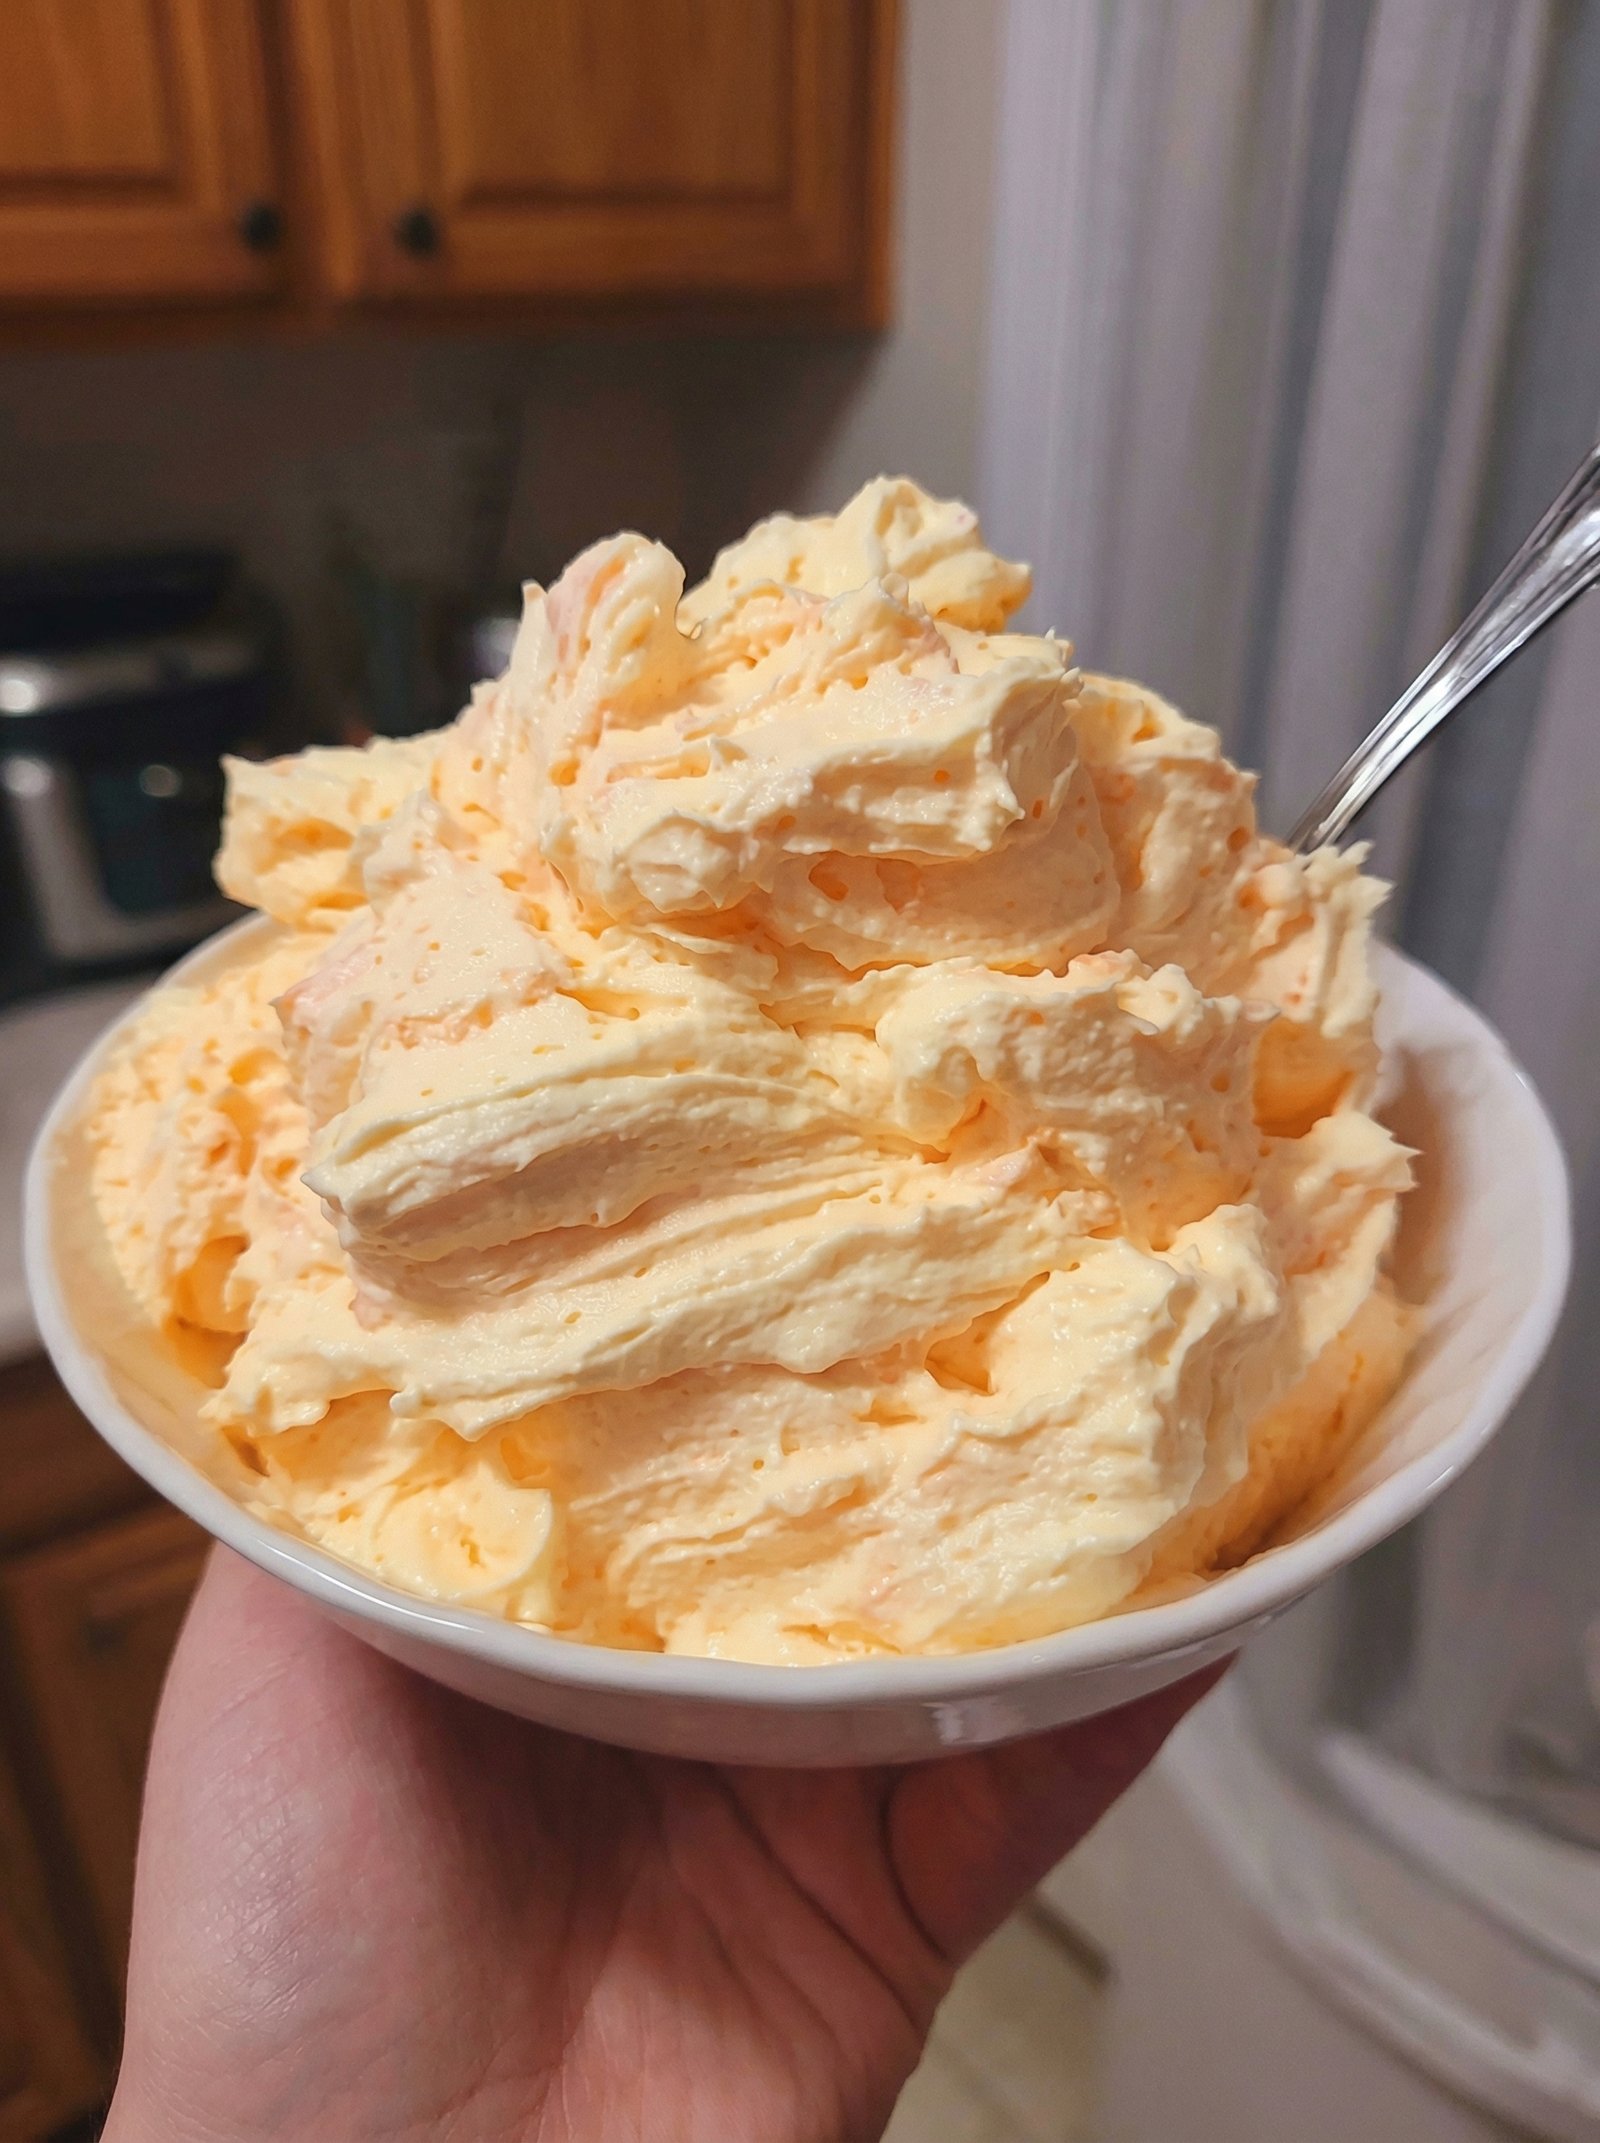
  3. Fold Together: Gently fold the whipped cream into the cream cheese mixture using a spatula. Do not overmix, or you will lose the airy texture shown in the second image.

  4. Chill: Keep the frosting in the refrigerator until the cake is entirely cool, then dollop generously on top.


Questions & Answers

Q: Can I use orange extract instead of fresh juice for the frosting? A: Yes, you can substitute 1/2 tsp of orange extract if you want a more intense flavor without adding extra liquid to the cream.

Q: Why did my coconut cake turn out crumbly? A: This usually happens if the cake is sliced while still warm. Since there is no flour or gluten, the eggs and coconut fibers need to cool completely to “bond” together.

Q: How do I get the frosting to look as fluffy as it does in the bowl? A: The secret is using cold heavy cream and a cold bowl. Whip the cream just until it stands up on its own—if you go too far, it will turn into butter; if you don’t go far enough, it will be runny.

Q: Is this dessert keto-friendly? A: Yes! Because it uses coconut, eggs, and sugar-free sweeteners, it is very low in net carbohydrates and fits well within a ketogenic or low-carb lifestyle.