Ingredients
Dry:
-
¾ cup all-purpose flour
-
½ tsp baking powder
-
½ tsp baking soda
-
½ tsp ground cinnamon
-
½ tsp ground ginger
-
¼ tsp ground nutmeg
-
¼ tsp salt
Wet:
-
3 large eggs
-
½ cup granulated sugar
-
⅓ cup packed light brown sugar
-
2 tsp vanilla extract
-
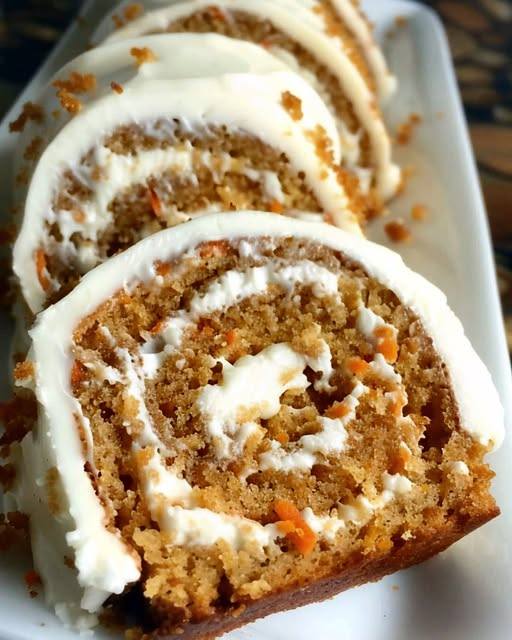
2 cups finely grated carrots
-
½ cup chopped walnuts (optional)
Cream Cheese Filling:
-
8 oz cream cheese, softened
-
1 cup powdered sugar
-
6 tbsp unsalted butter, softened
-
1 tsp vanilla extract
Instructions
-
Prep the Pan
-
Preheat oven to 350°F (175°C).
-
Line a 15×10-inch jelly roll pan with parchment paper, leaving overhang.
-
-
Mix Dry Ingredients
-
In a medium bowl, whisk flour, baking powder, baking soda, cinnamon, ginger, nutmeg, and salt.
-
-
Make Batter
-
In a large bowl, beat eggs, granulated sugar, and brown sugar until thick and creamy (3–4 minutes).
-
Mix in vanilla.
-
Gradually add dry ingredients, beating until just combined.
-
Fold in grated carrots and walnuts (if using).
-
-
Bake the Cake
-
Spread batter evenly in prepared pan.
-
Bake 10–12 minutes, or until cake springs back when lightly touched.
-
-
Roll the Cake
-
While baking, dust a clean kitchen towel with powdered sugar.
-
Turn hot cake onto the towel, peel off parchment, and roll up from a short end with the towel inside.
-
Cool completely on a wire rack.
-
-
Make the Filling
-
Beat cream cheese, powdered sugar, butter, and vanilla until smooth and creamy.
-
-
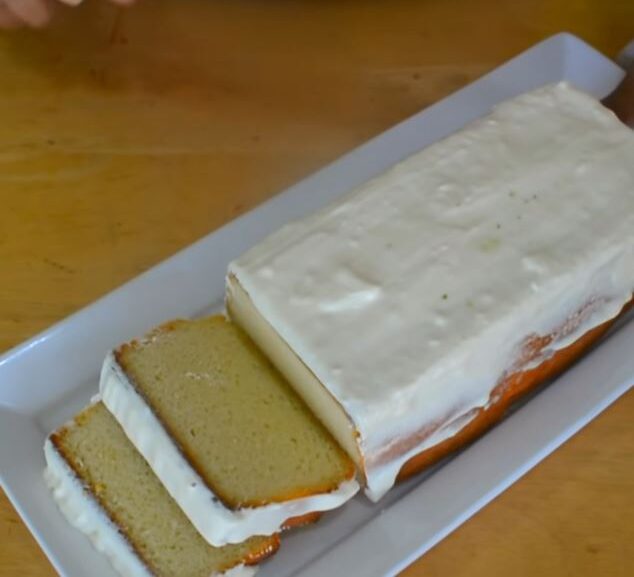
Assemble
-
Gently unroll cooled cake.
-
Spread cream cheese filling evenly over surface.
-
Roll cake back up (without towel) and wrap in plastic wrap.
-
-
Chill & Serve
-
Refrigerate at least 1 hour before slicing.
-
⏱ Total Time: ~1 hr 30 min (including chilling)
🍽 Servings: ~10–12 slices
💡 Tip: For a bakery-perfect look, dust with extra powdered sugar before serving.
If you’d like, I can also give you a pumpkin cake roll version that follows the exact same process but swaps in fall flavors. Would you like me to make that version for you?

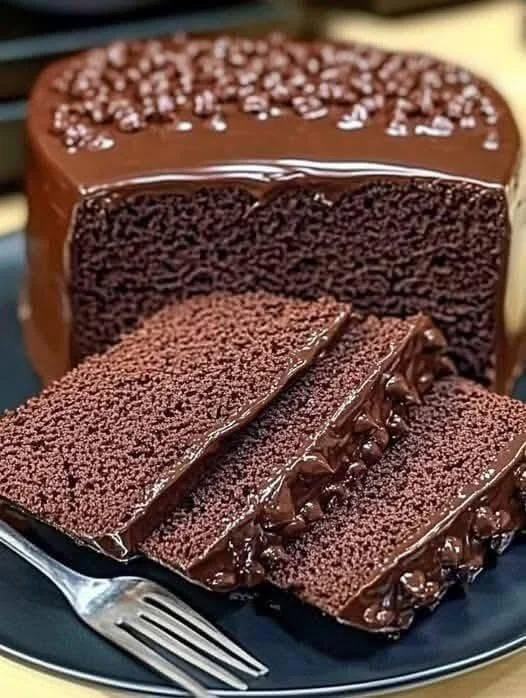
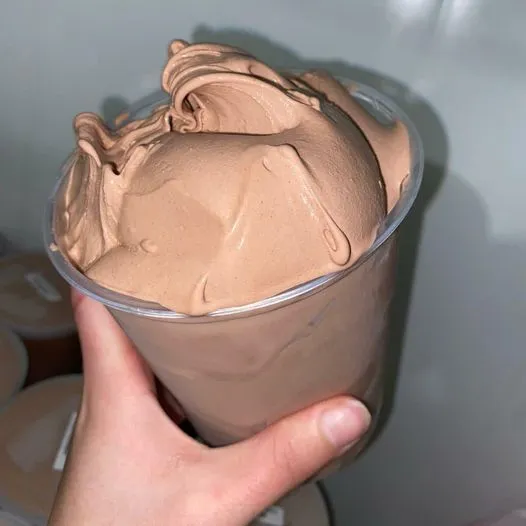


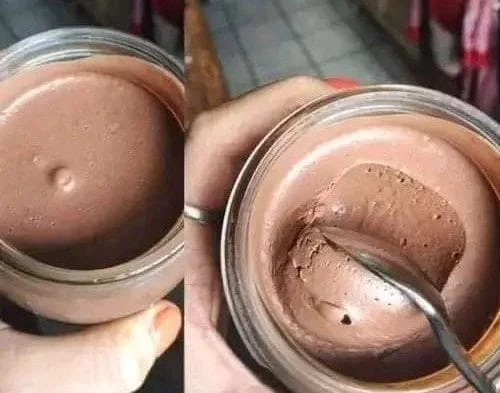
 Carnivore Chocolate Mousse Recipe
 Ingredients (Serves 2–3):
 Optional additions:
 Instructions:
 Storage: