Creamy Biscoff Icebox Cake

Creamy Biscoff Icebox Cake

πŸ›’ Ingredients

  • 250g Biscoff or Speculoos biscuits (about 1.5 packs)

  • 500ml Heavy whipping cream (chilled)

  • 250g Mascarpone or Cream Cheese (softened)

  • 150g Biscoff spread (plus extra for the topping)

  • 1 tsp Vanilla extract

  • 50g Powdered sugar (optional, for extra sweetness)

  • 100g Milk chocolate or 3 tbsp Biscoff spread (melted for the top)


πŸ‘©β€πŸ³ Step-by-Step Instructions

  1. Prep the Cream Base πŸ₯£ In a large bowl, whisk the chilled heavy cream until soft peaks form. In a separate bowl, beat the mascarpone/cream cheese, Biscoff spread, and vanilla extract until smooth. ➑️ Fold the whipped cream gently into the Biscoff mixture until combined.

  2. The First Layer πŸͺ Line a loaf tin with parchment paper (this makes it easy to lift out later). Place a single layer of biscuits at the bottom of the tin. You may need to break a few to fit the corners.

  3. Cream Layering 🍦 Spread a thick, even layer of the cream mixture over the biscuits. ➑️ Smooth it out with a spoon or spatula.

  4. Repeat the Process πŸ”„ Continue layering biscuits followed by cream until you reach the top of the tin or run out of ingredients. The final layer should be the cream mixture.

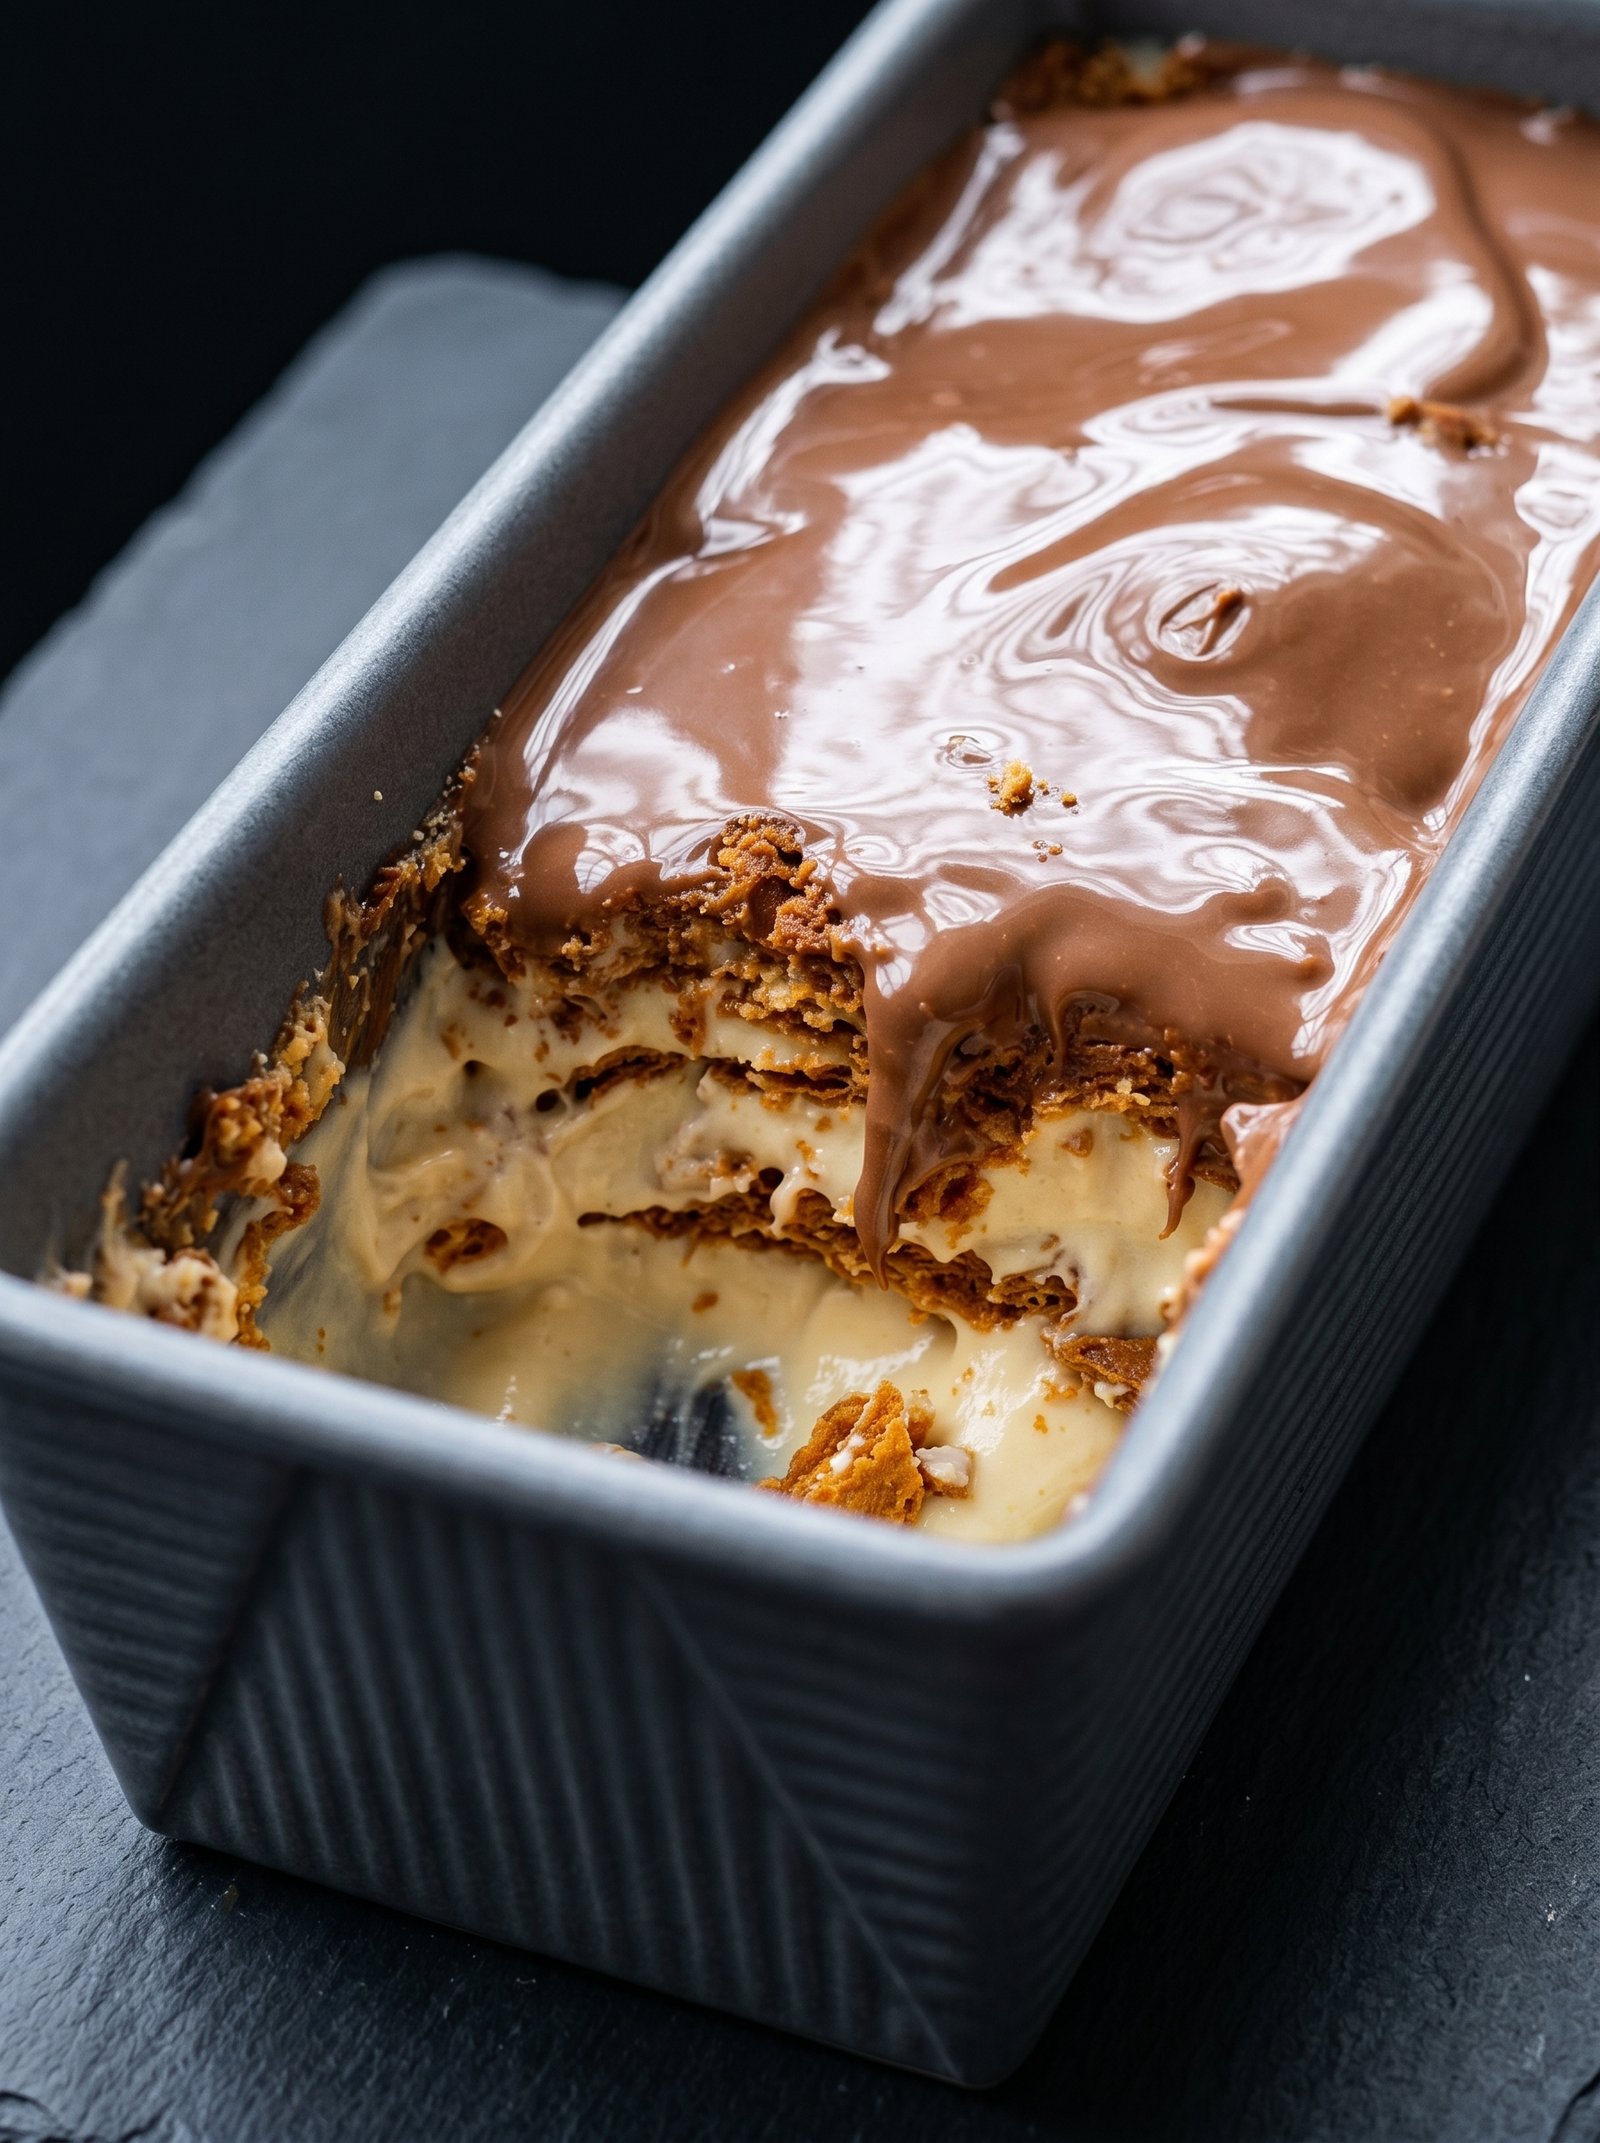
  5. The Smooth Topping 🍫 Melt your chocolate or Biscoff spread in the microwave for 20-30 seconds. Pour it over the final layer and tilt the tin to let it coat the surface evenly, just like in the photo.

  6. The Deep Freeze/Chill ❄️ Cover with plastic wrap and refrigerate for at least 6 hours, though overnight is best. This allows the biscuits to soften into a cake-like texture.


❓ Common Questions (Q&A)

Q: Can I use different biscuits? A: Yes! πŸͺ Graham crackers, ginger snaps, or even chocolate wafers work beautifully.

Q: My cream isn’t thickening, what happened? A: Ensure your heavy cream is ice cold before whipping. If the room is too warm, the fat won’t stabilize into peaks. 🌑️

Q: How do I get those clean slices? A: Dip a sharp knife into hot water, wipe it dry, and slice while the cake is very cold. πŸ”ͺ

Q: How long does it stay fresh? A: It will keep in the fridge for up to 3 days. After that, the biscuits may become a bit too soft. πŸ•’


✨ Quick Tips

  • Crunch Factor: Sprinkle some crushed biscuit crumbs on top before the chocolate sets for added texture. πŸ’Ž

  • Salted Twist: A tiny pinch of sea salt on the chocolate topping balances the sweetness of the Biscoff perfectly. πŸ§‚

Homemade Chocolate Protein Fluff

Homemade Chocolate Protein Fluff

Prep time: 5 mins | Freeze time: 12–24 hours | Servings: 1-2

πŸ›’ Ingredients

  • 1.5 cups Milk of choice (Dairy, Almond, or Oat) πŸ₯›

  • 1 scoop Chocolate Protein Powder 🍫

  • 1 tbsp Cocoa Powder (for extra richness) 🫘

  • 1 tsp Vanilla Extract ✨

  • Pinch of Sea Salt πŸ§‚

  • Optional: 1 tsp Maple syrup or honey if you prefer it sweeter 🍯


πŸ‘©β€πŸ³ Step-by-Step Instructions

  1. Mix the Base ➑️ In a container or blender, combine your milk, protein powder, cocoa powder, vanilla, and salt.

  2. Combine Well ➑️ Whisk or blend until the mixture is completely smooth with no clumps. πŸŒͺ️

  3. The First Freeze ➑️ Pour the mixture into a freezer-safe pint container. Place it in the freezer for at least 12 to 24 hours until it is solid. ❄️

  4. The Spin ➑️ Once frozen, place your container into your creamery machine (like a Ninja Creami) and select the “Lite Ice Cream” or “Protein Pint” setting. πŸ”„

  5. Check the Texture ➑️ If it looks a bit crumbly after the first spin, don’t worry!

  6. The Re-Spin ➑️ Add a splash (1 tablespoon) of extra milk to the center and hit the “Re-spin” button. πŸ₯› ➑️ πŸ”„

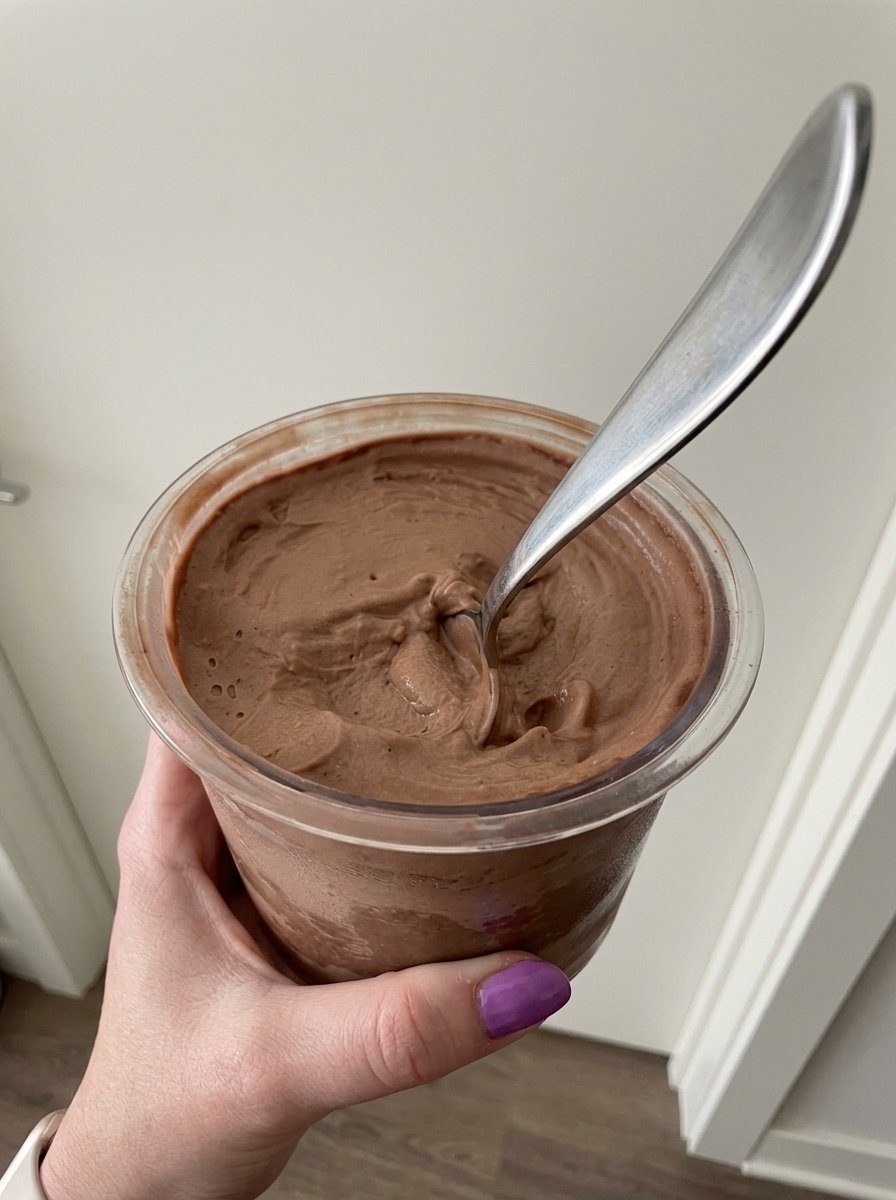
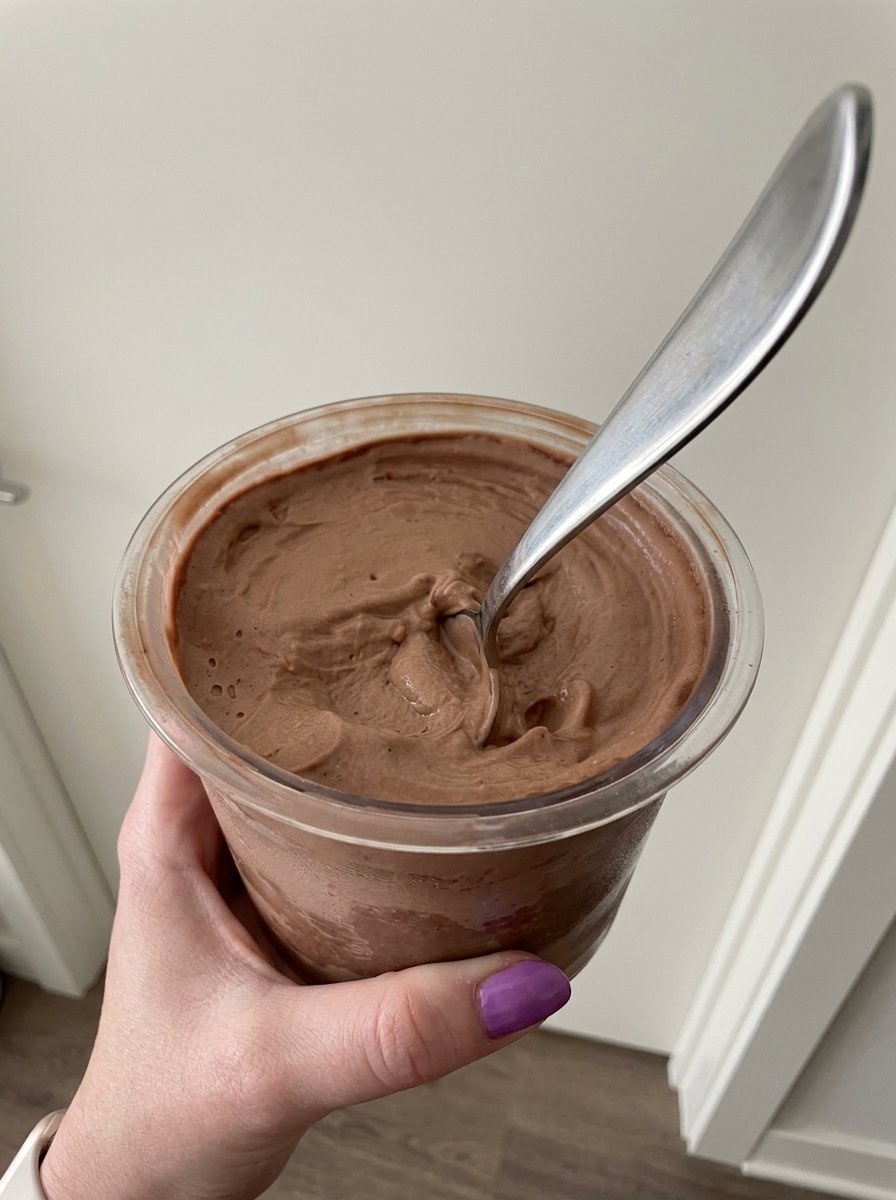
  7. Final Result ➑️ You should now have a thick, “soft-serve” consistency that holds its shape on a spoon, just like in the video! 🍦✨


❓ Common Questions & Answers

Q: Can I make this without a machine? A: ➑️ It is difficult to get this exact “fluffy” texture without a high-speed creamery machine, but you can blend the frozen cubes in a powerful food processor for a similar “nice cream” result.

Q: Why is my mixture crumbly? A: ➑️ This usually happens if the base is very cold or low in fat. Simply adding a tiny bit of liquid and re-spinning always fixes it! πŸ§ͺ

Q: Can I add “mix-ins” like chocolate chips? A: ➑️ Yes! After the final spin, make a hole in the middle, add your chips or crushed cookies, and use the “Mix-in” setting on your machine. πŸͺ

No-Bake Raspberry Chocolate Cream Dessert

No-Bake Raspberry Chocolate Cream Dessert

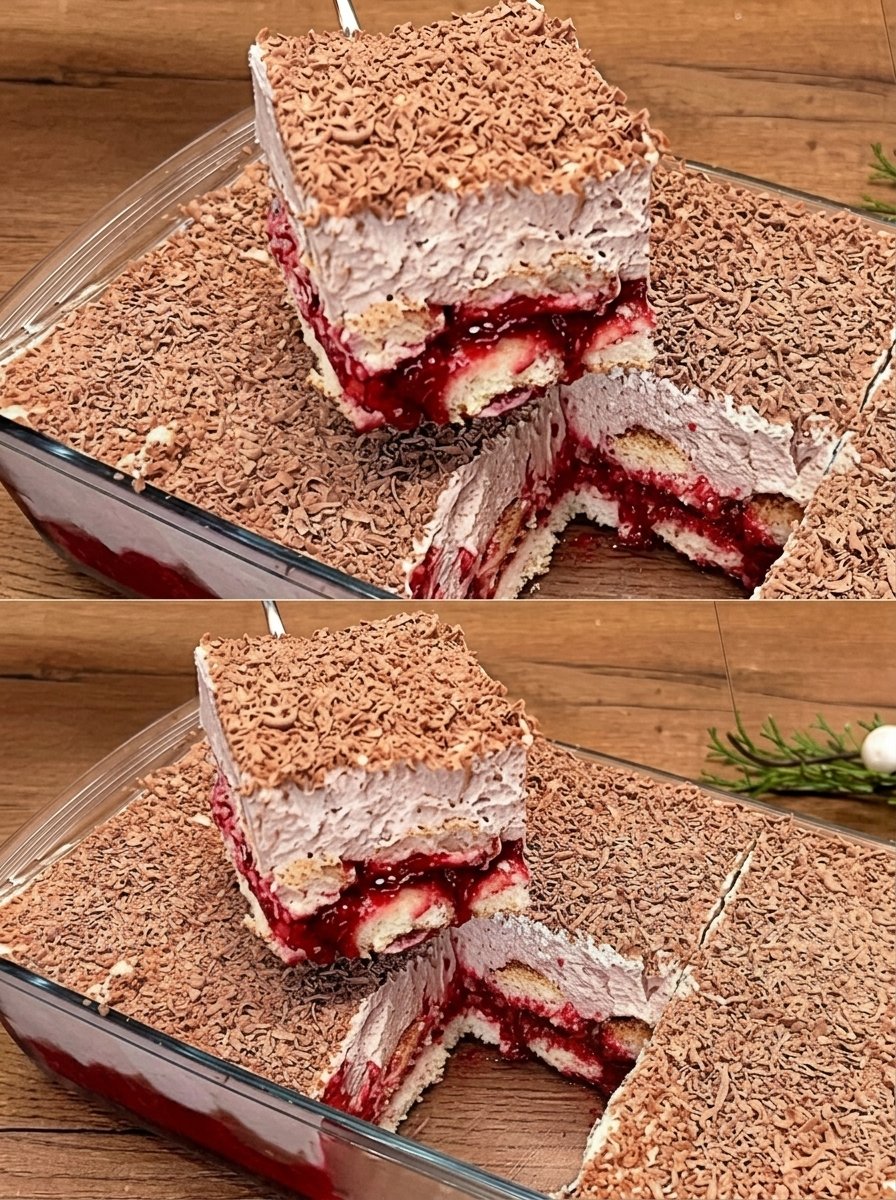
This layered delight is best served chilled, allowing the biscuits to soften into a cake-like texture.

πŸ›’ Ingredients

  • 2 packs Digestive biscuits or Graham crackers πŸͺ

  • 2 cups Fresh or frozen raspberries (sweetened slightly) πŸ“

  • 2 cups Heavy whipping cream (cold) πŸ₯›

  • 1 cup Cream cheese (softened) πŸ§€

  • 1/2 cup Powdered sugar 🀍

  • 1 tsp Vanilla extract

  • 1/2 cup Chocolate shavings or grated chocolate 🍫

  • 1/4 cup Milk (for dipping the biscuits)


πŸ‘©β€πŸ³ Step-by-Step Instructions

  1. Prepare Raspberry Layer: Mash the raspberries with a spoon. If they are very tart, stir in a tablespoon of sugar. Set aside. πŸ“ ➑️

  2. Make the Cream: In a large bowl, whip the heavy cream, powdered sugar, and vanilla until stiff peaks form. In a separate bowl, beat the cream cheese until smooth, then gently fold it into the whipped cream. πŸ₯£ ➑️

  3. First Layer: Quickly dip biscuits into the milk (just a second!) and line the bottom of a glass dish. ➑️

  4. Fruit Layer: Spread half of the mashed raspberries evenly over the biscuit base. ➑️

  5. Cream Layer: Spread half of the cream mixture over the raspberries. ☁️ ➑️

  6. Repeat: Add another layer of milk-dipped biscuits, the remaining raspberries, and the rest of the cream. ➑️

  7. Topping: Generously cover the top with chocolate shavings or grated chocolate for that beautiful finish. 🍫 ➑️

  8. Chill: Cover and refrigerate for at least 4–6 hours (overnight is best!). This allows the layers to set so you can cut perfect squares. ⏱️ ➑️


❓ Common Questions (Q&A)

Q: Can I use other fruits?A: Absolutely! Strawberries, blueberries, or even a layer of lemon curd would work beautifully with this cream base. πŸ₯­ ➑️ 🫐

Q: How do I get clean slices?A: Make sure the dessert is very cold. Wipe your knife with a warm, damp cloth between every single cut to keep the layers looking sharp. πŸ”ͺ ✨

Q: My cream is too runny. What happened?A: Ensure your heavy cream is ice-cold before whipping and that you beat the cream cheese separately first to remove lumps before combining them. πŸ₯›

Q: Can I make this more “chocolatey”?A: You can fold 2 tablespoons of cocoa powder into the cream mixture or use chocolate-flavored biscuits for the base layers! 🍫


Enjoy every creamy bite!

Fluffy Lemon Blueberry Buttermilk Pancakes

Fluffy Lemon Blueberry Buttermilk Pancakes

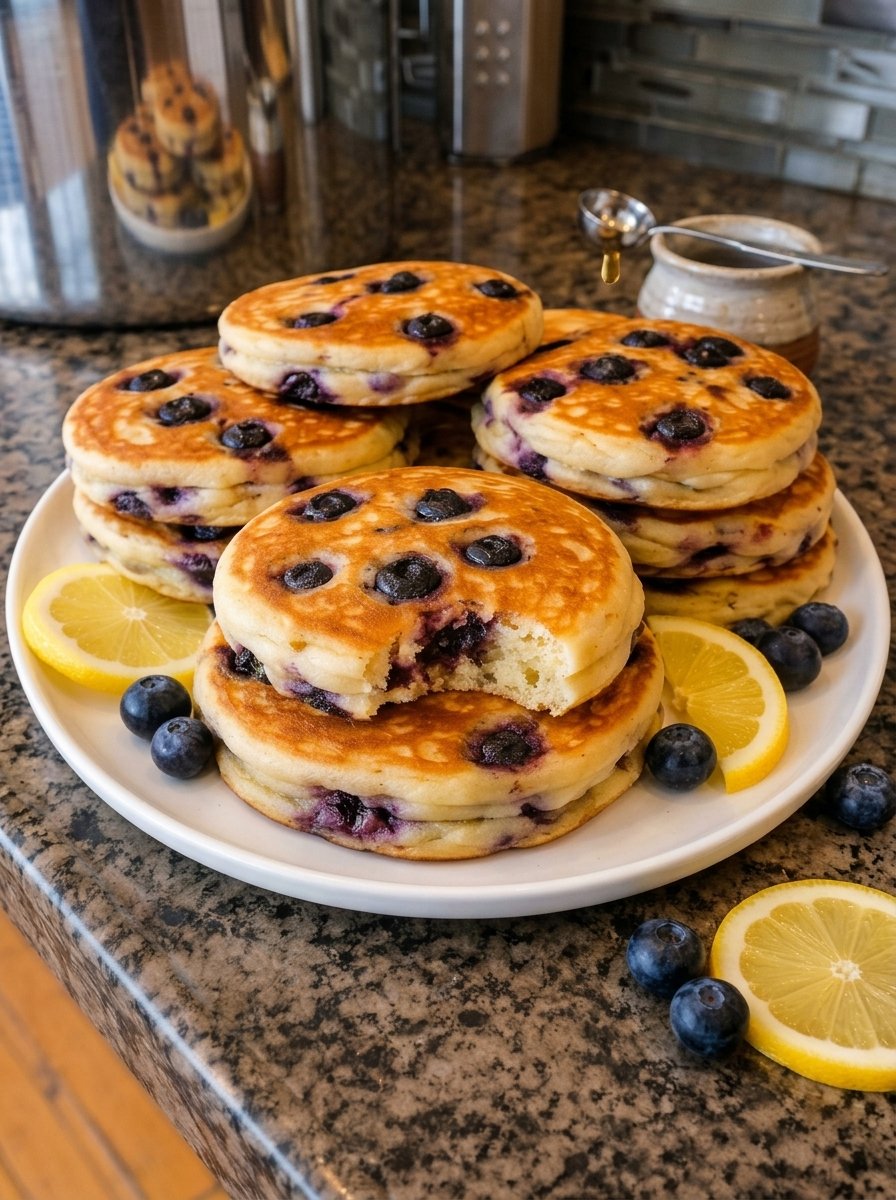
The secret to this height is a thick batter and not over-mixing the flour!

πŸ›’ Ingredients

  • 2 cups All-purpose flour 🌾

  • 2 tbsp Sugar 🀍

  • 2 tsp Baking powder

  • 1/2 tsp Baking soda

  • 1/2 tsp Salt πŸ§‚

  • 2 cups Buttermilk (room temperature) πŸ₯›

  • 2 Large eggs πŸ₯š

  • 4 tbsp Unsalted butter (melted and cooled) 🧈

  • 1 tsp Vanilla extract

  • 1 tbsp Lemon zest (optional, for that bright flavor) πŸ‹

  • 1 Β½ cups Fresh blueberries 🫐

  • Oil or butter for the griddle


πŸ‘©β€πŸ³ Step-by-Step Instructions

  1. Whisk Dry Ingredients: In a large bowl, whisk together the flour, sugar, baking powder, baking soda, and salt. πŸ₯£ ➑️

  2. Mix Wet Ingredients: In a separate medium bowl, whisk the buttermilk, eggs, melted butter, vanilla, and lemon zest until smooth. ➑️

  3. Combine: Pour the wet ingredients into the dry ingredients. Stir gently with a spatula just until combined. Stop while you still see a few lumps! Over-mixing makes pancakes tough. ➑️

  4. Rest the Batter: Let the batter sit for 5–10 minutes. You will see bubbles forming; this makes them extra fluffy. ⏱️ ➑️

  5. Heat the Pan: Heat a non-stick skillet or griddle over medium heat. Lightly grease with a little butter or oil. 🍳 ➑️

  6. Cook: Pour about 1/3 cup of batter onto the griddle. Gently press a handful of blueberries into the top of each pancake while the bottom cooks. 🫐 ➑️

  7. Flip: Wait until bubbles form on the surface and the edges look set and dry (about 2–3 minutes). Flip carefully and cook the other side until golden brown (about 1–2 minutes). ➑️

  8. Serve: Stack them high and serve with maple syrup, honey, or a squeeze of fresh lemon! 🍯 ➑️


❓ Common Questions (Q&A)

Q: Can I use frozen blueberries? A: Yes! Do not thaw them first, or they will turn your batter purple. Add them directly to the pancake on the griddle just like fresh ones. ❄️

Q: I don’t have buttermilk. What can I use? A: Mix 2 cups of regular milk with 2 tablespoons of lemon juice or white vinegar. Let it sit for 5 minutes until it curdles slightly before using! πŸ₯›πŸ‹

Q: Why are my pancakes flat? A: This usually happens if your baking powder is old or if you over-mixed the batter. Stir just until the flour disappears to keep that airy structure. πŸ“ˆ

Q: How do I keep them warm while cooking the rest? A: Place a wire rack on a baking sheet in the oven at its lowest setting (around 90°C or 200°F). Transfer the finished pancakes there to stay crisp and warm! 🌑️


Enjoy your delicious breakfast! ✨πŸ₯ž

Creamy Mixed Berry Cloud Salad

Creamy Mixed Berry Cloud Salad

Prep time: 10 mins | Chilling time: 1 hour | Servings: 6-8

Ingredients

  • 1 lb (450g) Strawberries, hulled and sliced

  • 6 oz (170g) Blueberries

  • 6 oz (170g) Raspberries

  • 6 oz (170g) Blackberries

The Creamy Base:

  • 1 cup Heavy whipping cream, chilled

  • 8 oz (225g) Cream cheese, softened to room temperature

  • 1/2 cup Powdered sugar (adjust to your sweetness preference)

  • 1 tsp Vanilla extract

  • Optional: 1 cup Mini marshmallows for extra fluffiness


Instructions

  1. Prep the Fruit: Gently wash all the berries. Pat them completely dry with paper towels. Moisture is the enemy here; if the berries are wet, the cream will become runny. Slice the larger strawberries into bite-sized pieces.

  2. Whip the Cream: In a chilled bowl, beat the heavy whipping cream until stiff peaks form. Set this aside.

  3. Cream the Base: In a large mixing bowl, beat the softened cream cheese, powdered sugar, and vanilla extract until the mixture is smooth and completely free of lumps.

  4. Fold Together: Gently fold the whipped cream into the cream cheese mixture using a spatula. If you are using marshmallows, fold them in now.

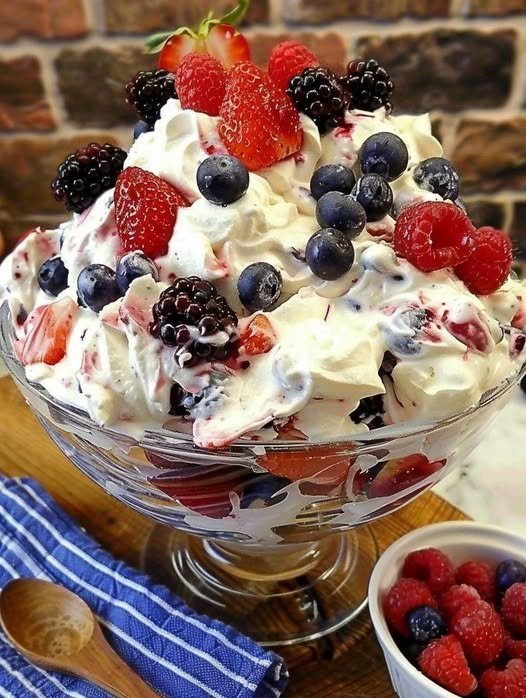
  5. Combine: Carefully fold the dried berries into the creamy mixture. Use a light hand so you don’t crush the raspberries or turn the whole bowl purple/pink.

  6. Chill & Serve: Refrigerate for at least 1 hour before serving. This allows the flavors to meld and the mixture to set properly.


Pro-Tips & Variations

  • The “Lighter” Version: Swap the cream cheese and heavy cream for 2 cups of Greek yogurt and a bit of honey for a high-protein breakfast version.

  • Keep it Fresh: Only fold the berries in shortly before you plan to serve it to keep the fruit crisp and the cream white.

  • Add Crunch: Sprinkle some toasted pecans, sliced almonds, or granola on top just before serving for a nice texture contrast.


3 Catchy Captions for Social Media

  • Option 1: Berry bliss in every bite! πŸ“βœ¨ This Creamy Berry Cloud is the ultimate refreshing treat for a warm afternoon.

  • Option 2: Forget the cakeβ€”I’ll take a bowl of this! 🫐 Low-effort, high-flavor, and packed with all the best summer berries.

3-Ingredient Chocolate Protein Fluff

3-Ingredient Chocolate Protein Fluff

Prep time: 5 mins | Serves: 1 large bowl

Ingredients

  • 1 cup (250g) Fat-free plain Greek yogurt or blended cottage cheese

  • 1 scoop (30g) Chocolate whey or casein protein powder

  • 1–2 tbsp Unsweetened cocoa powder (for extra richness)

  • Optional: A splash of almond milk if it’s too thick; stevia or honey if you prefer it sweeter.

Instructions

  1. Combine: In a medium mixing bowl, add the Greek yogurt (or blended cottage cheese for a “cheesecake” vibe), protein powder, and cocoa powder.

  2. Whip: Use a hand mixer or a vigorous whisk to beat the mixture for 2–3 minutes. If using casein protein, it will naturally become very thick and “fluffy.”

  3. The Secret Step: For maximum “fluff,” add a tiny pinch (1/4 tsp) of xanthan gumΒ while mixing. This creates that airy, voluminous texture seen in the photo.

  4. Chill: Place in the freezer for 10–15 minutes before eating to get that perfect chilled, soft-serve consistency.