No Flour, No Sugar Coconut Cake (5-Minute Recipe)

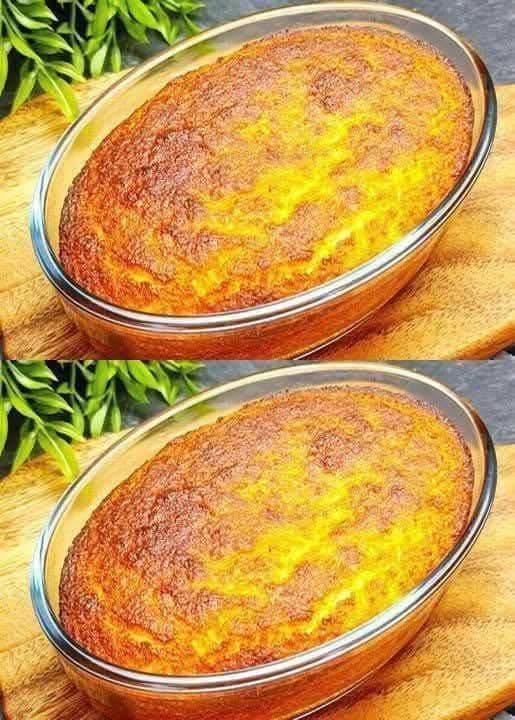
No Flour, No Sugar Coconut Cake (5-Minute Recipe)

A soft, lightly sweet coconut cake made with wholesome ingredients and no refined sugar or flour. Perfect for quick cravings, low-carb lifestyles, or when you want dessert now.


Why You’ll Love This Cake

  • No flour, no sugar

  • Naturally sweetened

  • Ready in 5 minutes

  • One bowl, minimal cleanup

  • Gluten-free & low-carb friendly

  • Works for breakfast, snack, or dessert


Ingredients

Serves 4–6

  • 1½ cups unsweetened shredded coconut

  • 3 large eggs

  • ½ cup coconut milk (or heavy cream)

  • 1 teaspoon baking powder

  • 1 teaspoon vanilla extract

  • 2–3 tablespoons honey, maple syrup, or sugar-free sweetener (optional, for mild sweetness)

  • Pinch of salt

👉 Optional add-ins:

  • Lemon zest

  • Cinnamon

  • Sugar-free chocolate chips


Instructions

1. Mix the Batter

In a bowl, whisk together:

  • Eggs

  • Coconut milk

  • Vanilla

  • Sweetener (if using)

Fold in:

  • Shredded coconut

  • Baking powder

  • Salt

Mix until well combined.


2. Cook (Choose One Method)

🔥 Microwave Method (Fastest)

  • Grease a microwave-safe dish

  • Pour in batter

  • Microwave on HIGH for 4–5 minutes

  • Center should be set but moist

🔥 Oven Method (More Golden Top)

  • Preheat oven to 350°F (175°C)

  • Bake in greased dish for 20–25 minutes


3. Cool Slightly & Serve

Let rest for 2–3 minutes before slicing.


Texture & Flavor Notes

  • Lightly crisp top

  • Moist, custardy center

  • Naturally coconut-forward

  • Not overly sweet (perfect for pairing)


Tips for Best Results

  • Use fine shredded coconut for smoother texture

  • Don’t overcook — coconut dries fast

  • Add a splash of cream if batter feels thick

  • For extra richness, add 1 tbsp melted butter or coconut oil


Serving Ideas

  • Dust with coconut flakes

  • Top with Greek yogurt

  • Serve with berries

  • Drizzle with melted dark chocolate

  • Add whipped cream for dessert vibes


Nutrition Information (Approx. per serving)

  • Calories: 210

  • Protein: 7g

  • Fat: 17g

  • Carbs: 6g

  • Sugar: 1–3g (depending on sweetener)

  • Gluten-free


Health Benefits

  • Naturally gluten-free

  • No refined sugar spikes

  • High in healthy fats

  • Satiating and filling

  • Great for low-carb & keto-style eating


Frequently Asked Questions

Q: Is this keto-friendly?
A: Yes, if you use a sugar-free sweetener or skip it entirely.

Q: Can I make it dairy-free?
A: Absolutely — use coconut milk only.

Q: Can I store leftovers?
A: Yes! Refrigerate up to 3 days. Reheat gently.

Q: Can I blend the coconut?
A: Yes — blending gives a smoother, cake-like texture.
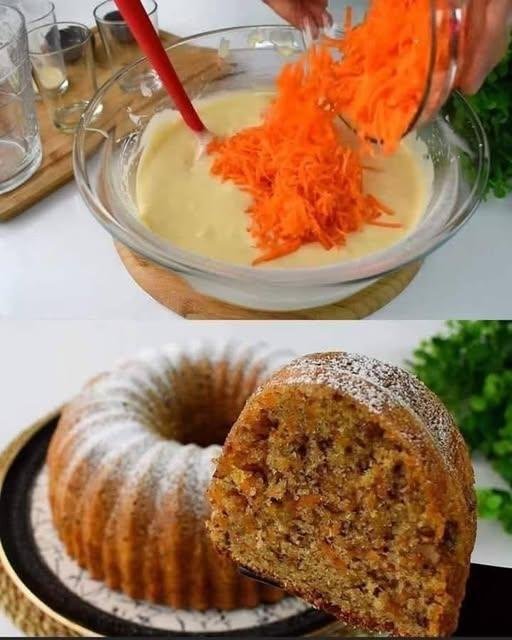
No-Flour Apple & Oat Breakfast Bundt

No-Flour Apple & Oat Breakfast Bundt

Prep time: 10 minutes

Baking time: 35–40 minutes

Servings: 6–8 slices


Ingredients

  • 1 cup Oatmeal (Quick oats work best for a smoother texture, but rolled oats add a nice chew)

  • 2 Apples (Grated or finely chopped)

  • 2 Eggs

  • 150g Plain Yogurt (Greek yogurt works well for extra protein)

  • 1 teaspoon Baking Powder

  • ½ teaspoon Cinnamon

  • A pinch of Salt

  • Optional: A handful of walnuts or raisins for a bit of crunch and natural sweetness.


Detailed Step-by-Step Instructions

  1. Prep the Oats: For a finer, cake-like crumb, you can pulse your dry oats in a blender for 30 seconds to create “oat flour.” If you prefer a rustic texture, leave them whole.

  2. Mix Wet Ingredients: In a large bowl, whisk the 2 eggs until light. Stir in the plain yogurt until the mixture is smooth and creamy.

  3. Combine Dry Ingredients: Add the oatmeal (or oat flour), baking powder, cinnamon, and salt to the egg mixture. Stir well until combined.

  4. Fold in the Fruit: Gently fold in the grated or chopped apples. If you are using raisins or nuts, add them now. The moisture from the apples is what makes this cake so soft.

  5. Prepare the Pan: Lightly grease a bundt pan or a standard loaf tin with a small amount of coconut oil or butter.

  6. Bake: Pour the batter into the pan and bake at 180°C (350°F) for 35–40 minutes. You’ll know it’s ready when a toothpick inserted into the center comes out clean and the top is golden brown.

  7. Cool and Serve: Let the cake cool in the pan for 10 minutes before flipping it onto a plate. Dust with a little extra cinnamon or a tiny bit of powdered sweetener if desired.


Common Questions & Answers

Q: Can I make this dairy-free? A: Yes! You can swap the plain yogurt for an equal amount of unsweetened almond yogurt or coconut yogurt.

Q: Does it matter what kind of apples I use? A: Sweeter varieties like Fuji or Gala work best since there is no added sugar in this recipe. They provide all the natural sweetness you need.

Q: How should I store the leftovers? A: Since this cake is very moist due to the apples and yogurt, it’s best to store it in an airtight container in the refrigerator for up to 4 days. You can reheat a slice in the toaster oven for a fresh-baked taste.

Q: Can I use egg substitutes? A: You can use 2 “flax eggs” (2 tablespoons ground flaxseed mixed with 6 tablespoons water), though the cake may be slightly denser and less fluffy.

Sugar-Free Apple & Oat Loaf

Sugar-Free Apple & Oat Loaf

  • Prep time: 15 minutes

  • Bake time: 35–45 minutes at 180°C

  • Yield: 1 Loaf


The Method

  1. Prep the Base: Mash the banana until smooth. Grate the 3 apples (you can peel them, but the skin adds great fiber).

  2. Mix Wet & Dry: In a large bowl, whisk the 2 eggs, then stir in the mashed banana, grated apples, and a generous sprinkle of cinnamon.

  3. Incorporate Oats: Fold in the 150g oatmeal and 5g baking powder. Let the mixture sit for about 5 minutes so the oats can hydrate and soak up the moisture.

  4. Add the Texture: Stir in the raisins and dried cranberries.

  5. Bake: Pour the batter into a loaf tin lined with parchment paper. Top with the 30g chopped almonds for that perfect crunch.

  6. Cool: Bake at 180°C until golden brown. Pro tip: Let it cool completely before slicing (as shown in your photo) to ensure it holds its shape!


Why this works

By using oatmeal instead of flour, you’re getting a much lower glycemic index, and the pectin from the apples helps keep the loaf moist without needing added oils or butter.

Note: If you want to keep it truly 100% sugar-free, just double-check your dried cranberries—many store-bought versions are infused with sugar. You can always swap them for more raisins or chopped dates!

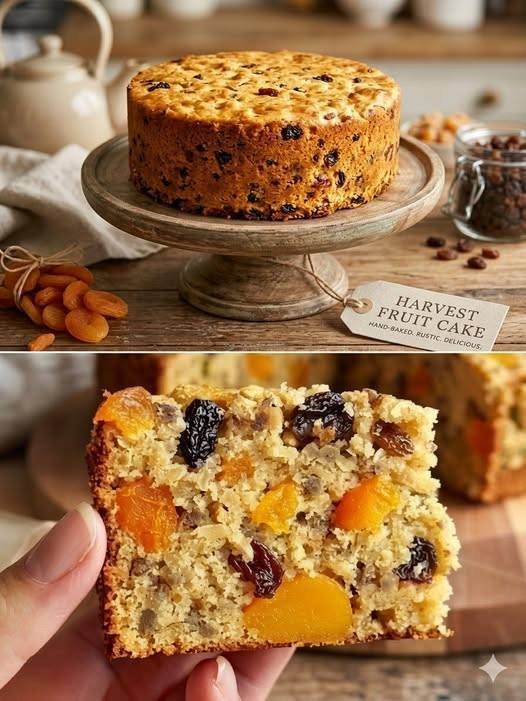
Flourless Oatmeal, Apple & Carrot Harvest Cake

Flourless Oatmeal, Apple & Carrot Harvest Cake

Ingredients

  • 2 cups (200 g) Rolled oats, pulsed in a blender until they reach a coarse flour consistency

  • 1 medium Carrot, finely grated

  • 1 medium Apple, peeled and grated (provides moisture and natural sweetness)

  • 1 cup (240 ml) Milk of your choice (dairy, almond, or soy)

  • 1 tsp Baking powder

  • 9 Dried apricots, rinsed with hot water and chopped into small pieces

  • 4 tbsp Raisins, rinsed with hot water

  • 1 tsp Cinnamon (optional, for a warm harvest flavor)

  • A pinch of salt


Step-by-Step Instructions

  1. Prepare the “Oat Flour”: Place your rolled oats into a blender and pulse until they are finely ground. They don’t need to be as fine as traditional flour; a little texture is great for this rustic cake.

  2. Prep the Fruits and Veggies: Grate the carrot and the apple using the fine side of your grater. Rinsing the apricots and raisins in hot water helps to plump them up, ensuring they stay juicy during the baking process.

  3. Mix Dry Ingredients: In a large bowl, combine the ground oats, baking powder, salt, and cinnamon.

  4. Combine Wet and Dry: Pour the milk into the dry mixture and stir well. Add the grated carrot, grated apple, chopped apricots, and raisins. Mix until everything is thoroughly incorporated.

  5. Let it Rest: Allow the batter to sit for about 10 minutes. This is a vital step as it allows the oats to soak up the liquid, which results in a much better texture.

  6. Bake: Preheat your oven to 350°F (180°C). Line a small round cake pan with parchment paper. Pour the batter into the pan and smooth the top. Bake for 35 to 40 minutes, or until a toothpick inserted into the center comes out clean.

  7. Cool and Set: Let the cake cool in the pan for at least 15 minutes before transferring it to a wire rack. This cake is very moist, so it benefits from cooling completely before slicing.

Fluffy Whipped Cream Frosting

🧁 Fluffy Whipped Cream Frosting

📝 Ingredients

  • 1 cup cold heavy whipping cream
  • 3–4 tablespoons powdered sugar
  • 1 teaspoon vanilla extract
  • 1 tablespoon cornstarch or cream stabilizer (optional, helps it hold shape)

👩‍🍳 Step-by-Step Instructions

1️⃣ Chill the bowl

Place your mixing bowl and beaters in the fridge for 10–15 minutes. Cold tools help the cream whip better.

2️⃣ Add the cream

Pour 1 cup cold heavy whipping cream into the chilled bowl.

3️⃣ Start whipping

Using a hand mixer or whisk, beat on medium speed for about 1 minute until the cream becomes slightly thick.

4️⃣ Add sugar and vanilla

Add powdered sugar and vanilla extract. If using cornstarch/stabilizer, add it now.

5️⃣ Whip until fluffy

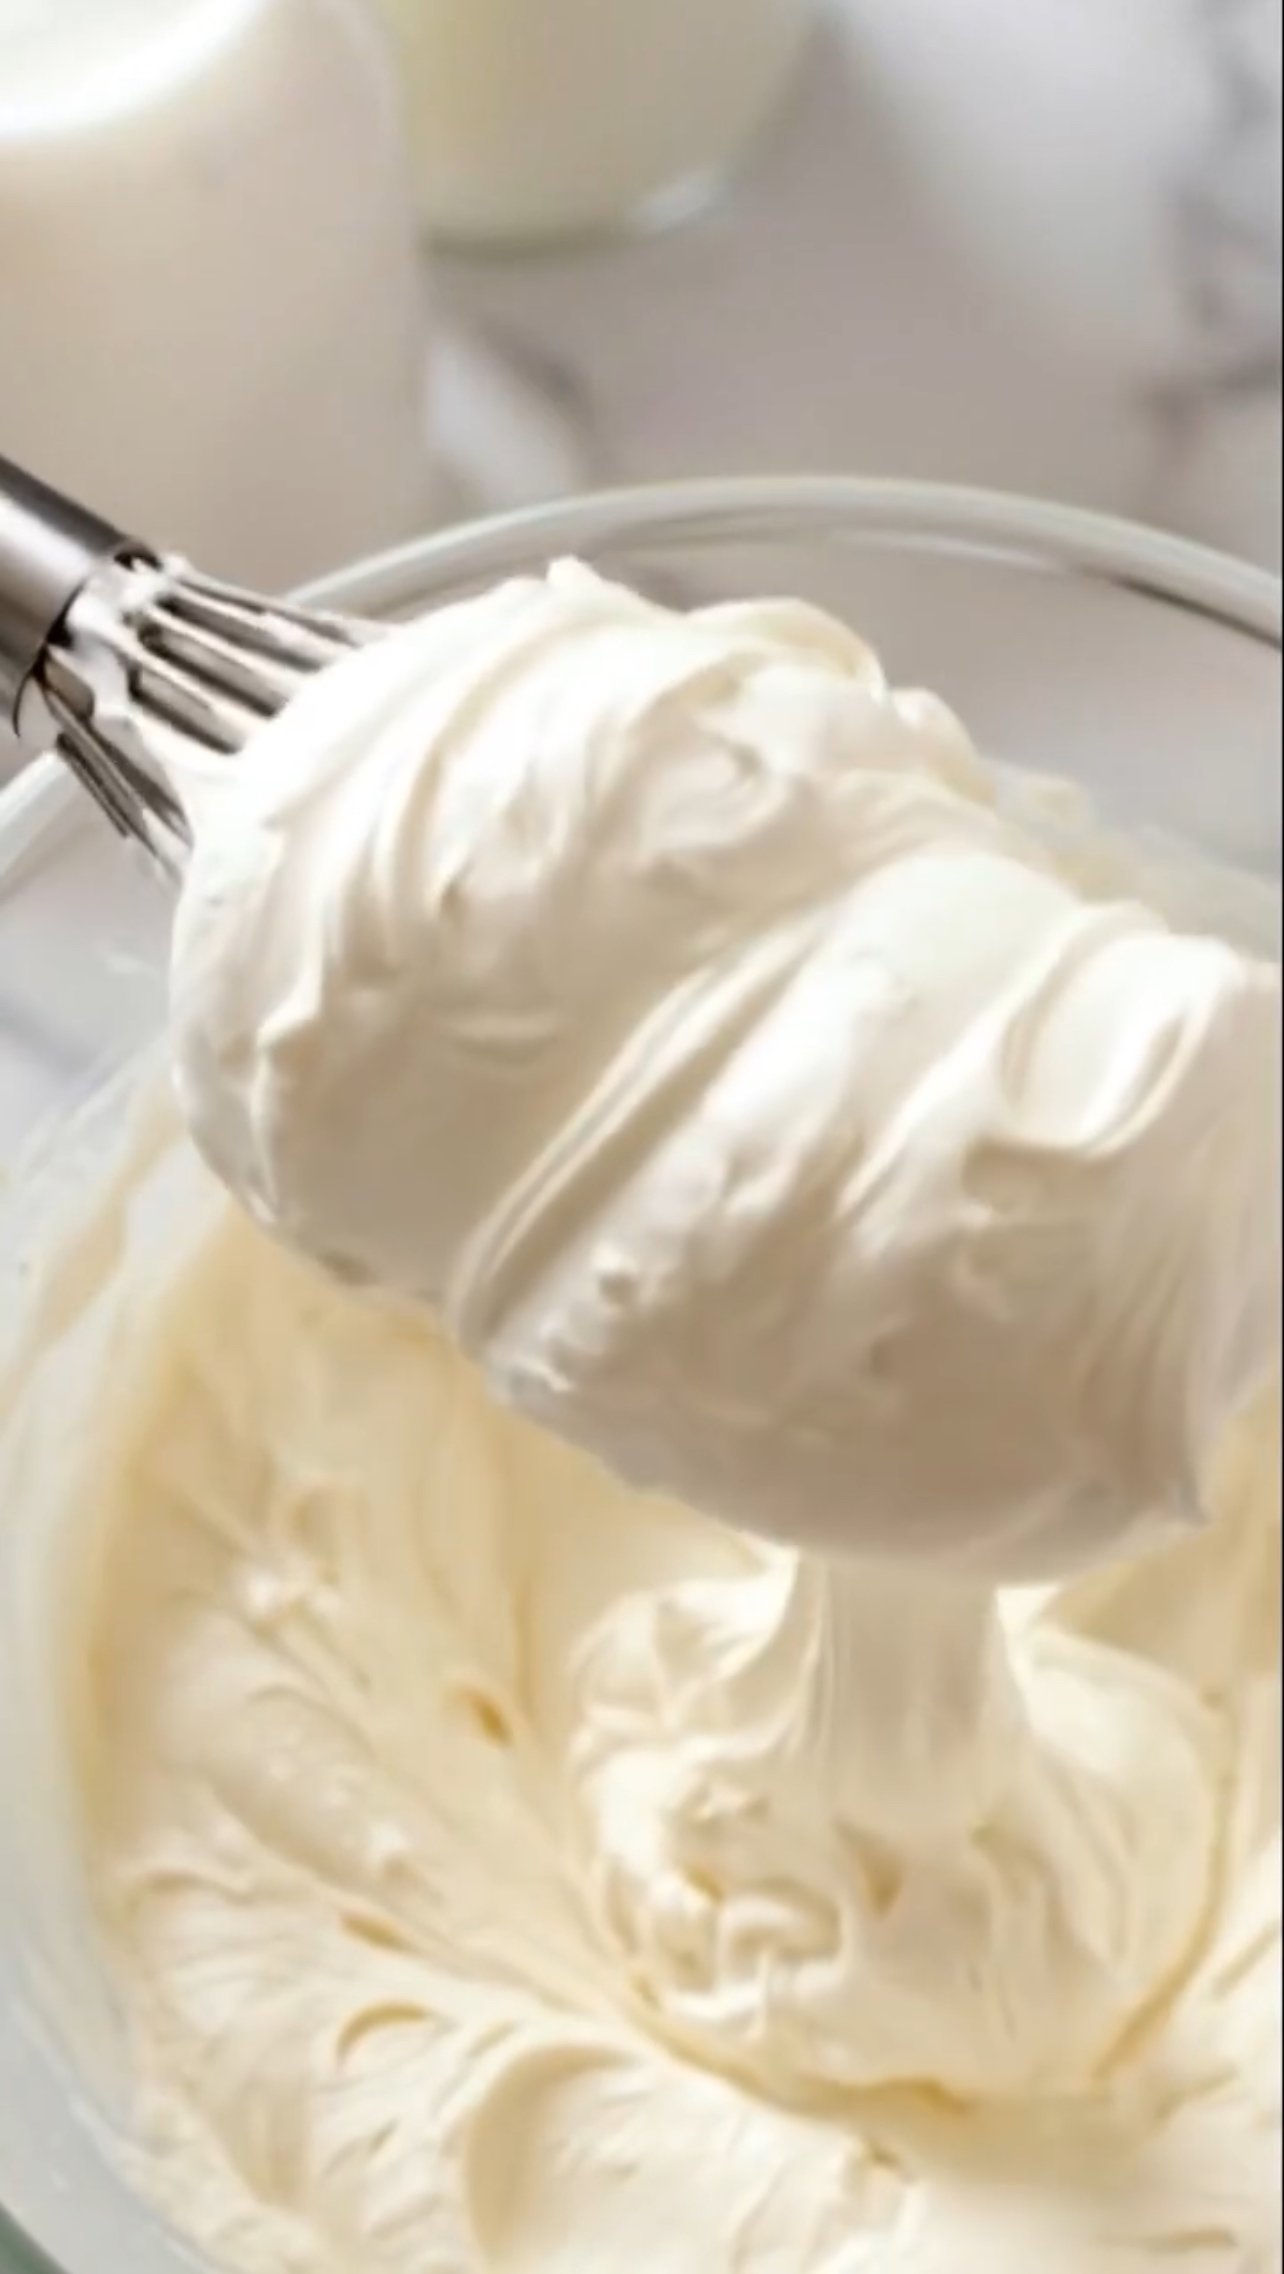
Continue beating for 2–3 minutes until soft peaks form. The cream should look thick and hold its shape like the frosting in the picture.

6️⃣ Check the texture

Lift the whisk — if the cream forms a soft peak that holds shape, your frosting is ready. Do not overmix or it can turn grainy.

7️⃣ Use immediately

Spread or pipe it on cakes, cupcakes, pancakes, or desserts.

✨ Tip: Keep the frosting refrigerated if not using right away. It stays fresh for 1–2 days in the fridge.

Toffee Butterscotch Poke Cake

If you’re looking for a dessert that’s basically a hug in cake form, you’ve found it. A Toffee Butterscotch Poke Cake is all about that moist, “soaked-in-flavor” texture and the satisfying crunch of toffee bits.

Here is a foolproof way to make it.


The Essentials

  • The Base: 1 box yellow or French vanilla cake mix (plus ingredients on the box).

  • The “Poke” Filling: 1 jar (12 oz) butterscotch topping or caramel sauce.

  • The Creamy Layer: 1 can (14 oz) sweetened condensed milk.

  • The Topping: 1 tub (8 oz) whipped topping (like Cool Whip) and 1 bag of toffee bits (Heath or Skor).


Step-by-Step Instructions

  1. Bake the Foundation: Prepare the cake mix according to the box instructions in a 9×13 inch pan. Bake until a toothpick comes out clean.

  2. The Poke: While the cake is still warm, use the handle of a wooden spoon to poke holes across the entire surface (about 1 inch apart). Don’t be shy—those holes are flavor reservoirs!

  3. The Soak: In a small bowl, whisk together the sweetened condensed milk and about half of the butterscotch topping. Pour this mixture slowly over the warm cake, making sure it seeps into all the holes.

  4. The Chill: Let the cake cool completely on the counter, then cover and refrigerate for at least 2 hours (or overnight) to let the flavors meld.

  5. The Finish: Spread the whipped topping over the cold cake. Drizzle the remaining butterscotch sauce over the top and sprinkle generously with toffee bits.


Pro-Tips for the Best Results

  • Salt it up: If the cake feels too sweet, sprinkle a tiny pinch of sea salt over the butterscotch layer before adding the whipped topping. It cuts through the sugar perfectly.

  • The “Clean Poke”: If the cake is sticking to your spoon handle while poking, dip the handle in a bit of flour or water first.

  • Make it Ahead: This cake actually tastes better on day two because the moisture has time to distribute evenly.