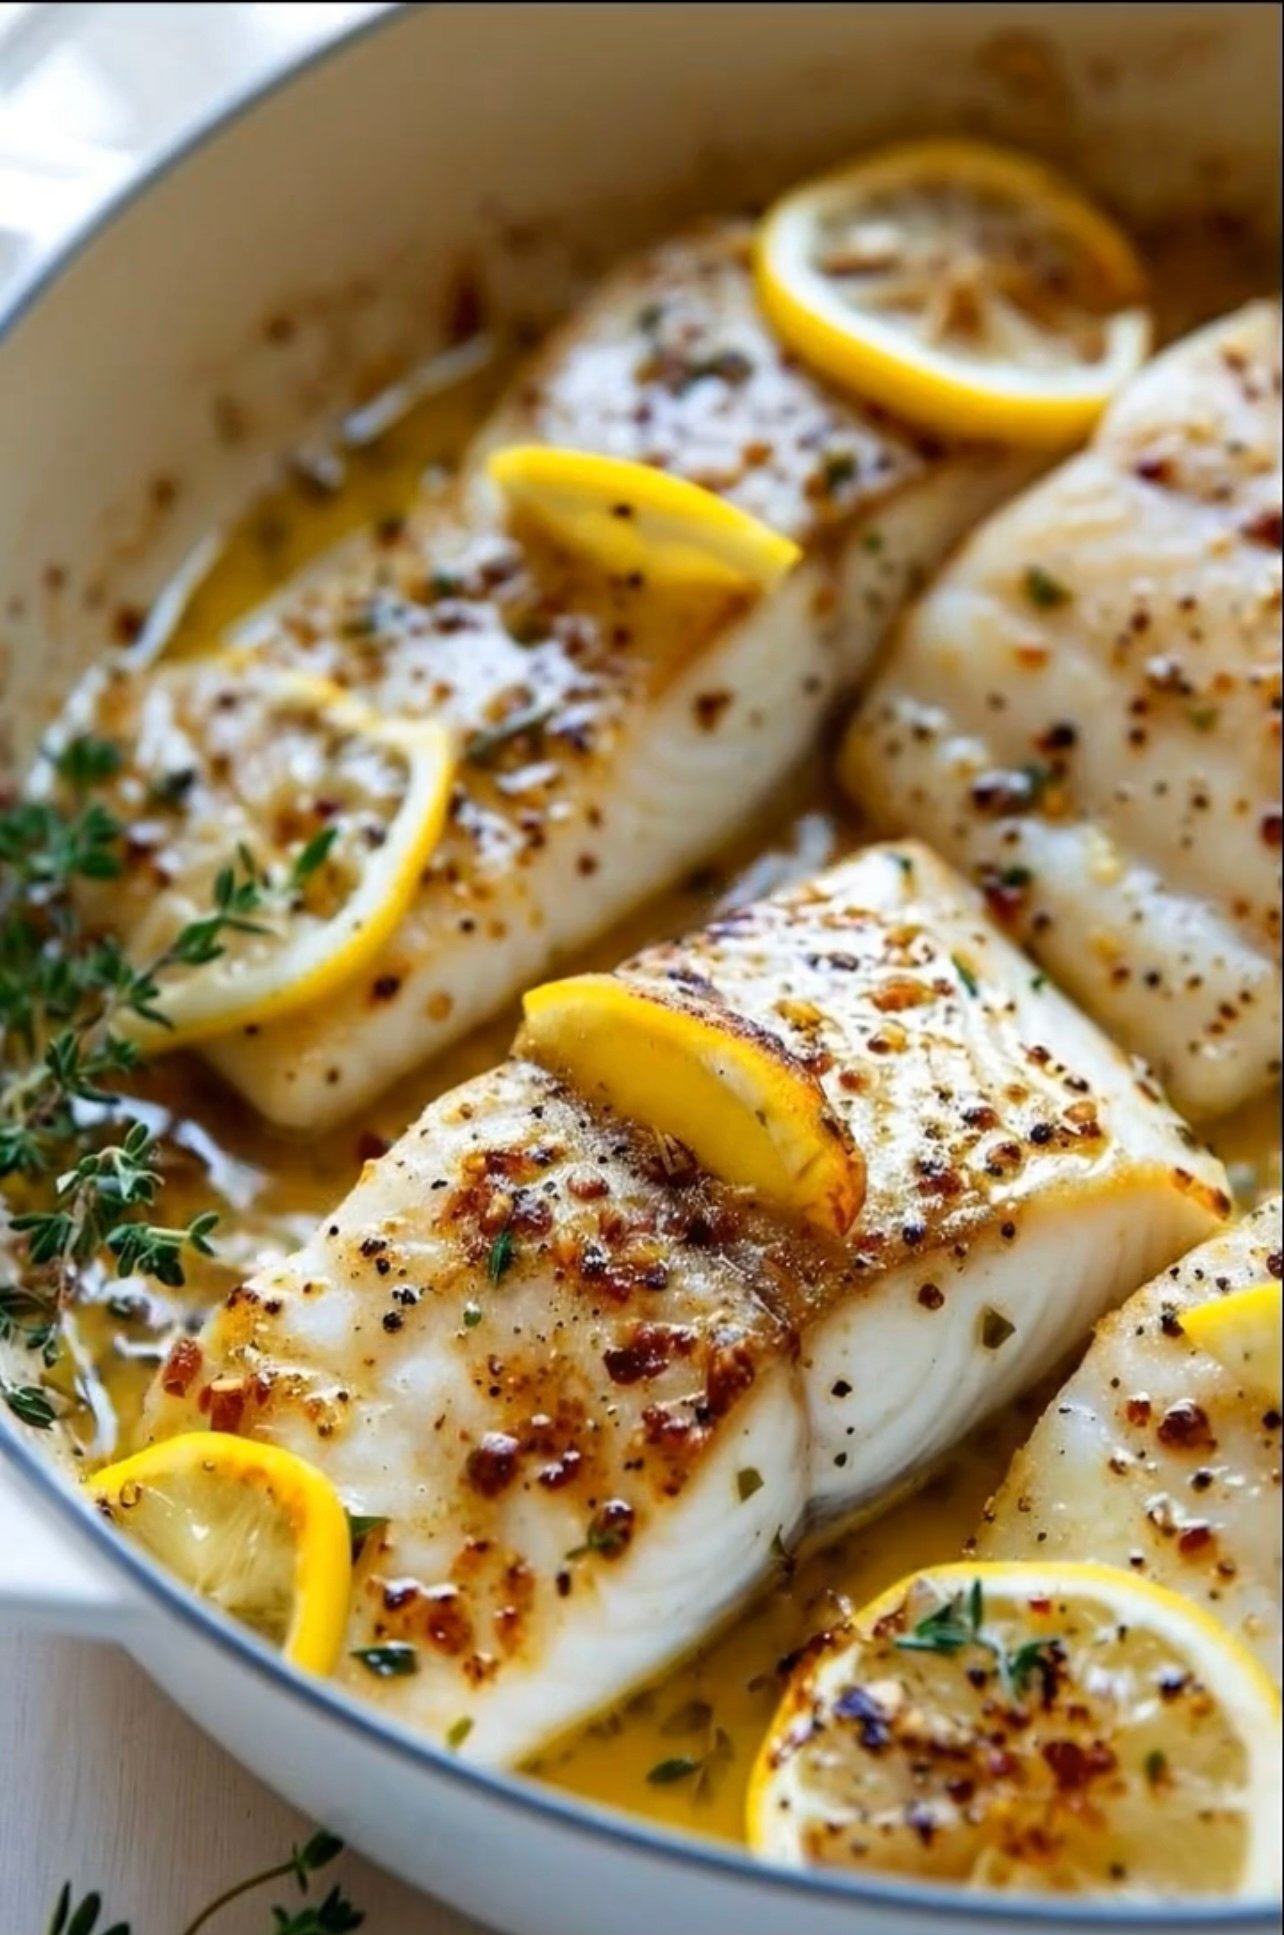
Lemon Garlic Butter Baked Fish

🐟 Lemon Garlic Butter Baked Fish

🛒 Ingredients (Serves 4)

  • 4 white fish fillets (cod, tilapia, halibut, or basa)
  • 3 tablespoons butter (melted)
  • 2 tablespoons olive oil
  • 4 cloves garlic (minced)
  • Juice of 1 lemon
  • 1 lemon (sliced into rounds)
  • ½ teaspoon salt (or to taste)
  • ½ teaspoon black pepper
  • ½ teaspoon red chili flakes (optional)
  • 1 teaspoon dried oregano or thyme (or fresh thyme sprigs)
  • 1 tablespoon fresh parsley (chopped, for garnish)

👩‍🍳 Step-by-Step Instructions

Step 1: Prepare the Fish

  • Wash the fish fillets and pat them completely dry with paper towel.
  • Season both sides with salt and black pepper.

Step 2: Make the Lemon Garlic Butter Sauce

  • In a small bowl, mix:
    • Melted butter
    • Olive oil
    • Minced garlic
    • Lemon juice
    • Chili flakes
    • Oregano or thyme
  • Stir well to combine.

Step 3: Arrange for Baking

  • Preheat your oven to 180°C (350°F).
  • Lightly grease a baking dish.
  • Place the seasoned fish fillets in the dish.
  • Pour the lemon garlic butter mixture evenly over the fish.
  • Place lemon slices on top of each fillet.
  • Add a few fresh thyme sprigs (optional but recommended).

Step 4: Bake

  • Bake uncovered for 15–20 minutes.
  • Fish is done when:
    • It flakes easily with a fork
    • It turns opaque white
    • Internal temperature reaches about 63°C (145°F)

(Do not overcook or it will become dry.)

Step 5: Optional Broil (For Golden Top)

  • For a slightly golden surface like in the picture, broil for 2–3 minutes at the end.

Step 6: Garnish & Serve

  • Spoon some of the buttery sauce from the dish over the fish.
  • Sprinkle fresh parsley.
  • Serve hot with:
    • Steamed rice
    • Mashed potatoes
    • Roasted vegetables
    • Garlic bread

🌟 Extra Tips for Juicy Fish

  • Do not overbake.
  • Use fresh lemon juice (not bottled).
  • Let fish rest for 2–3 minutes before serving.
  • You can add a splash of white cream for a richer sauce.

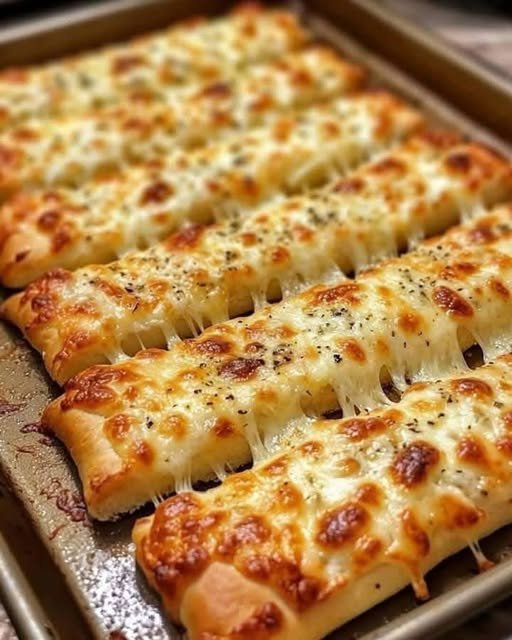
Cheesy Breadsticks

These cheesy breadsticks are the ultimate comfort food – warm, soft, and loaded with gooey cheese. Perfect as a side dish, appetizer, or snack, they’re easy to make and guaranteed to disappear fast! Whether you’re dipping them in marinara sauce or enjoying them on their own, these breadsticks are a hit for any occasion.


Ingredients:

Dough:

  • 2 ½ cups all-purpose flour
  • 1 tablespoon sugar
  • 2 teaspoons instant yeast
  • 1 teaspoon salt
  • 1 cup warm water (110°F)
  • 2 tablespoons olive oil

Topping:

  • 2 cups shredded mozzarella cheese
  • ½ cup grated Parmesan cheese
  • 2 tablespoons melted butter
  • 1 teaspoon garlic powder
  • 1 teaspoon dried Italian herbs (oregano, basil, thyme)
  • ½ teaspoon crushed red pepper flakes (optional, for a bit of heat)

Instructions:

1. Make the Dough:

  1. In a large mixing bowl, combine flour, sugar, yeast, and salt.
  2. Add warm water and olive oil, then mix until a sticky dough forms.
  3. Knead the dough on a floured surface for about 5-7 minutes until smooth and elastic.
  4. Place the dough in a lightly greased bowl, cover, and let it rise in a warm place for about 1 hour or until doubled in size.

2. Prepare the Breadsticks:

  1. Preheat your oven to 425°F (220°C).
  2. Punch down the dough and roll it out into a rectangle about ½ inch thick on a parchment-lined baking sheet.
  3. Brush the dough with melted butter and sprinkle with garlic powder and Italian herbs.
  4. Evenly spread the shredded mozzarella and Parmesan cheese over the dough.
  5. For easy serving, use a pizza cutter to cut the dough into strips (about 1 inch wide).
See also  No-Bake Cheesecake Recipe

3. Bake:

  1. Bake for 12-15 minutes until the cheese is bubbly and the edges are golden brown.
  2. Remove from the oven and let cool slightly before pulling the breadsticks apart.

4. Serve:

  • Serve warm with marinara sauce or ranch dressing for dipping.

Notes:

  • Yeast Tips: Instant yeast can be mixed directly into the dry ingredients. If using active dry yeast, activate it in warm water with sugar for 5 minutes before mixing.
  • Cheese Options: Feel free to mix cheeses like cheddar, provolone, or pepper jack for a different flavor profile.
  • Make-Ahead Tip: Prepare the dough a day in advance and store it in the fridge for an overnight rise.

Tips:

  • For extra flavor, drizzle garlic butter over the breadsticks as soon as they come out of the oven.
  • Add a sprinkle of fresh parsley or basil for a pop of color and freshness.
  • For a crispier bottom, bake on a preheated pizza stone or cast-iron skillet.

Servings:

  • This recipe makes about 12 breadsticks, depending on how thick you cut them.

Nutritional Information (per serving):

  • Calories: 210
  • Carbohydrates: 24g
  • Protein: 8g
  • Fat: 9g
  • Saturated Fat: 4.5g
  • Cholesterol: 20mg
  • Sodium: 380mg
  • Fiber: 1g
  • Sugar: 1g

Benefits:

  • Cheese: Good source of calcium and protein.
  • Homemade Dough: Lower in preservatives compared to store-bought options.
  • Versatility: Can be served as a snack, appetizer, or side dish.

Q/A:

Q: Can I use store-bought pizza dough?

A: Absolutely! Store-bought dough is a great shortcut. Just roll it out and follow the topping and baking instructions.

Q: Can I freeze the breadsticks?

A: Yes! Freeze baked breadsticks in an airtight container for up to 2 months. Reheat in the oven at 350°F (175°C) until warmed through.

See also  Key Lime Pie

Q: What dipping sauces go well with cheesy breadsticks?

A: Marinara sauce, ranch dressing, garlic butter, or even a creamy Alfredo sauce are fantastic choices.

Q: Can I make these gluten-free?

A: Yes! Substitute the all-purpose flour with a gluten-free flour blend that contains xanthan gum for best results.


These cheesy breadsticks are sure to be a hit at your next gathering or cozy night in. Enjoy the cheesy, garlicky goodness with your favorite dipping sauce!
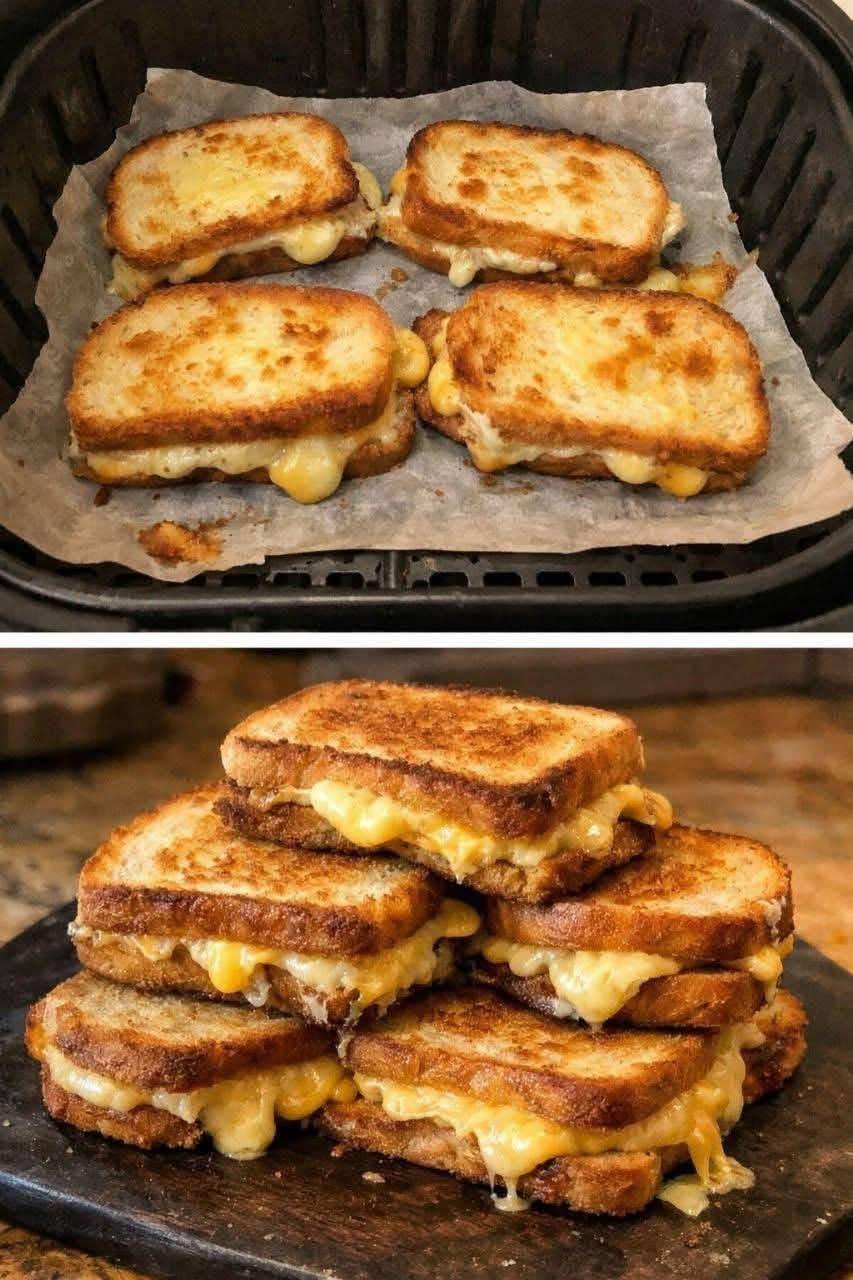
Crispy Cheese Toast Sandwich

Crispy Cheese Toast Sandwich


 Description

These cheesy toast sandwiches are incredibly easy and unbelievably delicious. Crispy and golden on the outside with perfectly melted cheese inside, they’re so good that you’ll want to make them again and again. Perfect for breakfast, snacks, or quick dinners — and made with only 3 ingredients!


 Ingredients (3 Only)

  • 8 slices of bread

  • 1½ cups cheddar cheese or mozzarella (grated)

  • 2–3 tablespoons butter

 Instructions

  1. Spread butter on one side of each bread slice

  2. Place grated cheese between two slices (buttered side facing out)

  3. Close the sandwich

  4. Cook on a pan, grill, or air fryer over medium heat

  5. Toast until both sides are golden brown and the cheese is fully melted


 Cooking Options

  • Pan: 2–3 minutes per side

  • Air Fryer: 180°C (350°F) for 6–8 minutes

  • Oven: 190°C (375°F) for 10 minutes

 Servings

Makes 4 sandwiches

 Nutritional Information (Per Sandwich – Approx.)

Nutrient Amount
Calories 280
Protein 9 g
Carbohydrates 26 g
Fat 16 g
Calcium High
Sugar 3 g

Benefits

✔ Quick and budget-friendly
✔ Loved by kids and adults
✔ Rich in calcium and protein
✔ No special equipment needed
✔ Ultimate comfort food

 Notes & Tips

  • Mozzarella gives the best cheese stretch

  • Use garlic butter for extra flavor

  • Cook on low to medium heat so the cheese melts properly

  • Add a little butter on the outside for extra crispiness

 Q & A

Q: Can I use brown bread?
Yes, it works perfectly and is a bit healthier.

Q: Can I add extra ingredients?
Yes, but the classic version tastes amazing with just 3 ingredients.

Q: Are these good for kids’ lunch boxes?
Yes, best when packed fresh.

Q: How often can I make them?
They’re best enjoyed in moderation — 2–3 times a week.

Air Fryer Cheesy Toast

Air Fryer Cheesy Toast

A faster, crispier way to enjoy a classic melted cheese sandwich.

  • Prep time: 2 minutes

  • Cook time: 4–6 minutes

  • Servings: 2 (2 pieces each)

Ingredients

  • 4 slices sandwich bread (sourdough, white, or whole grain)

  • 1 ½ cups sharp cheddar cheese, shredded (or a blend of Mozzarella and Monterey Jack)

  • 2 tbsp butter, softened (room temperature)

  • 1 tsp Dijon mustard (optional, for a tangy kick)

  • ½ tsp garlic powder

  • Fresh parsley or chives, finely chopped (for garnish)

  • Pinch of paprika or black pepper


Detailed Directions

  1. Prep the Bread: Lightly butter one side of all four slices of bread. For extra flavor, mix the garlic powder into the softened butter before spreading.

  2. The “Secret” Layer: If using Dijon mustard, spread a very thin layer over the buttered side of the bread. This helps the cheese “grip” the bread and adds depth to the flavor.

  3. Add the Cheese: Pile the shredded cheese generously onto the buttered side of each slice. Press down slightly so the cheese stays in place when the air fryer fan starts blowing.

  4. Air Fry: Place the bread slices in a single layer in the air fryer basket. You may need to do this in two batches depending on the size of your air fryer.

  5. Cook: Set the air fryer to 375°F (190°C). Cook for 4–6 minutes.

    • At 4 minutes: The cheese will be melted and gooey.

    • At 6 minutes: The cheese will be bubbly with golden-brown “cheez-it” style crispy edges.

  6. Season: Carefully remove the toast using tongs. Immediately sprinkle with a pinch of paprika and fresh herbs.

  7. Serve: Let it sit for 60 seconds so the cheese doesn’t slide off, then slice diagonally and enjoy while hot.


Success Tips

  • Prevent “Flying” Cheese: If your air fryer has a very powerful fan, the cheese might blow off the bread. To prevent this, place a small metal rack over the bread or secure the cheese with a toothpick in the center (remember to remove it before eating!).

  • Extra Crunch: For the ultimate crunch, air fry the plain bread for 2 minutes at 375°F before adding the butter and cheese.

  • The “Weight Watchers” Twist: As you mentioned finding success with your 23.5 lb loss journey, you can make this more plan-friendly by using light bread (usually 1 point per slice) and reduced-fat cheddar or nutritional yeast for a cheesy flavor with fewer points.

Cheesy Mashed Potato Puffs

Cheesy Mashed Potato Puffs

A golden, savory bite with a pillowy center and a crispy cheddar crust.

  • Prep time: 15 minutes

  • Bake time: 20–25 minutes

  • Yields: 12 puffs

Ingredients

  • 2 cups mashed potatoes (cold leftovers work best)

  • 2 large eggs, lightly beaten

  • 1 cup sharp cheddar cheese, shredded (divided)

  • 1/4 cup Parmesan cheese, grated

  • 2 tablespoons sour cream or Greek yogurt

  • 2 tablespoons fresh chives or green onions, finely chopped

  • 1/4 teaspoon garlic powder

  • Salt and black pepper to taste

  • Optional: 1/4 cup cooked bacon bits


Detailed Directions

  1. Preheat and Prep: Preheat your oven to 400°F (200°C). Generously grease a standard 12-cup muffin tin with butter or non-stick cooking spray. Tip: For extra crispy edges, you can sprinkle a little extra Parmesan into the greased cups before filling.

  2. Combine Ingredients: In a large mixing bowl, combine the cold mashed potatoes, beaten eggs, sour cream, garlic powder, chives, and Parmesan.

  3. Add the Cheese: Fold in 3/4 cup of the shredded cheddar cheese (and bacon bits, if using). Mix until the ingredients are well incorporated but be careful not to over-mix, as you want to keep the texture light.

  4. Season: Taste a small amount and adjust with salt and pepper. (If your leftover potatoes were already well-seasoned, you may only need a tiny pinch).

  5. Fill the Tin: Using a spoon or an ice cream scoop, fill each muffin cup about 3/4 of the way full. Press down gently to remove any large air pockets.

  6. Top and Bake: Sprinkle the remaining 1/4 cup of cheddar cheese evenly over the tops of the puffs. Bake for 20–25 minutes until the tops are puffed up and the edges are a deep golden brown.

  7. Cool and Set: Allow the puffs to cool in the tin for 5 minutes. This is a crucial step; they need a few minutes to “set” so they don’t break apart when you remove them.

  8. Garnish: Run a thin knife around the edges to loosen them. Serve warm, garnished with a few extra fresh chives.


Success Tips

  • Consistency: If your mashed potatoes are very stiff, add an extra tablespoon of sour cream. If they are very runny, add 2 tablespoons of all-purpose flour to the mix to help them hold their shape.

  • Make-Ahead: You can prep the mixture and fill the muffin tin up to 4 hours in advance. Just keep it covered in the fridge and add 2–3 minutes to the bake time.

  • Health Note: Regarding the first image in your collection, please remember that while natural tonics can be hydrating, they are not a substitute for professional medical care for chronic conditions. Focus on a balanced diet and consult your doctor for persistent pain or mental health concerns.

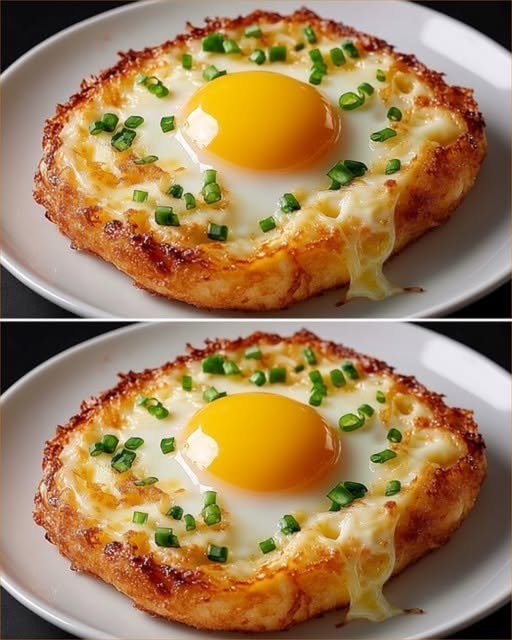
Crispy Cheesy Hash Brown Egg Nests

Crispy Cheesy Hash Brown Egg Nests

Yields: 2 Nests | Prep time: 10 mins | Cook time: 15-20 mins

Ingredients

The Base:

  • 2 cups Shredded potatoes (freshly grated russets or thawed frozen hash browns)

  • 1/2 cup Shredded Mozzarella or Sharp Cheddar cheese

  • 1 tbsp Melted butter or olive oil

  • 1/4 tsp Garlic powder

  • Salt & Pepper to taste

The Topping:

  • 2 Large eggs

  • 1 tbsp Fresh chives or green onions, finely chopped

  • Optional: Red pepper flakes for a little kick


Instructions

  1. Prepare the Potatoes: If using fresh potatoes, grate them and then squeeze them dry using a clean kitchen towel. Removing the moisture is the secret to getting that golden-brown crunch seen in the photo.

  2. Season and Mix: In a bowl, toss the shredded potatoes with the melted butter, garlic powder, salt, pepper, and the shredded cheese. The cheese acts as the “glue” for the nest.

  3. Form the Nests:

    • Skillet Method: Heat a non-stick skillet over medium heat. Divide the potato mixture into two piles. Flatten them slightly, then use a spoon to create a deep “well” or hole in the center of each.

    • Oven Method: Greasing a large muffin tin or using a baking sheet, form the mixture into nests.

  4. The First Crisp: Cook the potato nests for about 5–8 minutes on one side until the bottom is deeply golden and crispy. If using a skillet, carefully flip them, re-forming the “well” if it shifts.

  5. Add the Egg: Crack one egg into the center of each potato nest. Lower the heat to medium-low.

  6. The Finish: Cover the pan with a lid for 2–4 minutes. This traps the steam to set the egg whites while keeping the yolk runny. Remove from heat as soon as the whites are opaque.

  7. Garnish: Slide the nests onto a plate. Top generously with fresh chives and an extra pinch of black pepper.


Pro-Tips for Success

  • The Cheese Leak: Notice the melted cheese “drip” in your photo? To get that, sprinkle a little extra cheese around the outer rim of the egg right before you put the lid on the pan.

  • The Yolk Glow: For that high-gloss yolk look, ensure your eggs are room temperature before cracking them; they cook more evenly!