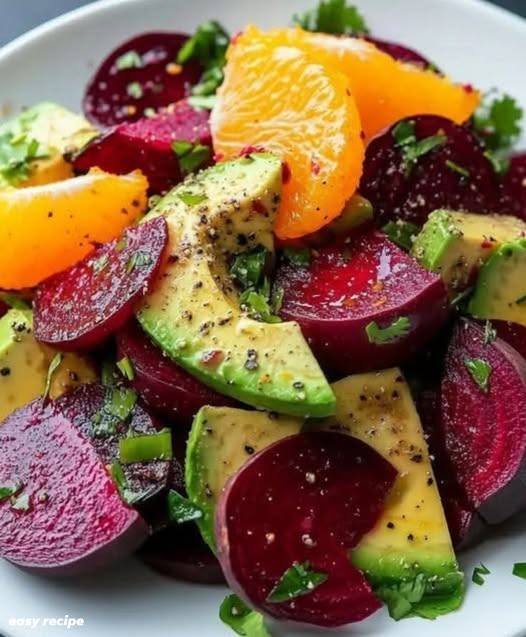
Roasted Beet, Avocado & Mandarin Salad ๐ŸŠ๐Ÿฅ‘

Roasted Beet, Avocado & Mandarin Salad ๐ŸŠ๐Ÿฅ‘

  • Prep time: 15 minutes โฑ๏ธ

  • Cook time: 45 minutes (for roasting beets) โฒ๏ธ

  • Servings: 2โ€“4 ๐Ÿ‘ฅ

  • Difficulty: Easy โœจ


Ingredients List ๐Ÿ›’

  • Fresh Beets: 3โ€“4 medium โ€” Scrubbed and trimmed. ๐ŸŽ

  • Avocado: 1 large โ€” Ripe but firm, sliced into wedges. ๐Ÿฅ‘

  • Mandarin Oranges: 2โ€“3 โ€” Peeled and segmented. ๐ŸŠ

  • Fresh Cilantro or Parsley: 1/4 cup โ€” Finely chopped. ๐ŸŒฟ

  • Olive Oil: 2 tablespoons โ€” Extra virgin for the dressing. ๐Ÿซ’

  • Lemon or Lime Juice: 1 tablespoon โ€” Freshly squeezed. ๐Ÿ‹โ€๐ŸŸฉ

  • Honey or Agave: 1 teaspoon โ€” To balance the citrus. ๐Ÿฏ

  • Salt & Black Pepper: To taste. ๐Ÿง‚

  • Red Pepper Flakes: A tiny pinch โ€” For a subtle hint of heat. ๐ŸŒถ๏ธ


Step-by-Step Instructions ๐Ÿ‘ฉโ€๐Ÿณ

  1. Roast the Beets โฒ๏ธ

    • Preheat your oven to 400ยฐF (200ยฐC). โžก๏ธ Wrap each beet individually in foil and place them on a baking sheet. โžก๏ธ Roast for 45โ€“60 minutes until a knife slides easily into the center. โžก๏ธ Let them cool, then peel off the skins (they should slip right off!) and cut into wedges or half-moons.

  2. Prepare the Fruit and Veg ๐Ÿ”ช

    • Avocado: Slice the avocado in half, remove the pit, and cut into elegant wedges. โžก๏ธ Squeeze a little lemon juice over them immediately to prevent browning.

    • Mandarins: Carefully peel the mandarins and remove as much of the white pith as possible. โžก๏ธ Keep the segments whole.

  3. Whisk the Vinaigrette ๐Ÿฅฃ

    • In a small jar or bowl, combine the olive oil, lemon juice, honey, salt, black pepper, and a pinch of red pepper flakes. โžก๏ธ Shake or whisk until the dressing is emulsified.

  4. Assemble with Care ๐Ÿชœ

    • Place the roasted beet wedges in a large bowl first. โžก๏ธ Add the avocado wedges and mandarin segments. โžก๏ธ Be gentle so the beets don’t “stain” the avocado too much before serving.

  5. Drizzle and Garnish โœจ

    • Pour the vinaigrette over the salad. โžก๏ธ Toss very lightly with your hands or large spoons. โžก๏ธ Scatter the freshly chopped cilantro or parsley over the top.

  6. Final Presentation ๐Ÿฝ๏ธ

    • Transfer to a clean white plate or serving bowl to make the vibrant colors pop. โžก๏ธ Serve immediately while the beets are at room temperature or slightly chilled.


Q/A Section โ“

Q: Can I use canned or pre-cooked beets to save time? A: โžก๏ธ Absolutely! If you’re in a hurry, vacuum-packed steamed beets found in the produce section work beautifully. Just slice them up and you’re ready to go.

Q: What is the best way to peel mandarins cleanly? A: โžก๏ธ For the best look, try to remove the “strings” (pith) carefully. If you want a gourmet touch, you can “supreme” the citrus by cutting the segments out of the membranes with a sharp knife.

Q: How do I stop the beets from turning everything red? A: โžก๏ธ The trick is to toss the beets in a little oil first to “seal” them, and then add the avocado and mandarins at the very last second right before serving.

Q: Can I add some crunch to this? A: โžก๏ธ Yes! This salad tastes amazing with a sprinkle of toasted walnuts, pumpkin seeds (pepitas), or even some crumbled feta cheese if you like. ๐Ÿฅœ๐Ÿง€


Pro-Tips ๐Ÿ’ก

  • Glove Up: โžก๏ธ When peeling and slicing roasted beets, wearing kitchen gloves will keep your hands from turning bright pink! ๐Ÿงค

  • Ripeness Check: โžก๏ธ For the avocado, look for one that gives slightly to gentle pressure. If it’s too soft, it will turn into a mash when you toss the salad.

  • Citrus Variety: โžก๏ธ If mandarins aren’t in season, blood oranges or cara cara oranges provide a stunning color contrast. ๐ŸŠ๐ŸŽ

WW-Friendly Smash Burger Quesadillas

WW-Friendly Smash Burger Quesadillas

Prep time: 10 minutes | Cook time: 10 minutes | Servings: 4 quesadillas

Ingredients

For the Quesadillas:

  • 1 lb 96% lean ground beef (or 99% lean ground turkey)

  • 4 large low-carb or “carb-balance” flour tortillas (e.g., Ole Xtreme Wellness, Mission Carb Balance)

  • 1 cup reduced-fat shredded cheddar cheese (or a fat-free/reduced-fat Mexican blend)

  • 1/2 cup finely diced white onion

  • 1 tsp garlic powder

  • 1 tsp onion powder

  • Salt and black pepper to taste

  • Cooking spray (non-stick)

For the WW-Friendly “Mac” Sauce:

  • 1/4 cup light mayonnaise

  • 2 tbsp sugar-free ketchup

  • 1 tbsp dill pickle relish

  • 1 tsp white vinegar

  • 1/2 tsp paprika


Instructions

  1. Mix the Sauce: In a small bowl, whisk together the light mayo, sugar-free ketchup, relish, white vinegar, and paprika. Set aside in the fridge to let the flavors meld.

  2. Prep the Meat: Divide your lean ground meat into 4 equal portions (about 4 oz each).

  3. Smash: Take one portion of the meat and press it firmly into a very thin, even layer covering the entire surface of one tortilla. Repeat with the remaining tortillas.

  4. Season: Generously season the meat layer on each tortilla with salt, black pepper, garlic powder, onion powder, and a sprinkle of the finely diced white onion. Press the onions slightly into the meat so they stick.

  5. Cook the Burger Side: Heat a large non-stick skillet or griddle over medium-high heat and coat lightly with cooking spray. Place the tortilla meat-side down directly onto the hot pan. Use a spatula to press down firmly (the “smash”). Cook for 3 to 4 minutes, or until the meat is browned, crusty, and cooked through.

  6. Flip and Add Cheese: Carefully flip the tortilla over so the cooked meat is now facing up. Sprinkle 1/4 cup of the reduced-fat cheese over one half of the tortilla.

  7. Fold and Toast: Fold the empty half of the tortilla over the cheesy half to create a half-moon shape. Press down gently with your spatula. Cook for another 1 to 2 minutes per side until the tortilla is golden brown and crispy, and the cheese is fully melted.

  8. Serve: Remove from the skillet, cut into triangles, and serve immediately with a side of your homemade burger sauce for dipping!

WW Point Tip: The exact points will vary slightly depending on your specific brand of tortillas and cheese, but using 96% lean beef, 1-point low-carb tortillas, and reduced-fat cheese typically keeps these around 4 to 6 WW Points per whole quesadilla.

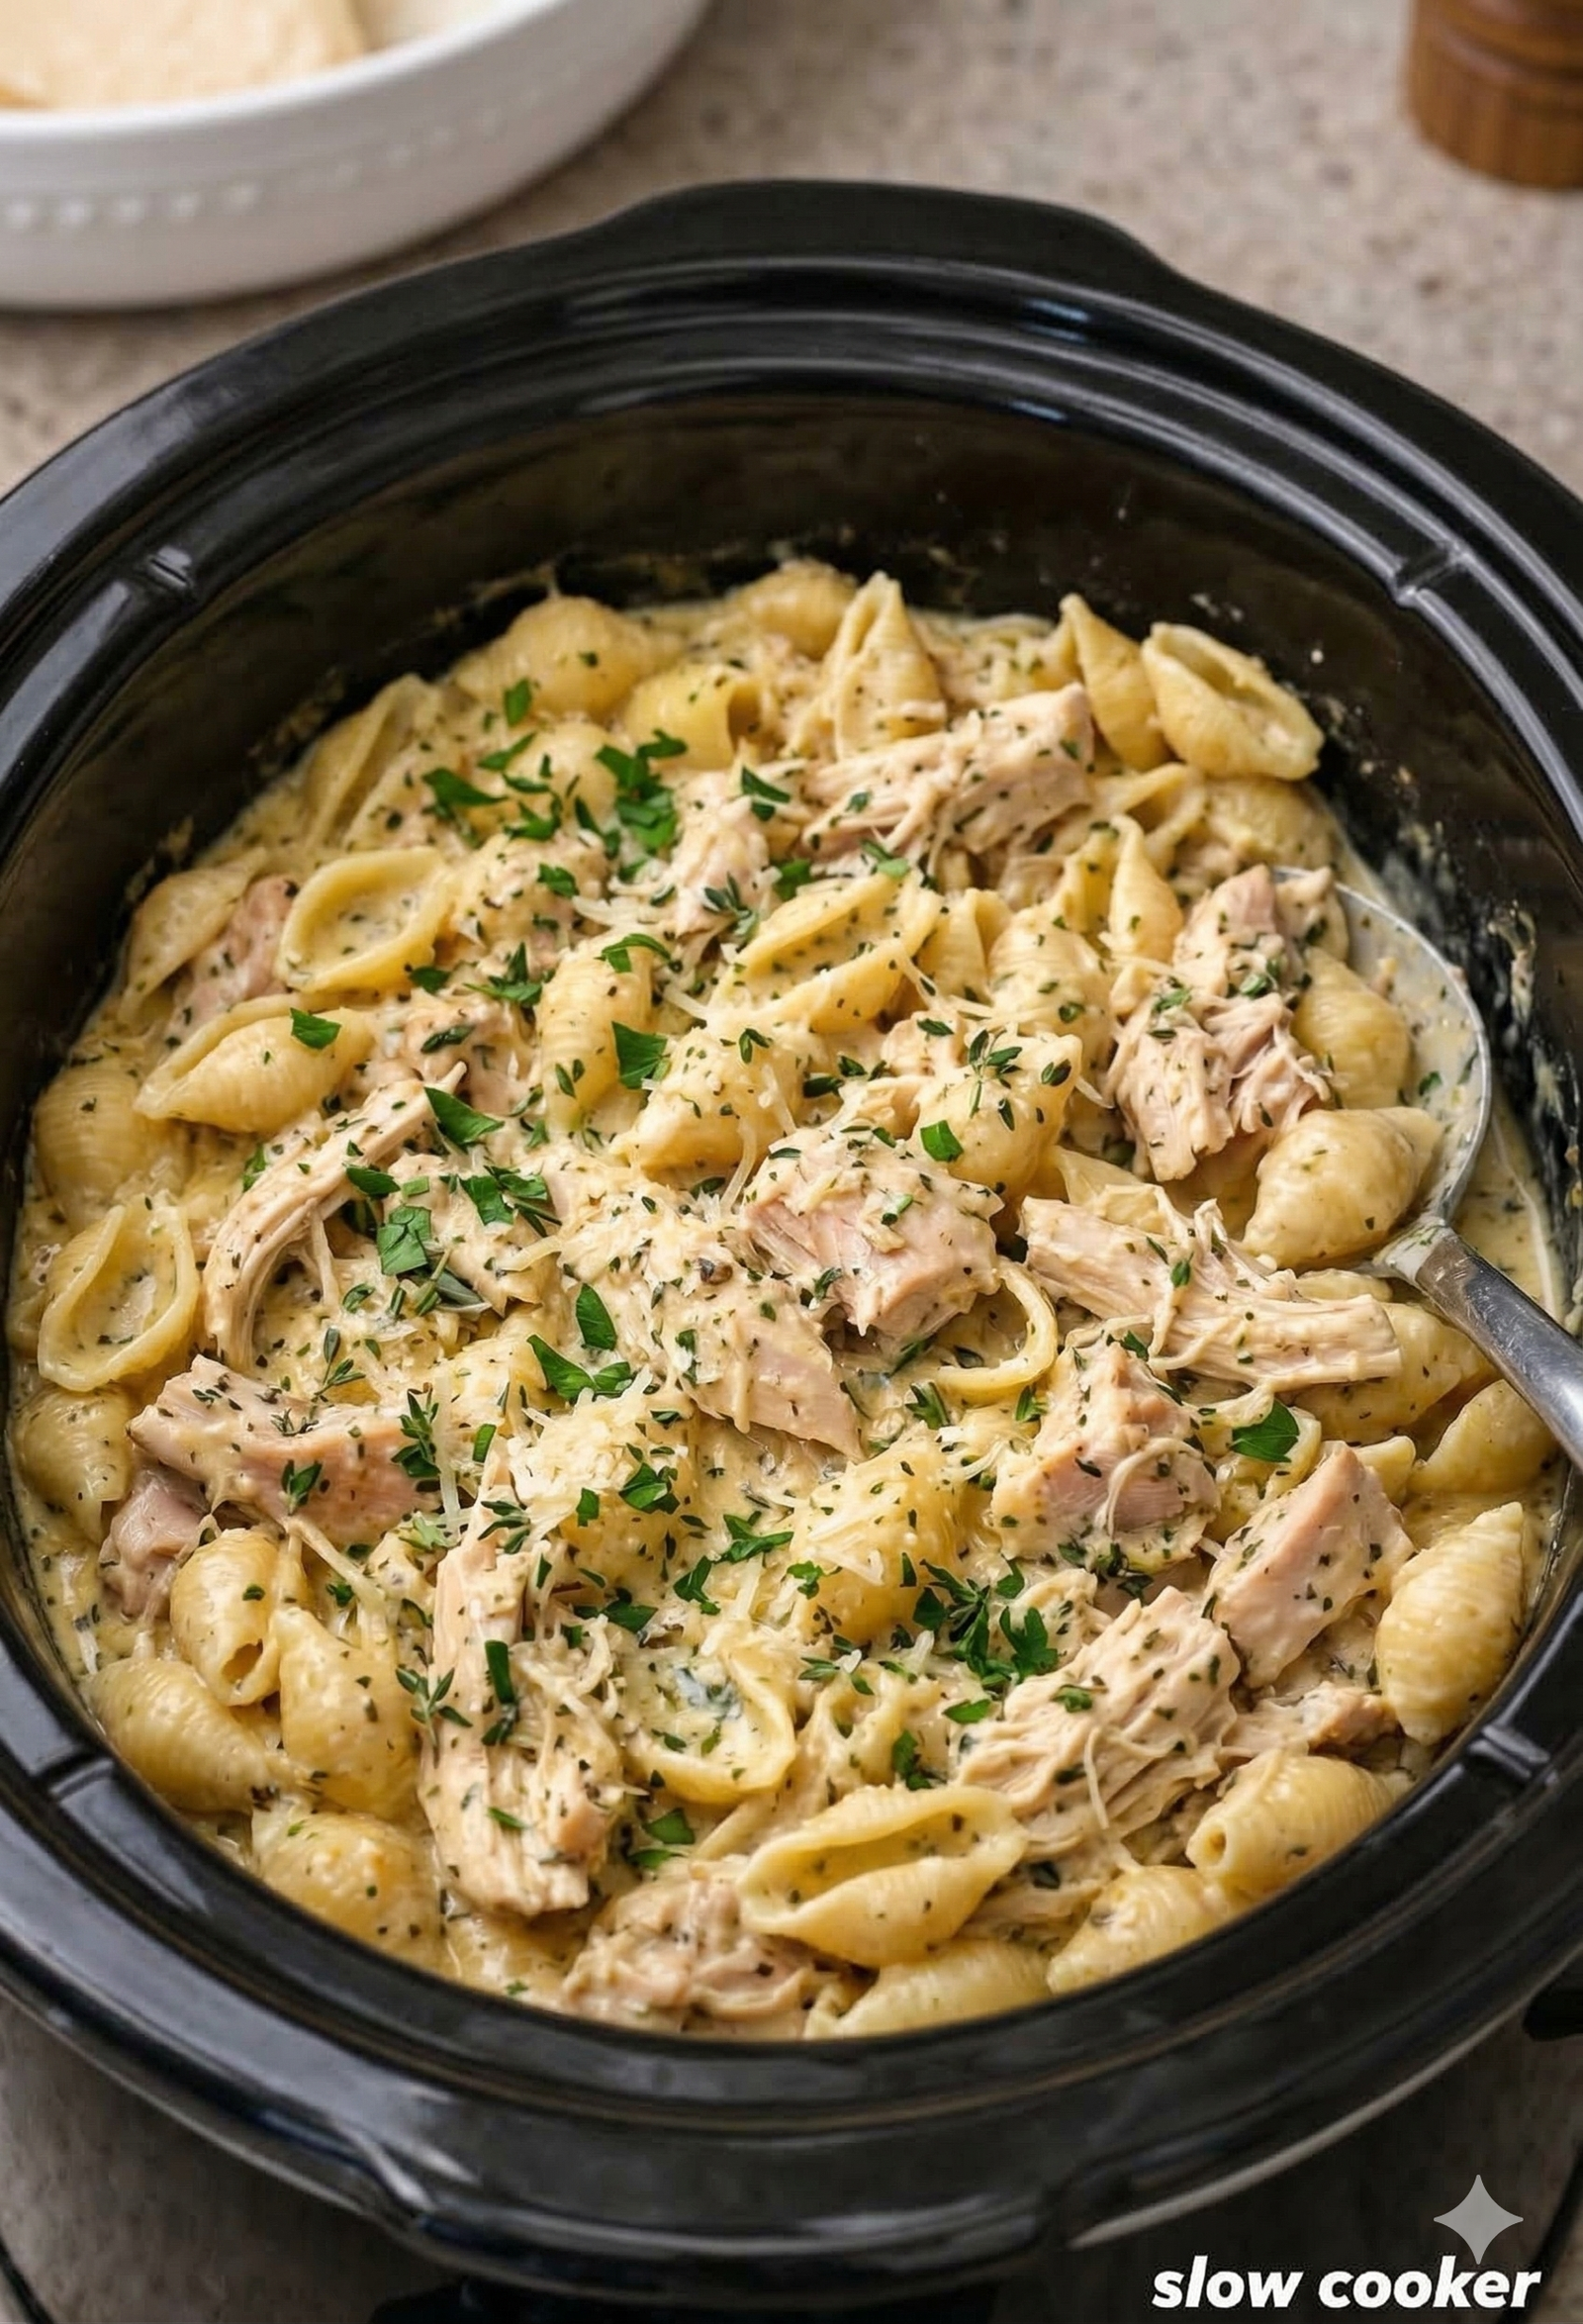
Slow Cooker Creamy Ranch Chicken & Shells

Slow Cooker Creamy Ranch Chicken & Shells

  • Prep time: 10 minutes

  • Cook time: 4โ€“6 hours (Low) or 2โ€“3 hours (High)

  • Servings: 4โ€“6


Ingredients

  • Chicken: 1.5 to 2 lbs boneless, skinless chicken breasts (or thighs).

  • The Sauce:

    • 1 block (8 oz) cream cheese, cubed and softened.

    • 1 packet (1 oz) Dry Ranch Seasoning mix.

    • 1 can (10.5 oz) Cream of Chicken soup (or Cream of Mushroom).

    • ยฝ cup chicken broth (adjust for desired thickness).

  • The Pasta: 1 box (12โ€“16 oz) medium pasta shells.

  • Garnish (Optional): Fresh parsley, shredded cheddar, or crumbled bacon.

Instructions

  1. Layer the Chicken: Place the raw chicken breasts in an even layer at the bottom of your slow cooker.

  2. Mix & Pour: In a medium bowl or measuring pitcher (like in your photo), whisk together the cream of chicken soup, chicken broth, and the dry ranch seasoning. Pour this mixture over the chicken.

  3. Add Cream Cheese: Scatter the cubed cream cheese on top of the sauce.

  4. Slow Cook: Cover and cook on Low for 5โ€“6 hours or High for 3 hours. The chicken is done when it reaches an internal temperature of 165ยฐF and shreds easily.

  5. Shred & Combine: Remove the chicken and shred it with two forks, then return it to the slow cooker. Stir the sauce well to ensure the cream cheese is fully melted and smooth.

  6. The Pasta: While the chicken is finishing, boil the pasta shells on the stove until al dente.

    Pro Tip: Never cook the pasta inside the slow cooker for the full duration, or it will turn to mush. Always add it at the very end.

  7. Final Toss: Fold the cooked shells into the creamy chicken mixture. If itโ€™s too thick, add a splash of milk or more broth. Garnish with parsley or extra cheese if you’re feeling fancy.


Flavor Variations

  • Spicy: Add a small can of diced green chiles or a dash of red pepper flakes to the sauce.

  • Extra Cheesy: Stir in 1 cup of shredded sharp cheddar 15 minutes before serving.

  • Veggies: Toss in a handful of fresh spinach or frozen peas at the very end; the residual heat will cook them perfectly.

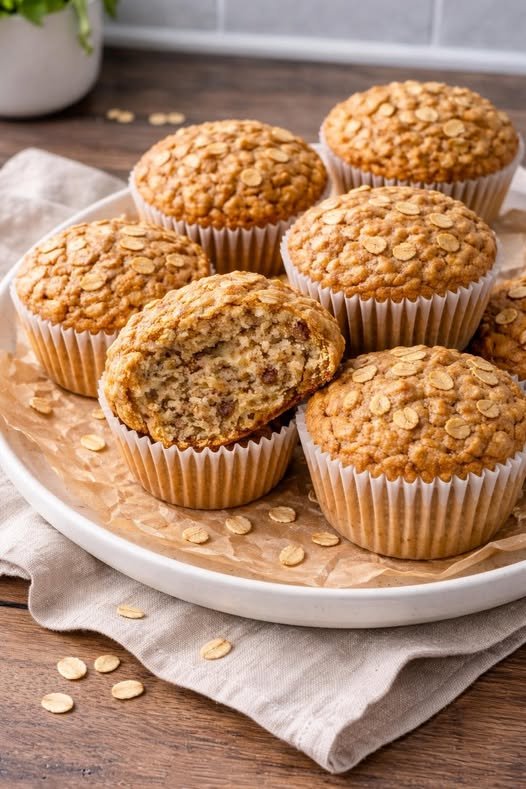
๐Ÿฅฃ The 3-Ingredient Recipe

๐Ÿฅฃ The 3-Ingredient Recipe

Prep time: 5 mins | Bake time: 15โ€“20 mins | Yields: 12 muffins

Ingredients

  1. 2 cups Rolled Oats: (Old-fashioned oats work best for texture).

  2. 3 Large Ripe Bananas: The spottier, the better! This is where all your natural sweetness comes from.

  3. 2 Large Eggs: This acts as the binder to keep them “soft and cozy.”

Instructions

  • Prep: Preheat your oven to 350ยฐF (175ยฐC) and line a muffin tin with silicone liners or spray well with non-stick spray.

  • Mash: In a large bowl, mash the bananas until they are mostly liquid.

  • Mix: Whisk in the eggs, then fold in the oats until everything is well combined.

  • Bake: Scoop the mixture into the muffin tins. Bake for 15โ€“20 minutes, or until the tops feel firm to the touch.

  • Cool: Let them sit for 5 minutes before removing from the tin.


๐Ÿ’ก Pro-Tips for the Best Texture

  • The “Flour” Hack: If you prefer a cake-like muffin over a dense oatmeal texture, pulse half of your oats in a blender to make a coarse flour before mixing.

  • Add-Ins (May add points): If you have a few points to spare, a dash of cinnamon, a splash of vanilla extract, or a handful of blueberries makes these feel like a gourmet bakery treat.

  • Storage: These stay soft in the fridge for up to 5 days, or you can freeze them for a quick “grab-and-go” snack.

Lemon & Ginger Wellness Tonic

Lemon & Ginger Wellness Tonic

๐Ÿ“ Ingredients:

  • 1 cup warm water
  • 1 tablespoon fresh lemon juice ๐Ÿ‹
  • ยฝ teaspoon grated ginger
  • 1 teaspoon honey (optional) ๐Ÿฏ
  • Pinch of black pepper (optional, boosts absorption)

๐Ÿ‘ฉโ€๐Ÿณ Step-by-Step Instructions:

  1. Heat water until warm (not boiling).
  2. Add freshly squeezed lemon juice.
  3. Mix in grated ginger.
  4. Stir well and let it sit for 1โ€“2 minutes.
  5. Add honey and black pepper if using.
  6. Drink slowly, preferably at night or early morning.

๐ŸŒฟ Benefits:

  • Helps with digestion & bloating
  • Supports metabolism slightly
  • Boosts immunity
  • Keeps you hydrated & refreshed

โ— Reality Check (Important):

  • This is not liposuction and wonโ€™t remove belly fat in 3 days.
  • It may reduce bloating, so your stomach can look a bit flatter temporarily.
  • Real fat loss needs healthy diet + exercise + consistency.

โ“ Q & A

Q: How many times should I drink it?

๐Ÿ‘‰ Once daily is enough.

Q: Can I drink it for a week?

๐Ÿ‘‰ Yes, itโ€™s safe in moderation.

Q: When is the best time?

๐Ÿ‘‰ Morning (empty stomach) or before bed.

Q: Will it help weight loss?

๐Ÿ‘‰ Slightly, as part of a healthy routine โ€” not alone.

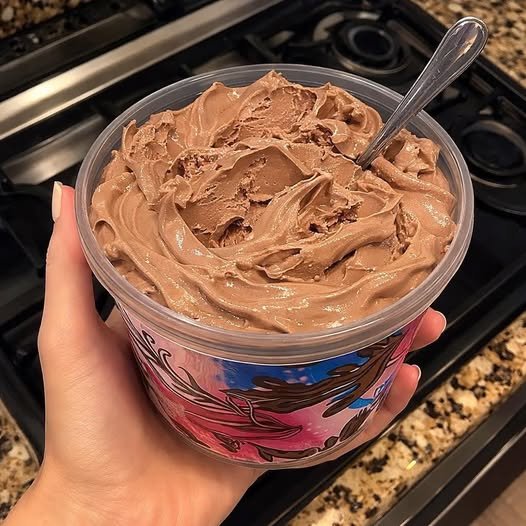
One Point Whipped Dessert

One Point Whipped Dessert

Light, airy, and creamyโ€”perfect for Weight Watchers or anyone looking for a low-calorie treat.


Ingredients

  • 1 cup fat-free Greek yogurt (plain)

  • 1 tbsp sugar-free instant pudding mix (Cheesecake, Vanilla, or Chocolate flavors work best)

  • 1 tbsp sugar-free whipped topping (like Cool Whip Free)

  • Optional: A dash of cinnamon or a few fresh berries for topping.


Instructions

  1. Combine: In a medium bowl, add the Greek yogurt and the dry sugar-free pudding mix.

  2. Whisk: Mix thoroughly until the pudding mix is fully incorporated and the texture starts to thicken.

  3. Fold: Gently fold in the sugar-free whipped topping. This keeps the dessert airy and gives it that “mousse” texture.

  4. Chill: For the best results, let it sit in the fridge for at least 15โ€“20 minutes. This allows the pudding mix to fully set and the flavors to meld.

  5. Serve: Top with your favorite fruit or a sprinkle of cinnamon and enjoy!


Pro Tips

  • Flavor Variations: Use Chocolate pudding mix for a “Frosty” style treat, or Lemon for a bright, summery mousse.

  • Volume: If you want it even fluffier, you can add an extra tablespoon of whipped topping (just be sure to adjust your points accordingly).