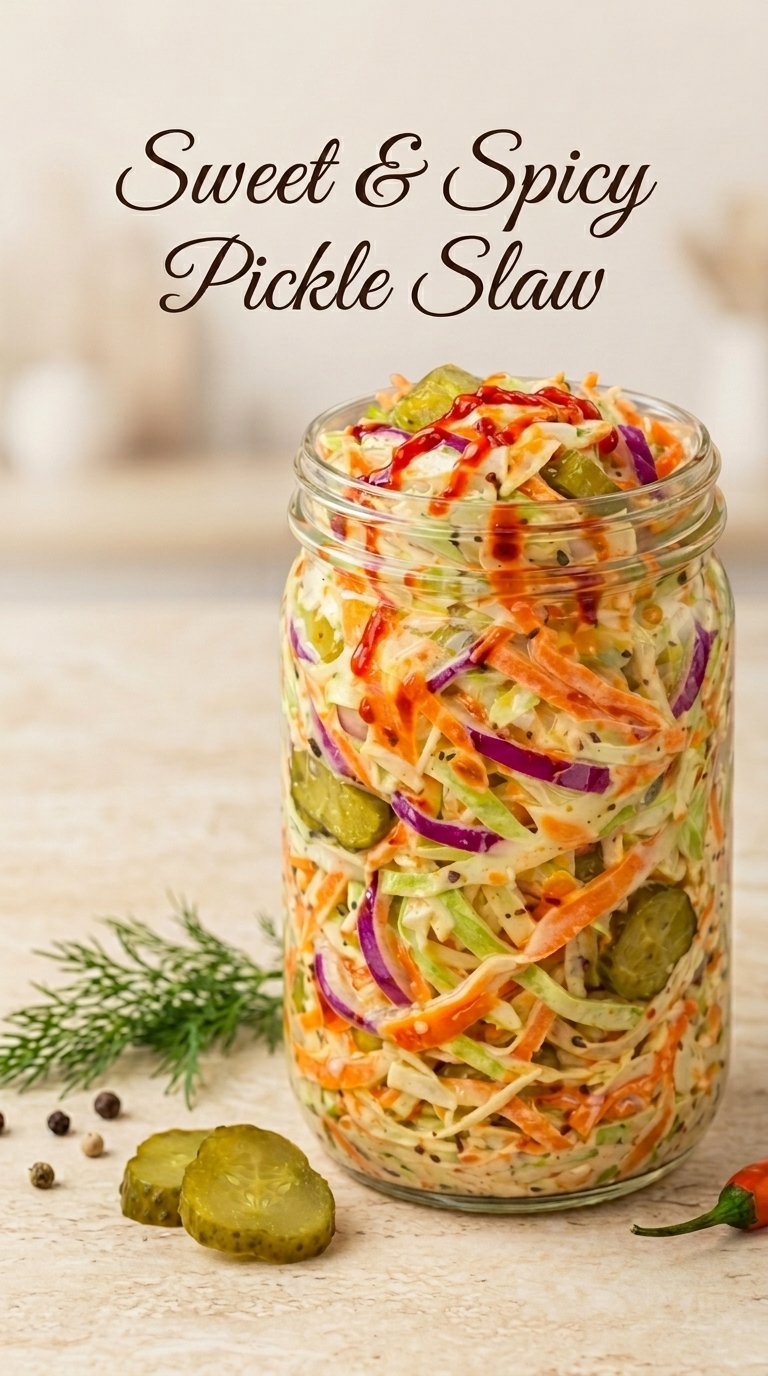
Sweet & Spicy Pickle Slaw

🥗 Sweet & Spicy Pickle Slaw

🛒 Ingredients

The Slaw Base:

  • 4 cups Shredded cabbage (green or a mix of red and green) 🥬

  • 1 cup Carrots (shredded) 🥕

  • 1 cup Dill pickles (chopped or sliced into rounds) 🥒

  • ½ Red onion (thinly sliced) 🧅

  • ¼ cup Fresh dill (chopped) 🌿

The Creamy Dressing:

  • ½ cup Greek yogurt or light mayonnaise 🥣

  • 2 tbsp Pickle juice (right from the jar!) 🍶

  • 1 tbsp Honey or maple syrup 🍯

  • 1 tsp Sriracha or your favorite hot sauce 🌶️

  • ½ tsp Garlic powder

  • Salt and black pepper to taste


👩‍🍳 Step-by-Step Instructions

  1. Prep the Veggies ➡️ If you aren’t using a pre-shredded mix, thinly slice your cabbage and carrots. Place them in a large mixing bowl. 🔪🥬

  2. Add the Pickles ➡️ Chop your dill pickles into bite-sized pieces. If you like a more rustic look, use the round slices as shown in the jar! 🥒

  3. Whisk the Dressing ➡️ In a separate small bowl, combine the yogurt (or mayo), pickle juice, sweetener, sriracha, and spices. Whisk until smooth and creamy. 🥣➡️🌶️

  4. Toss and Coat ➡️ Pour the dressing over the cabbage mixture. Use large spoons to toss everything together until every shred is perfectly coated. 🥗✨

  5. The Chill Factor ➡️ Transfer the slaw to a glass jar or airtight container. Refrigerate for at least 30 minutes before serving. This allows the flavors to meld and the cabbage to soften just slightly. ❄️🕒

  6. Final Garnish ➡️ Before serving, top with a fresh sprig of dill and an extra drizzle of hot sauce for that beautiful “spicy” look! 🌿🔥


❓ Common Questions & Answers

Q: Can I make this dairy-free?A: Definitely! ➡️ Just use a vegan mayonnaise or a plant-based unsweetened yogurt for the base of the dressing. 🥣🌱

Q: How long will this stay crunchy?A: This slaw is best eaten within 24–48 hours. ➡️ The longer it sits, the more moisture the cabbage releases, so it will become softer over time. 🥗💨

Q: What does this pair well with?A: It is the perfect topping for burgers, grilled sandwiches, or served alongside roasted chicken. 🍔🍗

Q: Can I use sweet pickles instead of dill?A: You can, but it will change the flavor significantly! ➡️ If you use sweet pickles, you might want to reduce the honey in the dressing so it doesn’t become overly sweet. 🍯🥒

Enjoy this refreshing and zesty twist on a classic! 🥒🌶️🥗✨
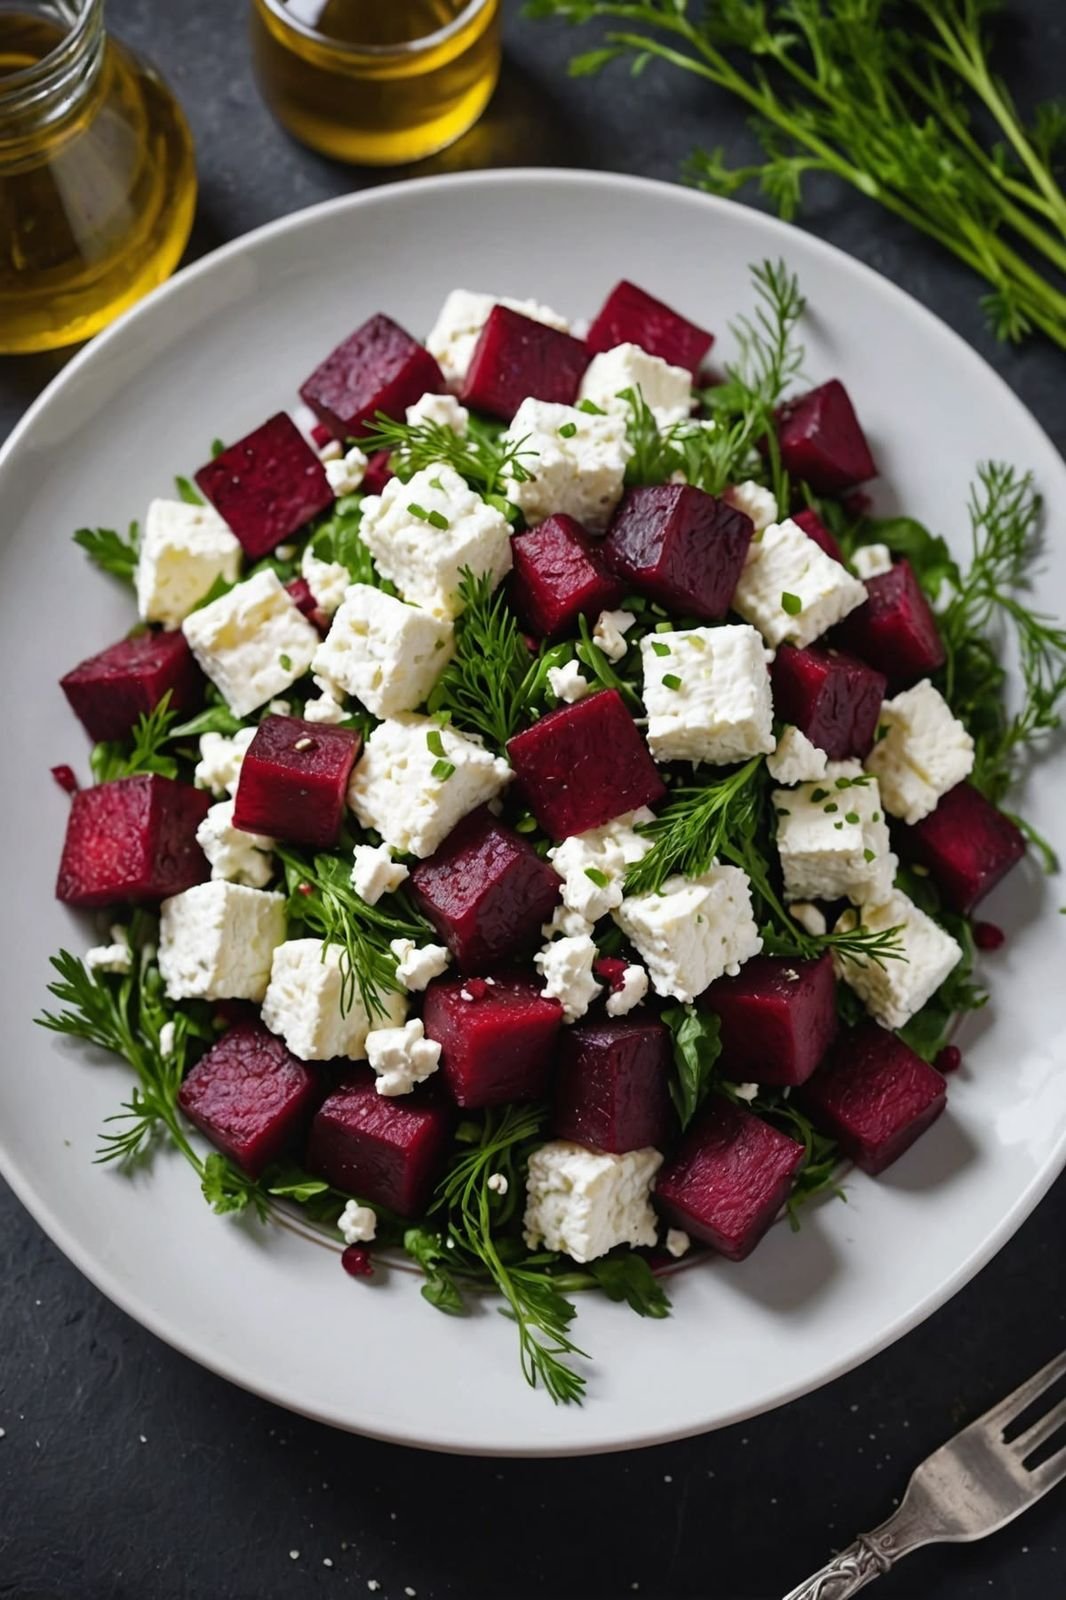
Roasted Beet & Feta Herb Salad

🥗 Roasted Beet & Feta Herb Salad

🛒 Ingredients

The Salad Base:

  • 3-4 medium Beets (peeled and cut into 1-inch cubes) ➡️ Red or golden beets work great!

  • 1 cup Feta cheese (cut into cubes or roughly crumbled) 🧀

  • 2 cups Fresh greens (arugula or mixed baby greens) 🥬

  • ½ cup Fresh dill and parsley (roughly chopped) 🌿

The Simple Vinaigrette:

  • 3 tbsp Extra virgin olive oil 🫒

  • 1 tbsp Balsamic vinegar or lemon juice 🍋

  • 1 tsp Honey or maple syrup 🍯

  • Salt and black pepper to taste


👩‍🍳 Step-by-Step Instructions

  1. Roast the Beets ➡️ Preheat your oven to 400°F (200°C). Toss the beet cubes with 1 tbsp of olive oil and a pinch of salt. Spread them on a baking sheet and roast for 35–45 minutes until tender when pierced with a fork. 🌡️🔥

  2. Cool Down ➡️ Let the beets cool to room temperature. This prevents the feta cheese from melting and the greens from wilting. ❄️

  3. Whisk the Dressing ➡️ In a small jar, combine the remaining olive oil, balsamic vinegar, honey, salt, and pepper. Shake well until combined. 🥣✨

  4. Layer the Greens ➡️ Place a bed of fresh greens on a large serving plate or in a shallow bowl. 🥬

  5. Assemble ➡️ Arrange the roasted beet cubes over the greens. Top with the feta cheese cubes. 🧀➡️🥗

  6. Garnish and Dress ➡️ Sprinkle the fresh dill and parsley generously over the top. Drizzle the vinaigrette evenly over the salad just before serving. 🌿🍯

  7. Serve ➡️ Toss lightly or serve as composed layers to maintain that striking color contrast! 🎨🍴


❓ Common Questions & Answers

Q: Can I use pre-cooked beets to save time? A: Absolutely! ➡️ You can find steamed or vacuum-packed beets in most grocery stores. Just cube them up and skip straight to the assembly! 🕒

Q: How do I stop the beets from staining the feta? A: To keep the white cheese looking bright, don’t toss the salad too vigorously. ➡️ Lay the beets down first, then place the feta on top right before serving. 🧀✨

Q: Can I add some crunch to this? A: Definitely. ➡️ Toasted walnuts, pine nuts, or even pumpkin seeds add a wonderful texture to this dish. 🥜

Q: Is this salad good for meal prep? A: Yes! ➡️ Keep the roasted beets, feta, and dressing in separate containers. Combine them when you’re ready to eat to keep everything fresh and crisp. 🥡

Enjoy your vibrant, nutrient-packed salad! 🥗🌿✨

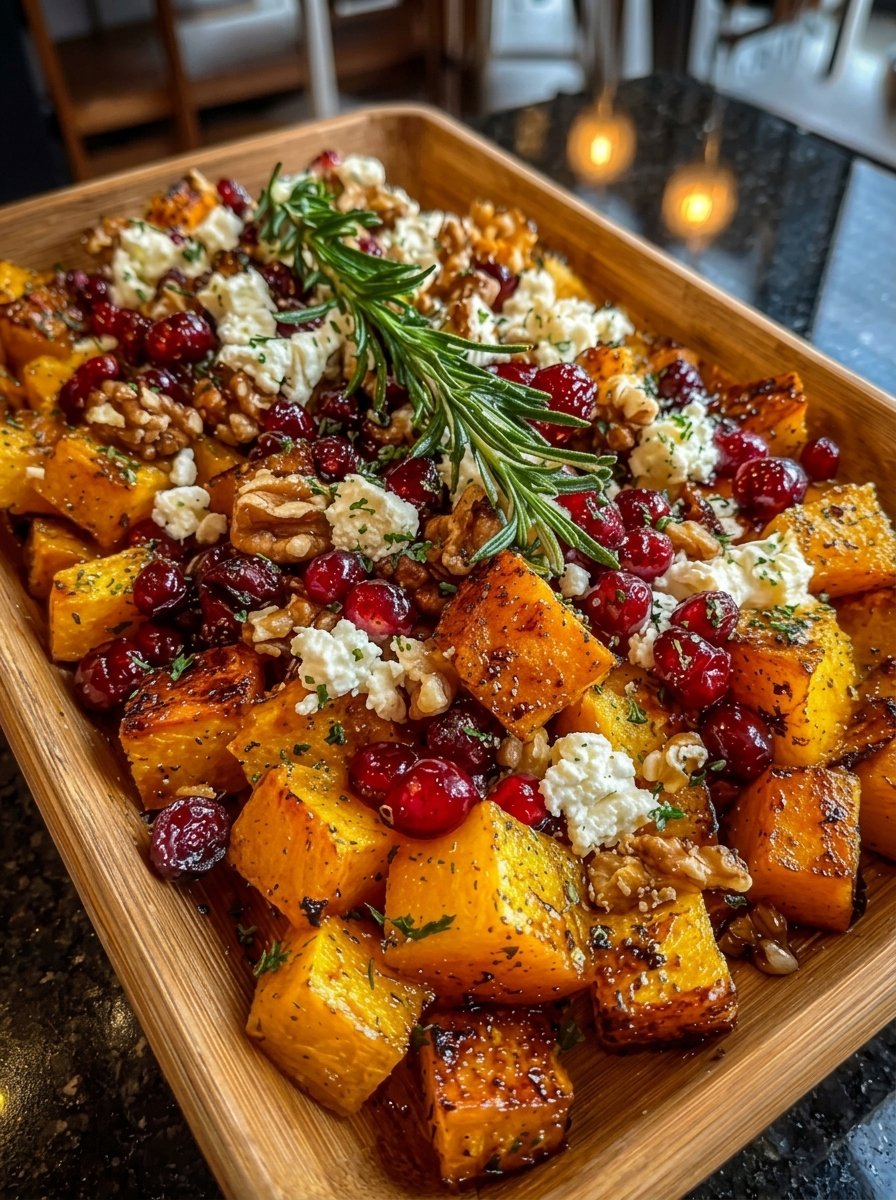
Roasted Butternut Squash & Cranberry Medley

Roasted Butternut Squash & Cranberry Medley

🛒 Ingredients

The Roast:

  • 1 large Butternut squash (peeled and cubed into 1-inch pieces) ➡️ Look for a matte skin for the best ripeness!

  • 1 ½ cups Fresh or frozen cranberries 🍒

  • 2 tbsp Olive oil 🫒

  • 1 tbsp Maple syrup or honey 🍯

  • 1 tsp Dried thyme or rosemary (plus a fresh sprig for garnish) 🌿

  • Salt and black pepper to taste

The Toppings:

  • ½ cup Feta cheese (crumbled) 🧀

  • ½ cup Walnuts or pecans (toasted) 🥜

  • 2 tbsp Fresh parsley (chopped) 🌿


👩‍🍳 Step-by-Step Instructions

  1. Heat it Up ➡️ Preheat your oven to 400°F (200°C). Line a large rimmed baking sheet with parchment paper. 🌡️

  2. Toss and Season ➡️ In a large bowl, combine the butternut squash cubes, olive oil, maple syrup, dried herbs, salt, and pepper. Toss until every piece is glistening. 🥣✨

  3. The First Roast ➡️ Spread the squash in a single layer on the baking sheet. Roast for 20 minutes. 🎃🔥

  4. Add the Berries ➡️ Remove the tray and scatter the cranberries among the squash. Toss gently. Roast for another 10–15 minutes until the squash is tender and the cranberries have softened or burst. 🍒➡️⏲️

  5. Toast the Nuts ➡️ While the squash finishes, lightly toast your walnuts in a dry pan over medium heat for 3–5 minutes until fragrant. 🥜🍳

  6. Assemble ➡️ Transfer the warm squash and cranberries to a serving platter. Sprinkle generously with crumbled feta, toasted walnuts, and fresh parsley. 🧀✨

  7. Final Touch ➡️ Place a fresh rosemary sprig in the center for that beautiful professional look! 🌿📸


❓ Common Questions & Answers

Q: Can I use Sweet Potato instead of Butternut Squash? A: Absolutely! ➡️ Sweet potatoes or even Kabocha squash work perfectly with these exact same flavors.

Q: My cranberries are very tart—how can I balance that? A: You can toss the cranberries in a teaspoon of sugar or extra maple syrup before adding them to the tray. ➡️ This creates a lovely sweet-tart glaze! 🍯🍒

Q: Can I make this dish ahead of time? A: You can roast the squash and berries ahead of time. ➡️ However, wait to add the feta and walnuts until just before serving to keep the cheese fresh and the nuts crunchy. 🧀🥜

Q: Is this dish served hot or cold? A: It is delicious both ways! ➡️ It’s traditionally served warm as a side dish, but it also makes a fantastic cold salad the next day when tossed with some arugula or spinach. 🥗

Enjoy this vibrant and flavorful autumn-inspired dish! 🎃🍂✨

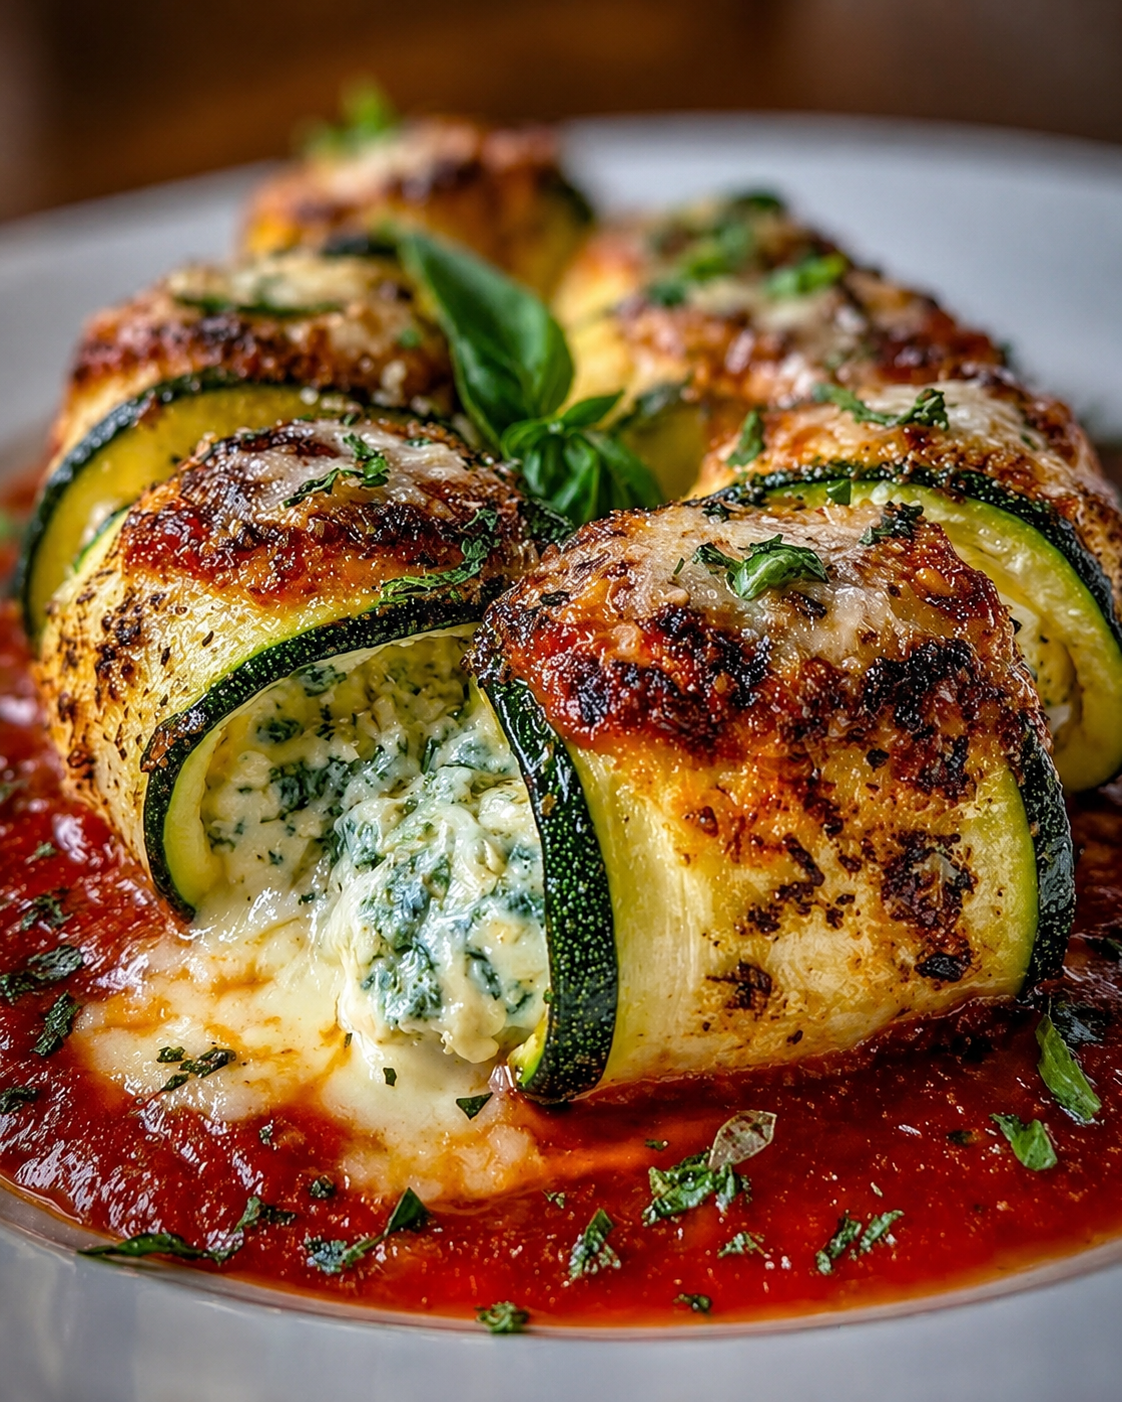
Zucchini Ricotta Roll-Ups

Zucchini Ricotta Roll-Ups

🛒 Ingredients

The Zucchini:

  • 3-4 large Zucchinis (sliced into thin, wide ribbons) ➡️ A mandoline works best for this!

  • 1 tbsp Olive oil 🫒

  • A pinch of salt and black pepper

The Savory Filling:

  • 1 ½ cups Ricotta cheese 🧀

  • ½ cup Parmesan cheese (grated)

  • 1 large Egg (lightly beaten)

  • 1 cup Fresh spinach (finely chopped) 🌿

  • 1 tsp Garlic powder or 2 cloves fresh garlic (minced) 🧄

  • 1 tbsp Fresh basil (chopped)

  • 1 cup Mozzarella cheese (shredded, divided) 🧀

The Base & Topping:

  • 2 cups Marinara sauce 🍅

  • Fresh basil leaves for garnish 🌿


👩‍🍳 Step-by-Step Instructions

  1. Prep the Zucchini ➡️ Slice your zucchinis into thin ribbons. Lay them on paper towels and sprinkle lightly with salt. Let them sit for 10 minutes, then pat dry to remove excess moisture. 🥒💨

  2. Soften the Ribbons ➡️ To make them easy to roll, lightly grill the ribbons for 1–2 minutes per side or roast them in the oven at 400°F (200°C) for 5 minutes until pliable.

  3. Mix the Filling ➡️ In a medium bowl, combine the ricotta, Parmesan, half of the mozzarella, egg, spinach, garlic, and herbs. Stir until well combined. 🥣🌿

  4. Sauce the Pan ➡️ Spread about 1 ½ cups of the marinara sauce on the bottom of a 9×13 inch baking dish. 🥘🍅

  5. Roll it Up ➡️ Lay a zucchini ribbon flat. Spread about 1 tablespoon of the cheese mixture along the ribbon, then roll it up tightly. 🥒➡️🌀

  6. Arrange and Bake ➡️ Place the rolls seam-side down in the baking dish. Top with the remaining marinara sauce and the rest of the mozzarella cheese. 🧀

  7. Cook to Perfection ➡️ Bake at 375°F (190°C) for 20–25 minutes until the cheese is bubbly and golden brown. 🌡️🔥

  8. Serve ➡️ Let it rest for 5 minutes, then garnish with fresh basil before serving. 🌿✨


❓ Common Questions & Answers

Q: Can I make this without egg? A: Yes! ➡️ The egg helps bind the cheese, but you can omit it. The filling will just be a bit softer and creamier.

Q: How do I stop it from being watery? A: The secret is the “salt and pat” method in Step 1. ➡️ Zucchini holds a lot of water, so removing it early keeps your sauce thick and rich! 🍅

Q: Can I add meat to this? A: Absolutely. ➡️ You can mix some cooked ground turkey or Italian sausage into the marinara sauce for extra heartiness. 🍖

Q: Is this good for freezing? A: It is best eaten fresh. ➡️ Zucchini can change texture when frozen and thawed, but you can certainly keep leftovers in the fridge for up to 3 days! ❄️

Enjoy this beautiful and flavorful meal! 🥒🇮🇹✨

Fluffy Homemade Pancakes

Ingredients

  • 2 cups all-purpose flour
  • 2 tablespoons sugar
  • 1 tablespoon baking powder
  • 1/2 teaspoon salt
  • 2 eggs
  • 1 3/4 cups milk
  • 1/4 cup melted butter
  • 1 teaspoon vanilla extract

Optional Toppings

  • Maple syrup
  • Butter
  • Strawberries or blueberries
  • Whipped cream

Instructions

1. Mix dry ingredients

In a large bowl, whisk together:

  • Flour
  • Sugar
  • Baking powder
  • Salt

2. Mix wet ingredients

In another bowl, whisk:

  • Eggs
  • Milk
  • Melted butter
  • Vanilla extract

3. Combine

Pour wet ingredients into dry ingredients and stir gently until just combined. Do not overmix — a few lumps are fine

4. Cook pancakes

Heat a lightly buttered skillet or griddle over medium heat.

Pour about 1/4 cup batter for each pancake.

Cook until bubbles form on top, then flip and cook the other side until golden brown.

5. Serve warm

Stack pancakes and top with butter and maple syrup.

Tips for Extra Fluffy Pancakes

  • Let the batter rest for 5 minutes before cooking.
  • Avoid pressing pancakes with the spatula.
  • Use medium heat so pancakes cook evenly.
  • Add chocolate chips or blueberries for extra flavor

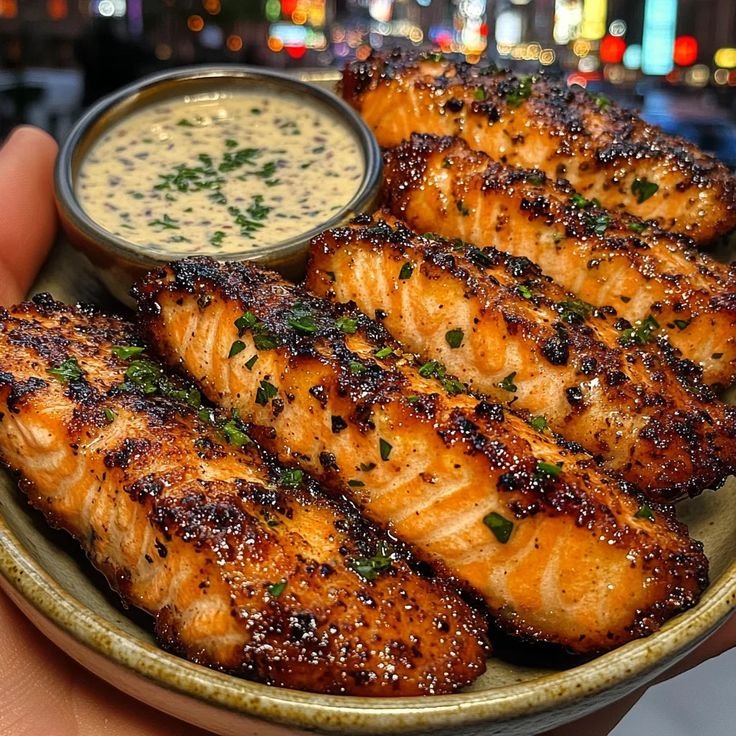
Crispy Salmon Strips with Herb Tartar Dip

Crispy Salmon Strips with Herb Tartar Dip


🥗 Necessary Ingredients

For the Salmon:

  • 🐟 1 lb Fresh salmon fillet, sliced into even strips.

  • 🧂 1 tsp Garlic powder.

  • 🧂 1 tsp Onion powder.

  • 🧂 1/2 tsp Smoked paprika.

  • 🧂 1/4 tsp Black pepper.

  • 🥑 1 tbsp Avocado oil for searing.

For the Herb Tartar Dip:

  • 🥣 1/2 cup Greek yogurt (a high-protein, Mediterranean-friendly base).

  • 🥒 1 tbsp Finely minced pickles.

  • 🌿 1 tbsp Fresh chives or parsley, minced.

  • 🍋 1 tsp Fresh lemon juice (often used in the user’s preferred infusions).


👩‍🍳 Step-by-Step Instructions

  • 🔪 Prepare: Slice the salmon into strips approximately 1 inch wide.

  • ➡️ 🧂 Season: Mix the spices in a small bowl and coat each salmon strip thoroughly.

  • ➡️ 🔥 Heat: Place a large skillet over medium-high heat and add the avocado oil.

  • ➡️ 🍳 Sear: Place the strips in the pan and cook for 3–4 minutes per side until golden and crisp.

  • ➡️ 🥣 Whisk: While the salmon cooks, combine the dip ingredients in a small bowl.

  • ➡️ ✨ Finish: Remove the salmon from the heat and garnish with fresh herbs before serving.


❓ Q/A Section

Q: Can I prepare this in an air fryer? 🍟 A: Yes! Cook the seasoned strips at 200°C for 8–10 minutes, flipping them halfway through to ensure they are crisp on all sides.

Q: Is this recipe suitable for a sugar-free lifestyle? ✅ A: Yes, this recipe contains no added sugars or flour, making it ideal for those prioritizing healthy, sugar-free meals.

Q: How do I store the leftovers? 🧊 A: Store any remaining salmon strips in an airtight container in the refrigerator for up to 2 days. Reheat gently in a pan to maintain the crispy exterior.

Q: What is the best way to ensure the salmon is cooked? 🐟 A: The salmon is ready when it is opaque throughout and flakes easily with a fork, ensuring it remains moist on the inside.