Crispy Potato Nuggets

Crispy Potato Nuggets

Ingredients

  • 3 medium potatoes (Russet or Yukon Gold work best)

  • 1 large egg

  • 1/4 cup cornstarch (or all-purpose flour)

  • 1/4 cup breadcrumbs (plus extra for coating)

  • 2 tablespoons fresh parsley, finely chopped

  • 1/2 teaspoon garlic powder

  • Salt and black pepper to taste

  • Oil for frying (vegetable or canola)

Instructions

  1. Prepare the Potatoes: Peel the potatoes and cut them into chunks. Boil them in salted water until fork-tender (about 15–20 minutes). Drain well and mash them in a large bowl until completely smooth.

  2. Mix the Base: Add the egg, cornstarch, breadcrumbs, parsley, garlic powder, salt, and pepper to the mashed potatoes. Mix thoroughly until a soft dough forms. If the mixture feels too sticky, add an extra tablespoon of cornstarch.

  3. Shape the Nuggets: Take a small spoonful of the mixture and roll it into a ball, then flatten it slightly into a nugget or “tater tot” shape.

  4. Coat (Optional but Recommended): For extra crunch, roll each nugget in a shallow bowl of extra breadcrumbs until evenly coated.

  5. Fry: Heat about an inch of oil in a skillet over medium heat. Once the oil is shimmering, carefully add the nuggets in batches. Fry for 3–4 minutes per side until they reach a deep golden brown.

  6. Drain and Serve: Transfer the nuggets to a plate lined with paper towels to remove excess oil.

    Q: Can I make these ahead of time? A: Yes! You can shape the nuggets and even coat them in breadcrumbs, then store them in the refrigerator for up to 24 hours before frying. You can also freeze them in a single layer on a baking sheet; once frozen, transfer them to a bag for up to 3 months. Fry them directly from frozen, adding an extra minute or two to the cooking time.

    Q: Why did my nuggets fall apart in the oil? A: This usually happens if the mashed potatoes are too watery or if there isn’t enough binder (egg and cornstarch). Make sure to drain your potatoes very well after boiling. If the dough feels too loose, chilled mashed potatoes often hold their shape better than warm ones.

    Q: Can I bake these instead of frying? A: Absolutely. Arrange them on a parchment-lined baking sheet and lightly spray them with oil. Bake at 200°C (400°F) for about 20–25 minutes, flipping halfway through, until they are golden and crisp.

    Q: How do I make them extra flavorful? A: Feel free to mix in 1/4 cup of grated Parmesan or sharp cheddar cheese into the dough. You can also swap the parsley for cilantro or add a pinch of smoked paprika for a deeper, earthier flavor.
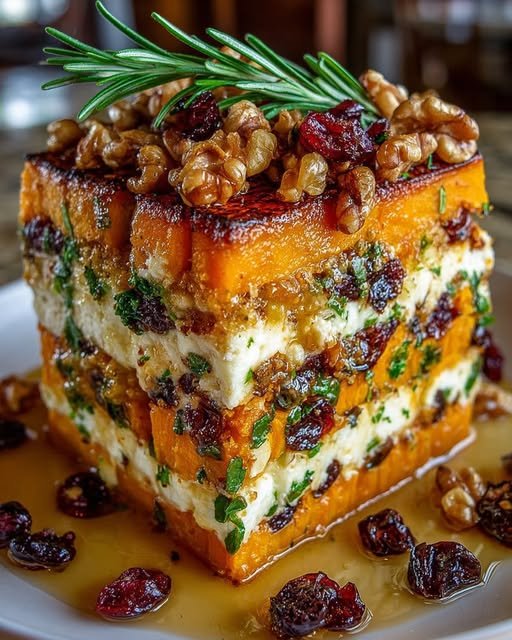
🥘 Layered Winter Root Vegetable Lasagna

🥘 Layered Winter Root Vegetable Lasagna

With Feta, Toasted Walnuts, and a Cranberry-Honey Glaze

A cozy, grain-free “patchwork” of seasonal flavors. Perfect as a vegetarian main or a showstopping holiday side.

  • Prep time: 20 mins

  • Cook time: 45 mins

  • Total time: 65 mins

  • Yields: 6 servings

  • Diet: Vegetarian, Gluten-Free


🛒 Ingredients

The Vegetable Base:

  • 2 medium Sweet potatoes, thinly sliced (approx. 1/8 inch)

  • 2 cups Butternut squash, diced or thinly sliced

  • 2 medium Carrots, thinly sliced into rounds

  • 2 tbsp Olive oil

  • Salt and black pepper, to taste

The Filling & Crunch:

  • 1 cup Feta cheese, crumbled

  • ½ cup Walnuts, toasted and chopped

The Cranberry-Honey Glaze:

  • ½ cup 100% pure cranberry juice

  • 2 tbsp Honey

  • 1 tbsp Balsamic vinegar


👩‍🍳 Instructions

1. Prep and Roast

Preheat your oven to 375°F (190°C). Grease a 9×9 inch baking dish or a small casserole dish with olive oil. In a large bowl, toss the sliced sweet potatoes, squash, and carrots with 1 tbsp of olive oil, salt, and pepper. Spread them on a baking sheet and roast for 15–20 minutes until just tender.

2. The Art of Layering

Start with a foundational layer of roasted sweet potatoes on the bottom of your prepared dish. Sprinkle a portion of the crumbled feta and chopped walnuts. Follow with a layer of squash, then carrots. Repeat the layers—vegetables, feta, walnuts—until the dish is full, finishing with a beautiful “patchwork” layer of sweet potatoes on top.

3. Simmer the Glaze

While the vegetables are roasting, combine the cranberry juice, honey, and balsamic vinegar in a small saucepan. Simmer over medium heat for 5–7 minutes until the liquid reduces into a thick, glossy glaze.

4. The First Bake

Drizzle about ⅔ of the glaze evenly over the assembled lasagna. Cover the dish tightly with foil to lock in moisture. Bake for 30 minutes.

5. The Finishing Touch

Remove the foil and drizzle the remaining glaze over the top. Return the dish to the oven, uncovered, for another 10–15 minutes. Look for the edges to be golden and the glaze to be bubbling and caramelized.

6. Rest and Serve

Let the lasagna rest for 10 minutes before slicing. This allows the layers to set so you get those perfect, clean “cake-like” slices.


💡 Pro-Tips for Success

  • The Mandoline Advantage: For those perfectly even layers, use a mandoline slicer for the sweet potatoes and carrots. (Please use the safety guard!)

  • Make it Ahead: You can assemble the layers a day in advance and keep them in the fridge. Just add the glaze right before you pop it in the oven.

  • Vegan Swap: Replace the feta with a dairy-free almond-based “feta” or simply extra toasted pecans and a sprinkle of nutritional yeast.

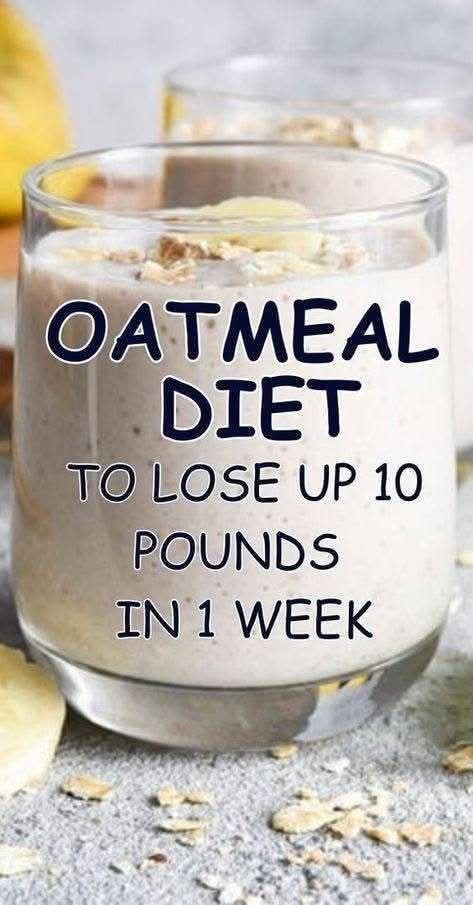
Banana Oatmeal Weight-Loss Smoothie

Banana Oatmeal Weight-Loss Smoothie

Description

A creamy, fiber-rich oatmeal smoothie made with oats, banana, and protein-boosting ingredients to keep you full for hours. Perfect for breakfast or a meal replacement when trying to manage calories.

 Ingredients (1 Serving)

  • ½ cup rolled oats

  • 1 medium banana

  • 1 cup unsweetened almond milk (or skim milk)

  • ½ cup Greek yogurt (plain, non-fat)

  • 1 tablespoon chia seeds

  • ½ teaspoon cinnamon

  • 1 teaspoon honey (optional)

  • ½ cup ice cubes

 Instructions

  1. Soften oats (optional but recommended):
    Soak oats in almond milk for 5–10 minutes for smoother texture.

  2. Add all ingredients to a blender.

  3. Blend until smooth and creamy.

  4. Pour into a glass and enjoy immediately.


💡 Tips for Best Results

  • ✔ Use rolled oats, not instant flavored oats.

  • ✔ Add protein powder if using as a meal replacement.

  • ✔ For lower calories, skip honey.

  • ✔ Prep overnight oats in the fridge for quicker mornings.

  • ✔ Pair with light exercise for better results.

 Servings

  • Makes: 1 serving

  • Can be doubled for 2 servings

Nutritional Information (Approx. Per Serving)

Nutrient Amount
Calories 350–400 kcal
Protein 18–22g
Carbohydrates 55g
Fiber 9–11g
Fat 8–10g
Sugar 18g (natural + optional honey)

(Values vary depending on ingredients used.)

 Health Benefits

1️⃣ Keeps You Full Longer

Oats and chia seeds are high in fiber, helping reduce hunger cravings.

2️⃣ Supports Digestion

Soluble fiber improves gut health.

3️⃣ Helps Control Blood Sugar

Oats have a low glycemic index compared to refined carbs.

4️⃣ Boosts Metabolism

Protein from Greek yogurt supports muscle and fat burning.

5️⃣ Heart Healthy

Oats may help reduce LDL (bad cholesterol).

 Q & A

Q1: Can I lose 10 pounds in one week with this?

Realistically, no. Safe weight loss is 1–2 pounds per week. Rapid loss is mostly water weight.

Q2: Can I drink this twice a day?

Yes, but ensure you’re getting enough protein, vegetables, and healthy fats throughout the day.

Q3: Can I use water instead of milk?

Yes, but it will be less creamy and slightly lower in protein.

Q4: Is this good for diabetics?

It can be, but skip honey and monitor portion size. Always consult a healthcare provider.

Q5: Can I make it vegan?

Yes. Use plant-based yogurt and milk.

Ginger, Turmeric & Lemon Wellness Tonic

Ginger, Turmeric & Lemon Wellness Tonic

Ingredients

  • 1-inch piece of Fresh Ginger: Peeled and grated.

  • 1/2 tsp Turmeric Powder: Or a small piece of fresh turmeric root.

  • 1 Fresh Lemon: Juiced.

  • 1 tbsp Raw Honey: To balance the spice and acidity.

  • 2 cups Warm Water: Not boiling, to preserve the nutrients.

  • A pinch of Black Pepper: This helps the body absorb the active compounds in turmeric.

Step-by-Step Instructions

  1. Prepare the Roots: Grate the fresh ginger (and turmeric, if using fresh) into a small bowl. This ensures the natural juices are fully released.

  2. Combine Aromatics: Place the grated ginger, turmeric powder, and the pinch of black pepper into a large glass jar or mug.

  3. Add Warm Water: Pour the warm water over the ingredients. Avoid using boiling water, as it can diminish some of the Vitamin C in the lemon.

  4. Infuse: Let the mixture steep for about 5–10 minutes.

  5. Final Additions: Stir in the fresh lemon juice and the honey until the honey is completely dissolved.

  6. Strain and Serve: You can drink it with the pulp or strain it through a fine-mesh sieve for a smoother liquid. Enjoy it warm.


Common Questions & Answers

Q: When is the best time to drink this tonic? A: Many people prefer to drink this first thing in the morning on an empty stomach to support hydration, or in the evening as a soothing ritual.

Q: Can this drink dissolve kidney stones? A: While lemon juice contains citrate, which can help prevent some types of stones from forming, this drink cannot “dissolve” existing stones or repair damaged organs. If you have kidney issues, you should follow the advice of a medical professional.

Q: How often can I drink this? A: One cup a day is a common serving. However, turmeric and ginger are potent; if you are on blood-thinning medication or have gallstones, consult a doctor before making this a daily habit.

Q: Can I store this for later? A: It is best consumed fresh. If you must store it, keep it in the refrigerator for no more than 24 hours and stir well before drinking.

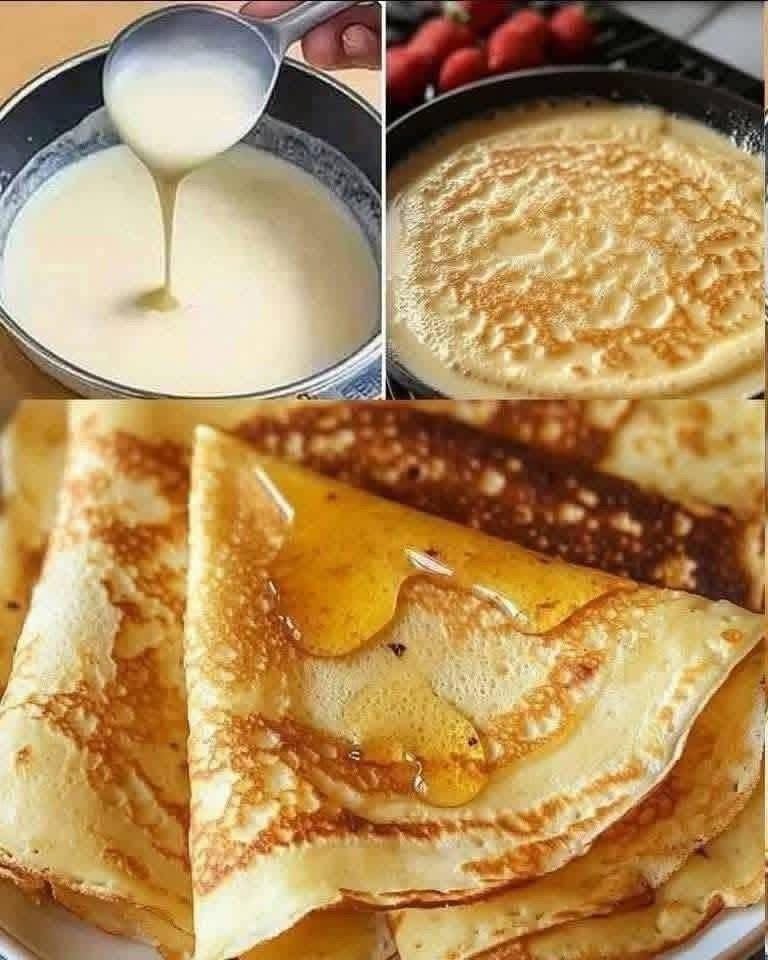
Silky Thin Honey Crepes

Silky Thin Honey Crepes

These are light, paper-thin pancakes that are perfect when drizzled with natural honey.

Ingredients

  • 2 Large Eggs.

  • 1.5 cups Milk: Any milk of your choice.

  • 1 cup Flour: Sifted to avoid lumps.

  • 2 tbsp Butter: Melted and cooled slightly.

  • 1 tbsp Honey or Maple Syrup: Plus extra for drizzling.

  • 1/4 tsp Salt.

Step-by-Step Instructions

  1. Blend the Batter: In a blender or mixing bowl, combine eggs, milk, melted butter, honey, and salt. Gradually add the flour while whisking until the batter is completely smooth and thin (like the consistency of heavy cream).

  2. Rest the Batter: Let the batter sit for 10 minutes. This allows the bubbles to settle so the crepes don’t tear.

  3. Heat the Pan: Lightly grease a non-stick skillet over medium heat.

  4. Pour & Swirl: Lift the pan and pour about 1/4 cup of batter into the center. Quickly tilt and swirl the pan so the batter covers the entire bottom in a very thin layer.

  5. Cook: Cook for about 60 seconds until the edges start to turn golden and lift away from the pan.

  6. Flip: Carefully flip the crepe and cook the other side for 30 seconds.

  7. Serve: Fold the crepes into triangles and drizzle generously with honey while warm.

    For the Crepes:

    Q: Why are my crepes breaking when I flip them? A: This usually happens if the pan isn’t hot enough or if the crepe is flipped too early. Wait until the edges are clearly dry and slightly browned before flipping.

    Q: Can I make these flourless? A: You can substitute the flour with Oat Flour or a fine Almond Flour for a gluten-free version. The texture will be slightly more delicate, so handle them with care.

    Q: How do I keep the crepes from sticking together? A: If you are making a large batch, stack them with a small piece of parchment paper between each one.

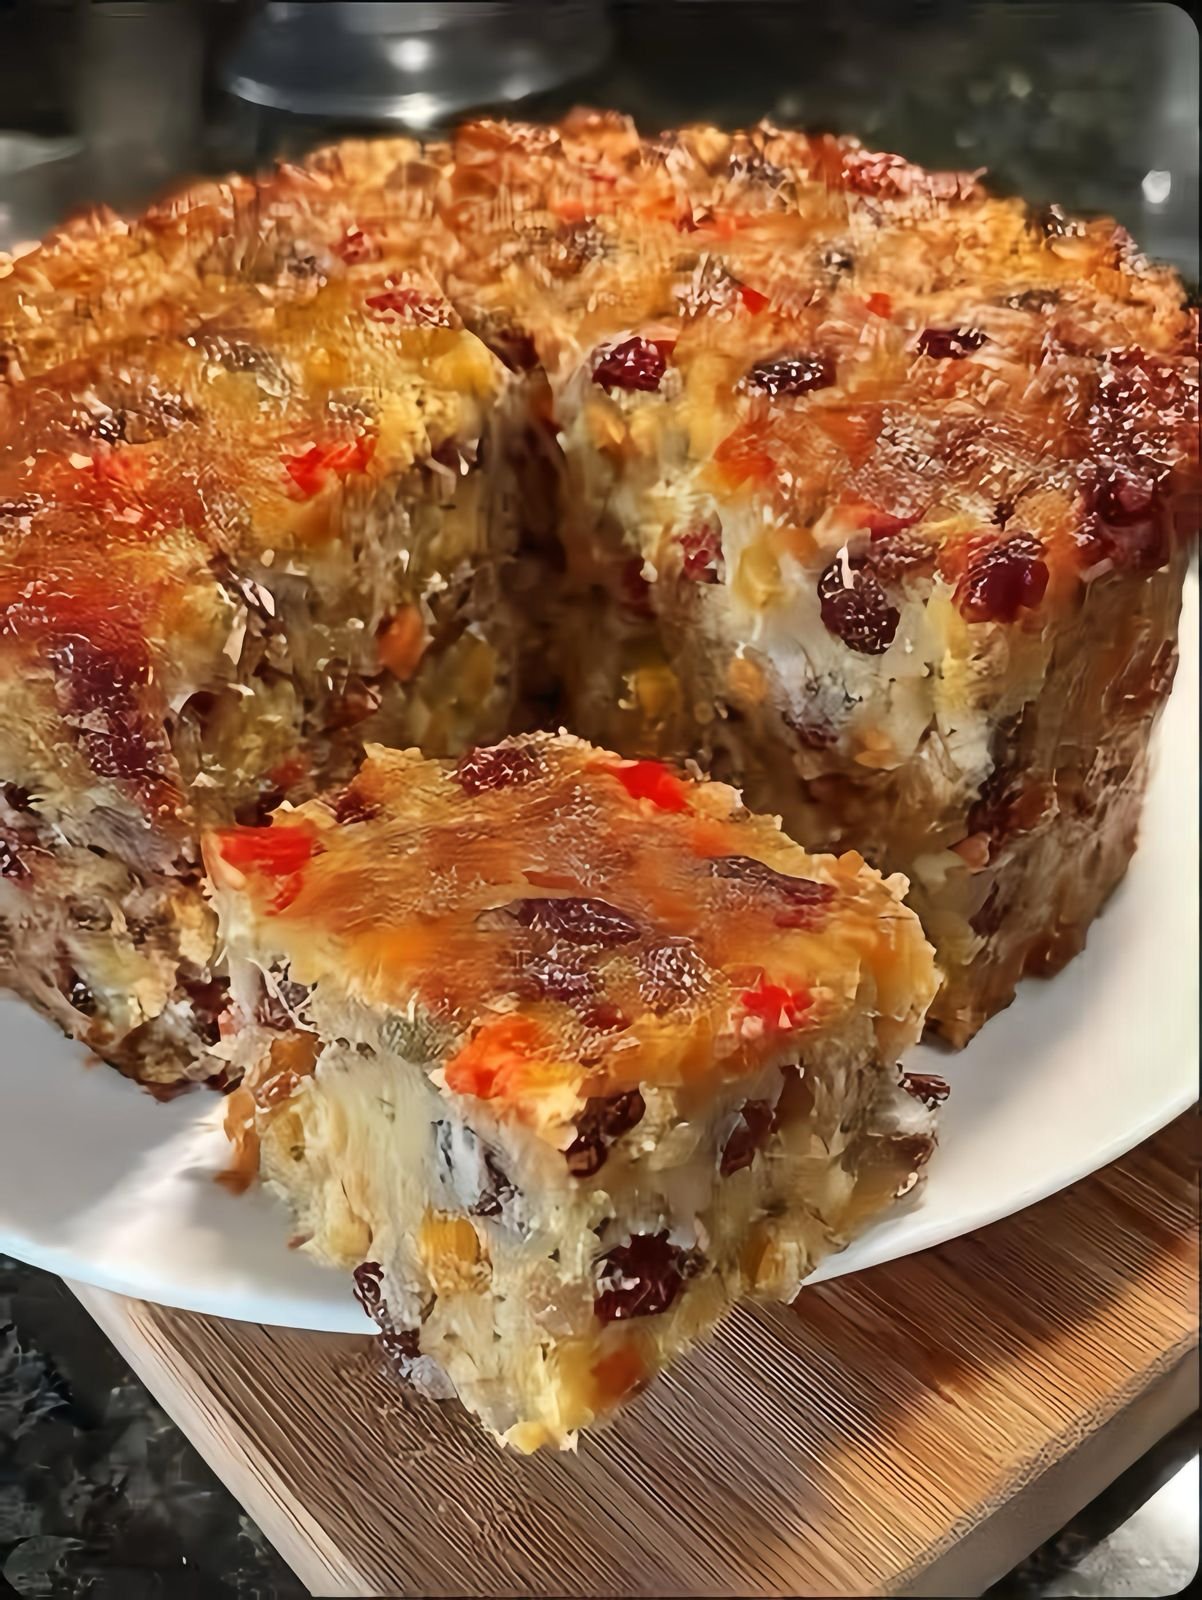
Flourless Fruit & Nut Breakfast Cake

Flourless Fruit & Nut Breakfast Cake

Ingredients

  • 6 Large Eggs: Room temperature for the best lift.

  • 1 cup Greek Yogurt (Plain/Unsweetened): This provides the creamy, high-protein base.

  • 1/2 cup Almond Flour or Ground Oats: To give the cake a sturdy, sliceable structure.

  • 1 cup Mixed Dried Fruits: Red cranberries, golden raisins, and chopped dried apricots (these create the colorful spots seen in your photo).

  • 1/2 cup Chopped Walnuts or Pecans: For a nice crunch.

  • Sweetener: 1/4 cup Honey, Maple Syrup, or a pinch of Stevia (depending on your preference).

  • Flavorings: 1 tsp Vanilla extract and 1/2 tsp Cinnamon.

  • 1 tsp Baking Powder: To help it rise slightly.


Step-by-Step Instructions

  1. Preheat and Prep: Preheat your oven to 180°C (350°F). Grease a deep 8-inch round baking pan or line it with parchment paper for easy removal.

  2. Whisk the Wet Ingredients: In a large bowl, whisk the eggs, Greek yogurt, vanilla extract, and your choice of sweetener until the mixture is completely smooth and bubbly.

  3. Add the Dry Base: Gently stir in the almond flour (or ground oats), cinnamon, and baking powder. Mix until no lumps remain.

  4. Fold in the Fruit and Nuts: Gently fold in the dried cranberries, golden raisins, apricots, and chopped nuts. Ensure the fruit is distributed evenly so every slice has those beautiful pops of color.

  5. Bake to Perfection: Pour the batter into your prepared pan. Bake for 40–50 minutes. The cake is ready when the top is a deep golden brown and a toothpick inserted into the center comes out clean.

  6. The Cooling Secret: This is a moist, flourless cake, so it must cool completely in the pan before you slice it. This allows the center to set so you get those clean, professional-looking edges.

  7. Serve: Slice into thick wedges. It is delicious served warm or cold.


Common Questions & Answers

Q: Can I use fresh fruit instead of dried?A: You can use fresh blueberries or diced apples, but keep in mind that fresh fruit releases more moisture. You may need to bake it for an extra 5–10 minutes to ensure the center isn’t too soft.

Q: How do I store this cake?A: Because of the high protein and fruit content, store it in an airtight container in the refrigerator for up to 5 days. It actually tastes even better the next day!

Q: Is this recipe suitable for an Air Fryer?A: Yes! Pour the batter into an air-fryer-safe tin and bake at 160°C (320°F) for 25–30 minutes. Check the center frequently toward the end.

Q: Can I make this without any added sweetener?A: Absolutely. If you use a generous amount of raisins and cranberries, their natural sugars will provide enough sweetness for a healthy breakfast.