Crispy Fried Chicken Tenders

Crispy Fried Chicken Tenders

  • Prep time: 15 minutes


  • Cook time: ~4 minutes per side

  • Yield: Approx. 8–10 tenders


Ingredients

  • Chicken: 1.5–2 lbs chicken breast, cut into 1-inch thick strips, or store-bought tenderloins.

  • Dry Dredge: 1 cup all-purpose flour.

  • Wet Wash: 2–3 large eggs, beaten with 1 tbsp water or milk.

  • Final Coating: 2 cups Panko or plain breadcrumbs.

  • Seasoning: 1 tsp salt, ½ tsp black pepper, 1 tsp garlic powder, 1 tsp onion powder, and ½ tsp paprika.

  • Oil: Canola, vegetable, or peanut oil for frying.


Instructions

1. Prepare the Chicken

  • Pat the chicken strips very dry with paper towels.

    Season the raw chicken directly with a pinch of salt and pepper.

2. Set Up the Breading Station

  • Bowl 1: Flour mixed with half of the seasonings.

  • Bowl 2: Whisked eggs and water.

  • Bowl 3: Breadcrumbs mixed with the remaining seasonings.

3. Coat the Tenders

  • Dredge: Coat a chicken strip in flour and shake off the excess.

  • Dip: Submerge the floured strip into the egg wash until fully covered.


  • Crumb: Press the chicken firmly into the breadcrumbs, ensuring an even and thick coating.


4. Fry to Perfection

  • Heat about 1/2 inch of oil in a large skillet over medium-high heat until it reaches $375^\circ\text{F}$.


  • Fry the tenders in batches (3–4 at a time) to avoid overcrowding the pan.


  • Cook for 3–4 minutes per side until the crust is golden brown and the internal temperature reaches $165^\circ\text{F}$.


  • Drain on a wire rack or paper towels to maintain crispiness.


Quick Tips for Success

  • The “Dry Hand/Wet Hand” Rule: Use one hand for the dry flour/crumbs and the other for the egg wash to avoid your fingers getting heavily breaded.

  • Don’t Rush the Oil: If the oil isn’t hot enough, the breadcrumbs will soak up grease and become soggy.

  • Air Fryer Alternative: Spray breaded tenders with oil and cook at  10–12 minutes, flipping halfway through.
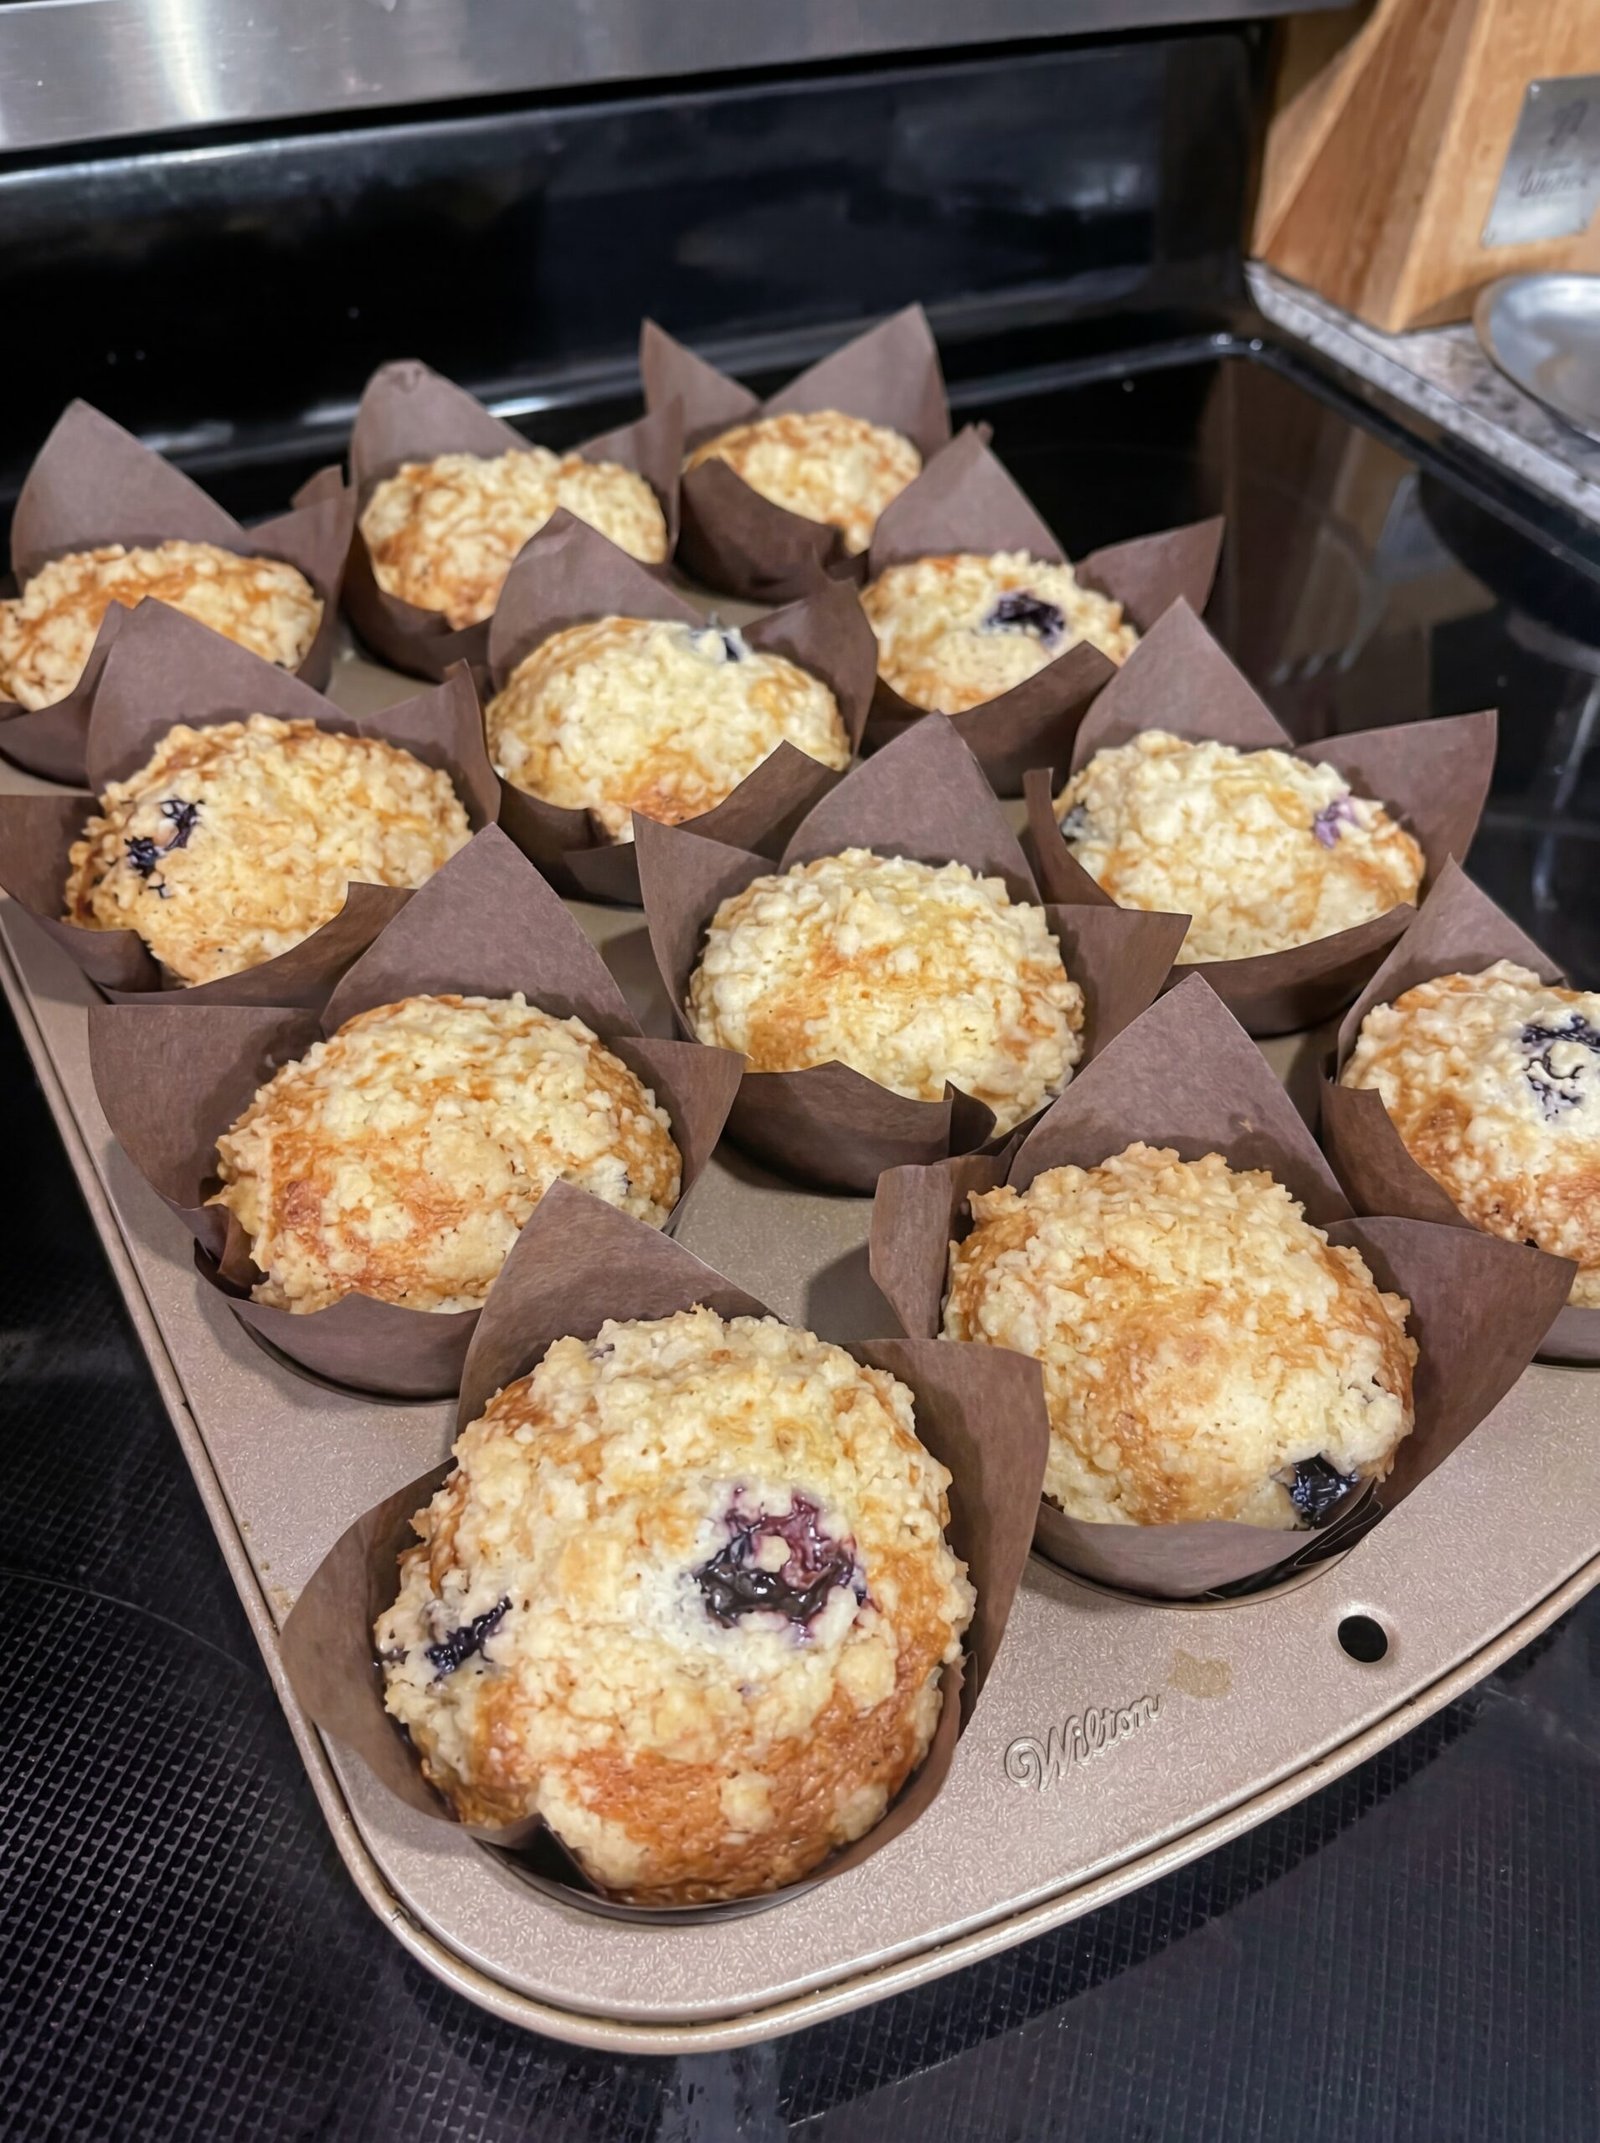
Bakery-Style Blueberry Streusel Muffins

Bakery-Style Blueberry Streusel Muffins

🛒 Ingredients

For the Streusel Topping:

  • 1/2 cup All-purpose flour

  • 1/2 cup Granulated sugar

  • 1/4 cup Unsalted butter (cold and cubed)

  • 1/4 tsp Cinnamon (optional)

For the Muffin Batter:

  • 2 cups All-purpose flour

  • 1/2 cup Granulated sugar

  • 2 tsp Baking powder

  • 1/2 tsp Salt

  • 1/2 cup Whole milk

  • 1/2 cup Sour cream (or Greek yogurt for moisture)

  • 1/2 cup Vegetable oil (or melted butter)

  • 1 Large egg

  • 1 tsp Vanilla extract

  • 1 1/2 cups Fresh or frozen blueberries (do not thaw if frozen)


👩‍🍳 Step-by-Step Instructions

1. Prep the Oven and Pan 🌡️

  • Preheat your oven to 400°F (200°C).

  • Line a 12-cup muffin tin with paper liners (tulip liners work best for that tall, bakery look!).

2. Make the Streusel 🥣

  • In a small bowl, mix the flour, sugar, and cinnamon.

  • Add the cold, cubed butter. Use a fork or your fingers to mash the butter into the dry ingredients until it looks like coarse crumbs. ➡️ Set aside in the fridge.

3. Mix Dry Ingredients 🌾

  • In a large bowl, whisk together the 2 cups flour, sugar, baking powder, and salt.

  • Pro Tip: Toss the blueberries in 1 tablespoon of this flour mixture. This prevents them from sinking to the bottom! ⬇️

4. Mix Wet Ingredients 🥛

  • In a separate medium bowl, whisk the egg, milk, sour cream, oil, and vanilla until smooth.

5. Combine 🔄

  • Gently pour the wet ingredients into the dry ingredients.

  • Use a spatula to fold them together until just combined. ⚠️ Do not overmix; the batter should be thick and slightly lumpy.

  • Gently fold in the floured blueberries.

6. Fill and Top 🥄

  • Scoop the batter into the muffin liners, filling them nearly to the top.

  • Generously sprinkle the chilled streusel topping over each muffin. ➡️ Press down lightly so it sticks.

7. Bake ⏲️

  • Bake for 18–22 minutes, or until a toothpick inserted into the center comes out clean.

  • Let them cool in the pan for 5 minutes before moving to a wire rack.


❓ Common Questions (Q&A)

Q: Why did my muffins come out tough? A: This usually happens from overmixing the batter. Once the flour is added, stir only until the white streaks disappear. 🛑

Q: Can I use frozen berries? A: Yes! Just don’t defrost them first, or they will bleed purple juice into your entire muffin. Add them straight from the freezer. ❄️

Q: How do I get those high, domed tops? A: Starting at a higher temperature (like 400°F) creates a “burst” of steam that lifts the batter quickly before the crust sets. 🚀


Enjoy your baking! 🥧✨

Blueberry Streusel Muffins

Blueberry Streusel Muffins

  • Prep time: 15 minutes

  • Cook time: 20-25 minutes

  • Servings: 12 Large Muffins

The Ingredients

For the Streusel Topping:

  • 1/2 cup all-purpose flour

  • 1/2 cup granulated sugar

  • 1/4 cup unsalted butter, melted

  • 1 tsp ground cinnamon

For the Muffin Batter:

  • 1 1/2 cups all-purpose flour

  • 3/4 cup granulated sugar

  • 1/2 tsp salt

  • 2 tsp baking powder

  • 1/3 cup vegetable oil

  • 1 large egg

  • 1/3 cup whole milk

  • 1 cup fresh blueberries (frozen works too, just don’t thaw them!)

  • 1 tsp vanilla extract

Instructions

  1. Prep the Oven: Preheat your oven to 200°C (400°F). Line a 12-cup muffin tin with paper liners.

  2. Make the Crunch: In a small bowl, mix the streusel ingredients with a fork until it looks like coarse crumbs. Set aside.

  3. Mix Dry & Wet: In a large bowl, whisk together the flour, sugar, baking powder, and salt. In a separate measuring jug, whisk the oil, egg, milk, and vanilla.

  4. Combine: Pour the wet ingredients into the dry. Fold gently with a spatula. Stop as soon as the flour streaks disappear—lumps are your friend here!

  5. Fold in Berries: Gently toss your blueberries in a teaspoon of flour (this stops them sinking) and fold them into the batter.

  6. Bake: Fill muffin cups to the brim. Pile that streusel on top generously. Bake for 20–25 minutes or until a toothpick comes out clean.

Nutritional Info (Per Muffin)

Calorie/Macro Amount
Calories 240 kcal
Total Fat 9g
Carbohydrates 36g
Protein 3g
Sugar 18g

Pro Tips for Success

  • The “No-Overmix” Rule: Overmixing develops gluten, which leads to tough, rubbery muffins. Mix until “just combined.”

  • High Heat Start: Starting at 200°C creates a rapid steam burst that lifts the muffin tops into those beautiful domes.

  • Fresh vs. Frozen: If using frozen berries, do not thaw them. If you do, they’ll bleed juice and turn your entire muffin grey-purple.

Benefits of this Recipe

  • Antioxidant Boost: Blueberries are packed with anthocyanins, which support heart health and brain function.

  • Texture Contrast: You get the soft, fluffy interior paired with a biscuit-like crunch on top.

  • Versatility: You can swap the blueberries for raspberries or blackberries using the exact same ratios.

Q&A

Q: Can I use Greek yogurt instead of milk?

A: Absolutely. It will make the muffins even more moist and slightly tangier. Use a 1:1 swap.

Q: My muffins didn’t rise, what happened?

A: Check your baking powder! If it’s older than 6 months, it might be expired. Also, ensure your oven was fully preheated before the tin went in.

Q: How do I store these?

A: Keep them in an airtight container at room temperature for 2 days. For longer storage, they freeze beautifully for up to 3 months.

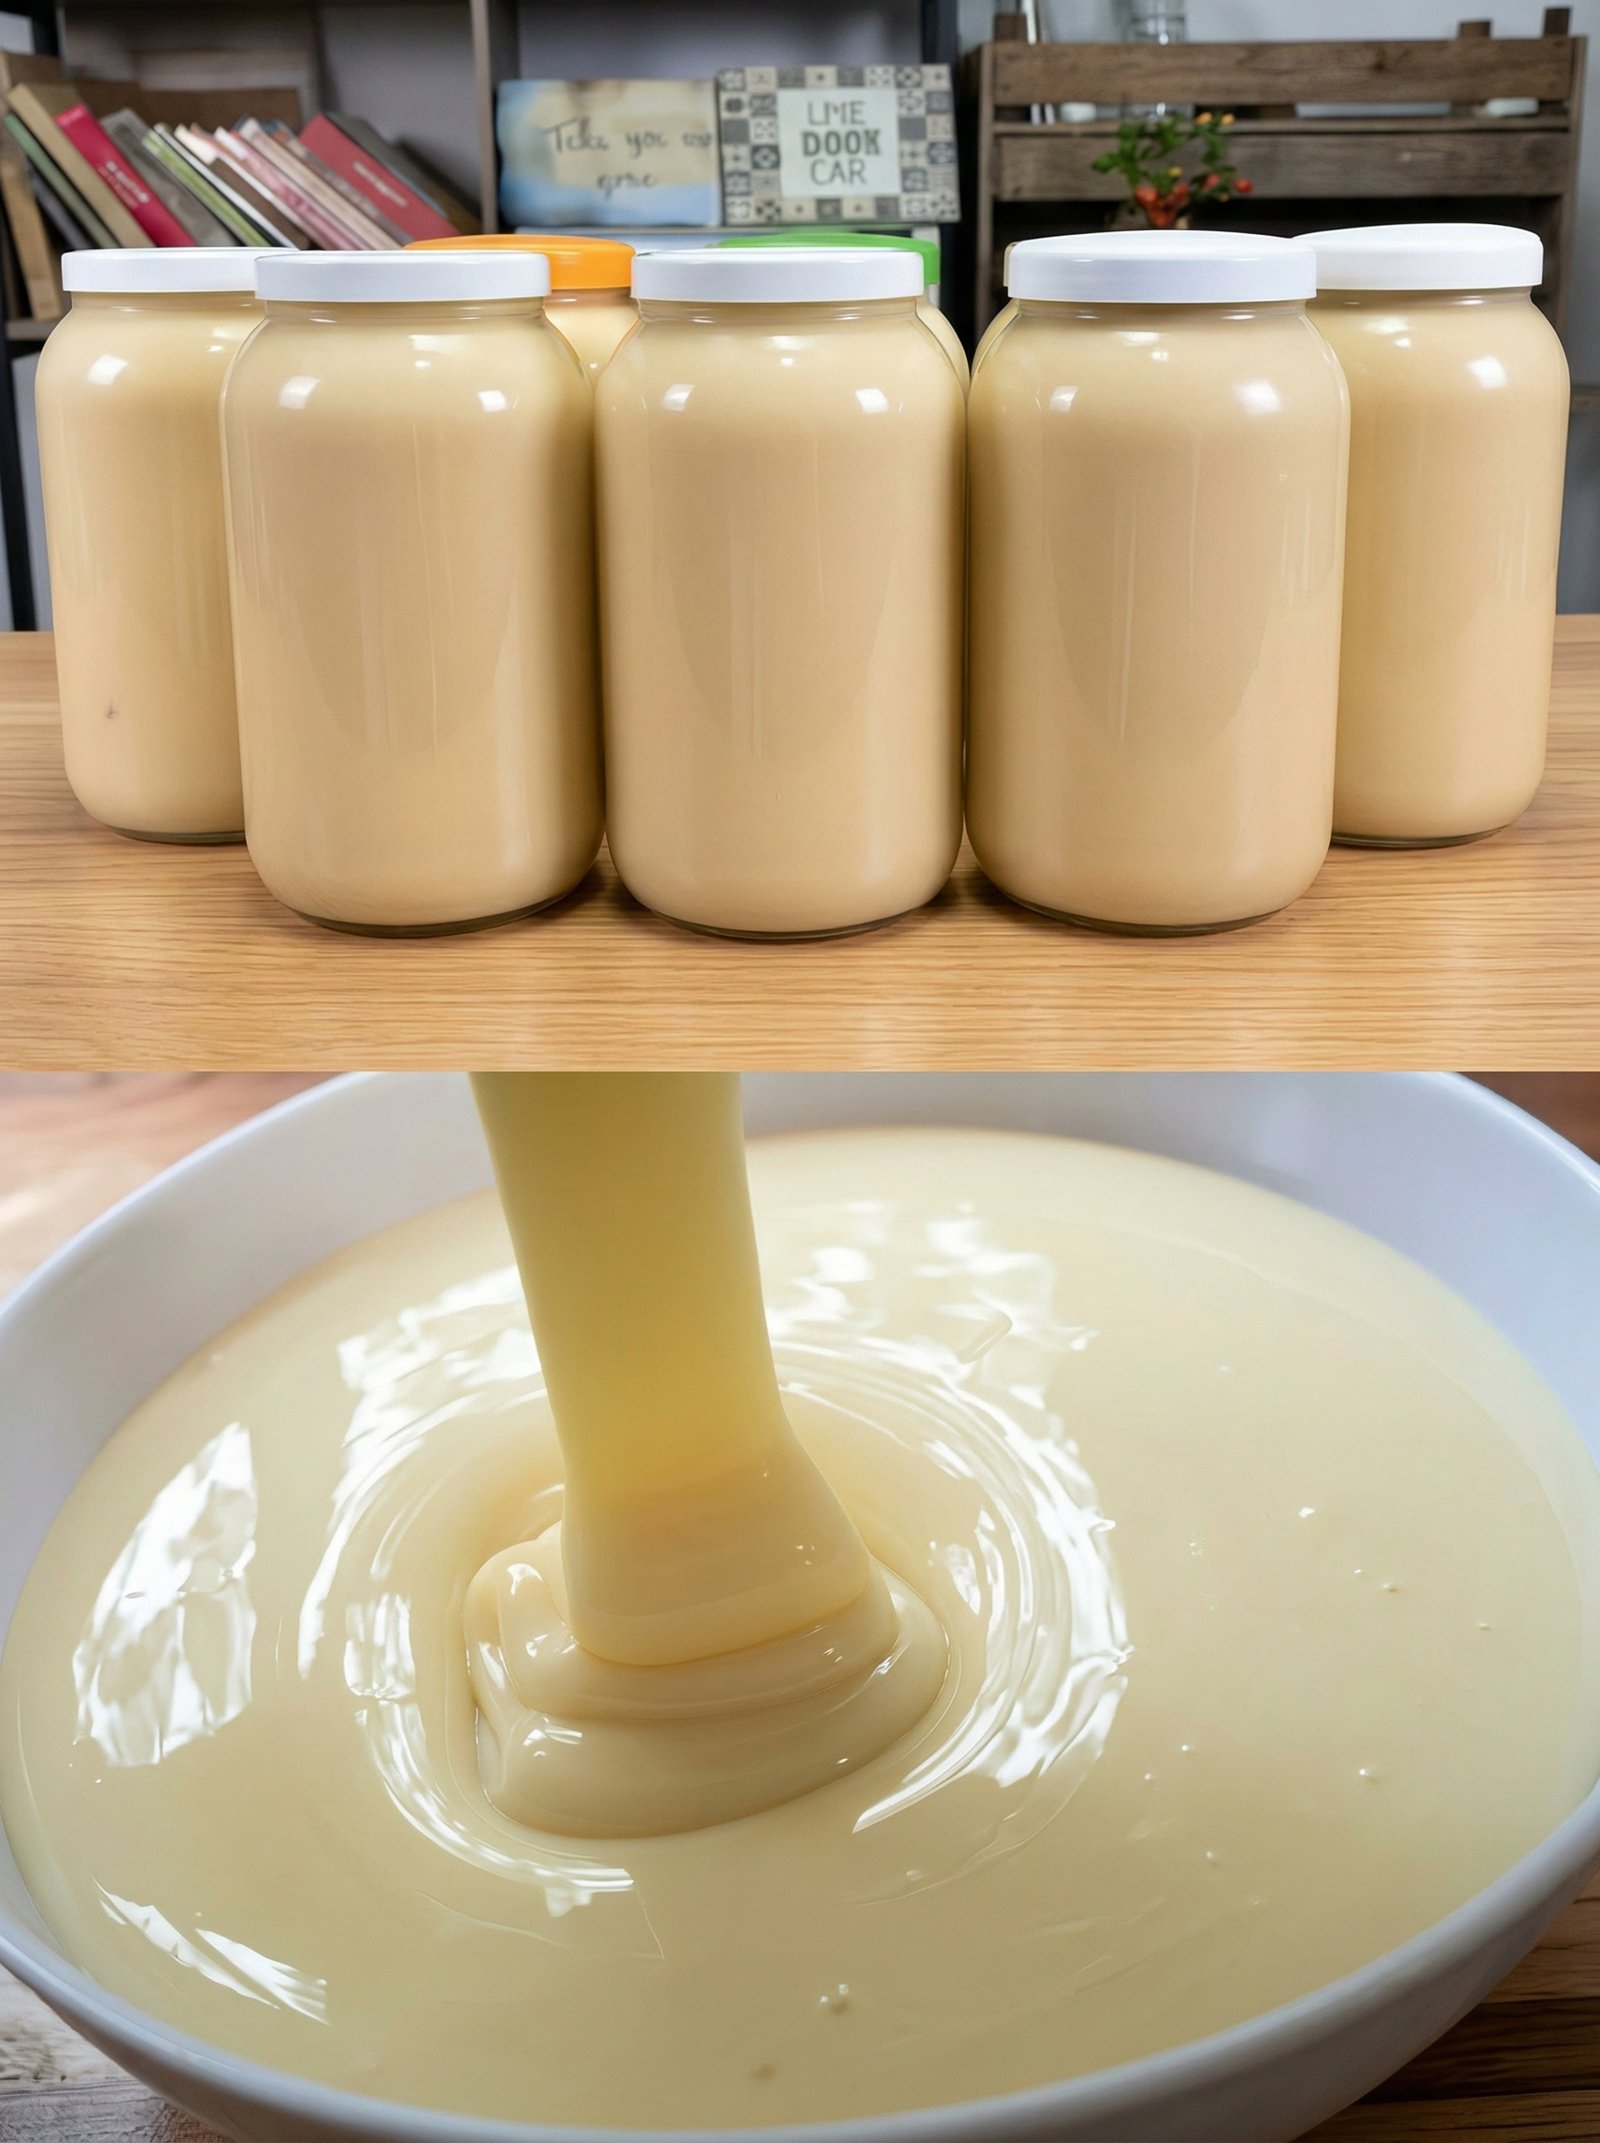
Homemade Sweetened Condensed Milk Recipe

Homemade Sweetened Condensed Milk. It is a fantastic staple to have on hand, especially since the store-bought versions can sometimes have a metallic aftertaste from the canning process.

Here are a few tips to ensure yours turns out perfectly:

Pro-Tips for Success

  • The Simmer is Key: Keep the heat low during that 30–40 minute window. If the milk boils too vigorously, it can scorch or create a grainy texture. You want a very gentle “smile” on the surface of the liquid.

  • The “Thickening” Illusion: Don’t worry if it looks a bit thinner than expected while it’s still hot. Condensed milk thickens significantly as it cools in the refrigerator.

  • Preventing a Skin: If you want to avoid a “skin” forming on top as it cools, place a piece of plastic wrap directly onto the surface of the liquid until it reaches room temperature.


Quick Variations

Addition Result
Pinch of Salt Balances the intense sweetness and enhances the dairy flavor.
Cocoa Powder Stir in 2 tablespoons at the end for a chocolate condensed milk.
Coconut Milk Swap the whole milk for full-fat canned coconut milk for a dairy-free version.

Common Uses

  • Coffee & Tea: Use it as a rich creamer for Thai iced tea or Vietnamese iced coffee.

  • Quick Fudge: Melt it with chocolate chips for an almost instant fudge.

  • Fruit Dip: Mix it with a little lime juice and zest for a creamy dip for berries or apples.

Strawberry Cheesecake Dump Cake

🍓 Strawberry Cheesecake Dump Cake

(5 Ingredients, Zero Hassle)

✨ Description

This dessert is the ultimate “dump-and-bake” treat—sweet strawberry filling, rich creamy cheesecake pockets, and a buttery golden topping. No mixing bowls, no fuss… just layer, bake, and enjoy!


🛒 Ingredients (Only 5!)

  • 1 can (21 oz) strawberry pie filling
  • 1 box vanilla or yellow cake mix
  • 8 oz cream cheese (softened)
  • ½ cup granulated sugar
  • ½ cup (1 stick) butter, melted

👩‍🍳 Instructions

  1. Preheat oven to 180°C (350°F).
  2. Spread strawberry pie filling evenly in a greased baking dish.
  3. In a bowl, mix cream cheese + sugar until smooth.
  4. Drop spoonfuls of the cream cheese mixture over the strawberries.
  5. Sprinkle dry cake mix evenly on top (don’t stir).
  6. Drizzle melted butter over the cake mix as evenly as possible.
  7. Bake for 40–45 minutes until golden and bubbly.

🍰 Serving Ideas

  • Serve warm with vanilla ice cream 🍦
  • Or chill it for a firmer cheesecake-like texture
  • Add fresh strawberries on top for extra flavor

❓ Q & A

Q: Can I use fresh strawberries instead of canned?
A: Yes! Just cook them with a little sugar and cornstarch first to make a thick filling.

Q: Can I use other cake mix flavors?
A: Absolutely! Try white cake, strawberry cake, or even butter pecan.

Q: How do I store leftovers?
A: Keep in the fridge for up to 3 days. Reheat or enjoy cold!

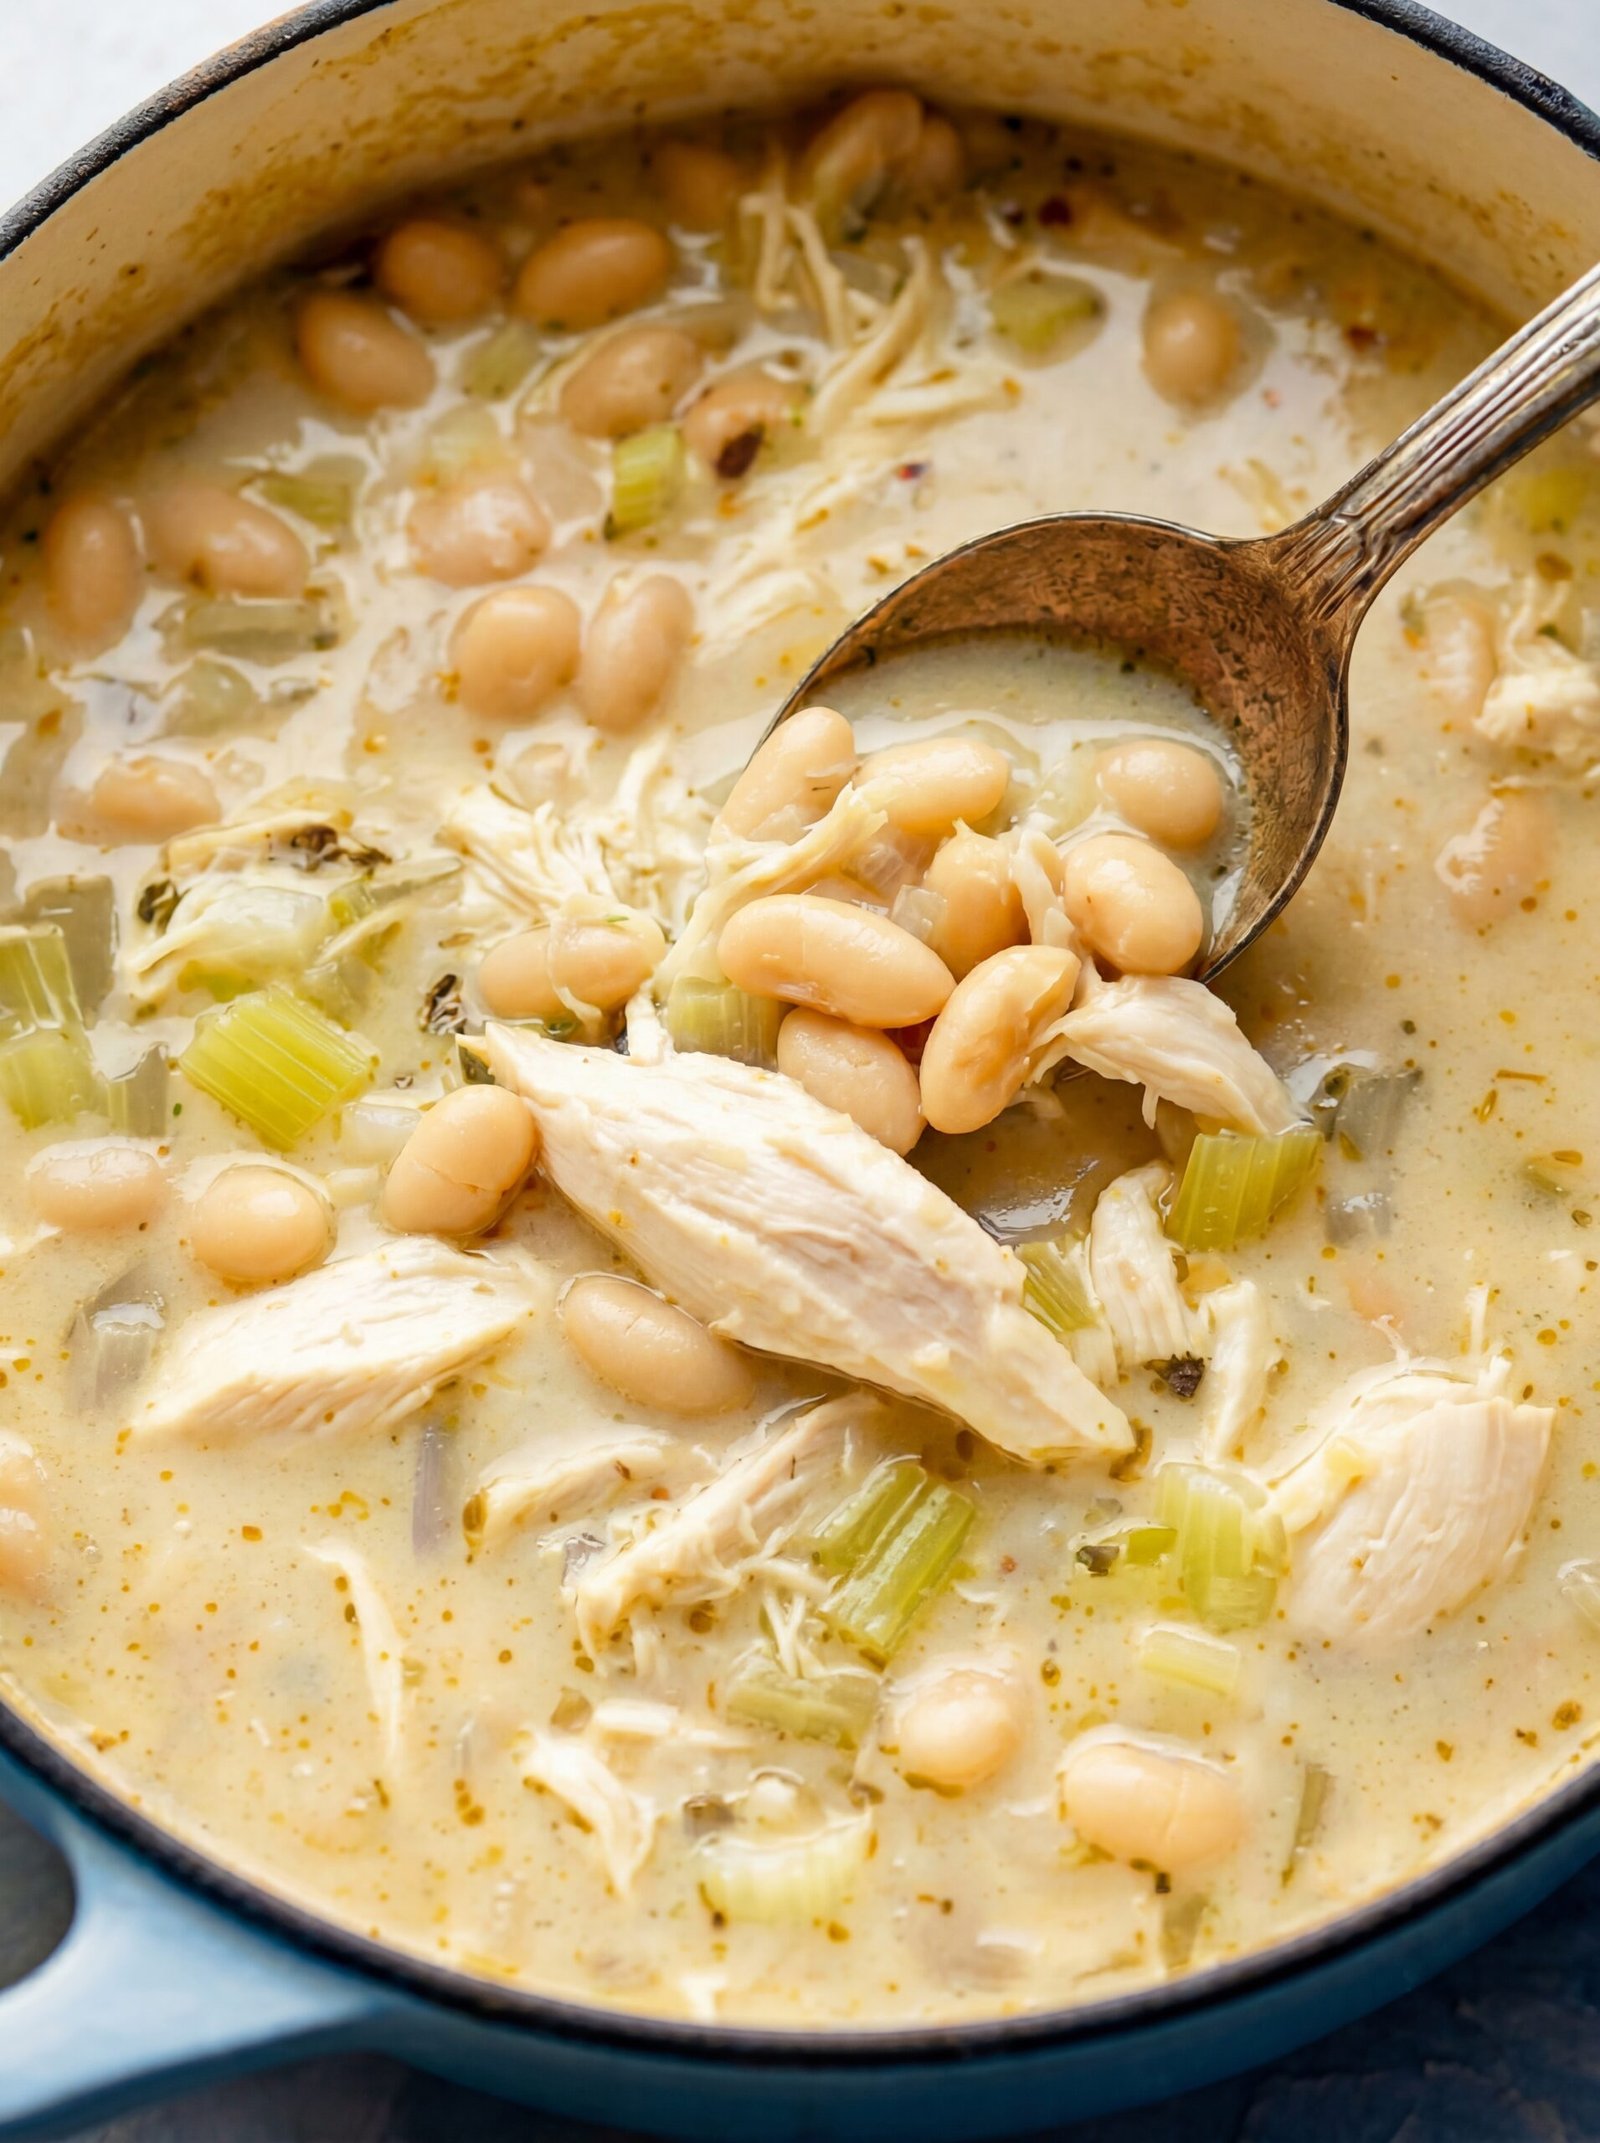
Creamy White Chicken Chili 🍲✨

Creamy White Chicken Chili 🍲✨

This comforting white chicken chili is a hearty alternative to traditional red chili. It’s packed with tender chicken, creamy white beans, and a flavorful broth that is both light and satisfying.


🛒 Ingredients

  • Chicken: 1.5 lbs chicken breast or thighs (cooked and shredded) 🍗

  • White Beans: 2 cans (15 oz each) Cannellini or Great Northern beans (drained and rinsed) 🫘

  • Aromatics: 1 medium onion (diced), 2 cloves garlic (minced), and 1 cup diced celery 🧅🌿

  • Broth: 4 cups chicken broth 🥣

  • Green Chilies: 1 can (4 oz) diced mild green chilies 🌶️

  • Creaminess: 4 oz cream cheese (softened) and ½ cup sour cream or Greek yogurt 🥛

  • Spices: 1 tsp cumin, 1 tsp dried oregano, ½ tsp chili powder, salt, and pepper to taste 🧂


👩‍🍳 Instructions

  1. Sauté the Base ➡️ In a large pot or Dutch oven, heat a tablespoon of oil over medium heat. Sauté the diced onion and celery until softened (about 5 minutes). Add the garlic and cook for 1 more minute until fragrant. 🥘

  2. Simmer the Broth ➡️ Pour in the chicken broth and the diced green chilies. Add the cumin, oregano, and chili powder. Stir well. 🥣

  3. Add Beans and Chicken ➡️ Add the shredded chicken and the white beans to the pot. Bring the mixture to a gentle boil, then reduce the heat and simmer for 15–20 minutes to allow the flavors to meld. 🫘🍗

  4. Make it Creamy ➡️ Stir in the softened cream cheese until completely melted and smooth. Finally, stir in the sour cream (or Greek yogurt) and remove from heat. Note: Do not boil after adding the sour cream to keep the texture smooth. 🥛✨

  5. Serve ➡️ Ladle into bowls and garnish with fresh cilantro, avocado slices, or a squeeze of lime juice. 🍋🌿


❓ Q&A Section

Q: Can I make this in a slow cooker? A: ➡️ Yes! Place everything except the cream cheese and sour cream in the slow cooker. Cook on Low for 6–7 hours or High for 3–4 hours. Stir in the cream cheese and sour cream just before serving. 🕒🥘

Q: How can I make the broth even thicker? A: ➡️ Take ½ cup of the white beans and mash them with a fork before adding them to the pot. This naturally thickens the chili without adding extra flour or starch! 🥄✨

Q: Is this recipe very spicy? A: ➡️ No, it is quite mild. The canned green chilies provide flavor rather than heat. If you prefer more spice, you can add diced jalapeños or a pinch of cayenne pepper. 🌶️

Q: Can I use a rotisserie chicken? A: ➡️ Absolutely! Using a pre-cooked rotisserie chicken is a great way to save time and adds fantastic flavor to the dish. 🍗✅


💡 Tips for Success

  • Texture: For the best results, ensure your cream cheese is at room temperature before stirring it in to prevent small lumps. 🌡️

  • Variations: You can add corn or bell peppers for extra color and crunch! 🌽🫑