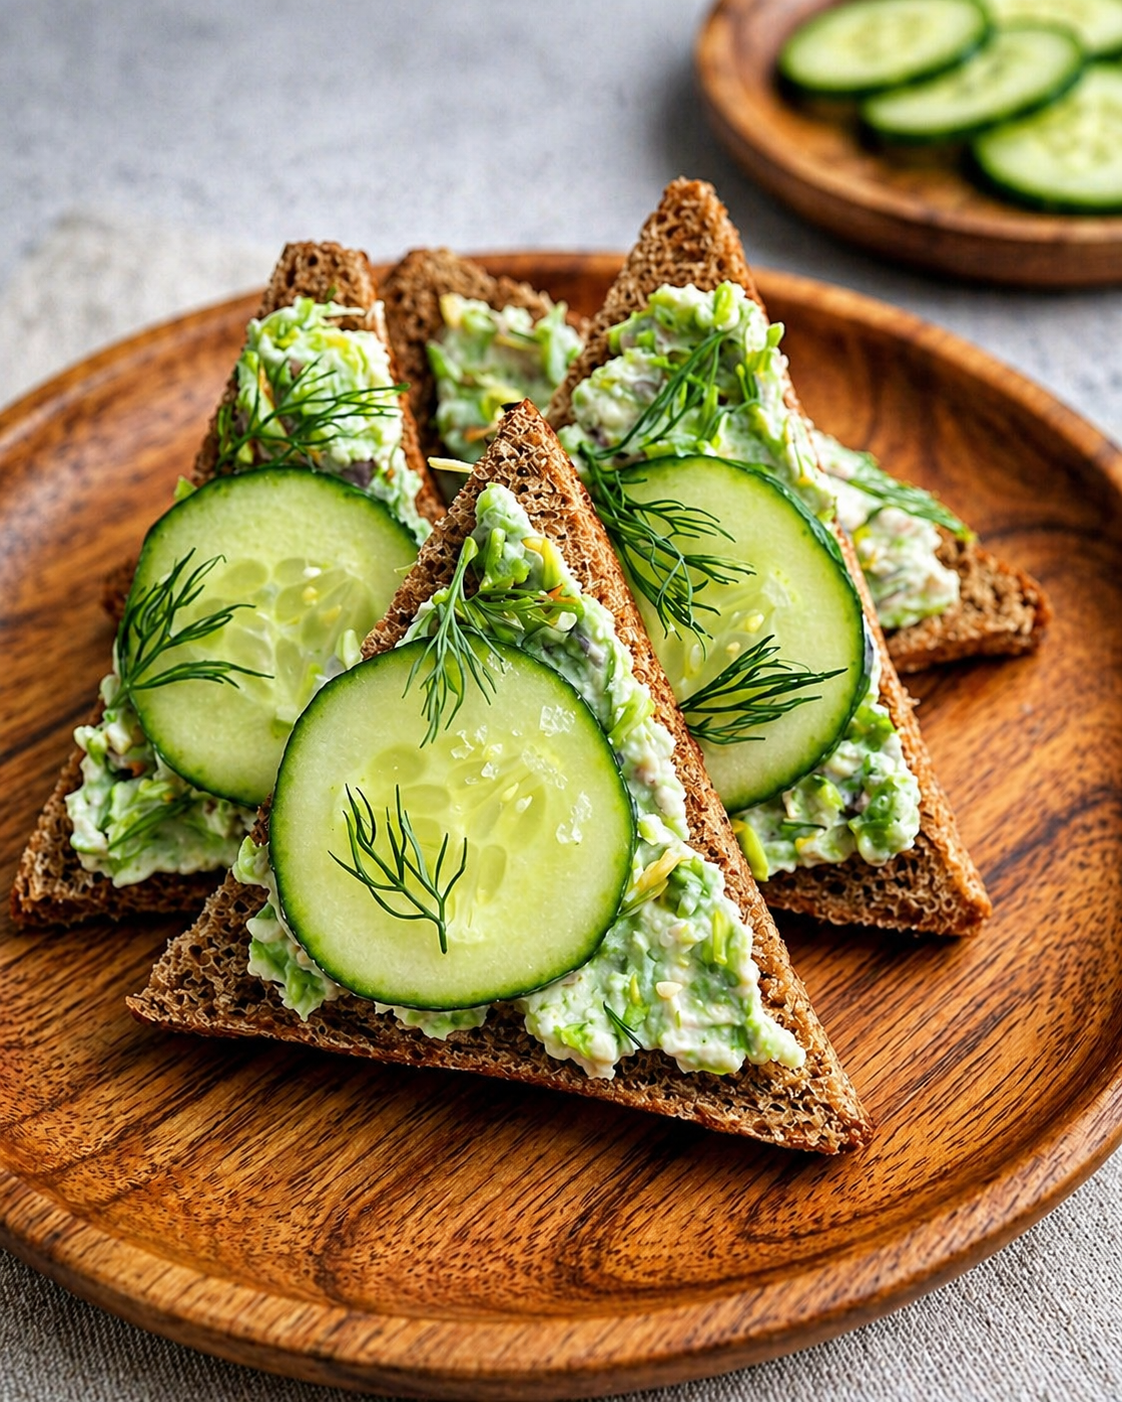
Cucumber Tea Sandwiches

๐Ÿฅ’ Cucumber Tea Sandwiches

๐Ÿ›’ Ingredients

  • ๐Ÿž 8 slices whole wheat or white bread
  • ๐Ÿฅ’ 1 cucumber
  • ๐Ÿง€ 4 oz cream cheese
  • ๐ŸŒฟ 1 tbsp fresh dill
  • ๐Ÿ‹ 1 tsp lemon juice
  • ๐Ÿง‚ Salt
  • ๐ŸŒถ๏ธ Black pepper

๐Ÿ‘ฉโ€๐Ÿณ Step-by-Step Recipe

๐Ÿ”น Step 1: Prepare the Cucumber

  • ๐Ÿฅ’ Wash the cucumber thoroughly.
  • ๐Ÿ”ช Slice it into very thin rounds for easy layering.
  • ๐Ÿงป Pat the slices dry with paper towels to remove excess moisture.
  • โœจ This helps keep the sandwiches fresh and prevents sogginess.

๐Ÿ”น Step 2: Make the Creamy Filling

  • ๐Ÿง€ Add cream cheese to a mixing bowl.
  • ๐ŸŒฟ Stir in chopped fresh dill and lemon juice.
  • ๐Ÿง‚ Season lightly with salt and black pepper.
  • ๐Ÿฅ„ Mix until smooth, creamy, and evenly combined.

๐Ÿ”น Step 3: Prepare the Bread

  • ๐Ÿž Lay the bread slices flat on a clean surface.
  • ๐Ÿ”ช Trim the crusts off for a classic tea sandwich appearance.
  • ๐Ÿงˆ Spread an even layer of the creamy mixture onto each slice.

๐Ÿ”น Step 4: Add the Cucumber

  • ๐Ÿฅ’ Arrange cucumber slices evenly over half of the bread slices.
  • ๐ŸŒฟ Add a few extra dill leaves for fresh flavor if desired.
  • ๐Ÿ“ Keep the cucumber in a single layer for neat sandwiches.

๐Ÿ”น Step 5: Assemble the Sandwiches

  • ๐Ÿž Place the remaining bread slices on top, cream cheese side down.
  • โœ‹ Press gently to hold everything together without squeezing out the filling.

๐Ÿ”น Step 6: Slice & Serve

  • ๐Ÿ”ช Cut each sandwich diagonally into triangles.
  • โœจ Wipe the knife between cuts for clean edges.
  • ๐Ÿฝ๏ธ Arrange neatly on a serving plate.
  • ๐Ÿฅ’ Garnish with extra cucumber or dill before serving.

โ“ Q/A

โ“ How do I keep tea sandwiches from getting soggy?

โœ… Dry the cucumber slices well and spread the filling evenly to create a moisture barrier.

โ“ Can I make these ahead of time?

โœ… Yes, prepare them a few hours in advance and store covered in the refrigerator.

โ“ What bread works best?

โœ… Soft sandwich bread or whole wheat bread works perfectly for tea sandwiches.
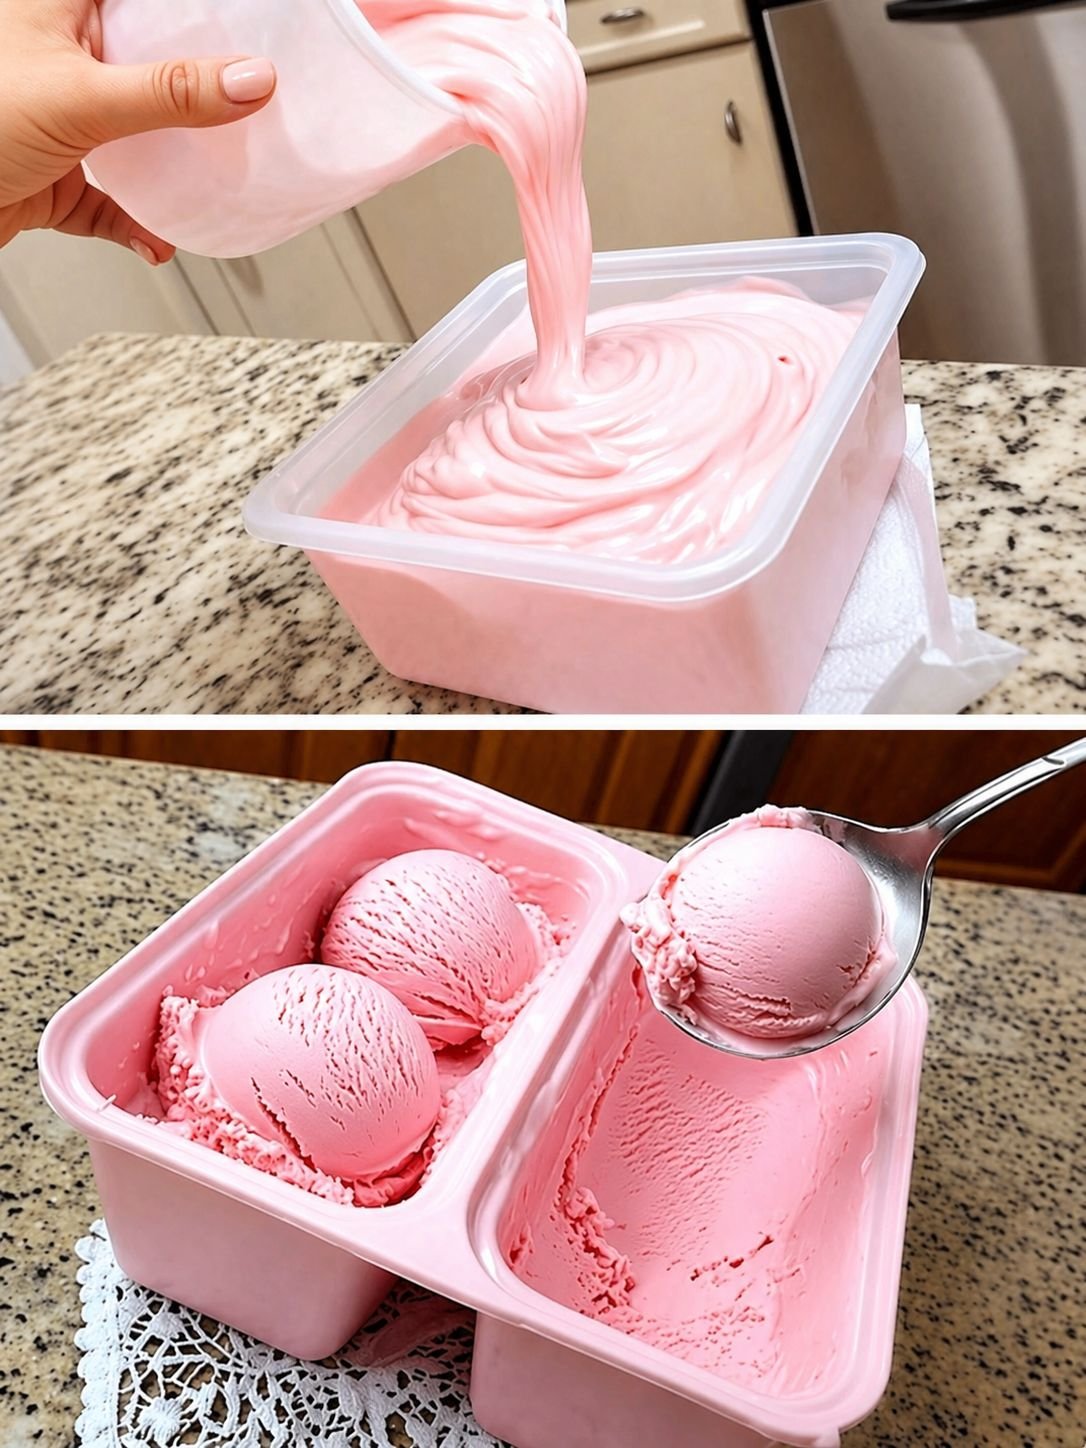
Creamy Strawberry Ice Cream

Creamy Strawberry Ice Cream

๐Ÿ›’ Ingredients

  • ๐Ÿ“ 2 cups strawberries
  • ๐Ÿฅ› 2 cups heavy cream
  • ๐Ÿฅ› 1 cup condensed milk
  • ๐Ÿฆ 1 tsp vanilla extract
  • ๐Ÿฌ 3โ€“4 tbsp sugar
  • ๐Ÿง‚ Pinch of salt

๐Ÿ‘ฉโ€๐Ÿณ Step-by-Step Recipe

๐Ÿ”น Step 1: Prepare the Strawberries

  • ๐Ÿ“ Wash the strawberries thoroughly under cold water.
  • โœ‚๏ธ Remove the green tops and slice them into small pieces.
  • ๐Ÿฅฃ Place them in a bowl and sprinkle sugar over the top.
  • โณ Let them rest for 10โ€“15 minutes until juicy and soft.

๐Ÿ”น Step 2: Blend the Strawberry Mixture

  • ๐ŸŒ€ Add the strawberries to a blender.
  • ๐Ÿ“ Blend until smooth and creamy.
  • ๐Ÿ‘€ If you like tiny fruit bits in your ice cream, leave the mixture slightly chunky.

๐Ÿ”น Step 3: Make the Cream Base

  • ๐Ÿฅ› Pour heavy cream into a large mixing bowl.
  • ๐Ÿฅ„ Whisk until slightly thick and fluffy.
  • ๐Ÿฆ Add condensed milk, vanilla extract, and a pinch of salt.
  • ๐Ÿ”„ Mix gently until smooth and fully combined.

๐Ÿ”น Step 4: Combine Everything

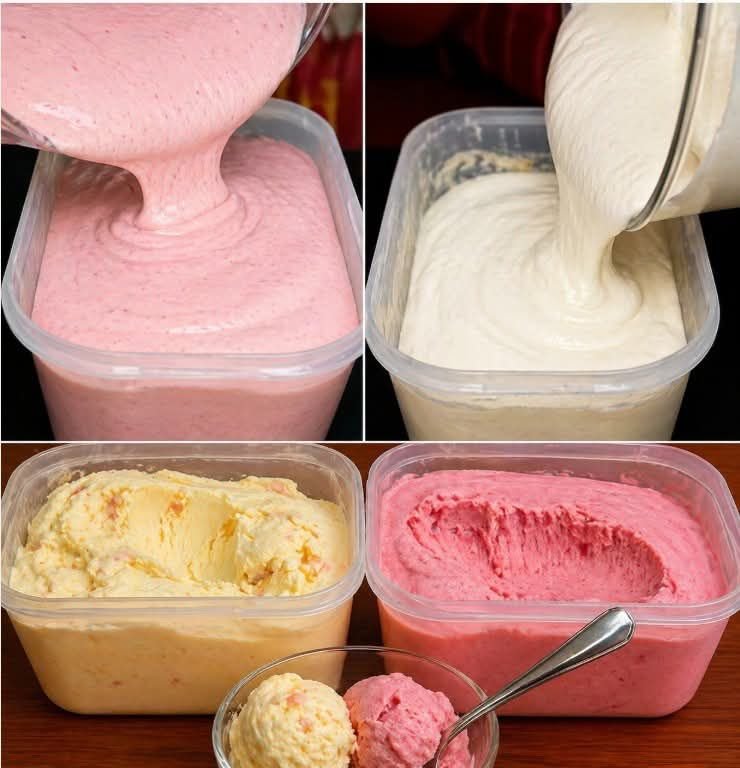
  • ๐Ÿ“ Pour the strawberry puree into the cream mixture.
  • ๐Ÿฅ„ Fold everything together slowly to keep the texture light and airy.
  • ๐ŸŽ€ Continue mixing until the color becomes evenly pink.

๐Ÿ”น Step 5: Freeze the Ice Cream

  • ๐ŸงŠ Transfer the mixture into a freezer-safe container.
  • ๐Ÿ“ Smooth the top using a spoon or spatula.
  • ๐Ÿ›‘ Cover tightly with a lid or plastic wrap.
  • โ„๏ธ Freeze for at least 6โ€“8 hours or overnight until firm.

๐Ÿ”น Step 6: Scoop & Serve

  • ๐Ÿจ Remove the container from the freezer.
  • โณ Let it sit for 3โ€“5 minutes for easier scooping.
  • ๐Ÿฅ„ Scoop into bowls or cones.
  • ๐Ÿ“ Garnish with fresh strawberries if desired.

โ“ Q/A

โ“ Can I use frozen strawberries?

โœ… Yes, thaw them slightly before blending for a smoother texture.

โ“ How long does homemade ice cream last?

โœ… It stays fresh in the freezer for about 2 weeks when stored properly.

โ“ Can I make it without an ice cream machine?

โœ… Absolutely! This recipe is completely no-churn.

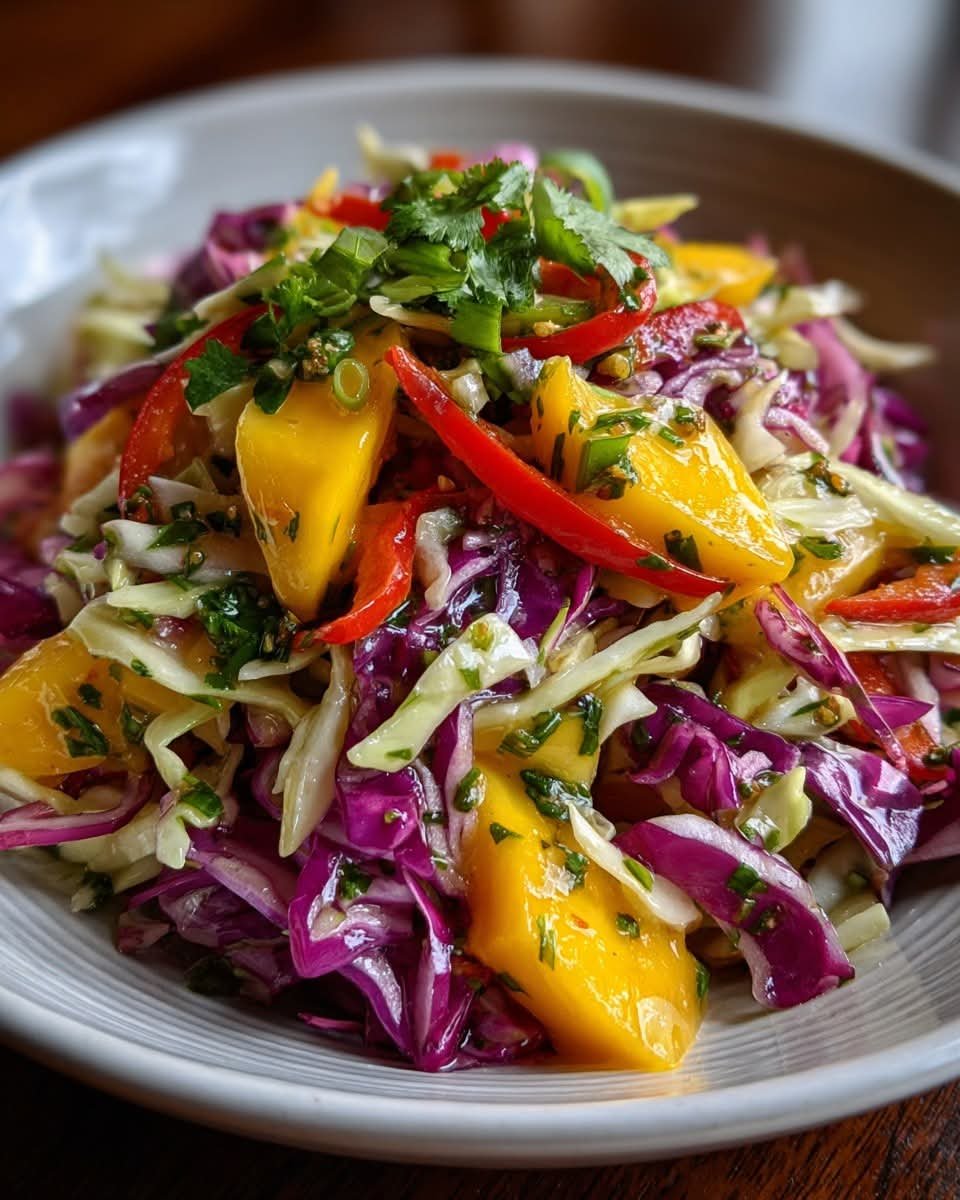
Delicious Mango Slaw

Delicious Mango Slaw

Ingredients

  • 2 cups shredded green cabbage
  • 1 cup shredded purple cabbage
  • 1 ripe mango, julienned
  • 1/2 red bell pepper, thinly sliced
  • 1/4 red onion, thinly sliced
  • 1/4 cup fresh cilantro, chopped

Dressing

  • 3 tablespoons lime juice
  • 2 tablespoons olive oil
  • 1 tablespoon hone
  • 1 teaspoon Dijon mustard
  • Salt and black pepper to taste

Directions

In a large bowl, combine green cabbage, purple cabbage, mango, red bell pepper, red onion, and cilantro.

In a small bowl, whisk together lime juice, olive oil, honey, Dijon mustard, salt, and pepper.

Pour dressing over the slaw and toss well to coat evenly.

Let sit for 10โ€“15 minutes to allow flavors to blend.

Serve chilled as a side dish or topping for tacos, wraps, or grilled chicken.

Nutritional Information (per serving)

Calories: 190 kcal

Protein: 2 g

Carbohydrates: 23 g

Fat: 9 g

Fiber: 4 g

Sugar: 17 g

Crispy Baked Hot Honey Feta Chicken Wrap with Garlic Sauce Drizzle

Crispy Baked Hot Honey Feta Chicken Wrap with Garlic Sauce Drizzle

Ingredients

  • 2 boneless, skinless chicken breasts, sliced into strips
  • 1/2 cup all-purpose flour
  • 2 eggs, beaten
  • 1 cup panko breadcrumbs
  • 1/2 cup grated Parmesan cheese
  • 1 teaspoon paprika
  • 1/2 teaspoon garlic powder
  • Salt and black pepper to taste
  • Cooking spray or olive oil
  • 4 large tortillas or wraps
  • 1 cup shredded lettuce
  • 1 cup cherry tomatoes, halved
  • 1/2 cucumber, sliced
  • 1/2 cup feta cheese, crumbled

Hot Honey Sauce

  • 3 tablespoons honey
  • 1 teaspoon chili flakes
  • 1 tablespoon lemon juice

Garlic Sauce

  • 1/2 cup Greek yogurt
  • 2 cloves garlic, minced
  • 1 tablespoon olive oil
  • 1 tablespoon lemon juice
  • Salt and black pepper to taste

Directions

Preheat oven to 200ยฐC (400ยฐF). Line a baking tray with parchment paper.

Season chicken strips with salt and pepper.

Dredge in flour, dip in eggs, then coat in panko mixed with Parmesan, paprika, and garlic powder.

Bake for 20โ€“25 minutes until golden and crispy.

In a small pan, warm honey, chili flakes, and lemon juice for hot honey sauce.

In a bowl, whisk Greek yogurt, garlic, olive oil, lemon juice, salt, and pepper for garlic sauce.

Warm tortillas.

Fill wraps with crispy chicken, lettuce, tomatoes, cucumber, and feta.

Drizzle with hot honey and garlic sauce.

Roll and serve immediately.

Nutritional Information (per serving)

Calories: 640 kcal

Protein: 42 g

Carbohydrates: 52 g

Fat: 30 g

Fiber: 4 g

Sugar: 12 g

Creamy No-Churn Vanilla Bean Ice Cream

Creamy No-Churn Vanilla Bean Ice Cream

Prep time: 15 minutes | Freezing time: 6+ hours | Yields: Approx. 1.5 quarts

Detailed Ingredients List

  • The Base: 2 cups (16 oz) Heavy whipping cream.

    • Crucial: Ensure the cream is very cold (straight from the fridge) to achieve maximum volume.

  • The Sweetener: 1 can (14 oz) Sweetened condensed milk. This acts as both the sugar and the softener, preventing large ice crystals from forming.

  • Flavoring: 1โ€“2 tsp Pure vanilla extract (or the seeds from one vanilla bean for a gourmet look).

  • Optional Textures: ยฝ cup of mix-ins (crushed cookies, chocolate chunks, or fruit swirls).


Comprehensive Preparation Instructions

1. Whipping the Cream to Perfection

Pour the cold heavy whipping cream into a large, chilled glass or metal bowl. Using a hand mixer or a stand mixer fitted with the whisk attachment, beat the cream on medium-high speed. Continue until stiff peaks formโ€”this means when you lift the whisk, the cream stands straight up without drooping.

  • Tip: Be careful not to over-beat, or the cream will turn into butter.

2. Preparing the Condensed Milk Base

In a separate large bowl, empty the entire can of sweetened condensed milk. Stir in the vanilla extract and any other liquid flavorings or food colorings you choose to use. If you are making chocolate ice cream, sift in your cocoa powder at this stage to ensure there are no lumps.

3. The “Light & Airy” Fold

This is the most important step. Take a large scoop of the whipped cream and stir it vigorously into the condensed milk to lighten the mixture. Then, add the remaining whipped cream. Using a rubber spatula, gently fold the cream into the base by cutting through the center and lifting from the bottom. Continue until no white streaks remain.

  • Goal: You want to keep as much air in the mixture as possible.

4. Customizing Your Flavor

If you are adding “chunky” ingredients like crushed cookies, fruit puree, or nuts, fold them in gently now. For a “ribbon” effect (like a caramel or fudge swirl), pour half the mixture into your container, drizzle the sauce, and then add the remaining mixture, swirling once or twice with a knife.

5. Freezing for Success

Transfer the mixture into a shallow, freezer-safe container (an 8×4-inch loaf pan works perfectly). Smooth the top with your spatula. To prevent ice crystals from forming on the surface, press a piece of plastic wrap or wax paper directly onto the surface of the cream, then cover the container tightly with a lid or foil.

6. The Waiting Period

Place the container in the coldest part of your freezer. Freeze for at least 6 hours, though overnight is recommended for a firm, traditional ice cream texture.


Expert Tips for Serving

  • The Tempering Step: Because homemade ice cream doesn’t contain the chemical softeners found in store-bought tubs, it may be quite firm. Let it sit on the counter for 3โ€“5 minutes before scooping.

  • The Scoop: Dip your ice cream scoop in warm water between each serving to get those perfect, professional-looking spheres.

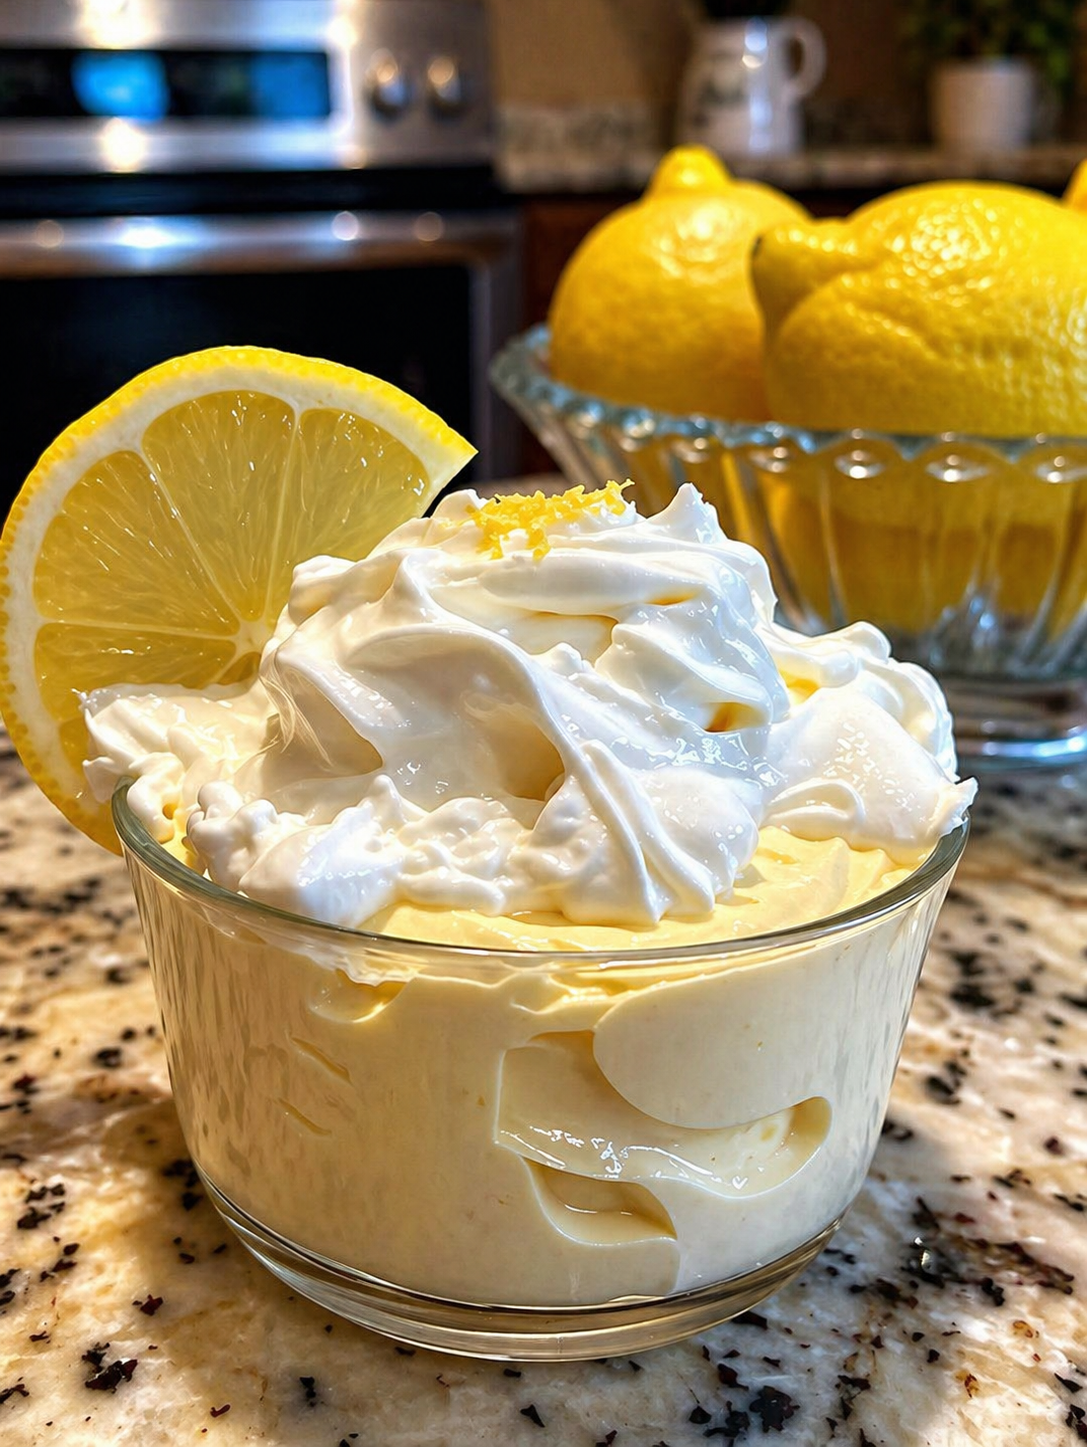
Creamy Lemon Mousse

Ingredients

  • 1 can (14 oz / 400 g) sweetened condensed milk
  • ยฝ cup fresh lemon juice (about 2โ€“3 lemons)
  • 1 tbsp lemon zest
  • 1 cup heavy whipping cream (cold)
  • 1 tsp vanilla extract
  • Optional: extra whipped cream for topping

๐Ÿฅฃ Instructions

1. Mix base

  • In a bowl, combine sweetened condensed milk + lemon juice + lemon zest
  • Stir well until it thickens slightly (lemon reacts with milk)

2. Whip cream

  • In another bowl, beat heavy cream until soft peaks form

3. Combine

  • Gently fold whipped cream into the lemon mixture
  • Add vanilla and mix until smooth and fluffy

4. Chill

  • Spoon into serving cups
  • Refrigerate for at least 2 hours (or overnight for best texture)

5. Serve

  • Top with:
    • whipped cream
    • lemon slice
    • extra zest

๐Ÿ’ก Tips

  • Use fresh lemon juice for best flavor
  • Donโ€™t overmix after adding whipped cream (keeps it airy)
  • For extra richness, add 2โ€“3 tbsp cream cheese when mixing base