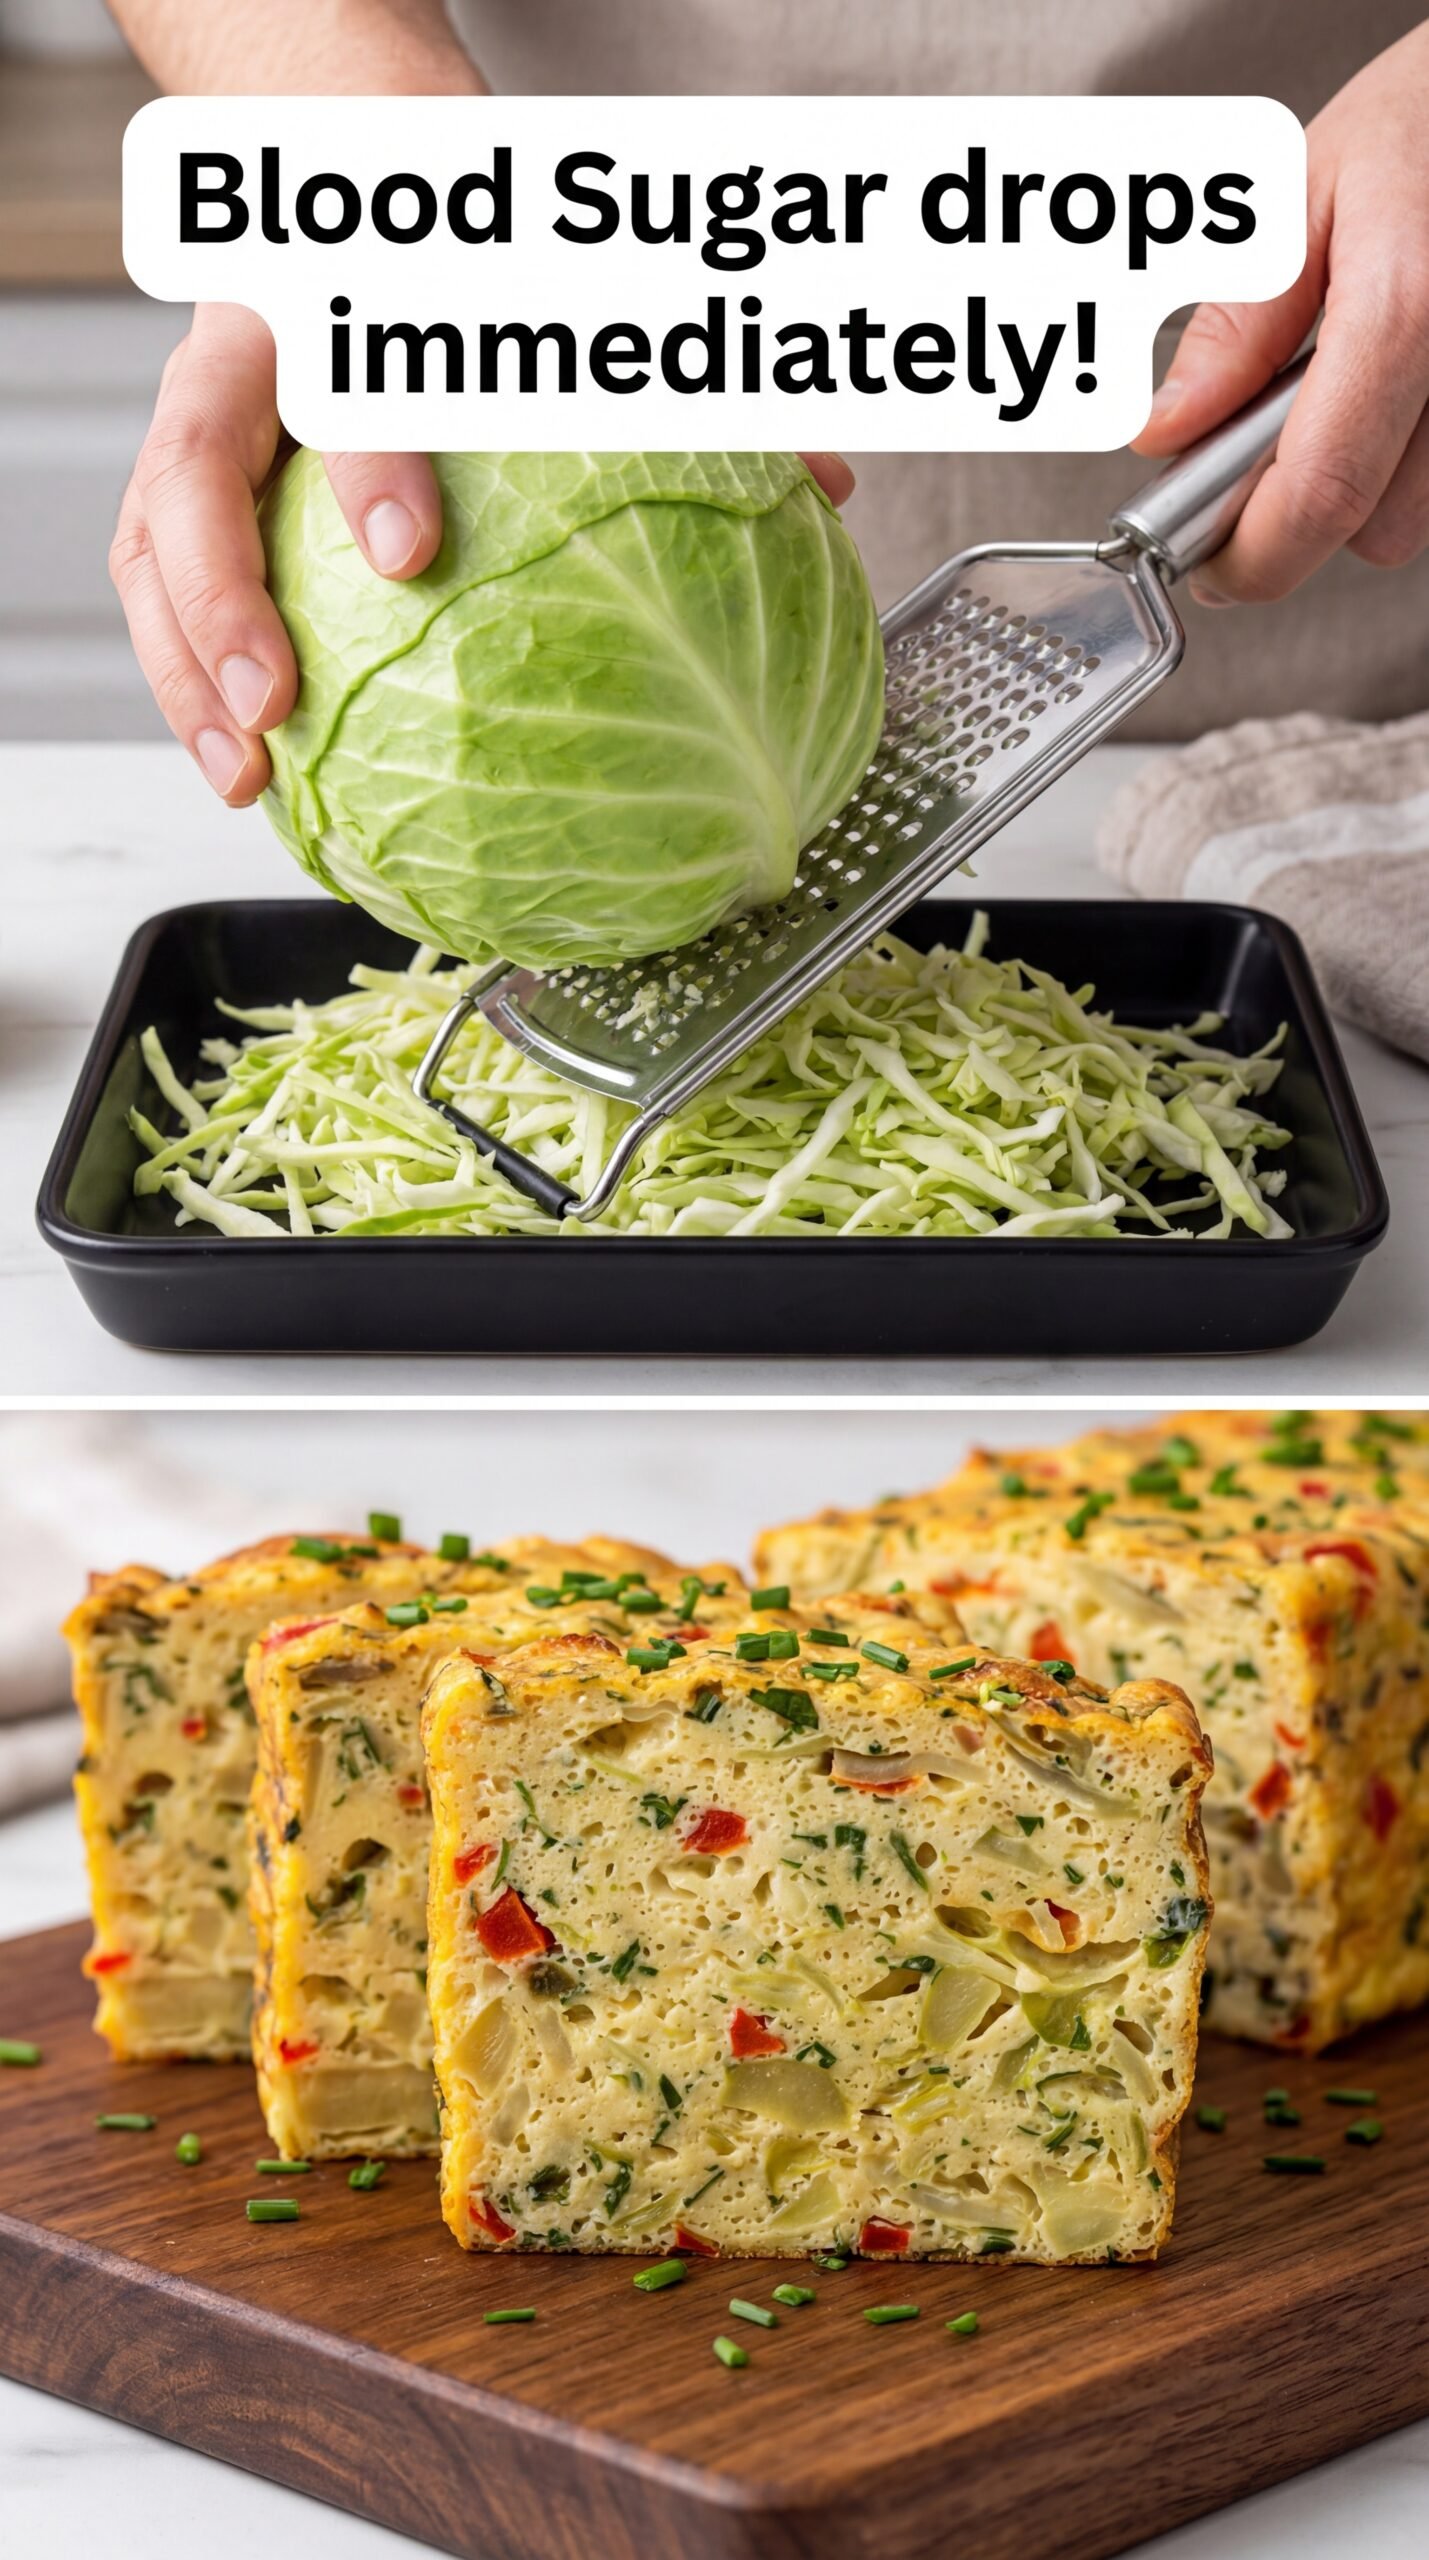
Cabbage & Veggie Savory Bake (Blood-Sugar Friendly)

Cabbage & Veggie Savory Bake (Blood-Sugar Friendly)

Description

This savory cabbage bake is a nutritious, budget-friendly dish made with shredded cabbage, onions, garlic, eggs, and herbs. It’s high in fiber, low in refined carbohydrates, and packed with vegetables—making it a smart choice for people looking to support stable blood sugar levels.
Perfect for breakfast, lunch, or a light dinner.

⚠️ Note: This recipe supports healthy blood sugar management, but it does not replace medical treatment or cause “instant” glucose drops.

 Ingredients

  • 400 g cabbage, finely shredded

  • 1 large onion, finely chopped

  • 3 cloves garlic, minced

  • 4 large eggs

  • ½ cup milk or unsweetened plant milk

  • ½ cup grated cheese (optional – mozzarella, cheddar, or feta)

  • 2 tablespoons olive oil

  • 2 tablespoons fresh parsley or green onions, chopped

  • ½ teaspoon salt

  • ½ teaspoon black pepper

  • ½ teaspoon paprika

  • Optional add-ins: grated carrot, zucchini, bell pepper, or herbs

 Instructions

  1. Prepare the vegetables
    Heat olive oil in a pan. Sauté onion until soft (3–4 minutes). Add garlic and cook 30 seconds.

  2. Soften the cabbage
    Add shredded cabbage to the pan. Cook 5–7 minutes until slightly wilted. Let cool slightly.

  3. Mix the batter
    In a bowl, whisk eggs, milk, salt, pepper, paprika, and herbs.

  4. Combine
    Add cooked cabbage mixture and cheese (if using). Mix well.

  5. Bake
    Pour into a greased baking dish.
    Bake at 180°C (350°F) for 35–40 minutes, until golden and set.

  6. Cool & serve
    Rest 10 minutes before slicing.

 Notes

  • For lower carbs, skip cheese and milk or use almond milk

  • For extra protein, add cottage cheese or Greek yogurt

  • Can be baked in muffin tins for meal prep

Tips for Best Results

  • Squeeze excess moisture from cabbage if very juicy

  • Don’t overbake—keeps it moist and tender

  • Pairs well with yogurt sauce or avocado

Servings

4–6 servings

 Approximate Nutritional Information (per serving, 1/6 recipe)

  • Calories: ~150–180

  • Protein: 8–10 g

  • Carbohydrates: 8–10 g

  • Fiber: 3–4 g

  • Fat: 9–11 g

  • Glycemic Load: Low

(Values vary depending on cheese and milk used)

 Health Benefits

  • Cabbage: High fiber → slows glucose absorption

  • Eggs: Stabilize blood sugar with protein & fats

  • Low refined carbs: No flour or sugar

  • Gut-friendly: Supports digestion and insulin sensitivity

✔ Suitable for:

  • Prediabetes

  • Type 2 diabetes (portion-controlled)

  • Low-carb & Mediterranean diets

 Q & A

Q: Does this instantly lower blood sugar?
A: No food works instantly. This dish helps prevent spikes and supports steady levels.

Q: Can I eat this for breakfast?
A: Yes! It’s excellent for breakfast because protein + fiber help prevent morning glucose spikes.

Q: Can I make it dairy-free?
A: Absolutely—use plant milk and skip cheese.

Q: How long does it keep?
A: 3–4 days refrigerated; freezes well up to 2 months.

Turmeric & Lemon Tea Recipe


Turmeric & Lemon Tea Recipe

Ingredients:

• 1 Cup of Warm Water

• 1 Tablespoon of Turmeric Powder

• 1 Fresh Lemon

Step-by-Step Instructions:

1. Prepare the Warm Water: Start by warming a cup of water. It should be warm, but not boiling, to ensure it’s comfortable to drink.

2. Add Turmeric: Add one tablespoon of turmeric powder to the warm water.

3. Squeeze in Fresh Lemon: Squeeze the juice of one entire fresh lemon into the mixture.

4. Stir Thoroughly: Use a spoon to stir the mixture well until the turmeric is fully incorporated and the lemon juice is evenly distributed.

5. Enjoy: Drink this mixture every morning for seven days to feel more energized and lighter.

The Vitamin-Rich Night Glow Balm

The Vitamin-Rich Night Glow Balm

This luxurious nighttime treatment combines the deeply moisturizing properties of Coconut Oil with the antioxidant power of Vitamin E and the natural brightening potential of Citrus.

Ingredients

  • 1/2 cup Organic Cold-Pressed Coconut Oil: Acts as a deeply hydrating base.

  • 1 tbsp Extra Virgin Olive Oil: Adds Vitamins A and E to support skin repair.

  • 3 Vitamin E Capsules (400 IU): Helps protect the skin from oxidative stress.

  • 5 drops Lemon Essential Oil: Used for its natural brightening properties.

  • Optional: 1 tsp Beeswax pellets (use this if you prefer a firmer, traditional “balm” texture).


Step-by-Step Instructions

  1. Sanitize Your Workspace Ensure your mixing bowl and final storage jar are completely clean and dry. Since this recipe is oil-based and contains no water, keeping it bacteria-free will significantly extend its shelf life.

  2. Melt the Base Place the coconut oil (and beeswax, if using) in a heat-safe glass bowl. Use a double-boiler method by placing the bowl over a pot of simmering water. Gently melt until it is a clear liquid. Avoid high heat to preserve the delicate nutrients in the oils.

  3. Cool Slightly Remove the bowl from the heat. Let it sit for about 5 minutes until the oil is warm to the touch but no longer hot.

  4. Incorporate Vitamins Carefully puncture the Vitamin E capsules with a clean pin and squeeze the oil into the mixture. Stir in the olive oil.

  5. Add the Brightening Agent Add 5 drops of lemon essential oil. Stir thoroughly with a glass or silicone spatula to ensure the oils are fully blended.

  6. Set the Texture Pour the liquid into a dark glass jar (this protects the oils from light degradation). Place the jar in the refrigerator for 30–45 minutes until it solidifies into a creamy consistency.

  7. Final Whip (Optional) For a “fluffy” or “mousse” texture, remove the balm from the fridge once it is semi-solid. Whip it with a clean hand mixer for 2 minutes before returning it to the jar.


Application Guide

  • Night Use Only: Because citrus essential oils can cause photosensitivity (making skin more sensitive to the sun), only apply this balm as part of your evening routine.

  • Apply to Damp Skin: For the best absorption, massage a pea-sized amount onto skin that is still slightly damp from washing. This helps the balm lock in maximum moisture.

Gentle Warm Oil Infusion for Earwax Softening 👂

Gentle Warm Oil Infusion for Earwax Softening 👂

A safe, non-invasive method to encourage the natural movement of hardened earwax.

Essential Supplies

  • 1 teaspoon Sterile olive oil or pharmacy-grade mineral oil 🧪

  • 1 Clean Glass or plastic dropper 💧

  • 1 Clean Soft towel 🧼

  • Warm water (for indirect heating)


Detailed Step-by-Step Instructions 📋

  1. Sanitization ➡️ Begin by washing your hands thoroughly with soap and water to ensure no bacteria is transferred to the ear area.

  2. Indirect Warming ➡️ Place the small container of oil into a bowl of warm (not hot) water for 2–3 minutes.

    • Crucial Check: Test a drop on your inner wrist. It should feel lukewarm or near body temperature. If it feels hot, wait for it to cool. ⚠️

  3. Positioning ➡️ Lie down on your side on a flat surface, such as a bed or sofa, with the affected ear facing upward. Place the towel under your head to catch any stray drops.

  4. Application ➡️ Carefully place 2–3 drops of the lukewarm oil into the ear canal. Do not insert the tip of the dropper into the ear; let the drops fall in naturally. ➡️ Use exactly 2-3 drops.

  5. Absorption ➡️ Remain lying on your side for 5–10 minutes. This allow the oil to penetrate and soften the wax deep within the canal.

  6. Drainage ➡️ Sit up slowly. Hold the towel against your ear and tilt your head to the opposite side to allow any excess oil to drain out. Gently wipe the external ear only.

  7. Frequency ➡️ Repeat this process once daily for up to 3 days if needed. 🗓️


Common Questions & Answers 💡

Q: Will this provide “instant” results? A: No. This method is designed to soften the wax gradually so the ear’s natural cleaning mechanism can push it out. It is a slow, gentle process. 🐢

Q: What causes sudden changes in hearing? A: Sudden hearing changes can be caused by:

  • Significant wax blockage ➡️

  • Fluid buildup behind the eardrum ➡️

  • Underlying infection ➡️

  • Nerve-related issues or aging. Note: Any sudden loss of hearing requires an immediate consultation with a medical professional.

Q: Can I use a cotton swab to help move the wax? A: No. Inserting swabs can push the softened wax deeper, causing an impaction or damaging the delicate eardrum. Always allow the wax to exit the ear naturally. 🚫

Q: Is it okay to use hydrogen peroxide instead? A: While a 3% solution is sometimes used, it can cause irritation or bubbling sensations that may be uncomfortable for some. Lukewarm sterile oil is generally the gentlest starting point. 🧴


Important Safety Checklist ✅

  • Avoid Eyes: Do not let the oil come into contact with your eyes.

  • Stop if Pain Occurs: If you feel any stinging, dizziness, or sharp pain, stop the procedure immediately.

  • Ear Tubes/Perforation: Do NOT use this method if you have ever had ear tubes or a perforated (torn) eardrum. 🛑

  • Doctor Consultation: If there is no improvement after 3 days, or if you experience drainage or ringing (tinnitus), please visit an ENT specialist.

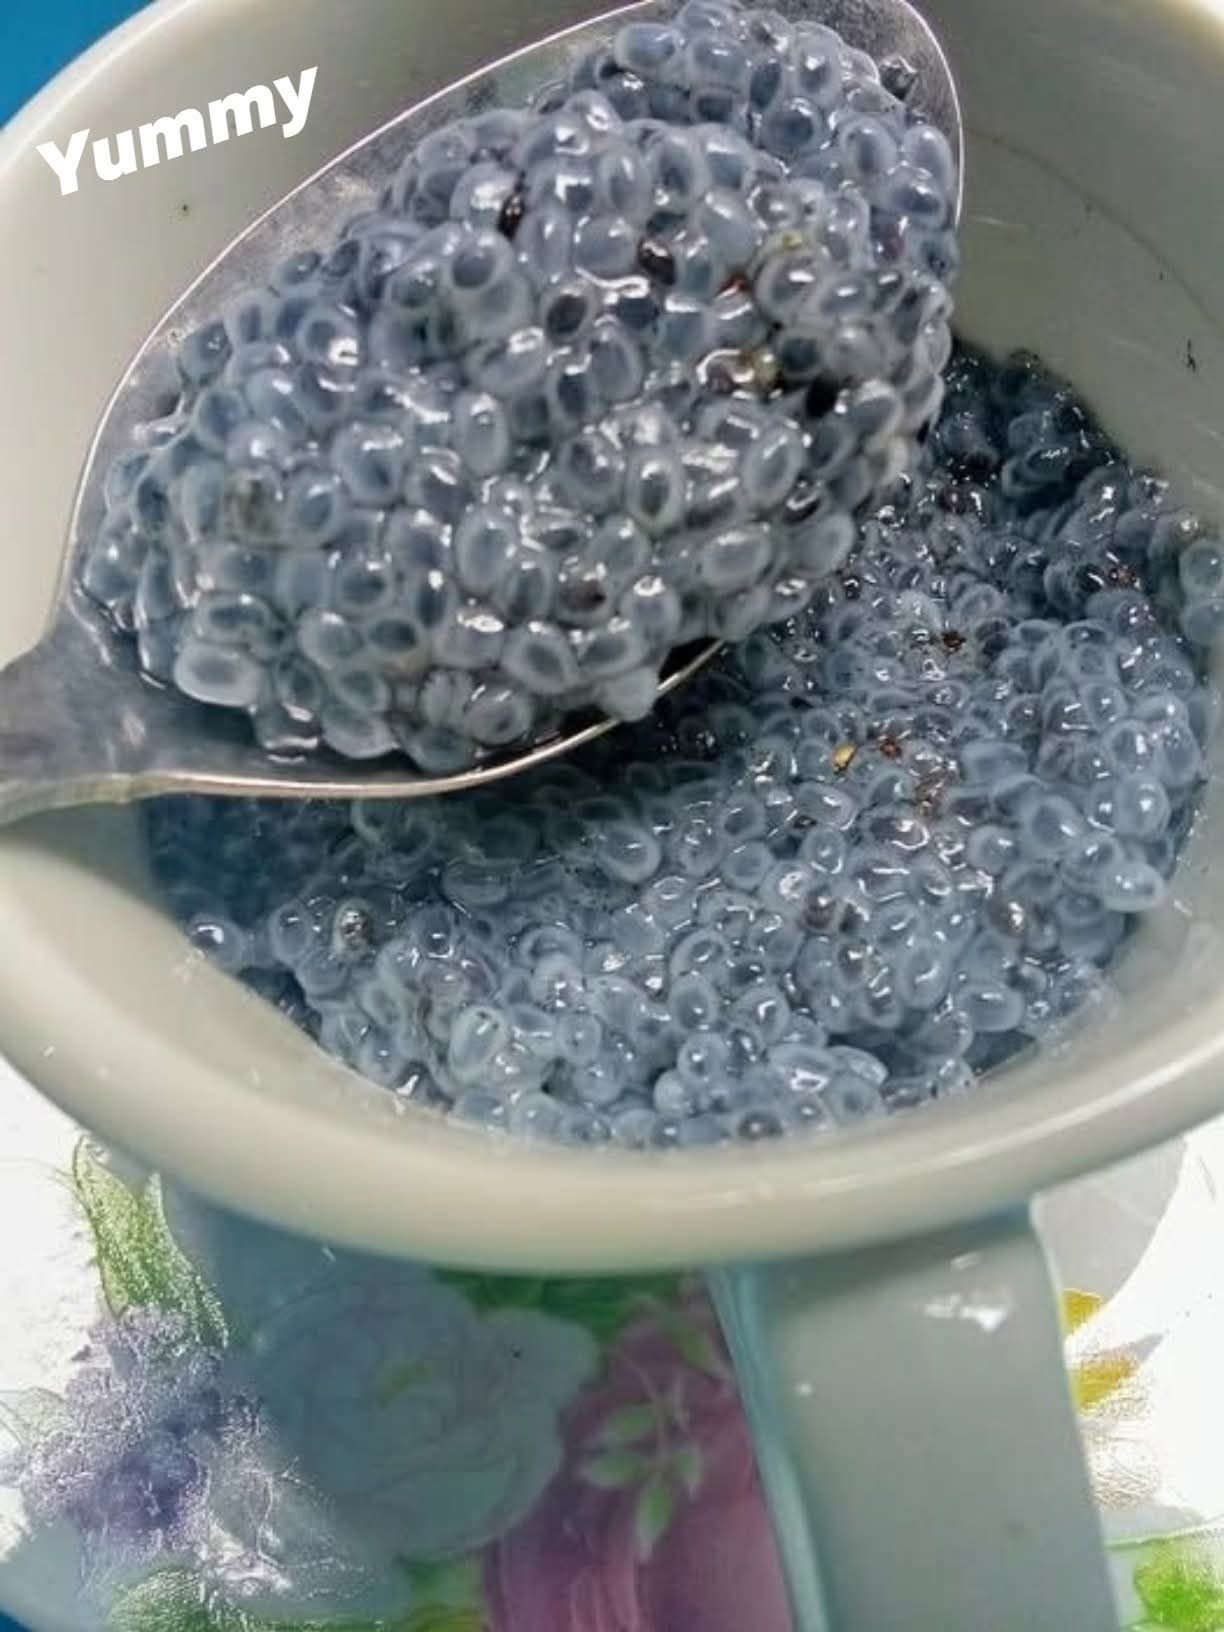
Overnight Chia Seed Power Pudding

Overnight Chia Seed Power Pudding 🥣

A nutrient-dense, fiber-rich breakfast or snack designed for lasting energy.

Ingredients

  • 2 tablespoons Whole black or white chia seeds

  • 1/2 cup Unsweetened almond milk (or your preferred nut milk)

  • 1/4 teaspoon Pure vanilla extract

  • 1 pinch Sea salt (to enhance the natural flavors)

  • Optional: A dusting of cinnamon or 2–3 drops of liquid stevia if a hint of sweetness is desired.

Detailed Instructions

  1. Initial Mix: In a small glass mason jar or bowl, combine the chia seeds, almond milk, vanilla, and salt. Use a spoon or a small whisk to stir vigorously for about 30–60 seconds.

  2. The First Rest: Let the mixture sit at room temperature for 5 minutes. This is a critical step; it allows the seeds to begin releasing their natural mucilage (the “gel”).

  3. The Second Stir: Stir the mixture again thoroughly. This breaks up any clumps of seeds that may have settled at the bottom, ensuring a smooth, uniform texture.

  4. The Set: Cover the jar tightly and place it in the refrigerator. Let it set for a minimum of 2 hours, though leaving it overnight results in the best, most pudding-like consistency.

  5. Final Prep: Before eating, give it one last stir. If it’s too thick for your preference, splash in an extra tablespoon of milk to reach your desired creaminess. 🥄


Serving Suggestions 🍓

  • Fiber Boost: Top with fresh raspberries or blueberries.

  • Crunch Factor: Add a tablespoon of slivered almonds or crushed walnuts.

  • Flavor Twist: Stir in a teaspoon of unsweetened cocoa powder during step 1 for a chocolate version.


Common Questions & Answers 💡

Q: Why is my chia pudding watery? A: This usually happens if the ratio of liquid to seeds is too high or if the seeds weren’t stirred a second time after the initial 5-minute rest. Add another teaspoon of seeds and let it sit for another hour.

Q: How long does this stay fresh? A: You can meal-prep this up to 5 days in advance if kept in an airtight container in the fridge. 🧊

Q: Can I use warm milk? A: Yes! Using warm milk will make the seeds gel much faster (usually within 15 minutes), though the texture will be slightly different than the cold-set version.

Q: Are there any alternatives to vanilla? A: Absolutely. You can use almond extract, lemon zest, or even a pinch of cardamom for a different flavor profile. 🍋


Health Highlights ✅

  • Heart Health: High in Omega-3 fatty acids which support healthy cholesterol levels.

  • Digestive Support: The significant fiber content helps cleanse the system and promotes regularity.

  • Satiety: The gel-like consistency expands in the stomach, helping you feel full and satisfied for longer periods.

Perilla Leaf Green Juice

Perilla Leaf Green Juice

 Description

Perilla leaf juice is a refreshing herbal drink made from fresh perilla leaves, blended with lemon, apple, and water. It is rich in antioxidants, vitamin A precursors, vitamin C, and anti-inflammatory compounds that can support immune health, digestion, and overall wellness.

The drink has a fresh mint-basil flavour with a slightly earthy taste.

 Ingredients (2 Servings)

  • 1 cup fresh perilla leaves (about 15–20 leaves)

  • 1 green apple (chopped)

  • ½ cucumber

  • 1 tbsp lemon juice

  • 1 tsp honey (optional)

  • 1 cup cold water or coconut water

  • 3–4 ice cubes (optional)

 Instructions

1️⃣ Wash the herbs

Rinse the perilla leaves thoroughly to remove dirt.

2️⃣ Prepare the ingredients.

Chop the apple and cucumber into small pieces.

3️⃣ Blend

Add the following to a blender:

  • Perilla leaves

  • Apple

  • Cucumber

  • Lemon juice

  • Water

Blend for 30–40 seconds until smooth.

4️⃣ Strain (optional)

Strain through a fine mesh if you prefer smoother juice.

5️⃣ Serve

Pour into a glass, add ice, and drink fresh.

 Servings

2 servings

 Nutritional Information (Approx. per serving)

  • Calories: 55

  • Carbohydrates: 12 g

  • Fiber: 2 g

  • Vitamin C: ~30% DV

  • Vitamin A: ~20% DV

  • Potassium: ~200 mg

  • Antioxidants: High

 Potential Benefits

👁 Eye health support

Contains antioxidants and vitamin A precursors that help support normal eye function.

🛡 Immune support

Rich in vitamin C and plant compounds.

🔥 Anti-inflammatory properties

Perilla leaves contain rosmarinic acid, which may reduce inflammation.

❤️ Heart health

May help support healthy cholesterol levels.

🌿 Digestive support

Natural plant compounds may aid digestion.

 Notes

  • Fresh perilla leaves give the best flavour.

  • The drink is slightly herbal and mint-like.

  • Best consumed immediately after blending.

Tips

✔ Add ginger for extra digestive benefits.
✔ Use coconut water instead of plain water for electrolytes.
✔ Add spinach or kale to boost nutrients.
✔ Drink in the morning for best freshness.

 Q&A

Q1: Can this drink restore eyesight?

No. It cannot cure blindness or restore lost vision. It may only support general eye health due to nutrients.

Q2: Can I drink it every day?

Yes, in moderate amounts (1 glass per day).

Q3: What does perilla taste like?

It tastes like a mix of mint, basil, and green tea.

Q4: Can I use dried perilla leaves?

Fresh leaves are recommended for better nutrients and taste.

Q5: Who should avoid it?

People with plant allergies or those taking blood-thinning medication should consult a doctor.