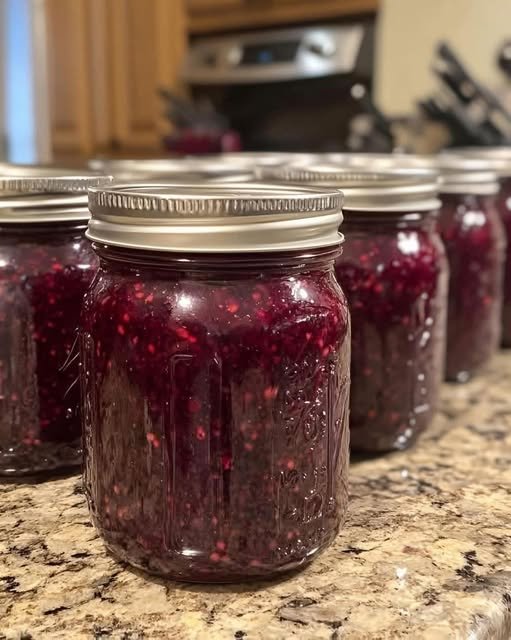
Cottage Cheese & Spinach Crustless Quiche

This Cottage Cheese & Spinach Crustless Quiche looks like a fantastic addition to your family’s rotation! Since it’s packed with protein and doesn’t require a crust, it’s a great “no-fuss” meal for a busy mom.

As per your request for full recipes, here are the complete details:


Cottage Cheese & Spinach Crustless Quiche

Prep time: 10 mins | Cook time: 35–40 mins | Servings: 6–8

Ingredients

  • 1 ½ cups: Cottage cheese

  • 6: Large eggs

  • 2 cups: Fresh spinach, roughly chopped

  • 1 cup: Shredded mozzarella or cheddar cheese

  • ¼ cup: Grated Parmesan cheese

  • 1 tsp: Garlic powder

  • ½ tsp: Onion powder

  • To taste: Salt and black pepper

  • Optional: Pinch of nutmeg or crushed red pepper flakes


Instructions

  1. Preheat and Prep: Preheat your oven to 375°F (190°C). Thoroughly grease a 9-inch pie dish or springform pan with butter or non-stick cooking spray.

  2. Blend the Base: In a large bowl, whisk the eggs until smooth. Stir in the cottage cheese, garlic powder, onion powder, salt, and pepper. For a smoother, more “custardy” texture, you can blend the eggs and cottage cheese together in a blender before adding the other ingredients.

  3. Fold in Greens and Cheese: Stir in the chopped fresh spinach and the shredded mozzarella or cheddar.

  4. Bake: Pour the mixture into your prepared dish. Sprinkle the Parmesan cheese over the top for a golden crust.

  5. Cook: Bake for 35–40 minutes, or until the center is set and the top is lightly golden brown.

  6. Cool and Serve: Let the quiche rest for at least 5–10 minutes before slicing. This allows the internal structure to firm up so you get clean slices.


Why This Recipe Works

  • High Protein: The combination of eggs and cottage cheese makes this incredibly satiating.

  • Versatile: You can easily swap the spinach for sautéed mushrooms, bell peppers, or even leftover ham.

  • Meal Prep Friendly: This quiche reheats beautifully, making it perfect for quick breakfasts during the school week.
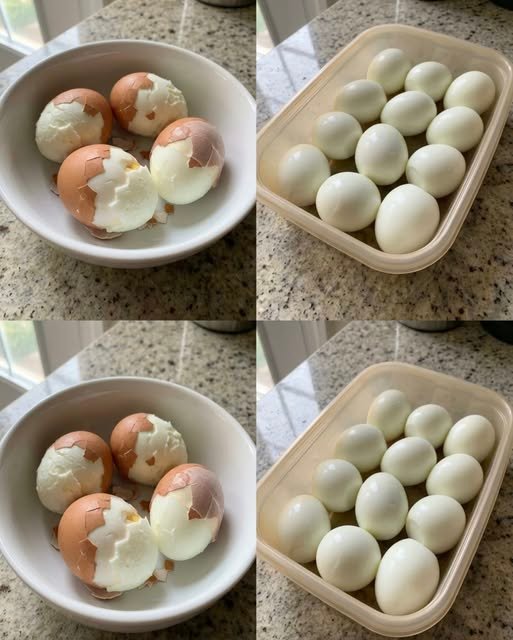
Perfect Hard Boiled Eggs

Perfect Hard-Boiled Eggs

Prep time: 15 mins | Cook time: 10–12 mins | Total time: ~30 mins

Ingredients

  • Eggs: Fresh, high-quality eggs (slightly older eggs peel better).

  • Water: Enough to submerge eggs by at least one inch.

  • Ice: For an ice bath to stop the cooking process.

  • Salt or Vinegar (Optional): A pinch of salt to reduce cracking or a splash of vinegar to help seal any cracks that occur.


Instructions

  1. Room Temperature Prep: Remove eggs from the refrigerator and let them sit out for 10–15 minutes to prevent cracking when they hit the water.

  2. Arrange in Skillet/Pot: Place the eggs in a single layer at the bottom of your saucepan. Do not stack them, as this leads to uneven cooking.

  3. Cover with Cold Water: Pour in cold water until the eggs are covered by at least one inch. Starting with cold water ensures the eggs heat up gradually.

  4. Boil and Turn Off: Place the pot on medium-high heat. As soon as the water reaches a rolling boil, turn off the heat immediately.

  5. The Resting Period: Cover the pot with a lid and let the eggs sit in the hot water:

    • 9–10 minutes: For classic hard-boiled eggs.

    • 11–12 minutes: For fully firm yolks (best for deviled eggs).

  6. Ice Bath: Move the eggs immediately into a bowl filled with ice and water. Let them cool for 5–10 minutes to stop the cooking and prevent that gray-green ring from forming around the yolk.

  7. Peel: Tap the shell on a hard surface and peel from the wider end, where the air pocket is located.


Storage Tips

  • Refrigeration: You can store unpeeled eggs in a sealed container in the fridge for up to 7 days.

  • Reheating: If you want them warm, place peeled eggs in hot (not boiling) water for 3–5 minutes. Never microwave whole hard-boiled eggs, as they can explode!


Quick Variations

  • Jammy Eggs: If you want a softer, creamy center, reduce the resting time in Step 5 to just 6–7 minutes.

  • Deviled Egg Base: Use the full 12-minute rest to ensure the yolks are firm enough for mashing and piping.

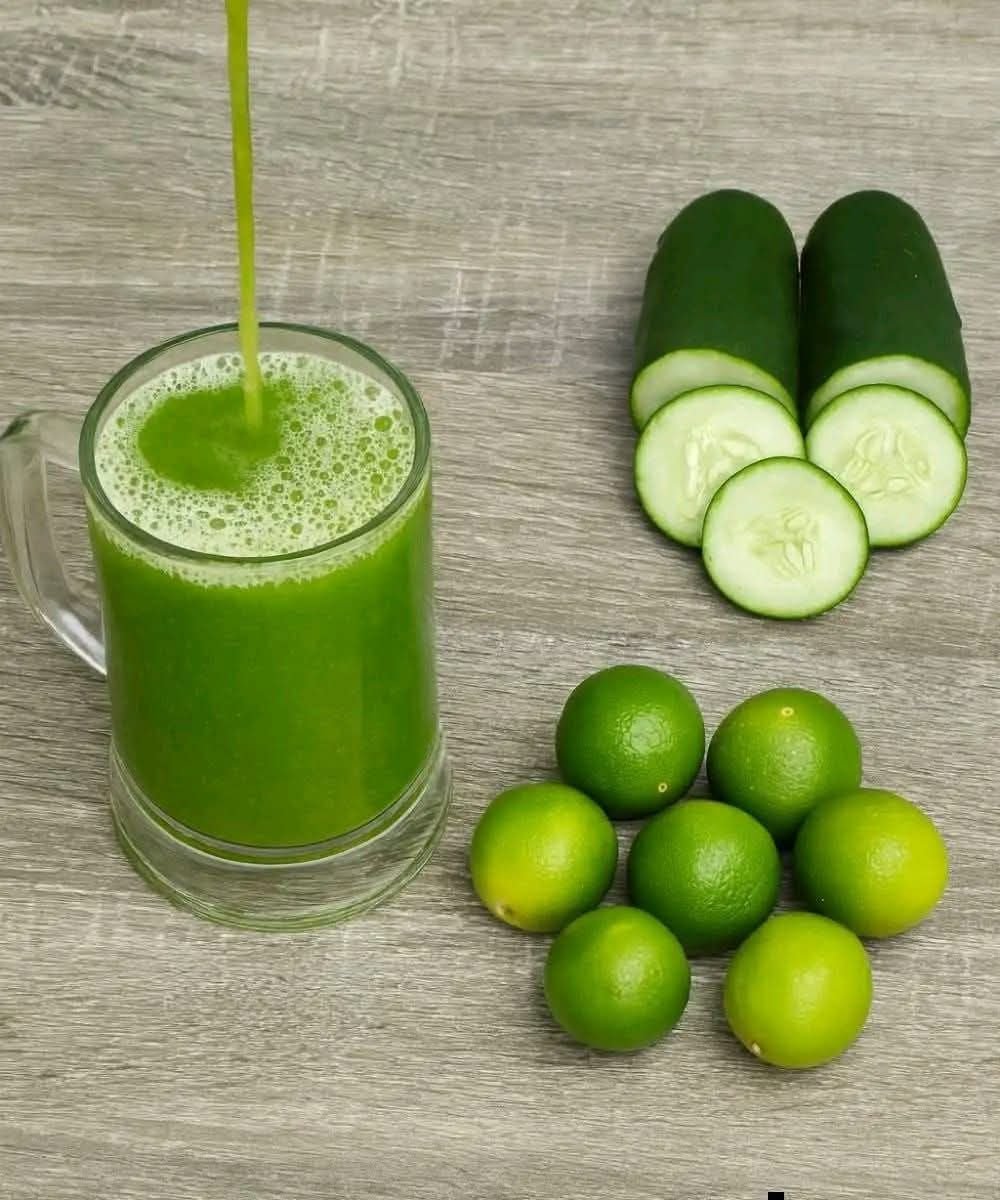
Cucumber & Lime Refreshment Drink

Those “Blueberry Pie Bombs” look delicious! Since I know you’re looking for full recipes to keep things simple for your family, I’ve put together the complete instructions for that cucumber and lime detox drink you shared.

It is important to note that while this drink is hydrating and full of vitamin C, there is no medical evidence that a single drink can “eliminate” fatty liver or urinary infections on its own. It’s a great addition to a healthy lifestyle, but please check with a doctor for those specific conditions!


Cucumber & Lime Refreshment Drink

Prep time: 5 mins | Yields: 1 large glass

Ingredients

  • 1 large Cucumber (washed and sliced)

  • 2-3 small Limes (or 1 large lemon)

  • 2 cups Cold water

  • Optional: A handful of fresh mint leaves

  • Optional: 1 tsp honey or agave for sweetness


Instructions

  1. Prepare the Produce: Wash the cucumber and limes thoroughly. You can leave the skin on the cucumber for extra nutrients or peel it if you prefer a smoother texture.

  2. Blend: Place the cucumber slices and the juice of the limes into a high-speed blender.

  3. Liquify: Add the water (and mint or sweetener if using). Blend on high until the mixture is completely liquid and bright green.

  4. Strain (Optional): If you prefer a clear juice, pour the mixture through a fine-mesh strainer or nut milk bag into a glass. If you don’t mind the pulp, keep it for the extra fiber!

  5. Serve: Pour over ice and enjoy immediately for the freshest flavor.


Why This Combination?

  • Cucumber: Extremely high in water content (about 95%), making it excellent for hydration and reducing bloating.

  • Lime/Lemon: Rich in citric acid and vitamin C, which can help support digestion and give the immune system a little boost.

Barbara O’Neill’s Turmeric Soak Formula

Barbara O’Neill’s Turmeric Soak Formula

Yields: 1 Serving | Prep time: 5 mins | Cook time: 7 mins

Ingredients

  • 1 tbsp: Turmeric powder (or fresh grated root)

  • 2-inch piece: Fresh ginger, peeled and grated

  • 1 tsp: Black pepper (essential for turmeric absorption)

  • 1 tbsp: Fresh lemon juice (or 1 lemon, sliced)

  • 1 tbsp: Honey (optional, for sweetness)

  • 2 cups: Water


Instructions

  1. Boil the Water: Bring 2 cups of water to a boil in a small saucepan.

  2. Infuse the Aromatics: Add the turmeric, grated ginger, and black pepper to the boiling water. If using lemon slices instead of juice, add them now.

  3. Simmer: Reduce the heat and let the mixture simmer for 5–7 minutes to allow the compounds to infuse.

  4. Final Additions: Remove the pan from the heat. Stir in the fresh lemon juice and honey (if using).

  5. Strain: Pour the mixture through a fine-mesh strainer into a jar or cup, discarding the solids.

  6. Apply or Drink: * As a Drink: Consume once daily for three consecutive days.

    • As a Soak: Soak a clean cloth in the warm liquid (ensure it is a safe temperature for the skin) and apply it as a compress to the thyroid area.


Key Notes & Tips

  • Fresh is Best: Using fresh turmeric and ginger roots provides a stronger potency compared to powdered forms.

  • Medical Consultation: If you are currently on thyroid medication, consult your healthcare provider before starting this remedy, as turmeric can sometimes interfere with certain drugs.

  • Storage: You can double or triple this recipe and store the extra in the refrigerator for up to 3 days.

Amish Sweet Pepper Relish (Old-Fashioned Jar Recipe)

Introduction

“My Amish neighbor brought jars of this stuff over, and I knew I had to copy the recipe!”

That was my first reaction after tasting this sweet, tangy, crunchy relish. This traditional Amish recipe is made with simple vegetables, vinegar, and sugar, preserved in jars just like old-time families have done for generations. It’s perfect on sandwiches, burgers, hot dogs, or even served as a side with meats. Once you try it, you’ll understand why people beg for the recipe.

History

Amish communities are known for their simple living, home gardening, and food preservation traditions. Long before refrigeration was common, vegetables were preserved using vinegar, sugar, and salt. Sweet pepper relish became popular because it allowed families to enjoy garden produce all year long. Recipes were shared between neighbors, often gifted in jars as a sign of kindness and hospitality.

Ingredients

  • 6 cups bell peppers (red, green, or mixed), finely chopped
  • 2 cups onions, finely chopped
  • 1 cup sugar
  • 1½ cups white vinegar
  • 1 teaspoon salt
  • 1 teaspoon mustard seeds
  • ½ teaspoon celery seeds
  • ½ teaspoon turmeric
  • ½ teaspoon black pepper
  • 1 tablespoon cornstarch (optional, for thicker relish)

Formation (Preparation)

  1. Wash all vegetables thoroughly.
  2. Finely chop peppers and onions (uniform size helps even cooking).
  3. Place vegetables in a large bowl and sprinkle with salt.
  4. Let sit for 1 hour, then drain excess liquid.
  5. Prepare clean glass jars if you plan to store the relish.

Cooking Methods

Method 1: Traditional Stove-Top Amish Method

  1. In a large pot, combine vinegar, sugar, mustard seeds, celery seeds, turmeric, and pepper.
  2. Bring to a gentle boil.
  3. Add drained peppers and onions.
  4. Reduce heat and simmer for 25–30 minutes, stirring occasionally.
  5. If using cornstarch, dissolve it in a little water and stir in during the last 5 minutes.

Method 2: Jar Preservation Method

  1. Spoon hot relish into sterilized jars.
  2. Seal tightly.
  3. Let cool completely before storing in the refrigerator or pantry (if properly canned).

Instructions (Step-by-Step Summary)

  • Chop vegetables
  • Salt and drain
  • Cook with vinegar and spices
  • Simmer until flavorful
  • Jar and store

Benefits

  • Made from natural vegetables
  • No artificial preservatives
  • Long shelf life
  • Adds flavor without heavy calories
  • Encourages home cooking and food sharing

For Lovers Of

This recipe is perfect for lovers of:

  • Amish & farmhouse recipes
  • Homemade jar foods
  • Sweet-and-tangy flavors
  • Old-fashioned traditions
  • Simple, honest ingredients

Serving Ideas

  • On burgers and hot dogs
  • With grilled meats
  • Inside sandwiches
  • Alongside cheese and bread

Conclusion

This Amish Sweet Pepper Relish is more than just a condiment—it’s a piece of tradition in a jar. Easy to make, full of flavor, and perfect for sharing, it’s no surprise that once someone tastes it, they want the recipe. Just like my Amish neighbor, you’ll find yourself giving jars away and spreading the love.

If you want, I can also:

  • Rewrite it in simpler school language
  • Turn it into a viral Facebook/Instagram post
  • Adapt it for long-term canning

Enjoy.

Vanilla Raisin Loaf Cake

Vanilla Raisin Loaf Cake

Prep Time: 15 minutes
Bake Time: 45–50 minutes
Servings: 8–10 slices

A soft, lightly sweet loaf cake flavored with vanilla and dotted with juicy raisins. Perfect for tea time or dessert.


🛒 Ingredients

  • 2 cups (250 g) all-purpose flour

  • 1½ teaspoons baking powder

  • ¼ teaspoon salt

  • ½ cup (115 g) unsalted butter, softened

  • ¾ cup (150 g) granulated sugar

  • 2 large eggs, at room temperature

  • 1 teaspoon vanilla extract

  • ½ cup (120 ml) milk

  • ½ cup (80 g) raisins
    (soaked in warm water for 10 minutes, then drained and patted dry)

Optional:

  • 1 tablespoon flour (for coating raisins)

  • Powdered sugar for dusting


👩‍🍳 Step-by-Step Instructions

1. Prepare the Pan

Preheat your oven to 180°C (350°F).

Grease a standard loaf pan (9×5 inch) with butter or oil and line with parchment paper for easy removal.


2. Mix Dry Ingredients

In a medium bowl, whisk together:

  • flour

  • baking powder

  • salt

Set aside.


3. Cream Butter and Sugar

In a large mixing bowl, beat:

  • softened butter

  • sugar

Mix until light and fluffy (about 2–3 minutes).

This step helps create a soft texture.


4. Add Eggs and Vanilla

Add eggs one at a time, mixing well after each addition.

Stir in vanilla extract.


5. Combine Wet and Dry

Add the flour mixture in two parts, alternating with milk:

  • Add half the flour → mix gently

  • Add milk → mix

  • Add remaining flour → mix just until combined

Do not overmix.


6. Add Raisins

Toss drained raisins with 1 tablespoon flour (optional, helps prevent sinking).

Fold raisins gently into the batter.


7. Bake

Pour batter into prepared pan and smooth the top.

Bake for 45–50 minutes, or until:

  • top is golden

  • a toothpick inserted in the center comes out clean


8. Cool

Let the loaf cool in the pan for 10 minutes, then transfer to a wire rack to cool completely.


🍽 Serving Ideas

  • Dust with powdered sugar

  • Serve plain or with butter

  • Pair with tea, coffee, or milk

  • Add sliced fruit on the side


💡 Helpful Tips

  • Soaking raisins keeps them soft and juicy.

  • Do not overmix the batter or the loaf may become dense.

  • You can replace raisins with chopped dates or dried apricots.

  • Store covered at room temperature for 2 days or refrigerate up to 5 days.