Some desserts are quiet little gems, and tapioca pudding is one of them. Made with only four basic ingredients, it’s the kind of recipe you can pull together on a weeknight when a sweet craving hits but a full baking project feels like too much. Deeply rooted in classic American home cooking, this pudding is smooth, lightly sweet, and wonderfully nostalgic—without any extra effort.
All you need is a saucepan and a bit of gentle stirring, and you’re rewarded with a dessert that feels far richer than the work it requires. It’s perfect for busy evenings, relaxed weekends, or even prepared ahead for a simple brunch treat. Proof that comfort food doesn’t have to be complicated.
Serve it warm for a cozy, custard-like feel, or chilled for a cool, creamy dessert. Finish it with fresh berries, banana slices, a dollop of jam, or a drizzle of caramel—whatever sounds best in the moment.
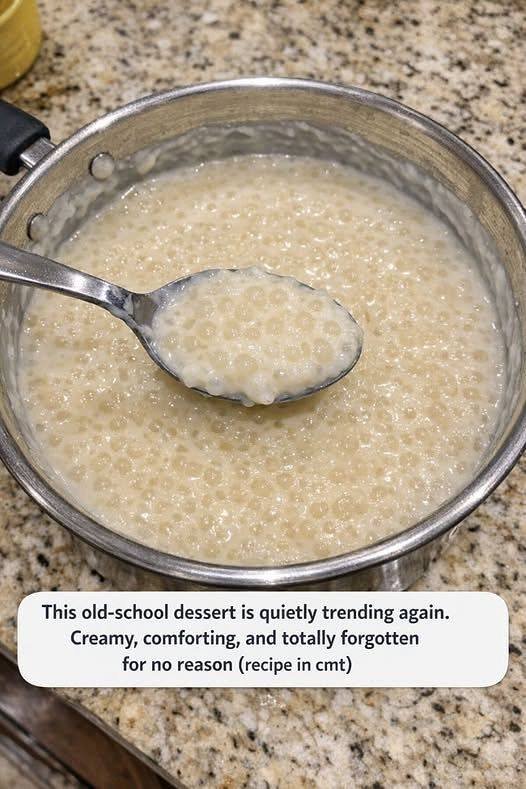
4-Ingredient Stovetop Tapioca Pudding
Serves 4
Ingredients
Ingredient
Amount
Notes
Small pearl tapioca (not instant)
⅓ cup
Soaks before cooking
Milk (whole preferred)
2¾ cups
Creates a creamy texture
Granulated sugar
⅓ cup
Adjust to taste
Egg, beaten
1 large
Tempered for smoothness
Directions
1. Soak the Tapioca
Combine the tapioca pearls and milk in a medium saucepan. Let rest for 20–30 minutes so the pearls soften.
2. Cook the Base
Place the saucepan over medium-low heat. Stir in the sugar and cook, stirring often, until the mixture begins to steam and the pearls become mostly translucent, about 10–15 minutes. Keep the heat gentle to avoid scorching.
3. Temper the Egg
In a small bowl, beat the egg. Slowly whisk in a few spoonfuls of the hot tapioca mixture to gradually warm the egg.
4. Finish the Pudding
Pour the tempered egg back into the saucepan, stirring constantly. Cook for another 3–5 minutes, until slightly thickened and able to coat the back of a spoon.
5. Rest & Adjust
Remove from heat and let sit for about 10 minutes, stirring occasionally to prevent a skin from forming. Taste and adjust sweetness if needed.
6. Serve
Warm: Serve right away for a soft, custard-like texture.
Chilled: Spoon into bowls or jars, cover, and refrigerate for 1–2 hours. Stir in a splash of milk if it thickens too much.
Simple, nostalgic, and endlessly comforting—this classic tapioca pudding shows that the best desserts are often the easiest.
This recipe relies on using high-quality basics to create a dessert that tastes like it took hours.
Ingredients
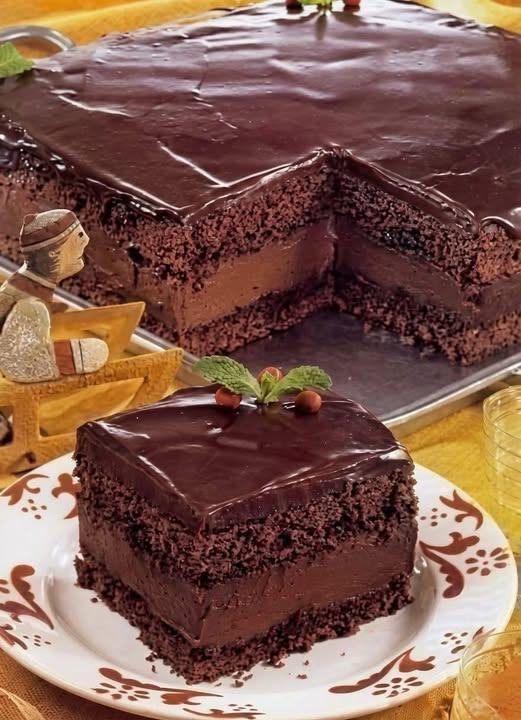
1 box (approx. 15-18 oz) Chocolate Cake Mix: (Plus the water/oil/eggs called for on the box—standard “hack” recipes count the box as one ingredient).
2 cans (14 oz each) Sweetened Condensed Milk: This forms the base of the fudgy filling.
1 cup Unsweetened Cocoa Powder: Use a high-quality dark cocoa for the best flavor.
1 cup Heavy Cream: To smooth out the filling into a silkier texture.
Instructions
1. Bake the Base
Prepare the chocolate cake mix according to the package instructions in a square or rectangular baking pan.
Once baked, let the cake cool completely.
The Secret Step: Carefully slice the cake in half horizontally to create two layers, or use a spoon to hollow out the center of the cake (leaving a 1-inch border) to create a “trench” for the filling.
2. Create the Truffle Filling (Brigadeiro Style)
In a medium saucepan, combine the sweetened condensed milk, cocoa powder, and heavy cream.
Cook over medium-low heat, stirring constantly with a silicone spatula.
Continue stirring for about 8–10 minutes until the mixture thickens. You’ll know it’s ready when you can run your spatula through the middle and the “path” stays open for a second before closing.
Remove from heat and let it cool for about 15 minutes (it will thicken further as it cools).
3. Assemble
Spread the thickened chocolate mixture generously over the bottom layer of the cake (or fill the hollowed-out center).
Place the top layer of cake back on.
If you have leftover filling, thin it out with a tablespoon of milk or cream to create the shiny glaze for the very top.
4. Chill and Serve
For the best “melt-in-your-mouth” texture, cover the cake and refrigerate for at least 4 hours or overnight. This allows the filling to set and the moisture to move into the cake layers.
Pro-Tip
For an even more intense flavor, you can brush the cake layers with a little bit of cold coffee or milk before adding the filling to keep it extra moist.
1 loaf thick-sliced garlic bread (store-bought or homemade)
2 cups shredded cheddar cheese
2 tbsp fresh parsley, chopped (for garnish)
Instructions
1. Prepare the Sloppy Joe Mixture
In a large skillet over medium heat, cook the ground beef and diced onion together. Stir frequently, breaking the beef into small crumbles, until the meat is fully browned and the onions are soft and translucent.
Drain any excess fat from the skillet to ensure the mixture isn’t greasy.
Add the minced garlic to the skillet and cook for about 1 minute until fragrant.
Stir in the tomato sauce, ketchup, Worcestershire sauce, and chili powder.
Season with salt and pepper to your preference.
Reduce the heat to low and let the mixture simmer for 5–10 minutes, allowing the sauce to thicken and the flavors to meld.
2. Prepare the Garlic Toast
While the meat simmers, preheat your oven according to the instructions on the garlic bread package (usually around 375°F or 190°C).
Place the garlic bread slices on a large baking sheet.
Lightly toast the bread in the oven for about 5 minutes. This “pre-toast” ensures the bread stays crispy and doesn’t get soggy once you add the toppings.
3. Assemble and Melt
Remove the baking sheet from the oven.
Spoon a generous amount of the Sloppy Joe mixture onto each slice of garlic bread, spreading it to the edges.
Top each slice with a heavy layer of shredded cheddar cheese.
Return the pan to the oven and bake for an additional 5–8 minutes, or until the cheese is completely melted and bubbly. For extra golden cheese, you can broil it for the last 60 seconds.
4. Garnish and Serve
Remove from the oven and sprinkle with freshly chopped parsley.
Serve immediately while the cheese is hot and the bread is crunchy.
Pro-Tip
If you prefer a little extra kick, add a few slices of pickled jalapeños under the cheese before the final bake!
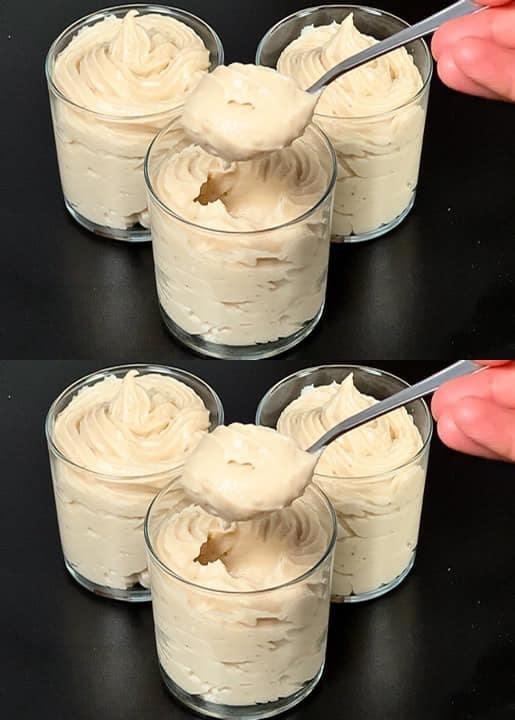
This recipe creates a light, airy, and creamy dessert that is high in healthy fats and low in sugar.
Ingredients
8 oz (225g) Cream Cheese: Softened to room temperature for easy blending.
1/2 cup Butter: Softened to room temperature.
1/2 cup Creamy Peanut Butter: Or almond butter if you prefer.
1/2 cup Powdered Sweetener: Such as Erythritol or Monk Fruit (adjust to your preferred sweetness).
1 tsp Vanilla Extract: For a rich, aromatic flavor.
1/2 cup Sugar-Free Chocolate Chips: Dark or milk chocolate style.
Optional: A pinch of sea salt to enhance the chocolate flavor.
Instructions
Cream the Base:
In a large mixing bowl, combine the softened cream cheese, butter, and peanut butter.
Using a hand mixer or stand mixer, beat on medium-high speed until the mixture is completely smooth and no lumps remain.
Sweeten and Flavor:
Add the powdered sweetener, vanilla extract, and optional pinch of salt.
Continue to beat the mixture for another 1–2 minutes. This incorporates air into the base, giving it that signature “fluff” texture.
Add the Chocolate:
Switch to a spatula or wooden spoon.
Gently fold in the sugar-free chocolate chips until they are evenly distributed throughout the fluff.
Portion and Chill:
Spoon the mixture into individual jars, ramekins, or a large container.
While you can eat it immediately, chilling it in the refrigerator for at least 30 minutes allows the flavors to meld and the texture to firm up slightly into a decadent mousse.
Tips for Success
Smoothness: Ensure your cream cheese and butter are truly at room temperature. If they are cold, the fluff will be lumpy rather than velvety.
Storage: This keeps beautifully in an airtight container in the refrigerator for up to 5 days. You can even freeze small “scoops” on a parchment-lined tray for a frozen treat later.
This recipe creates a light, airy, and naturally sweet treat that tastes like a professional pastry shop dessert.
Ingredients
2 large ripe bananas: Using overripe bananas (with some brown spots) provides the best natural sweetness and flavor.
1 ½ cups heavy whipping cream: Ensure it is very cold for the best volume.
¼ cup powdered sugar: Adjust based on the ripeness of your bananas.
1 tsp lemon juice: This helps prevent the bananas from browning and adds a tiny bright note.
Optional: 1 tsp vanilla extract or a pinch of cinnamon.
Instructions
Prepare the Bananas:
Peel the bananas and place them in a bowl.
Add the lemon juice and mash them thoroughly with a fork until they form a smooth paste. For an even silkier texture, you can use a blender or food processor.
Whip the Cream:
In a separate chilled large bowl, pour in the cold heavy whipping cream.
Using a hand mixer or stand mixer, beat the cream on medium-high speed.
As it begins to thicken, gradually add the powdered sugar (and vanilla if using).
Continue beating until stiff peaks form (the cream should hold its shape firmly when you lift the beaters).
Combine:
Gently fold the banana puree into the whipped cream using a spatula.
Note: Use a folding motion (cutting through the center and lifting over) rather than stirring to keep the air in the mousse and maintain that fluffy texture.
Serve:
Spoon or pipe the mousse into serving glasses.
You can serve it immediately for a soft texture, or chill in the refrigerator for 30 minutes to let it set further.
Serving Suggestions
Garnish: Top with a few fresh banana slices, a drizzle of caramel, or some crushed vanilla wafers.
Chocolate Twist: Fold in a handful of mini chocolate chips or shave dark chocolate over the top before serving.

 4-Ingredient Stovetop Tapioca Pudding
 Ingredients
 Directions
 Simple, nostalgic, and endlessly comforting—this classic tapioca pudding shows that the best desserts are often the easiest.