Diabetic-Friendly Vanilla Cream Rolls (5-Minute No-Bake)

Diabetic-Friendly Vanilla Cream Rolls (5-Minute No-Bake)

 Description

These light, creamy vanilla rolls are made with a low-carb, sugar-free filling and thin, crisp roll shells. The texture is silky and melts in your mouth, while keeping carbohydrates lower than traditional pastry cream rolls. Perfect for a quick dessert, tea snack, or make-ahead treat.

⚠️ “Diabetic-friendly” means lower in sugar and carbs — always monitor blood glucose and consult your healthcare provider for personal guidance.

 Ingredients (Makes 8 Rolls)

For the Cream Filling

  • 1 cup heavy whipping cream (cold)

  • 4 oz (115 g) cream cheese, softened

  • 2–3 tablespoons powdered erythritol or monk fruit sweetener (adjust to taste)

  • 1 teaspoon pure vanilla extract

  • Pinch of salt

For the Roll Shells (Quick Option)

  • 8 low-carb wafer rolls OR

  • 8 thin low-carb crepes (store-bought or homemade)

Optional dusting: powdered erythritol

 Instructions (5–10 Minutes)

  1. Whip Cream
    Beat heavy cream until soft peaks form.

  2. Mix Base
    In another bowl, beat cream cheese, sweetener, vanilla, and salt until smooth.

  3. Combine
    Gently fold whipped cream into cream cheese mixture until light and fluffy.

  4. Fill Rolls
    Transfer filling into a piping bag (or zip bag with tip cut).
    Pipe into wafer rolls or spread onto crepes and roll tightly.

  5. Chill (Optional but Recommended)
    Refrigerate 20–30 minutes for best texture.

  6. Serve
    Dust lightly with powdered sweetener if desired.

Servings

  • 8 rolls

  • 1 roll per serving

Nutritional Info (Approx. Per Roll)

(Using erythritol and low-carb shells)

  • Calories: 120–150

  • Net Carbs: 2–4g

  • Fat: 12g

  • Protein: 2–3g

  • Sugar: <1g

  • Fiber: 1–2g

(Numbers vary depending on shells used.)

 Benefits

✔ Lower sugar than traditional cream rolls
✔ Low net carbs (keto-friendly option)
✔ High satiety from healthy fats
✔ No refined sugar
✔ Quick preparation
✔ Portion-controlled dessert

 Notes & Tips

  • Chill bowl and beaters for faster whipping.

  • Don’t overbeat cream — it can turn grainy.

  • Add lemon zest for brightness.

  • For firmer filling, add 1 tablespoon chia seeds or ½ teaspoon gelatin (bloomed).

  • Store refrigerated up to 3 days.

Variations

  • 🍓 Add sugar-free strawberry puree swirl

  • 🍫 Mix in 1 tbsp unsweetened cocoa powder

  • 🥥 Add 1 tbsp coconut cream for tropical flavor

  • ☕ Add ½ tsp instant espresso for mocha twist

 Q & A

Q: Is this safe for diabetics?
It contains no added sugar and uses low-glycemic sweeteners, but portion control is important.

Q: Can I use stevia?
Yes, but use a baking blend to avoid bitterness.

Q: Can I make it dairy-free?
Use coconut cream and dairy-free cream cheese.

Q: Can I freeze them?
Yes, freeze up to 1 month. Thaw in fridge.

Q: Why is my filling runny?
Cream wasn’t whipped enough or ingredients were too warm.
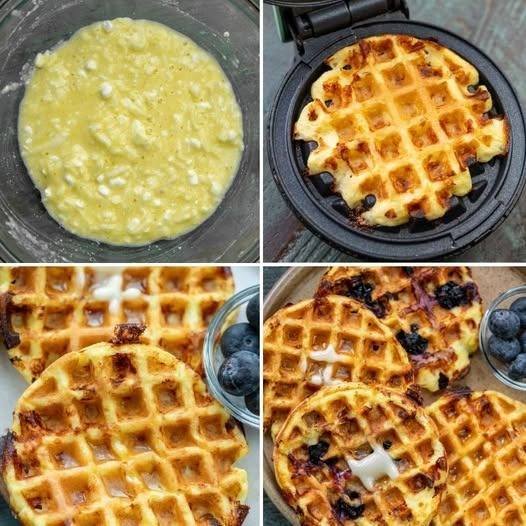
Cottage Cheese Chaffles

Cottage Cheese Chaffles

A quick, savory or sweet low-carb breakfast.


Ingredients

  • 1/2 cup Cottage Cheese: Small curd works best for a smoother texture.

  • 1 Large Egg: Acts as the binder for the batter.

  • 1/2 cup Shredded Mozzarella Cheese: Provides the “chaffle” structure and a crispy exterior.

  • 2 tbsp Almond Flour: (Optional) Adds a bit of heartiness to the texture.

  • Seasoning:

    • For Savory: A pinch of garlic powder and dried chives.

    • For Sweet: A drop of vanilla extract and a pinch of cinnamon.


Instructions

  1. Preheat the Iron: Plug in your mini waffle maker (or standard waffle iron) and let it heat up until the indicator light goes off. Lightly spray with a non-stick cooking oil if needed.

  2. Mix the Batter: In a medium bowl, whisk the egg thoroughly. Fold in the cottage cheese, shredded mozzarella, and your choice of seasoning. If you prefer a smoother waffle, you can pulse these ingredients in a blender for 5 seconds.

  3. Cook: Pour about half of the mixture (roughly 1/4 to 1/3 cup) onto the center of the waffle iron. Close the lid and cook for 3–5 minutes.

    • Tip: Resist the urge to open the lid early! Wait until the steam stops rising to ensure the cheese has crisped up enough to release from the iron.

  4. Cool and Crisp: Remove the chaffle carefully and let it sit on a wire rack or plate for 1–2 minutes. It will become crispier as it cools slightly.

  5. Serve: Enjoy plain, or top with avocado and a fried egg (savory) or fresh berries and a dollop of Greek yogurt (sweet).


Why This Recipe is a Keeper

  • Low Carb: By replacing flour with cheese and egg, you significantly reduce the glycemic impact of your breakfast.

  • High Protein: Between the cottage cheese and the egg, this meal provides sustained energy to keep you full until lunch.

  • Versatile: You can make a large batch and toast them later in the week for an even faster morning routine.

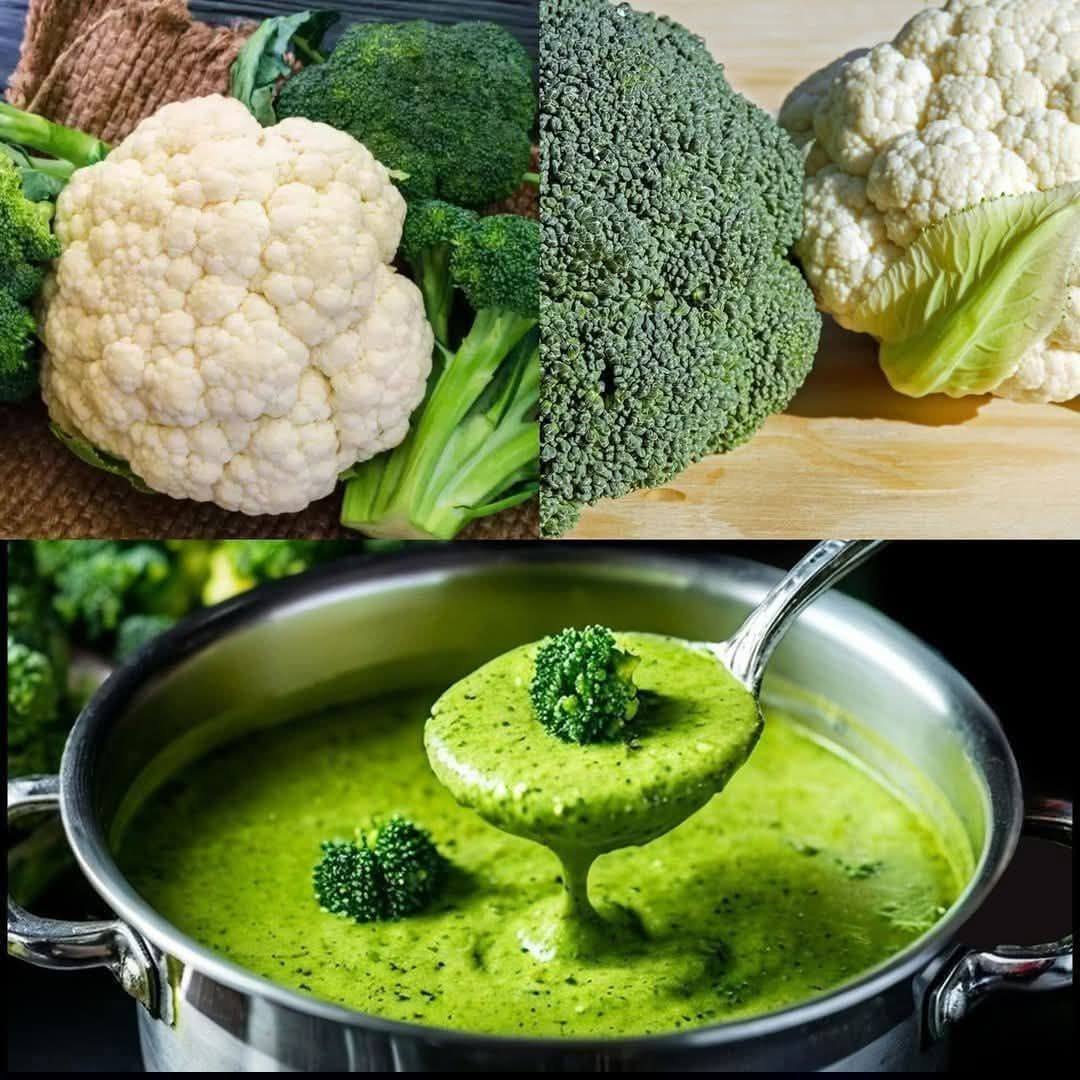
Broccoli & Cauliflower Healing Soup

Broccoli & Cauliflower Healing Soup

A gentle, creamy, and nourishing soup made with fresh broccoli and cauliflower. It’s light on the stomach, packed with fiber, antioxidants, and vitamins — perfect for digestion and overall wellness.

 Description

This soup is smooth, naturally creamy (without heavy cream), and easy to digest. Both broccoli and cauliflower belong to the cruciferous vegetable family, known for supporting gut health, reducing inflammation, and boosting immunity.

It’s ideal for:

  • Sensitive stomach days

  • Detox-style meals

  • Light dinners

  • Immune support

Ingredients (4 Servings)

  • 2 cups broccoli florets

  • 2 cups cauliflower florets

  • 1 small onion, chopped

  • 2 cloves garlic, minced

  • 1 tablespoon olive oil

  • 3 cups vegetable broth (or water)

  • ½ teaspoon turmeric (optional, for extra anti-inflammatory benefits)

  • Salt & black pepper to taste

  • ½ cup milk or coconut milk (optional for creaminess)

  • Fresh parsley (optional garnish)

 Instructions

  1. Heat olive oil in a pot over medium heat.

  2. Add chopped onion and garlic. Sauté until soft (2–3 minutes).

  3. Add broccoli and cauliflower florets. Stir for 1–2 minutes.

  4. Pour in vegetable broth. Bring to a boil.

  5. Reduce heat and simmer for 15–20 minutes until vegetables are tender.

  6. Blend using a hand blender (or regular blender) until smooth.

  7. Add milk/coconut milk if desired.

  8. Season with salt, pepper, and turmeric.

  9. Simmer for another 2 minutes. Serve warm.

 Servings

  • Makes: 4 servings

  • Serving size: ~1 bowl (1.5 cups)

 Nutritional Information (Per Serving – Approximate)

  • Calories: 120–150 kcal

  • Protein: 5g

  • Fiber: 4–5g

  • Carbohydrates: 15g

  • Fat: 6g

  • Vitamin C: 80% Daily Value

  • Vitamin K: 90% Daily Value

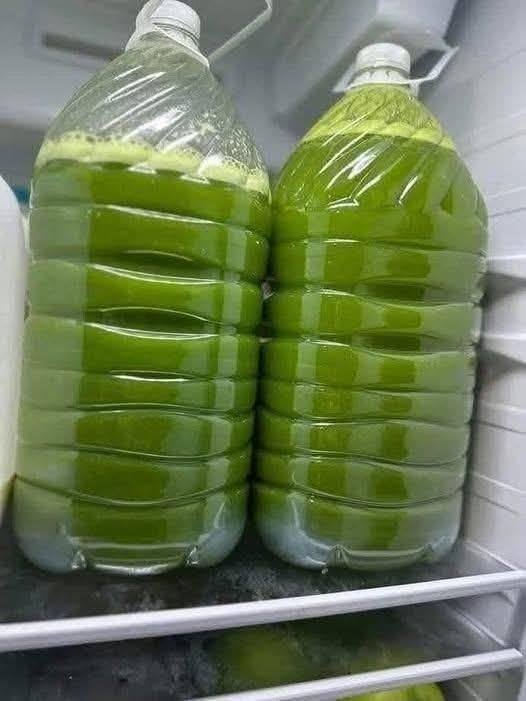
Anti-Inflammatory Liquid Gold (Green Juice)

Anti-Inflammatory Liquid Gold (Green Juice)

 Anti-Inflammatory Liquid Gold (Green Juice)
Yields: ~2 large bottles (8–10 servings)
Prep Time: 10 minutes
Blend Time: 5 minutes
📝 Ingredients
2 large cucumbers
1 bunch celery (about 6–8 stalks)
1 large bunch fresh parsley
1 large bunch fresh cilantro
2 cups fresh spinach or kale
1–2 inch piece fresh ginger, peeled
1 lemon, peeled (or juice only)
1 green apple (optional, for mild sweetness)
1 tsp turmeric powder or 1-inch fresh turmeric root
Pinch of black pepper (boosts turmeric absorption)
2–3 cups cold filtered water (adjust for thickness)
👩‍🍳 Instructions
Wash & prep:
Thoroughly wash all produce. Roughly chop cucumbers, celery, greens, and apple.
Blend:
Add everything to a high-speed blender. Blend until completely smooth (1–2 minutes).
Strain (optional):
For a juice-like texture, strain through a nut milk bag or fine mesh sieve.
For maximum fiber, drink as-is.
Store:
Pour into airtight glass bottles or jars. Refrigerate up to 3–4 days.

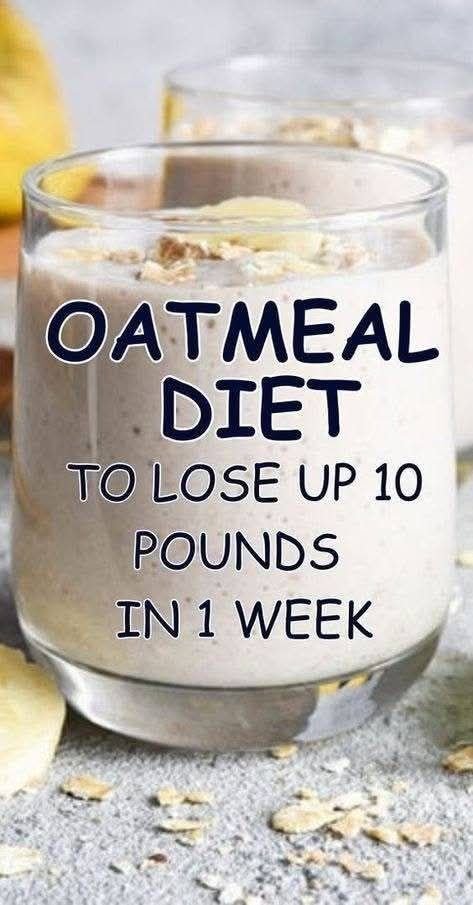
Banana Oatmeal Weight-Loss Smoothie

Banana Oatmeal Weight-Loss Smoothie

Description

A creamy, fiber-rich oatmeal smoothie made with oats, banana, and protein-boosting ingredients to keep you full for hours. Perfect for breakfast or a meal replacement when trying to manage calories.

 Ingredients (1 Serving)

  • ½ cup rolled oats

  • 1 medium banana

  • 1 cup unsweetened almond milk (or skim milk)

  • ½ cup Greek yogurt (plain, non-fat)

  • 1 tablespoon chia seeds

  • ½ teaspoon cinnamon

  • 1 teaspoon honey (optional)

  • ½ cup ice cubes

 Instructions

  1. Soften oats (optional but recommended):
    Soak oats in almond milk for 5–10 minutes for smoother texture.

  2. Add all ingredients to a blender.

  3. Blend until smooth and creamy.

  4. Pour into a glass and enjoy immediately.


💡 Tips for Best Results

  • ✔ Use rolled oats, not instant flavored oats.

  • ✔ Add protein powder if using as a meal replacement.

  • ✔ For lower calories, skip honey.

  • ✔ Prep overnight oats in the fridge for quicker mornings.

  • ✔ Pair with light exercise for better results.

 Servings

  • Makes: 1 serving

  • Can be doubled for 2 servings

Nutritional Information (Approx. Per Serving)

Nutrient Amount
Calories 350–400 kcal
Protein 18–22g
Carbohydrates 55g
Fiber 9–11g
Fat 8–10g
Sugar 18g (natural + optional honey)

(Values vary depending on ingredients used.)

 Health Benefits

1️⃣ Keeps You Full Longer

Oats and chia seeds are high in fiber, helping reduce hunger cravings.

2️⃣ Supports Digestion

Soluble fiber improves gut health.

3️⃣ Helps Control Blood Sugar

Oats have a low glycemic index compared to refined carbs.

4️⃣ Boosts Metabolism

Protein from Greek yogurt supports muscle and fat burning.

5️⃣ Heart Healthy

Oats may help reduce LDL (bad cholesterol).

 Q & A

Q1: Can I lose 10 pounds in one week with this?

Realistically, no. Safe weight loss is 1–2 pounds per week. Rapid loss is mostly water weight.

Q2: Can I drink this twice a day?

Yes, but ensure you’re getting enough protein, vegetables, and healthy fats throughout the day.

Q3: Can I use water instead of milk?

Yes, but it will be less creamy and slightly lower in protein.

Q4: Is this good for diabetics?

It can be, but skip honey and monitor portion size. Always consult a healthcare provider.

Q5: Can I make it vegan?

Yes. Use plant-based yogurt and milk.

Chia & Cumin Seed Tonic

Chia & Cumin Seed Tonic

A refreshing, fiber-packed drink to start your morning.

Ingredients

  • 1 tbsp Chia Seeds: Rich in fiber and Omega-3 fatty acids.

  • 1 tsp Cumin Seeds (Jeera): Known for supporting digestion.

  • 1 ½ cups Water: Filtered or spring water is best.

  • 1 tsp Honey or Maple Syrup: (Optional) For a touch of natural sweetness.

  • ½ Lemon: Freshly squeezed juice.

  • A pinch of Cinnamon: (Optional) For extra flavor.


Preparation Instructions

  1. Prepare the Cumin Water: * Place the cumin seeds in a small pot with the water.

    • Bring to a gentle boil, then reduce heat and simmer for about 5 minutes until the water turns a light golden hue.

    • Strain the seeds out and let the liquid cool to room temperature.

  2. Soak the Chia Seeds: * Add the chia seeds to the cooled cumin water.

    • Stir well and let them soak for at least 20–30 minutes (or overnight in the fridge) until they expand and become gelatinous.

  3. Final Mix: * Add the fresh lemon juice and your choice of natural sweetener if using.

    • Stir or shake vigorously to ensure the chia seeds are evenly distributed.

  4. How to Consume: * Drink this first thing in the morning on an empty stomach or about 30 minutes before a meal to help with satiety.


Helpful Tips for Success

  • Stay Hydrated: Because chia seeds absorb a lot of water, make sure you drink plenty of plain water throughout the rest of the day.

  • Consistency over “Quick Fixes”: This drink works best when paired with the healthy cucumber salad we discussed and regular movement.

  • Safety Note: If you have any digestive issues or are on medication, it’s always a good idea to check with a healthcare professional before adding new supplements to your daily routine.