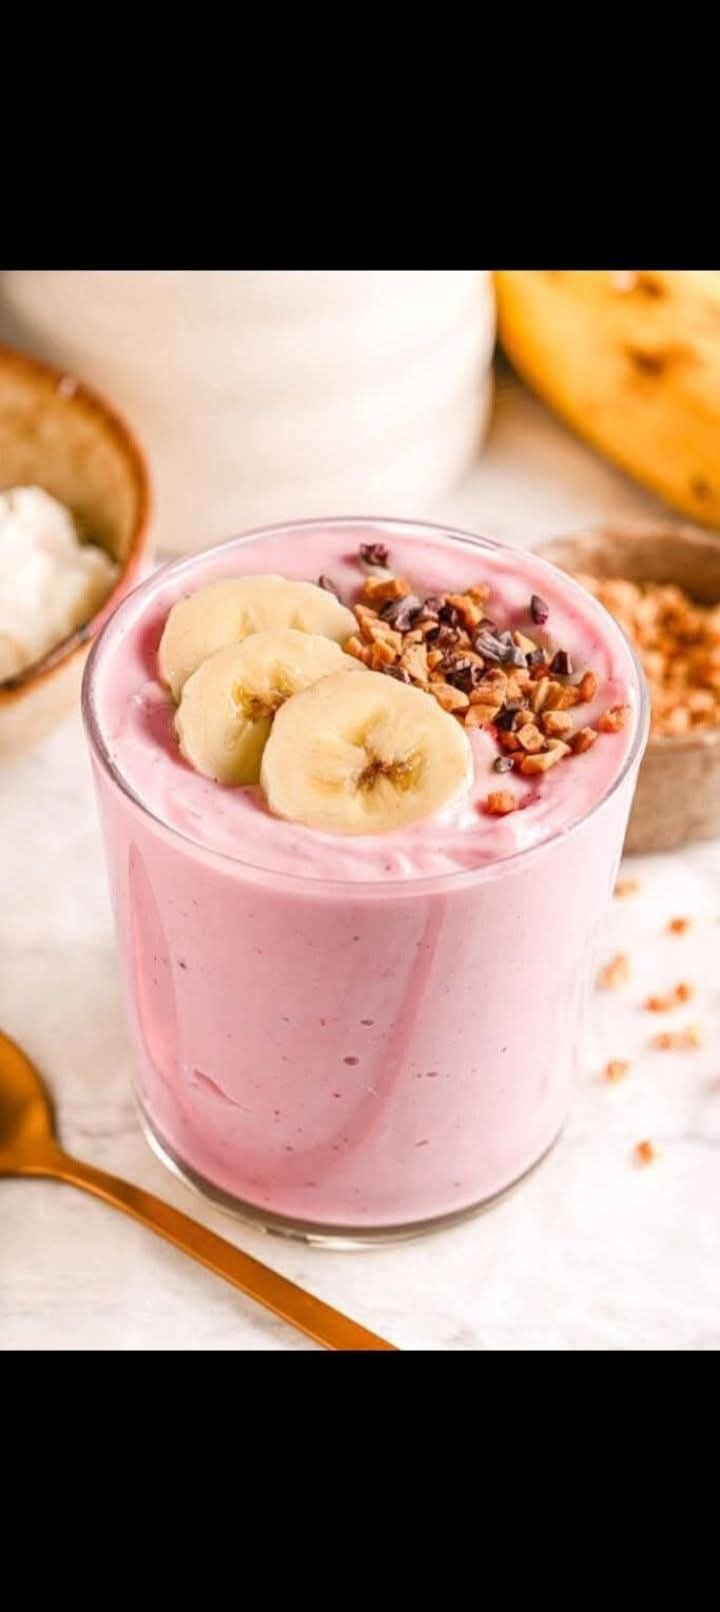
Strawberry Banana Smoothie Recipe

Strawberry Banana Smoothie Recipe

Ingredients:

  • 1 banana (fresh or frozen)

  • 1 cup strawberries (fresh or frozen)

  • 1/2 cup Greek yogurt (plain or vanilla)

  • 1/2 cup milk (any kind – dairy or plant-based like almond, oat, or soy)

  • 1–2 teaspoons honey or maple syrup (optional, depending on sweetness preference)

  • 1/2 teaspoon vanilla extract (optional, for flavor depth)

  • 1/2 cup ice cubes (optional, if using fresh fruit and you want it colder/thicker)

Toppings (Optional, as seen in image):

  • Banana slices

  • Granola

  • Chopped nuts or cacao nibs


Instructions:

  1. Prepare fruit: Peel the banana and hull the strawberries if they’re fresh. Frozen fruit works great and adds thickness.

  2. Blend ingredients: Add the banana, strawberries, Greek yogurt, milk, sweetener (if using), vanilla, and ice (if desired) into a blender.

  3. Blend until smooth: Blend on high until the mixture is creamy and smooth. Scrape down the sides if needed and blend again briefly.

  4. Taste and adjust: Taste the smoothie and add more sweetener or milk as needed.

  5. Serve: Pour the smoothie into a glass.

  6. Top it off: Garnish with banana slices, a sprinkle of granola, and chopped nuts or cacao nibs.
Protein Balls

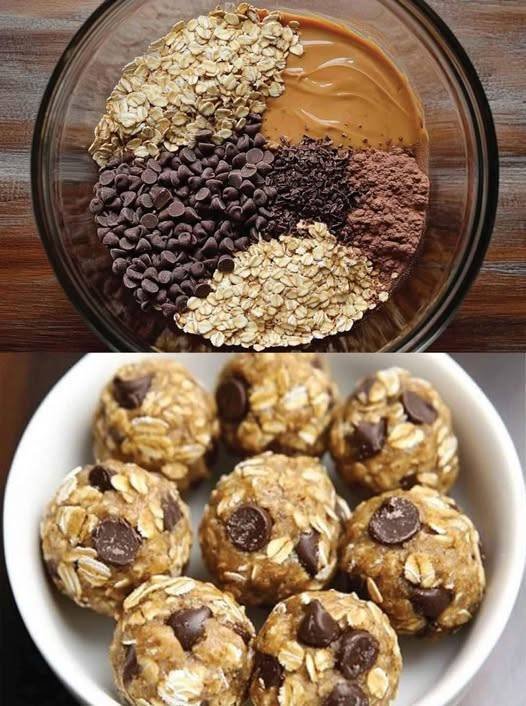
Protein Balls

Ingredients:

  • Oats: 1 cup

  • Peanut butter: 1/2 cup

  • Chocolate chips: 1/4 cup

  • Cocoa powder: 1 tbsp

  • Honey or maple syrup (optional for sweetness): 2 tbsp

  • Protein powder (optional for extra protein boost): 1 scoop

  • Chia seeds or flax seeds (optional for added nutrition): 1 tbsp

Instructions:

  1. In a bowl, combine oats, peanut butter, chocolate chips, cocoa powder, and protein powder.

  2. Add in honey or maple syrup if you prefer a sweeter taste.

  3. Mix everything together until fully combined. If it’s too thick, add a small splash of milk to make it easier to mix.

  4. Scoop out small portions and roll them into balls (about 1 inch in diameter).

  5. Place the balls on a baking sheet lined with parchment paper.

  6. Chill them in the refrigerator for 30 minutes to set.

Notes:

  • Feel free to customize these with your favorite add-ins such as dried fruit, seeds, or nuts.

  • These balls are no-bake and can be stored in the fridge for up to a week.

Tips:

  • If you don’t have chocolate chips, you can substitute with cacao nibs or chopped dark chocolate.

  • For a vegan version, use maple syrup and a plant-based protein powder.

  • To make the texture smoother, use creamy peanut butter.

Servings: Makes about 12 balls, depending on size.


Nutritional Information (per ball):

  • Calories: ~120 (depends on the exact ingredients used)

  • Protein: ~4g (depends on protein powder used)

  • Carbs: ~15g

  • Fat: ~6g

Benefits:

  • These protein balls are an easy way to get a quick energy boost.

  • Great for a post-workout snack or a quick breakfast on the go.

  • Packed with fiber and healthy fats from oats and peanut butter.

Q&A for Protein Balls:

Q: Can I use almond butter instead of peanut butter?
A: Yes, almond butter works great if you prefer it over peanut butter.

Q: Can I make these without protein powder?
A: Yes! The protein powder is optional, but it does help with the protein content. You can still enjoy them without it.

Enjoy making your delicious protein balls! Let me know if you need any other details!

Cheesy Herb Bread Bake (10-Minute Prep)

Cheesy Herb Bread Bake (10-Minute Prep)

Description

This ultra-comforting Cheesy Herb Bread Bake is crisp and golden on the outside, soft and melty inside, and bursting with garlic, herbs, and cheese. It comes together in just 10 minutes of prep, bakes beautifully in a loaf pan, and disappears fast at parties. Perfect as a side dish, appetizer, or cozy dinner companion.

Ingredients

  • 1 loaf crusty bread or French bread (about 12–14 oz), cubed or sliced

  • 2 cups shredded mozzarella cheese

  • 1 cup shredded cheddar or Gruyère

  • 3 large eggs

  • 1 cup whole milk or half-and-half

  • 3 tbsp melted butter

  • 2 cloves garlic, finely minced

  • 1 tbsp fresh dill or parsley, chopped (plus more for topping)

  • 1 tsp dried thyme or Italian seasoning

  • ½ tsp salt

  • ½ tsp black pepper

Instructions

  1. Preheat oven to 375°F (190°C). Grease a loaf pan.

  2. Layer bread evenly in the pan.

  3. In a bowl, whisk eggs, milk, butter, garlic, salt, pepper, and herbs.

  4. Pour mixture evenly over bread.

  5. Sprinkle cheeses generously on top.

  6. Bake uncovered for 30–35 minutes until bubbly and deeply golden.

  7. Rest 5 minutes, garnish with herbs, and serve warm.

Tips & Notes

  • Use day-old bread for best texture.

  • Swap dill for chives or rosemary if preferred.

  • For extra richness, add ¼ cup sour cream to the egg mixture.

  • Want a crispier top? Broil for the last 2 minutes.

 Servings

6–8 servings

Nutritional Information (per serving, approx.)

  • Calories: 290

  • Protein: 14g

  • Fat: 18g

  • Carbohydrates: 18g

  • Calcium: 25% DV

 Benefits

  • High in protein & calcium

  • Comforting yet simple ingredients

  • Crowd-pleasing and kid-friendly

  • Great way to use leftover bread

 Recipe Q & A

Q: Can I make this ahead of time?
Yes! Assemble, cover, and refrigerate up to 12 hours. Bake fresh.

Q: Can I freeze it?
Absolutely. Freeze after baking, reheat covered at 350°F.

Q: Can I add extras?
Yes—crispy bacon, caramelized onions, or sautéed mushrooms are excellent additions.

Q: What should I serve it with?
Soups, salads, roasted chicken, or as a standalone appetizer.

Discover the Magic of Ginger & Lemon for Weight Loss

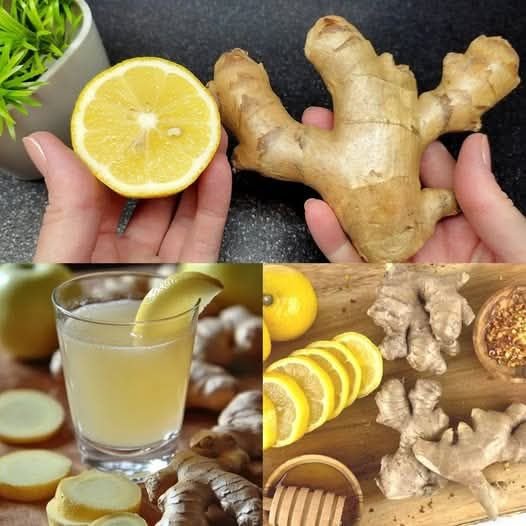
Believe it or not, some people are shedding those extra pounds without the need for strict dieting. They are doing it by incorporating a simple, natural blend of ginger and lemon into their daily routine. This dynamic duo not only boosts metabolism but also reduces bloating, supporting natural fat burning. And the best part? It’s easy to make, tastes refreshing, and can easily become your new daily habit!

The Winning Combination of Ginger and Lemon

✅ Ginger works wonders by speeding up your metabolism, curbing your appetite, and enhancing digestion.
✅ Lemon, on the other hand, is packed with vitamin C, aids in flushing out toxins, and helps break down fat.

Together, these two powerhouses assist your body in burning more calories, staying energized, and trimming down, especially around the belly area!

Morning & Night Fat-Burning Drink (Lemon & Ginger Water)

Ingredients:

  • 1–2 slices of fresh ginger (or ½ tsp grated)
  • Juice from ½ fresh lemon
  • 1 cup hot (not boiling) water
  • Optional: 1 tsp raw honey or a pinch of cinnamon

Instructions:

  1. Add ginger to a cup of hot water. Let it steep for 5–10 minutes.
  2. Mix in the lemon juice.
  3. Optional: For added flavor and benefits, include honey or cinnamon.
  4. Enjoy it warm.

When to Enjoy It

✅ Morning (before breakfast):
Jumpstarts your metabolism and aids digestion.

✅ Evening (before bed):
Supports overnight fat burning, aids digestion, and helps in detoxification.

You can also drink it between meals to curb cravings and reduce bloating.

Witness the Transformation Over Time

When paired with:

  • Consistent water intake
  • Lighter meal choices
  • Some light movement or a casual walk

This simple drink can assist you in naturally shedding those unwanted pounds without the need for starvation or calorie counting.

Numerous individuals have reported losing up to 5–10 kg in just a month by staying dedicated!

Final Words

Bid farewell to strict diets and pills! This ginger and lemon drink serves as a natural, healthy, and sustainable way to aid weight loss while improving your overall well-being. Simply sip, stay active, and allow your body to work its wonders.

Give it a try for 30 days, and witness the fantastic transformation your body undergoes!

Enjoy the journey to a healthier, happier you!

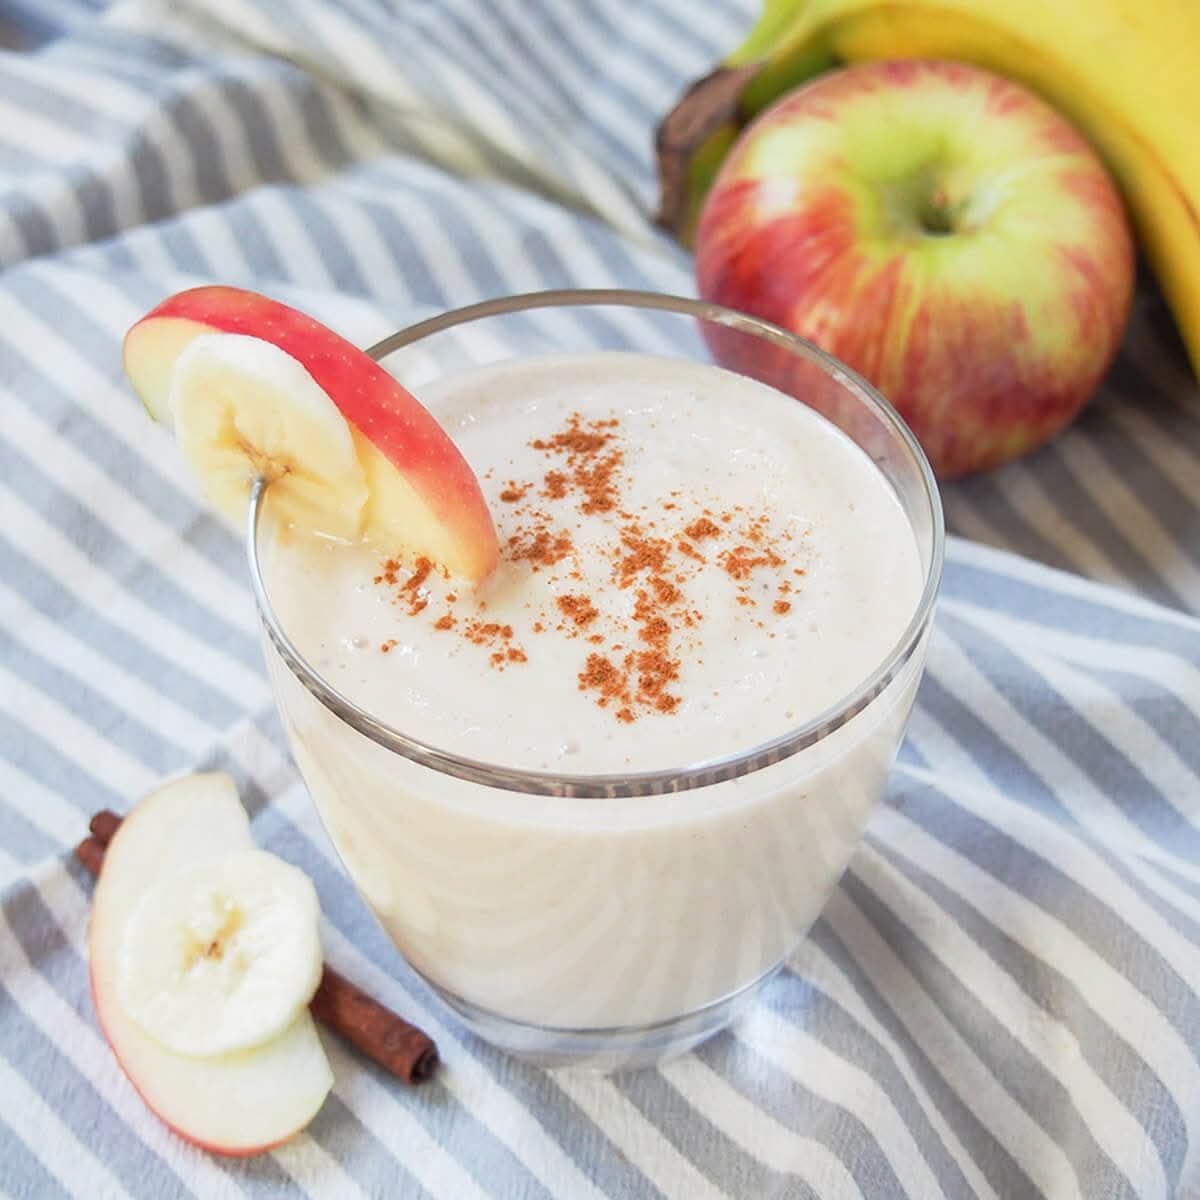
Apple Banana Smoothie Recipe

Apple Banana Smoothie Recipe

Ingredients (2 servings):

  • 1 medium apple, cored and chopped (skin on for extra fiber)

  • 1 ripe banana, sliced

  • 1 cup milk (dairy or plant-based like almond, oat, or soy)

  • ½ cup plain or vanilla yogurt

  • 1 tablespoon honey or maple syrup (optional, for sweetness)

  • ½ teaspoon ground cinnamon

  • 4–5 ice cubes

Topping & Garnish:

  • Pinch of cinnamon powder

  • Apple and banana slices for decoration

Instructions:

  1. Prepare fruits: Wash the apple thoroughly, core it, and cut into chunks. Slice the banana.

  2. Blend: In a blender, combine apple chunks, banana slices, milk, yogurt, honey (if using), cinnamon, and ice cubes.

  3. Blend until smooth: Process on high speed until creamy and lump-free.

  4. Taste & adjust: If you prefer it sweeter, add more honey or syrup. For a thicker texture, add extra banana or yogurt.

  5. Serve: Pour into a glass, sprinkle cinnamon on top, and garnish with apple and banana slices.

  6. Enjoy immediately for the best flavor and freshness.


Q&A Section

Q1: Can I make this smoothie without yogurt?
Yes! You can replace yogurt with extra milk or a splash of coconut milk for creaminess.

Q2: What type of apple works best?
Sweet varieties like Fuji, Gala, or Honeycrisp blend well, but tart apples like Granny Smith give a refreshing tang.

Q3: Can I make it vegan?
Absolutely! Use almond, soy, or oat milk and dairy-free yogurt. Replace honey with maple syrup or skip sweetener entirely.

Q4: How can I make it more filling?
Add 2 tablespoons of rolled oats or 1 tablespoon of peanut butter for extra fiber and protein.

Q5: Is it okay to prepare in advance?
It’s best fresh, but you can store it in the fridge for up to 8 hours in a sealed container. Stir before drinking, as separation may occur.

Q6: Can I freeze it?
Yes. Pour into ice cube trays, freeze, and blend when needed for a quick smoothie.


Tip: This smoothie is rich in potassium, fiber, and vitamin C — perfect for breakfast or a post-workout drink.


If you want, I can also give you a high-protein version of this Apple Banana Smoothie.

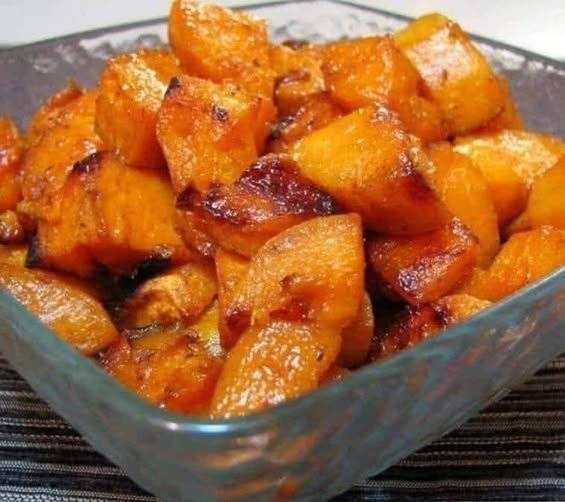
Healthy Roasted Pumpkin (Blood-Sugar Friendly Version)

Healthy Roasted Pumpkin (Blood-Sugar Friendly Version)

 Description

This roasted pumpkin recipe highlights pumpkin’s natural fiber and antioxidants. When prepared without added sugar, pumpkin can be part of a diabetes-friendly meal because fiber slows glucose absorption.

Ingredients

  • 2 cups pumpkin or winter squash, peeled & cubed

  • 1 tablespoon olive oil

  • ½ teaspoon cinnamon (optional)

  • ¼ teaspoon black pepper

  • ¼ teaspoon salt

  • Optional: garlic powder or herbs

 Instructions

  1. Preheat oven to 200°C (400°F)

  2. Toss pumpkin cubes with olive oil and seasonings

  3. Spread evenly on a baking tray

  4. Roast for 25–30 minutes, turning once

  5. Serve warm

 Notes

  • Do not add sugar, honey, or syrup

  • Portion control is important

  • Best eaten with protein or healthy fat

Tips

  • Pair with lentils, beans, eggs, or yogurt

  • Avoid deep frying

  • Smaller portions help prevent sugar spikes

  • Roasting is better than boiling for flavor

 Servings

  • 2 servings

 Nutritional Info (per serving, approx.)

  • Calories: 80–90 kcal

  • Carbohydrates: 12 g

  • Fiber: 3 g

  • Sugar: 4 g (natural)

  • Fat: 4 g

  • Protein: 2 g

 Benefits

  • High in fiber → slows sugar absorption

  • Rich in beta-carotene & antioxidants

  • Supports digestion

  • Helps with fullness and weight management

  • Low glycemic load when portion-controlled

 Q & A

Q: Does pumpkin cure diabetes?
A: ❌ No. No food can cure diabetes.

Q: Can people with diabetes eat pumpkin?
A: ✅ Yes, in moderate portions and without added sugar.

Q: Is pumpkin better than potatoes?
A: Often yes, because it has more fiber and a lower glycemic impact.

Q: Can teenagers eat this safely?
A: ✅ Yes, as part of a balanced diet.

Q: Why do people say it “eats sugar”?
A: That is false marketing language, not science.