Homemade Banana Caramel Ice Cream

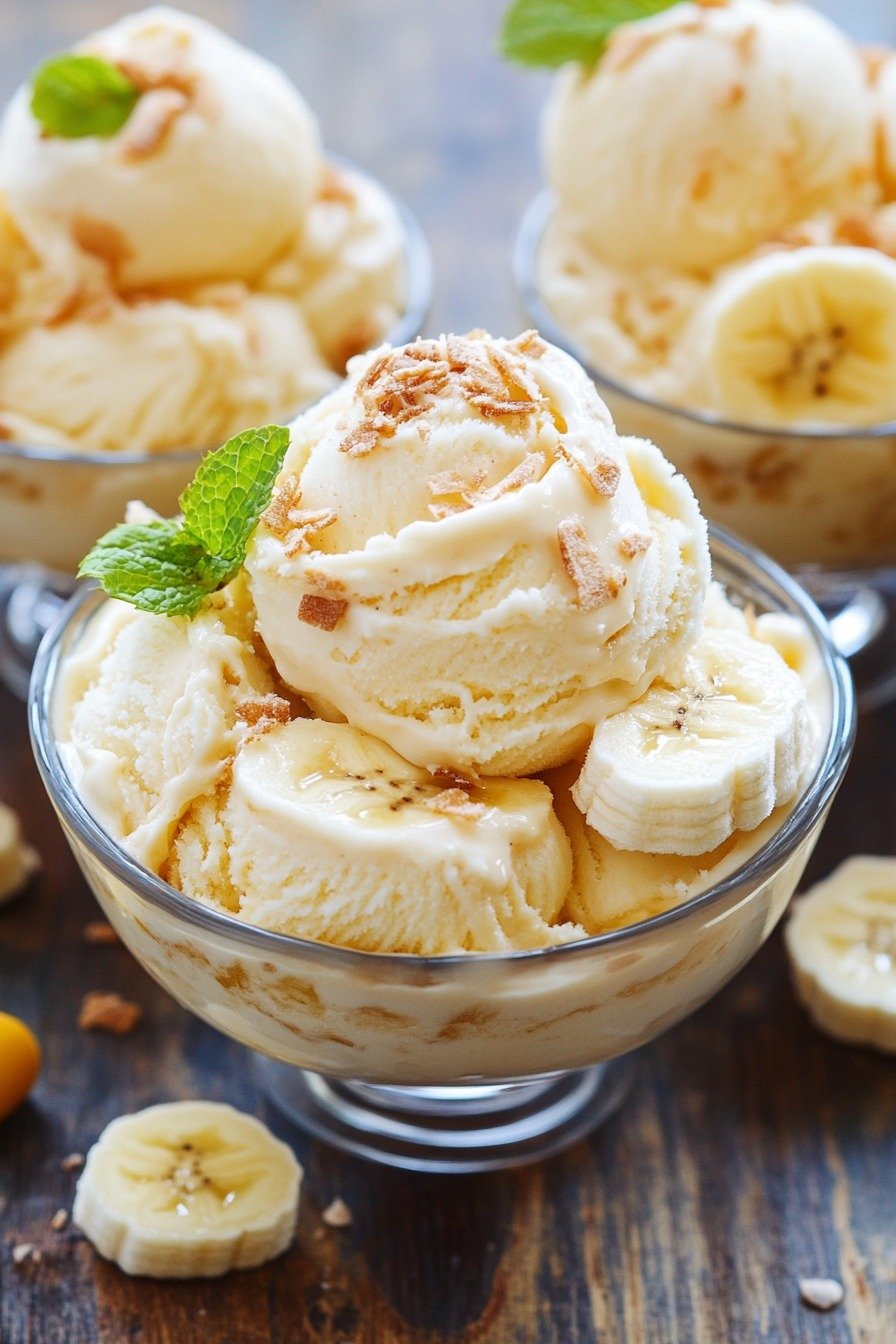
Homemade Banana Caramel Ice Cream

Prep time: 20 mins | Freeze time: 6+ hours | Yields: 1.5 Quarts


Ingredients

Component Ingredients
The Base 2 cups heavy whipping cream (cold), 1 can (14 oz) sweetened condensed milk, 1 tsp vanilla extract
The Fruit 2 ripe bananas (mashed), 1 fresh banana (sliced for topping)
The Swirl 1/2 cup caramel sauce (store-bought or homemade)
The Crunch 1/4 cup toasted coconut flakes or crushed vanilla wafers, fresh mint for garnish

Instructions

  1. Prep the Bananas: In a small bowl, mash two very ripe bananas until smooth. If you like a little texture, leave a few small chunks.

  2. Whip the Cream: In a large chilled bowl, whip the heavy cream until stiff peaks form. Be careful not to over-beat it into butter!

  3. Fold it Together: Gently fold the sweetened condensed milk, vanilla extract, and mashed bananas into the whipped cream. Use a spatula and a “folding” motion to keep the mixture light and airy.

  4. The Caramel Swirl: Pour half of the mixture into a loaf pan or freezer-safe container. Drizzle half of the caramel sauce over it. Add the remaining ice cream mixture, then drizzle the rest of the caramel. Use a knife to lightly swirl the caramel through the cream.

  5. Top & Freeze: Sprinkle the toasted coconut (or wafer bits) and fresh banana slices on top. Cover tightly with plastic wrap or a lid.

  6. The Wait: Freeze for at least 6 hours, though overnight is best for the perfect scoopable consistency.


Pro-Tips for Success

  • Ripe is Better: Use bananas with brown spots; they have a higher sugar content and a much stronger “banana” punch.

  • Prevent Browning: If you are worried about the banana slices on top turning brown, toss them in a little bit of lemon juice before placing them on the ice cream.

  • Temper before Serving: Since homemade ice cream doesn’t have softeners, let the container sit on the counter for about 5 minutes before scooping.
Tropical Green Glow Smoothie

Tropical Green Glow Smoothie

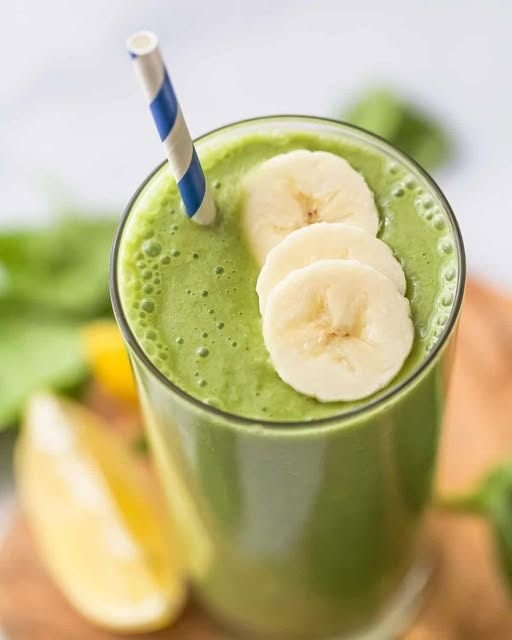
This recipe balances the earthy notes of greens with the creamy sweetness of banana.


Ingredients

  • 1 cup fresh baby spinach (tightly packed)

  • 1 large ripe banana (frozen works best for a creamy texture)

  • ½ cup frozen mango or pineapple (for that bright tropical flavor)

  • 1 cup unsweetened almond milk (or your favorite milk/coconut water)

  • 1 tsp fresh lemon juice (to keep the color bright and add zest)

  • Optional: 1 tbsp chia seeds or hemp hearts for extra fiber.


Instructions

  1. Liquid First: Pour your milk or coconut water into the blender. Adding liquid first helps the blades spin freely and prevents sticking.

  2. Add the Greens: Toss in the spinach and lemon juice. If you want an ultra-smooth texture, blend just the liquid and spinach first until no green “flakes” remain.

  3. The Frozen Goods: Add the banana and mango/pineapple.

  4. Blend: Start on a low speed and gradually increase to high. Blend for about 45–60 seconds until completely smooth.

  5. Serve: Pour into a tall glass and garnish with fresh banana slices and a fun straw just like in your photo!


Pro Tips for the Best Texture

  • Use Frozen Fruit: Using a frozen banana instead of ice keeps the smoothie creamy and flavorful rather than watered down.

  • Adjust Consistency: If it’s too thick, add a splash more liquid. If it’s too thin, add another slice of frozen banana or a few ice cubes.

Zesty Pear & Mango Smoothie

Zesty Pear & Mango Smoothie

Prep time: 5 minutes Servings: 1


Ingredients

  • 1 ripe Pear: Cored and sliced (keep the skin on for extra fiber!).

  • 1 cup Mango: Fresh or frozen chunks.

  • 1/2 Lime: Juiced (plus a little zest for the top).

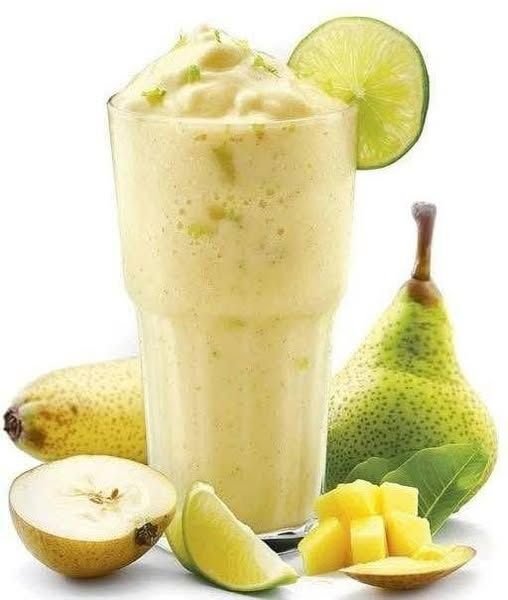
  • 1/2 cup Greek Yogurt: For that creamy texture seen in the photo.

  • 1/4 cup Liquid: Use coconut water, almond milk, or plain water to help it blend.

  • Optional: A drizzle of honey or agave if your fruit isn’t quite sweet enough.


Instructions

  1. Prep the Fruit: Wash the pear thoroughly. Remove the core and stems. If you’re using a fresh mango, peel it and cut the flesh into cubes.

  2. Load the Blender: Add the pear, mango, yogurt, and lime juice into your blender.

  3. Add Liquid: Start with a small amount of your chosen liquid. You can always add more if you prefer a thinner consistency.

  4. Blend: Pulse until smooth and creamy. If you used fresh (not frozen) fruit, add a handful of ice cubes and blend again to get that chilled, frothy finish.

  5. Garnish: Pour into a tall glass. Top with a pinch of lime zest and a thin lime wheel on the rim, just like in the picture.


Tips for the Perfect Blend

  • Ripeness Matters: Pears are best when they give slightly to pressure near the stem. A ripe pear provides the best natural sweetness.

  • Texture: If the smoothie feels too “gritty” (sometimes pears have a naturally sandy texture), blending for an extra 30 seconds usually smooths it right out.

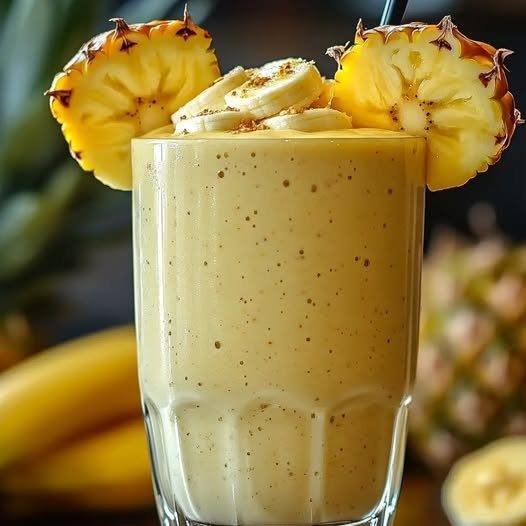
Tropical Pineapple-Banana Smoothie

Tropical Pineapple-Banana Smoothie

Ingredients

  • 1 cup Frozen pineapple chunks (for that thick, frosty texture)

  • 1 large Ripe banana (preferably frozen for extra creaminess)

  • ½ cup Greek yogurt or coconut milk (for the smooth base)

  • ½ cup Orange juice or coconut water (to help it blend)

  • A pinch of Turmeric or Cinnamon (gives it those golden flecks seen in the photo)

  • Optional: 1 teaspoon of honey or agave if you prefer it extra sweet.


Instructions

  1. Layer the Blender: Start by pouring your liquid (juice or coconut water) into the blender first. This helps the blades move more efficiently.

  2. Add the Solids: Add the yogurt, frozen pineapple, and banana.

  3. The “Golden” Touch: Sprinkle in your pinch of turmeric or cinnamon. This adds depth to the color and a subtle warmth to the flavor.

  4. Blend: Pulse until the mixture is smooth and creamy. If it’s too thick, add a splash more liquid; if too thin, add a few more frozen pineapple chunks.

  5. Garnish like the Photo:

    • Slice two small rounds of pineapple and notch them to sit on the rim.

    • Top with fresh banana slices.

    • Finish with a light dusting of ground cinnamon or flax seeds for those beautiful brown speckles.


Pro-Tip for Texture

To get that “whipped” look from the image, make sure at least one of your fruits is frozen. If you use all fresh fruit, add ½ cup of ice to achieve that thick, frosty consistency.

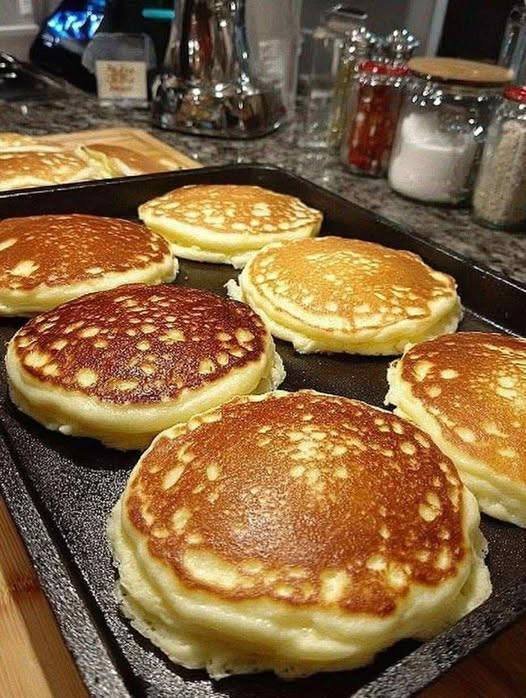
Banana Protein Pancakes

Banana Protein Pancakes

Soft pancakes made from banana, eggs, and protein powder with a light, tender texture.

Prep Time: 5 minutes
Cook Time: 10 minutes
Yield: 4–6 small pancakes


🧾 Ingredients

• 1 large ripe banana
• 2 large eggs
• 1 scoop vanilla protein powder
• ¼ teaspoon baking powder
• ½ teaspoon vanilla extract
• Pinch of ground cinnamon

Optional additions:
• Fresh blueberries
• Chocolate chips


👩‍🍳 Instructions

1. Mash the Banana

Place the banana in a medium bowl.

Mash with a fork until:
• Completely smooth
• No large lumps remain

This helps create a uniform batter.


2. Add the Eggs

Crack the eggs into the mashed banana.

Whisk until:
• Fully combined
• Pale and slightly frothy


3. Add Dry Ingredients

Add to the bowl:

• Protein powder
• Baking powder
• Vanilla extract
• Cinnamon

Mix until:
• Batter is smooth
• No dry pockets remain

The batter will be thinner than traditional pancake batter.


4. Heat the Pan

Lightly coat a non-stick pan or griddle with oil or cooking spray.

Heat over medium-low heat.

Lower heat helps the pancakes cook through without over-browning.


5. Cook the Pancakes

Spoon 2–3 tablespoons of batter into the pan for each pancake.

If using optional add-ins, place them onto the batter after pouring.

Cook for 2–3 minutes, until:
• Small bubbles appear
• Edges look set

Flip carefully with a thin spatula.

Cook the second side for 1–2 minutes, until lightly golden and firm.


6. Serve

Serve warm as-is or with:

• Yogurt
• Fresh fruit
• Nut butter
• Honey or syrup


⭐ Helpful Tips

✔ Use very ripe bananas for better texture
✔ Keep heat low to prevent burning
✔ Flip gently — these pancakes are soft
✔ Cook in small sizes for easier handling


🧊 Storage

• Store in an airtight container in the refrigerator for up to 2 days
• Reheat in a pan, microwave, or toaster
• Can be frozen for up to 1 month

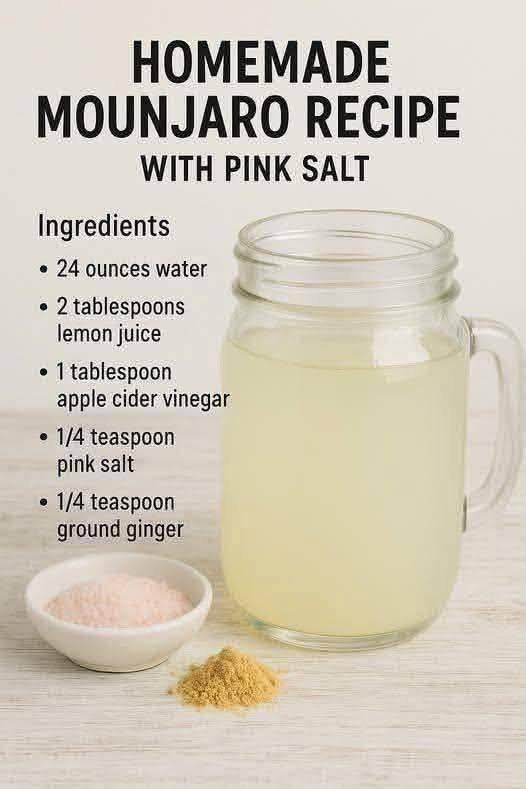
Refreshing Pink Salt & Ginger Tonic

Refreshing Pink Salt & Ginger Tonic

This drink combines citrus, ginger, and pink Himalayan salt for a crisp flavor that supports hydration.

  • Prep time: 5 minutes

  • Serves: 1 large serving (approx. 24 ounces)


Ingredients

  • 24 ounces (3 cups) Water

  • 2 tablespoons Lemon juice (freshly squeezed for best flavor)

  • 1 tablespoon Apple cider vinegar (with “the mother” preferred)

  • 1/4 teaspoon Pink Himalayan salt

  • 1/4 teaspoon Ground ginger


Instructions

  1. Prepare Your Base: Pour the 24 ounces of water into a large glass, mason jar, or water bottle. You can use room-temperature water or chilled water depending on your preference.

  2. Add the Flavorings: Stir in the 2 tablespoons of lemon juice and the 1 tablespoon of apple cider vinegar.

  3. Incorporate the Spices: Add the 1/4 teaspoon of pink Himalayan salt and the 1/4 teaspoon of ground ginger.

  4. Mix Thoroughly: * If using a glass, stir vigorously with a long spoon until the salt and ginger are completely dissolved.

    • If using a mason jar or bottle, secure the lid and shake well for about 30 seconds.

  5. Serve: Drink immediately or store in the refrigerator. The ginger may settle at the bottom over time, so give it a quick stir or shake before each sip.


Tips for Best Results

  • Adjusting Flavor: If the apple cider vinegar is too strong for your palate, you can start with 1-2 teaspoons and gradually work your way up to a full tablespoon.

  • Temperature: Some people prefer this drink served warm in the morning (like a tea), while others enjoy it poured over ice as a refreshing afternoon beverage.