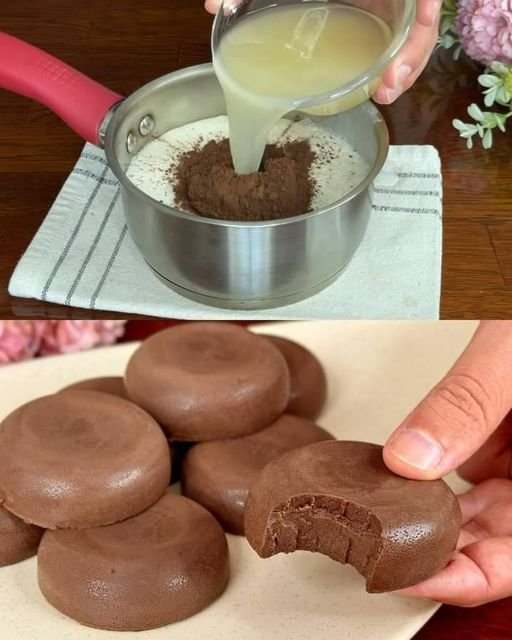
Grandma’s Chocolate Yogurt Marble Cake

Grandma’s Chocolate Yogurt Marble Cake
This soft and moist cake combines rich chocolate batter with creamy yogurt filling, creating a beautiful marbled look and a tender texture in every slice.


🧾 Ingredients

For the Cake Batter:

  • 3 eggs (room temperature)

  • 150 g (¾ cup) sugar

  • 110 ml vegetable or sunflower oil

  • 110 ml milk

  • 250 g (about 1⅔ cups) all-purpose flour

  • 15 g baking powder

  • 20 g cocoa powder

  • 2 tablespoons milk (for cocoa mixture)

  • A dash of vanilla extract

  • A pinch of salt


For the Yogurt Filling:

  • 300 g thick yogurt or Greek yogurt

  • 1 egg

  • 50 g sugar

  • 1 tablespoon cornstarch


👩‍🍳 Instructions

1. Prepare the Base Batter

In a large mixing bowl, add:

  • Eggs

  • Sugar

  • Salt

  • Vanilla extract

Whisk well until the mixture becomes pale and slightly thick.

Slowly add:

  • Oil

  • Milk

Whisk again until fully combined.

Sift in:

  • Flour

  • Baking powder

Fold gently using a spatula until smooth and lump-free. Do not overmix.


2. Make the Chocolate Batter

Transfer about one-third of the batter into a separate bowl.

In another small bowl, mix:

  • Cocoa powder

  • 2 tablespoons milk

Stir to form a smooth paste.

Add this cocoa paste to the smaller portion of batter and mix until dark and well blended.


3. Prepare the Yogurt Filling

In a bowl, combine:

  • Yogurt

  • Egg

  • Sugar

  • Cornstarch

Whisk until smooth and creamy. Set aside.


4. Assemble the Cake

Preheat oven to 180°C (350°F).

Grease a round cake pan or springform pan.

Pour the chocolate batter into the pan and spread evenly.

Pour the plain batter over the chocolate layer.

Use a skewer or knife to gently swirl the batters together to create a marble effect.

Spoon small dollops of the yogurt mixture on top. They will sink slightly during baking and create creamy pockets inside the cake.


5. Bake

Place the pan in the oven and bake for 35–45 minutes.

Check doneness by inserting a toothpick into the cake portion (not the yogurt spots). It should come out clean.

Remove from oven and let the cake cool completely in the pan before removing.


🍽 Serving

Slice and serve:

  • Plain

  • With tea or coffee

  • Lightly dusted with powdered sugar

  • With fresh fruit


⭐ Helpful Tips

✔ Do not overmix the batter
✔ Use thick yogurt for best texture
✔ Let cake cool fully before slicing
✔ Add chocolate chips for extra richness


📦 Storage

  • Store covered at room temperature for 1 day

  • Refrigerate for up to 3 days

  • Can be frozen for up to 1 month

Classic Moist Vanilla Sheet Cake

Classic Moist Vanilla Sheet Cake

Ingredients

  • 2 1/2 cups All-purpose flour

  • 1 3/4 cups Granulated sugar

  • 1 1/4 cups Whole milk (room temperature)

  • 1/2 cup (1 stick) Unsalted butter (softened)

  • 1/2 cup Vegetable oil

  • 4 Large eggs (room temperature)

  • 1 tbsp Vanilla extract

  • 2 1/2 tsp Baking powder

  • 1/2 tsp Salt


Instructions

1. Prep and Preheat

  • Preheat your oven to 175°C (350°F).

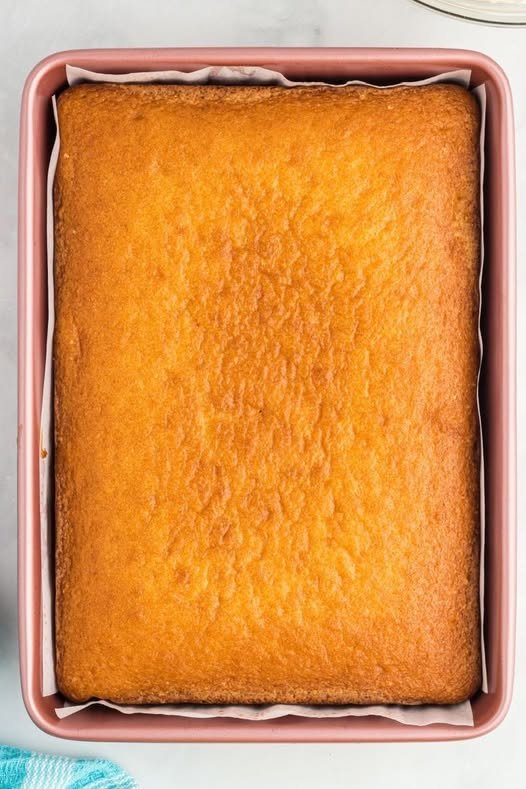
  • Grease a 9×13 inch baking pan and line the bottom with parchment paper to ensure the cake releases easily, as seen in the provided image.

2. Mix Dry Ingredients

  • In a medium bowl, whisk together the flour, baking powder, and salt. Set this aside.

3. Cream Butter and Sugar

  • In a large mixing bowl (or stand mixer), beat the softened butter and granulated sugar together on medium-high speed until the mixture is light and fluffy (about 3 minutes).

  • Pour in the vegetable oil and mix until well combined.

4. Add Eggs and Vanilla

  • Add the eggs one at a time, beating well after each addition.

  • Stir in the vanilla extract.

5. Combine Everything

  • Reduce the mixer speed to low. Add the flour mixture in three parts, alternating with the milk, starting and ending with the flour.

  • Mix just until combined; do not overmix, or the cake may become dense.

6. Bake

  • Pour the batter into the prepared pan and smooth the top with a spatula.

  • Bake for 30–35 minutes, or until the top is golden brown and a toothpick inserted into the center comes out clean.

7. Cool and Serve

  • Place the pan on a wire rack and let the cake cool completely before frosting.


Pro Tip for the Best Texture

Using room temperature milk and eggs is essential! It allows the ingredients to emulsify properly, creating a uniform, velvety crumb that doesn’t crumble when sliced.

Fluffy Stovetop Milk Bread (No Oven Needed)

Fluffy Stovetop Milk Bread (No Oven Needed)
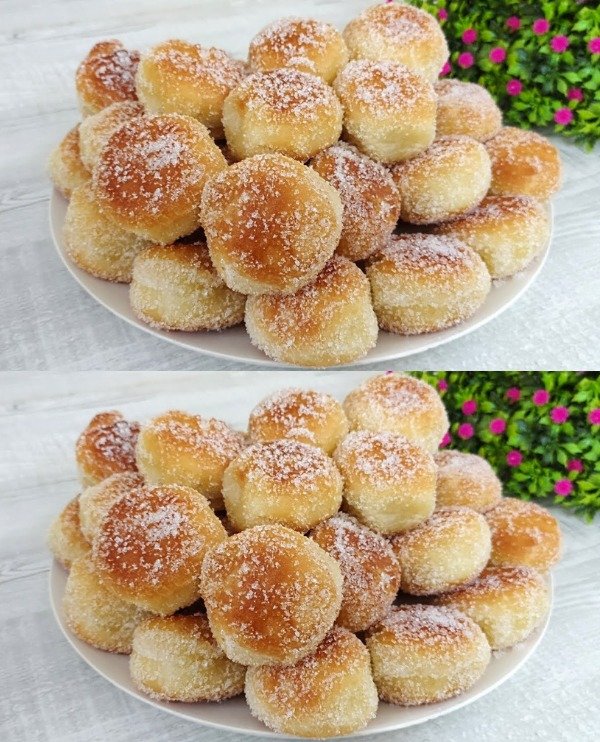
These soft bread rolls are cooked in a pan instead of an oven, giving them a golden outside and a very fluffy inside. They are perfect for breakfast, tea time, or as a sweet treat when coated in sugar.


🧾 Ingredients

  • 1 glass (200 ml) warm milk

  • 400 g (about 2 cups) all-purpose flour or bread flour

  • 50 g butter, softened

  • 2 tablespoons sugar

  • 1 teaspoon dry yeast

  • 1 teaspoon salt

  • Extra sugar for coating (optional)


👩‍🍳 Instructions

1. Activate the Yeast

Pour the warm milk into a large bowl.

Add:

  • Sugar

  • Dry yeast

Stir gently and let it rest for 5 minutes until the mixture becomes slightly foamy.
(This shows the yeast is active.)


2. Make the Dough

Add flour and salt to the milk mixture.

Mix with a spoon or your hands until a rough dough forms.

Add the softened butter and knead the dough for 8–10 minutes until:

  • Smooth

  • Soft

  • Elastic

  • Not sticky


3. First Rise

Lightly grease a bowl and place the dough inside.

Cover with a cloth or plastic wrap.

Leave in a warm place for 1 hour, or until the dough doubles in size.


4. Shape the Rolls

Gently press the dough to remove excess air.

Divide into equal portions and roll into small balls (about golf-ball size).

Place them on a tray, cover, and let them rest for 15 minutes.


5. Cook on the Stovetop

Lightly grease a wide non-stick pan with a small amount of oil or butter.

Place the dough balls in the pan with a little space between them.

Cover tightly with a lid.

Cook on very low heat for 10–12 minutes.

Flip the rolls gently, cover again, and cook for another 5–8 minutes until:

  • Both sides are golden

  • Bread sounds hollow when tapped


6. Finish and Serve

While still warm, roll the bread in sugar if you want a sweet coating.

Serve warm or at room temperature.


⭐ Important Tip

Keep the heat very low and the lid on at all times.
This creates steam inside the pan and helps the bread cook through without burning.


🍽 Serving Ideas

✔ With tea or coffee
✔ With jam or honey
✔ As a sandwich roll
✔ With butter or Nutella


📦 Storage

  • Store in an airtight container for up to 2 days

  • Reheat lightly in a pan or microwave

  • Can be frozen for up to 1 month

Healthy Chocolate Banana Oatmeal Muffins

Healthy Chocolate Banana Oatmeal Muffins
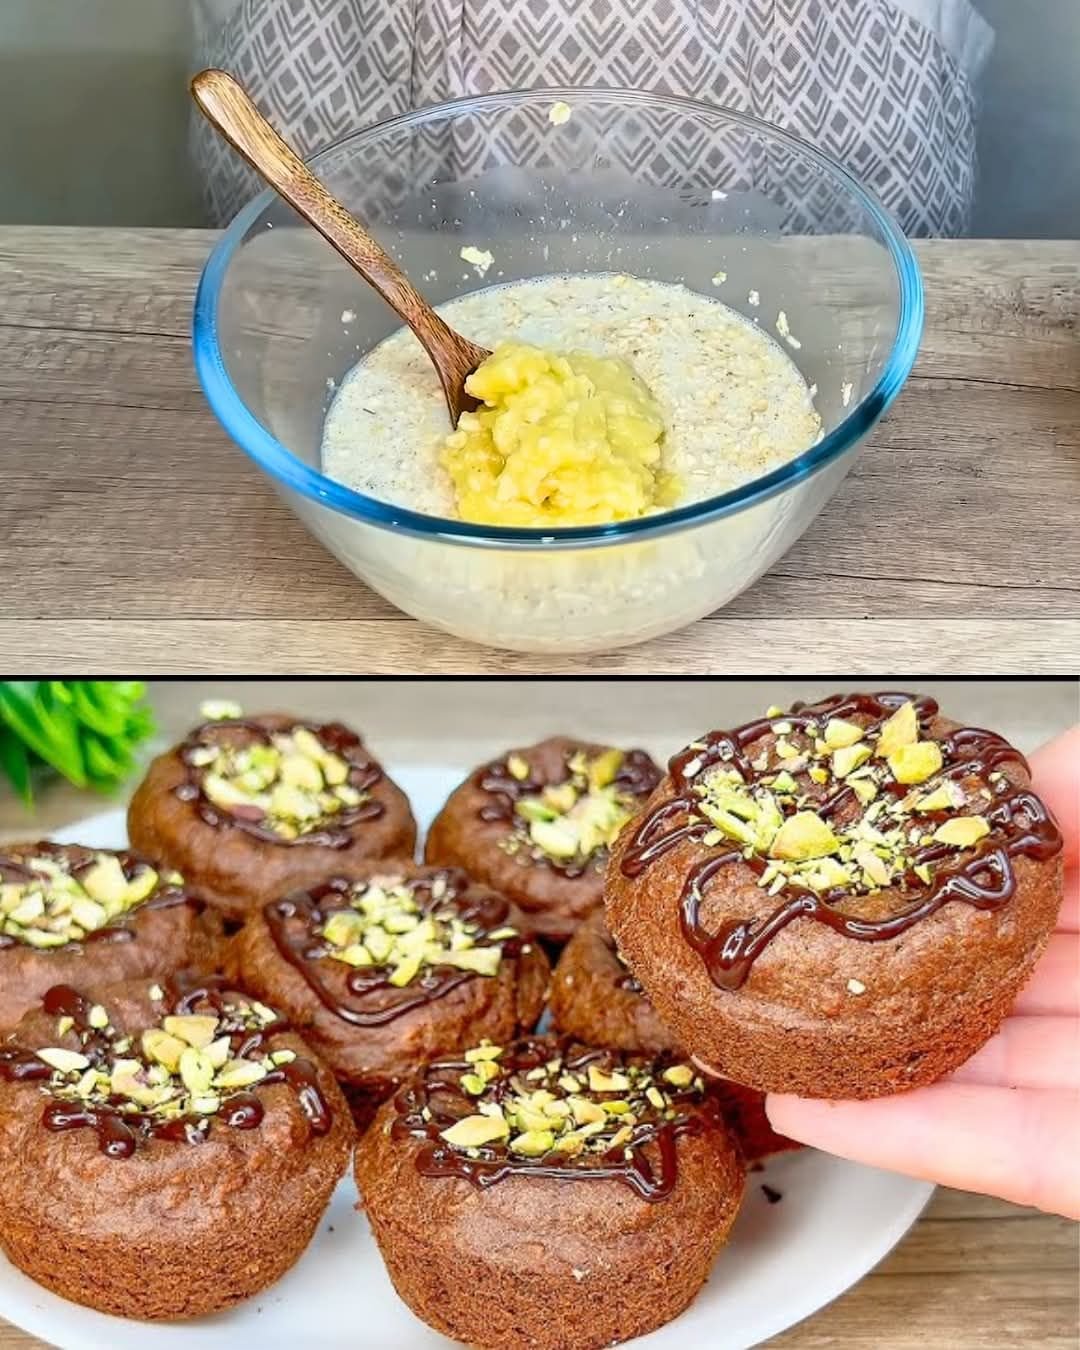
These muffins are soft, naturally sweet from bananas, and flavored with cocoa for a chocolate taste. They are perfect for breakfast, snacks, or lunchboxes.


🧾 Ingredients

For the Muffin Batter:

  • 1 cup (90 g) oats (quick oats or rolled oats)

  • 1 cup (240 ml) water

  • 2 eggs

  • 2 ripe bananas, mashed

  • 1 tablespoon cocoa powder

  • 1 teaspoon baking powder

  • 1 tablespoon stevia sweetener (or sweetener of choice)

  • 1 teaspoon vanilla extract

  • 1 tablespoon coconut flakes

  • A pinch of salt


For Topping:

  • Chopped almonds

  • Sugar-free chocolate syrup (optional)


👩‍🍳 Instructions

1. Soak the Oats

Place the oats and water in a large bowl.

Stir and let them rest for 10 minutes so the oats soften and absorb the water.


2. Prepare the Banana Mixture

In another bowl, mash the bananas until smooth.

Add:

  • Eggs

  • Sweetener

  • Vanilla extract

  • Salt

Whisk until fully combined.


3. Combine the Mixtures

Pour the banana mixture into the soaked oats and mix well.

Sift in:

  • Cocoa powder

  • Baking powder

Add coconut flakes.

Stir gently until the batter is smooth and evenly mixed.


4. Prepare for Baking

Preheat oven to 180°C (350°F).

Lightly grease a muffin tin or use silicone or paper liners.

Fill each cup about ¾ full with batter.

Sprinkle chopped almonds on top.


5. Bake

Place in the oven and bake for 20–25 minutes, or until:

  • The tops are set

  • A toothpick inserted in the center comes out clean


6. Cool and Serve

Let the muffins cool in the tin for 5–10 minutes, then remove carefully.

Before serving, drizzle lightly with sugar-free chocolate syrup if desired.


🌟 Texture Tip

For a smoother, cake-like texture:
Blend the oats briefly in a blender to make oat flour before soaking them.


🍽 Serving Ideas

✔ With tea or coffee
✔ As a breakfast muffin
✔ As a school snack
✔ With yogurt or fruit


📦 Storage

  • Store in an airtight container in the refrigerator for up to 3 days

  • Freeze for up to 1 month

  • Reheat in microwave or oven before serving

Spicy Date and Nut Energy Bites

Spicy Date and Nut Energy Bites
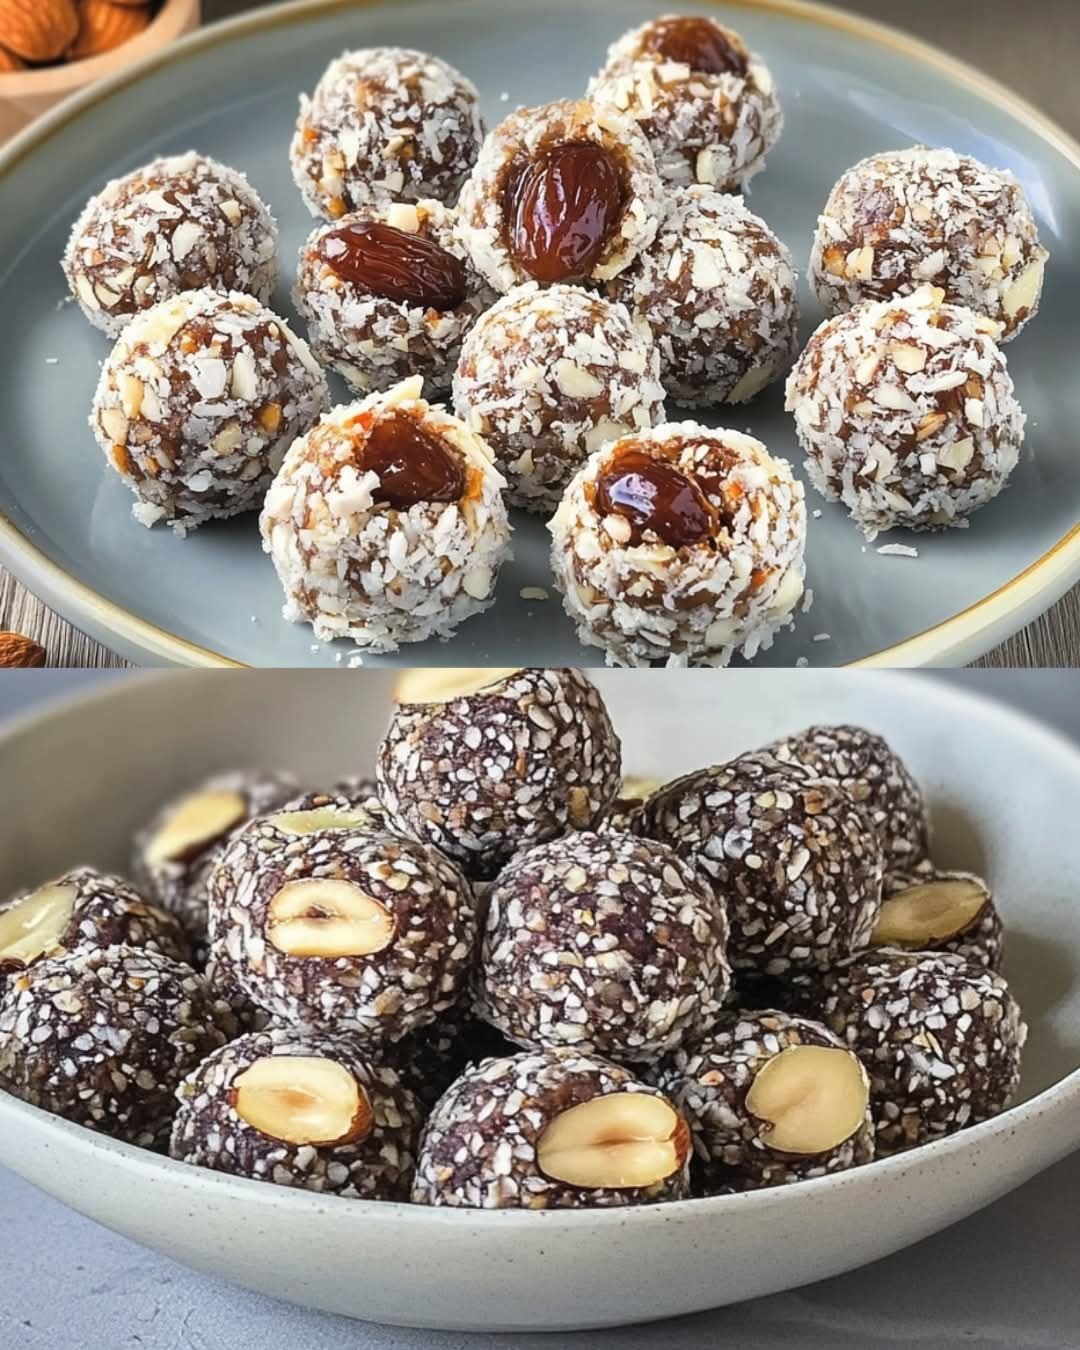
These bite-sized snacks are naturally sweet and full of nutty crunch, gently flavored with warm spices. Perfect for a quick energy boost or a healthy dessert.


🧾 Ingredients

  • 250 g soft dates, pitted (Medjool dates are ideal)

  • 30 g peanuts

  • 20 g almonds

  • 15 g pistachios

  • 15 g hazelnuts

  • A small pinch of cinnamon

  • A small pinch of cardamom

Optional for Coating:

  • Shredded coconut

  • Finely crushed nuts

  • Cocoa powder


👩‍🍳 Instructions

1. Prepare the Dates

If the dates feel firm or dry, soak them in warm water for 5–10 minutes, then drain well.

Place the pitted dates into a food processor and blend until they form a smooth, sticky paste.


2. Add Nuts and Spices

Add to the processor:

  • Peanuts

  • Almonds

  • Pistachios

  • Hazelnuts

  • Cinnamon

  • Cardamom

Pulse a few times until:

  • Nuts are chopped into small pieces

  • Mixture holds together

  • Texture remains slightly chunky (not powdered)


3. Shape the Bites

Take about 1 tablespoon of the mixture and roll it between your palms to form a small ball (about walnut-sized).

Tip: Lightly wet your hands with water if the mixture sticks.


4. Coat the Bites (Optional)

Roll each ball in:

  • Shredded coconut

  • Crushed nuts

  • Or cocoa powder

For decoration, gently press a small nut or a tiny piece of date on top of each ball.


5. Chill and Store

Place the energy bites on a plate or tray.

Refrigerate for 15–20 minutes to help them firm up.

Store in an airtight container in the refrigerator for up to 2 weeks.


🍽 Serving Ideas

✔ As a snack
✔ With tea or coffee
✔ After exercise
✔ As a lunchbox treat


⭐ Flavor Tip

Cinnamon and cardamom provide gentle warmth that pairs beautifully with the natural sweetness of dates and the crunch of mixed nuts.


📦 Storage

  • Keep refrigerated

  • Can be frozen for up to 2 months

  • Let thaw for a few minutes before eating

3-Ingredient Coconut Chocolate Jelly

🥥🍫 3-Ingredient Coconut Chocolate Jelly
This smooth and light dessert uses agar-agar for setting instead of gelatin. It is simple to make and perfect for a quick plant-based treat.


🧾 Ingredients

  • 1½ cups (360 ml) coconut milk

  • 1 cup (240 ml) water

  • ⅓ cup (30 g) unsweetened cocoa powder

  • 1 tablespoon agar-agar powder

Optional Flavor Additions:

  • 1–2 tablespoons honey, maple syrup, or any sweetener (optional)

  • ½ teaspoon vanilla extract

  • A pinch of salt (to enhance chocolate flavor)


👩‍🍳 Instructions

1. Mix the Liquid Base

Pour the water and coconut milk into a medium saucepan.

Add the cocoa powder.

Whisk well while the mixture is still cold so the cocoa powder dissolves completely and no lumps remain.


2. Activate the Agar-Agar

Add the agar-agar powder to the saucepan and whisk again.

Place the pan over medium heat and bring the mixture to a gentle boil while stirring constantly.

Once boiling, reduce heat and simmer for 1–2 minutes, stirring continuously.
(This step is important because agar-agar must boil in order to set properly.)


3. Pour and Set

Carefully pour the hot mixture into:

  • A glass dish

  • Silicone molds

  • Or small serving bowls

Let it cool slightly at room temperature for about 5 minutes, then place it in the refrigerator.

Chill for 1–2 hours or until fully set and firm.


4. Serve

Once set, gently remove from the mold or serve directly from the bowl.

For decoration, lightly dust with cocoa powder before serving if desired.


🌟 Texture Tip

Agar-agar sets firmer than gelatin.
For a softer texture:

  • Reduce agar-agar by ¼ teaspoon
    OR

  • Increase coconut milk slightly for a creamier result.


🍽 Serving Ideas

✔ Serve chilled
✔ Top with fresh berries
✔ Add shaved dark chocolate
✔ Serve with coconut flakes


📦 Storage

  • Store covered in the refrigerator for up to 3 days

  • Best enjoyed cold

  • Do not freeze (texture may change)