Vegan Zucchini Fritters (No Eggs, No Parmesan)

Vegan Zucchini Fritters (No Eggs, No Parmesan)

These crispy, golden vegan zucchini fritters are light on the inside, perfectly crunchy on the outside, and completely plant-based. Instead of eggs and parmesan cheese, this recipe uses chickpea flour (gram flour) and simple pantry ingredients to bind everything together while adding flavor and protein.

Prep Time: 20 minutes

Rest Time (for zucchini draining): 10–15 minutes

Cook Time: 15 minutes

Total Time: 45–50 minutes

Servings: 8–10 fritters (serves 3–4 people)

Cuisine: Mediterranean-inspired

Diet: Vegan, Dairy-Free

Ingredients

Main Ingredients

2 medium zucchini (about 500g), grated

½ teaspoon salt (for draining zucchini)

¾ cup chickpea flour (besan)

2 tablespoons all-purpose flour (or rice flour for gluten-free)

2 cloves garlic, minced

2 tablespoons finely chopped onion

2 tablespoons chopped fresh parsley or dill

½ teaspoon black pepper

½ teaspoon smoked paprika (optional)

¼ teaspoon cumin (optional)

1–2 tablespoons water (if needed)

2–3 tablespoons olive oil (for frying)

Instructions

Step 1: Prepare the Zucchini

Grate the zucchini using a box grater.

Place it in a bowl and sprinkle with ½ teaspoon salt.

Let it sit for 10–15 minutes to release moisture.

Transfer to a clean kitchen towel and squeeze out as much liquid as possible.

(This step ensures crispy fritters.)

Step 2: Make the Batter

In a mixing bowl, combine:

Squeezed zucchini

Chickpea flour

All-purpose flour

Garlic

Onion

Herbs

Spices

Mix well.

If the mixture feels too dry, add 1 tablespoon of water at a time until it forms a thick batter.

The mixture should hold together when pressed.

Step 3: Cook the Fritters

Heat olive oil in a non-stick skillet over medium heat.

Scoop about 2 tablespoons of mixture and flatten into a small patty.

Place in the pan and cook 3–4 minutes per side until golden brown and crispy.

Transfer to a paper towel-lined plate.

Step 4: Serve

Serve warm with:

Vegan garlic yogurt dip

Tahini sauce

Avocado crema

Sweet chili sauce

Tips for Extra Crispy Fritters

Squeeze zucchini very well — moisture is the biggest issue.

Use rice flour for extra crispiness.

Cook on medium heat (too high burns outside, too low makes soggy fritters).

Don’t overcrowd the pan.

Frequently Asked Questions

1. What replaces eggs in this recipe?

Chickpea flour acts as a natural binder when mixed with moisture from zucchini. It thickens and holds everything together while adding protein.

2. Can I bake instead of fry?

Yes.

Preheat oven to 200°C (400°F).

Place fritters on parchment-lined tray.

Brush lightly with oil.

Bake 20–25 minutes, flipping halfway.

They won’t be as crispy as pan-fried but still delicious.

3. Can I air fry them?

Yes.

Spray lightly with oil.

Air fry at 190°C (375°F) for 12–15 minutes, flipping halfway.

4. How do I store leftovers?

Refrigerate in airtight container up to 3 days.

Reheat in a skillet or air fryer for best texture.

5. Can I freeze them?

Yes. Freeze cooked fritters in a single layer, then store in freezer bag up to 2 months.

Nutritional Information (Per Fritter – Approximate)

Calories: 85 kcal

Protein: 3 g

Carbohydrates: 9 g

Fiber: 2 g

Fat: 4 g

Saturated Fat: 0.5 g

Sugar: 2 g

Sodium: 120 mg
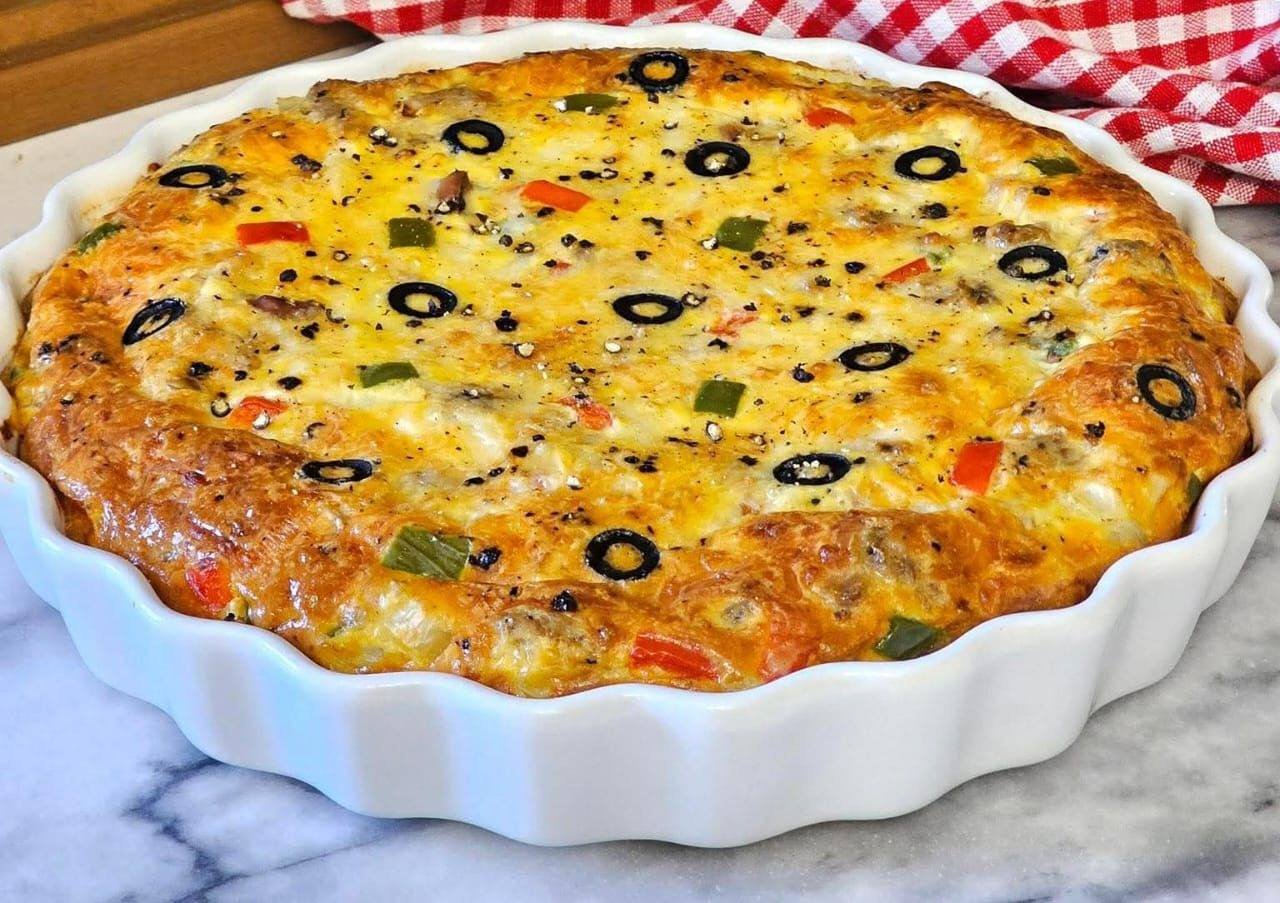
Tuna Crustless Quiche

Tuna Crustless Quiche

Table of Contents

Tuna Crustless Quiche is a simple, protein packed dish that works beautifully for breakfast, brunch, lunch, or even a light dinner. Without a pastry crust, it is quicker to prepare and naturally lower in carbohydrates while still delivering a rich, creamy texture. Flaky tuna combines with eggs, cream, colorful bell peppers, and melted cheese to create a savory bake that is satisfying and easy to customize. This recipe is ideal for meal prep, family gatherings, or whenever you need something filling that can be served warm or at room temperature.

Prep Time: 15 minutes
Cook Time: 35 to 40 minutes
Cooling Time: 10 minutes
Total Time: about 1 hour
Servings: 6 slices

Ingredients

Main Ingredients

2 cans tuna (about 160 g each), drained

8 large eggs

¾ cup double cream (heavy cream)

Cheese

3.5 oz (100 g) shredded cheddar cheese

1.8 oz (50 g) shredded mozzarella cheese (for topping)

Vegetables

1 small red bell pepper, diced

1 small green bell pepper, diced

3 spring onions, sliced

Seasoning

½ tsp paprika

½ tsp ground cumin

Salt and black pepper to taste

Topping & Other

Sliced black olives for garnish

Butter or oil for greasing the baking dish

Instructions

Preheat your oven to 180°C (350°F). Lightly grease a medium baking dish or pie dish with butter or oil.

See also  Mediterranean Seared Scallops with Creamy Pesto Risotto

Drain the canned tuna thoroughly and break it into small flakes using a fork.

In a large mixing bowl, whisk together the eggs and heavy cream until smooth and well combined.

Add paprika, cumin, salt, and black pepper to the egg mixture and mix well.

Stir in the diced red and green bell peppers and sliced spring onions.

Fold in the shredded cheddar cheese and flaked tuna until evenly distributed.

Pour the mixture into the prepared baking dish and spread it evenly with a spatula.

Sprinkle shredded mozzarella cheese over the top and add sliced black olives as garnish.

Bake for 35 to 40 minutes or until the quiche is set in the center and lightly golden on top.

Remove from the oven and allow it to rest for about 10 minutes before slicing and serving.

Tips

Drain tuna well to prevent excess moisture that can make the quiche watery.

Use room temperature eggs and cream for smoother mixing and even baking.

Chop vegetables into small, uniform pieces so they cook evenly.

Lightly sauté bell peppers first if you prefer a softer texture.

Avoid overbaking. The center should be just set to keep the quiche creamy.

Place the baking dish on a tray to catch any potential spills during baking.

Let the quiche cool slightly before slicing so it holds its shape better.

Use full fat cream for the richest flavor and smoothest texture.

Taste a small portion of the mixture before baking to check seasoning.

Store leftovers in an airtight container and reheat gently to maintain moisture.

See also  Mediterranean Spinach and Cheese Stuffed Shells

Variations

Add spinach or kale for extra greens and color.

Replace cheddar with feta or goat cheese for a tangy twist.

Include chopped sun dried tomatoes for a Mediterranean flavor.

Use smoked tuna or smoked salmon for deeper flavor.

Add cooked mushrooms for an earthy note.

Mix in chili flakes or diced jalapeños for a spicy version.

Substitute cream with half and half or evaporated milk for a lighter texture.

Include herbs such as parsley, dill, or basil for freshness.

Add cooked potatoes or sweet potatoes for a heartier meal.

Turn the mixture into muffin tins to create mini quiche portions for snacks or meal prep.

Q&A

Can I make this quiche ahead of time?

Yes, bake it in advance and refrigerate. Reheat gently before serving.

Can I freeze tuna crustless quiche?

Yes, slice and freeze portions individually for up to two months.

How do I know it is fully cooked?

The center should be firm and not jiggle when gently shaken.

Can I use light cream instead of heavy cream?

Yes, though the texture may be slightly less rich.

Is this recipe gluten free?

Yes, since there is no crust or flour involved.

What sides go well with it?

Fresh salad, roasted vegetables, or toasted bread pair nicely.

Can I use fresh tuna?

Yes, cook and flake it before adding to the mixture.

How long does it keep in the fridge?

Up to three days when stored properly.

Can I make it dairy free?

Use plant based cream and dairy free cheese alternatives.

Why is my quiche watery?

Excess liquid from vegetables or tuna may be the cause. Ensure ingredients are well drained.

See also  Spinach and Cheese Puff Pastry Bites

Nutrition

(Approximate per Serving)

Calories: 320

Protein: 26 g

Fat: 22 g

Carbohydrates: 4 g

Fiber: 1 g

Sodium: 520 mg

Conclusion

Tuna Crustless Quiche is a versatile and practical dish that delivers both comfort and nutrition with minimal preparation. The combination of eggs, cream, cheese, and tuna creates a creamy, satisfying texture, while bell peppers and spring onions add freshness and color. Whether you serve it for brunch, pack it for lunch, or enjoy it as a quick dinner with a salad, this recipe offers reliable flavor and convenience. Its flexibility allows you to adapt ingredients based on preference or what you have on hand, making it a dependable addition to your everyday cooking rotation.

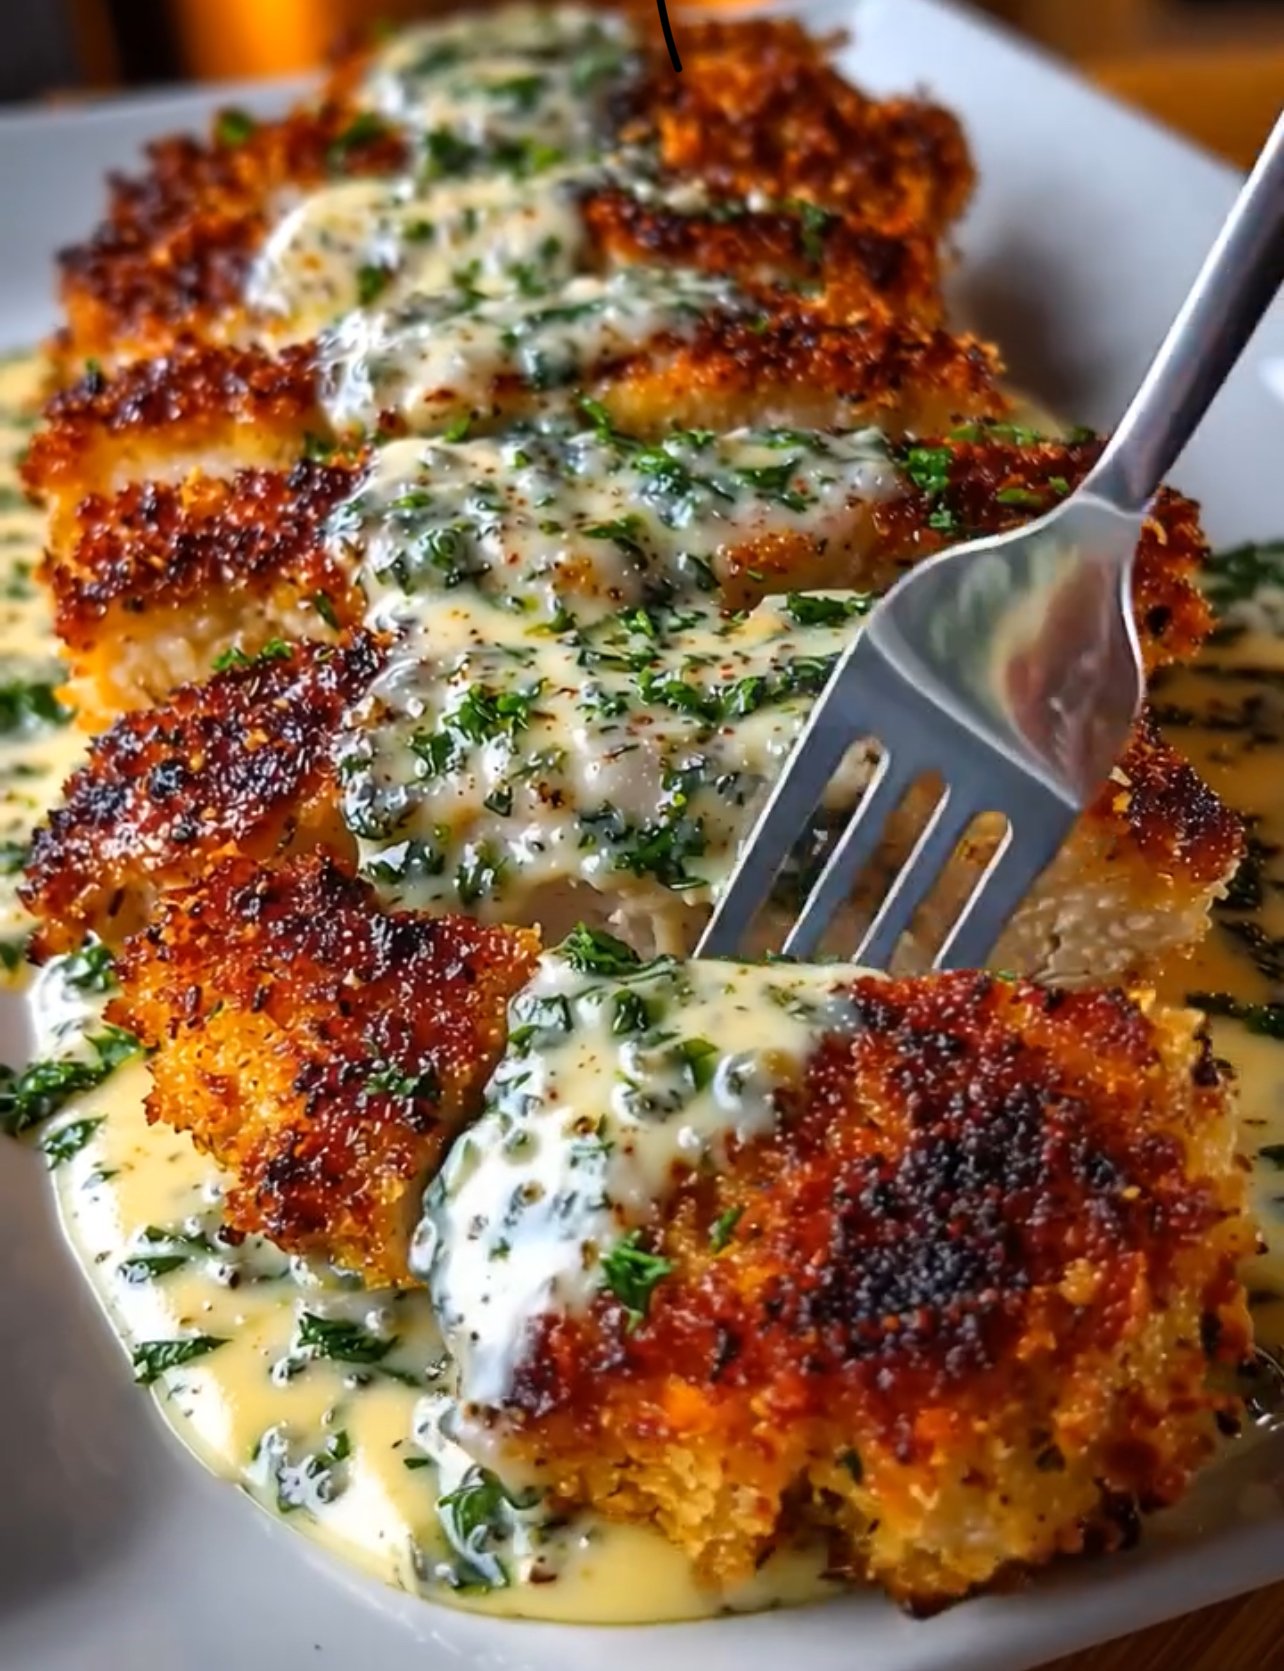
Crispy Parmesan Crusted Chicken with Creamy Garlic Sauce

Crispy Parmesan Crusted Chicken with Creamy Garlic Sauce

🛒 Ingredients (Serves 4)

For the Chicken:
• 2 large chicken breasts (cut in half lengthwise to make 4 fillets)
• 1 teaspoon salt
• ½ teaspoon black pepper
• ½ teaspoon paprika
• 1 cup all-purpose flour
• 2 eggs (beaten)
• 1 cup breadcrumbs (panko for extra crispiness)
• ½ cup grated Parmesan cheese
• ½ teaspoon garlic powder
• Oil for frying (about ½ cup)

⸻

For the Creamy Garlic Herb Sauce:
• 3 tablespoons butter
• 4 cloves garlic (minced)
• 1 cup fresh cream (or heavy cream)
• ¼ cup grated Parmesan cheese
• ½ teaspoon black pepper
• ¼ teaspoon salt
• 1 tablespoon chopped fresh parsley
• 1 teaspoon Italian seasoning (optional)

⸻

👩‍🍳 Step-by-Step Instructions

Step 1: Prepare the Chicken
1. Slice chicken breasts into thinner fillets.
2. Cover with plastic wrap and gently pound to even thickness.
3. Season both sides with salt, pepper, and paprika.

⸻

Step 2: Prepare Coating Stations

Set up 3 bowls:

1️⃣ Bowl 1: Flour
2️⃣ Bowl 2: Beaten eggs
3️⃣ Bowl 3: Breadcrumbs + Parmesan + garlic powder (mix well)

⸻

Step 3: Coat the Chicken
• Dip chicken in flour (shake off excess).
• Dip into egg mixture.
• Press into breadcrumb mixture firmly to coat well.

⸻

Step 4: Fry Until Golden
1. Heat oil in a pan over medium heat.
2. Fry chicken for about 4–5 minutes per side.
3. Cook until deep golden brown and fully cooked inside.
4. Remove and place on paper towel.

✨ Tip: Do not overcrowd the pan.

⸻

Step 5: Make the Creamy Garlic Sauce
1. In another pan, melt butter.
2. Add minced garlic and sauté 30 seconds.
3. Pour in cream and stir.
4. Add Parmesan, salt, and pepper.
5. Let simmer 3–4 minutes until slightly thick.
6. Add parsley and Italian seasoning.

⸻

Step 6: Assemble
• Place crispy chicken on a plate.
• Spoon creamy garlic sauce generously over the top.
• Sprinkle extra parsley.
• Serve hot.

⸻

🍽️ Serve With:
• Mashed potatoes
• Steamed vegetables
• Pasta
• Garlic rice

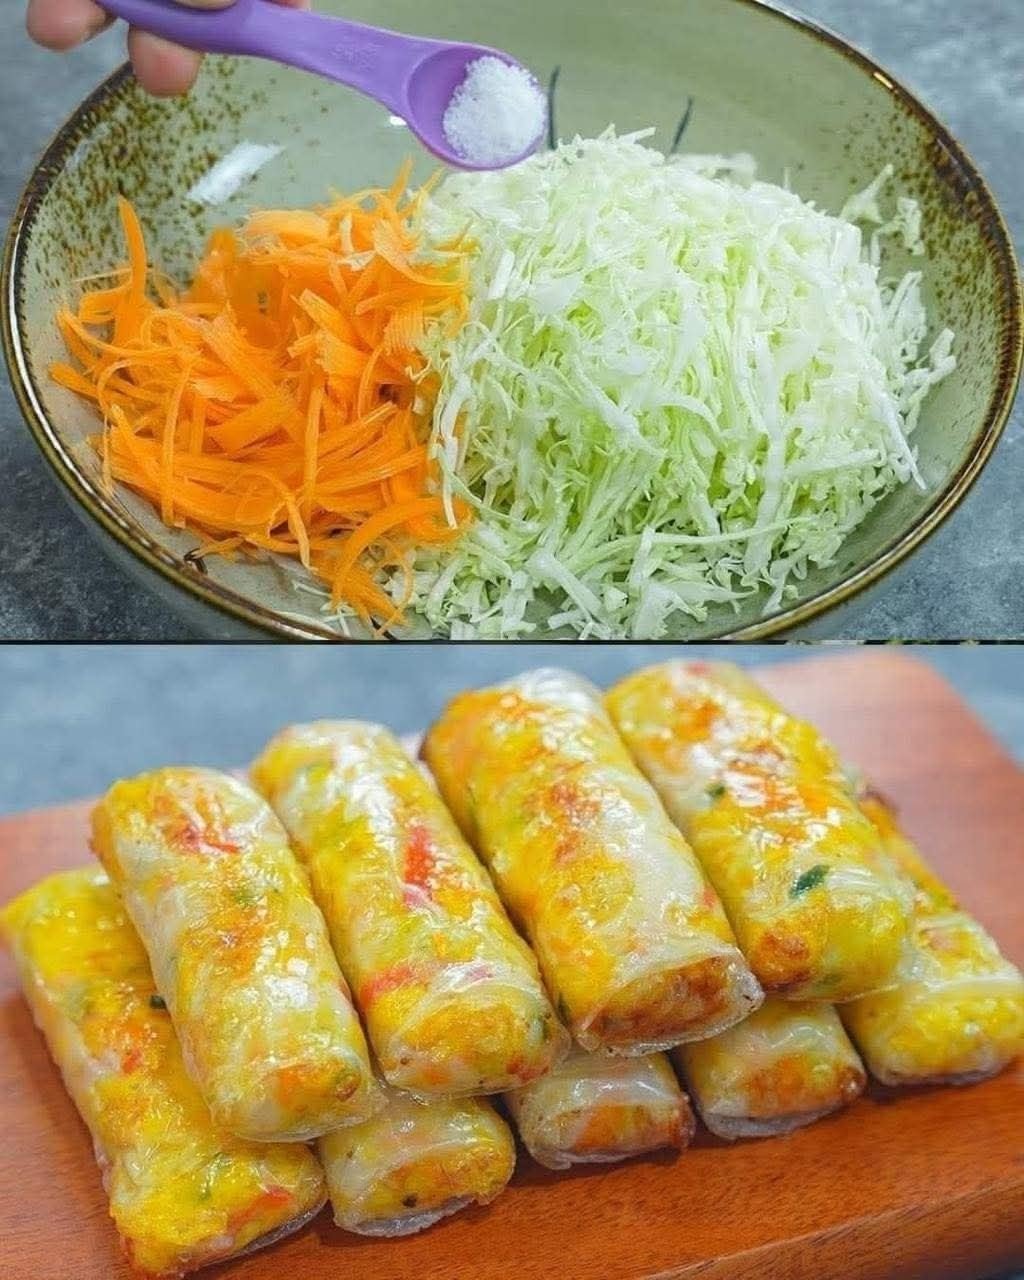
Cabbage with Carrots Tasty

Cabbage with Carrots Tasty

In addition to being a visual feast, cabbage with carrots is a celebration of the beauty of straightforward, healthful foods. The kitchen fills with tantalizing scents as you sauté the colorful cabbage and soft carrots. This recipe is a mainstay in many houses because to its delicious flavor and exceptional adaptability. This recipe has something to offer everyone, whether you’re cooking it for a celebration or a Friday supper.

The wonderful nutritional profile of cabbage with carrots further adds to its allure. Both ingredients are great options for keeping up a healthy lifestyle because they are high in vitamins and low in calories. Carrots offer a substantial amount of beta-carotene, and cabbage is renowned for its high fiber content. Together, these minerals strengthen your immune system and improve your general health. Regular consumption of this dish can support a balanced diet and keep you feeling invigorated all day.

This dish of tasty cabbage and carrots is quite adaptable and goes well with many other types of food. For a hearty lunch, serve it with fluffy rice or nutty quinoa. For a cozy treat, pair it with a piece of crusty toast. It is also excellent as a light main course or as a side dish with grilled meats. In addition to enjoying a tasty dinner, you’re adopting a better eating pattern with each mouthful. This recipe will probably become a staple in your culinary arsenal once you give it a try.

Ingredients:

  1. 1 medium head of finely sliced cabbage
  2. Three big carrots, julienned and peeled
  3. Two teaspoons of olive oil
  4. One medium onion, cut finely
  5. Three minced garlic cloves
  6. One teaspoon of cumin powder
  7. One teaspoon of paprikaSeason to taste with salt and pepper.
  8. Half a teaspoon of optional red pepper flakes
  9. Two tablespoons of soy sauceChopped fresh dill or parsley (for garnish)
See also  CHOCOLATE BROWNIE RECIPES CAKE

Getting ready

Get the vegetables ready:

Julienne the carrots and thinly slice the cabbage. Mince the garlic and cut the onion finely.

Sauté the Aromatics: Heat the olive oil in a big wok or skillet over medium heat.
Add the chopped onion and cook for 3–4 minutes, or until it becomes transparent.
Cook the minced garlic for an additional minute until it becomes aromatic.
Cook the Vegetables: Put the julienned carrots and sliced cabbage in a skillet. Mix thoroughly to include the garlic and onion.
Add the red pepper flakes (if using), paprika, salt, pepper, and ground cumin. To ensure the spices are distributed evenly, stir.
Sauté and season the veggies over medium heat, stirring occasionally, for 10 to 12 minutes, or until the cabbage is soft and the carrots are cooked through but still have a tiny crunch.
To uniformly coat the vegetables, add the soy sauce and stir. Cook for a further two to three minutes, or until everything is well cooked and mixed.
To garnish and serve, take the skillet off of the burner and place the carrots and cabbage to a platter.
Add some flavor and a splash of color by garnishing with fresh parsley or dill.
Serve this tasty dish of carrots and cabbage hot as a main course or as a side dish. It goes well with quinoa, rice, or a piece of bread with a crust.

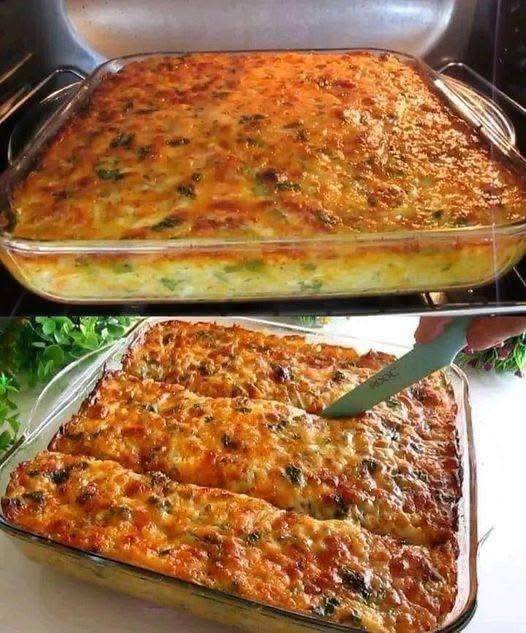
Magic Crustless Zucchini & Cheese Pie

Magic Crustless Zucchini & Cheese Pie

Ingredients

  • 3 cups Zucchini (shredded or grated)

  • 1 cup All-purpose flour (or almond flour for a low-carb version)

  • 1 cup Shredded Mozzarella or Cheddar cheese

  • ½ cup Grated Parmesan cheese

  • ½ cup Onion (finely chopped)

  • 4 Large eggs (beaten)

  • ½ cup Vegetable oil (or melted butter)

  • 1 tsp Baking powder

  • ½ tsp Salt

  • ¼ tsp Black pepper

  • Optional: 2 tbsp fresh parsley or green onions (chopped)


Step-by-Step Instructions

  1. Prep the Zucchini: Grate your zucchini using a box grater. This is the most important part: squeeze the shredded zucchini firmly with your hands or a clean kitchen towel to remove as much excess water as possible. This prevents the pie from becoming soggy.

  2. Preheat the Oven: Set your oven to 350°F (175°C). Grease a 9×13 inch glass baking dish (like the one in your photo) with oil or butter.

  3. Mix the Batter: In a large mixing bowl, combine the beaten eggs, oil, chopped onions, and herbs. Stir in the flour, baking powder, salt, and pepper until you have a smooth, thick batter.

  4. Fold in Solids: Fold the squeezed zucchini and about ¾ of your cheese into the batter. Mix until the zucchini is evenly coated.

  5. Assemble: Pour the mixture into your prepared baking dish. Use a spatula to spread it out evenly to the edges. Sprinkle the remaining cheese over the top to create that golden, bubbly crust seen in the second picture.

  6. Bake: Place in the center of the oven and bake for 30–35 minutes.

  7. Brown the Top: If you want it extra crispy like the photo, you can turn on the broiler for the last 2–3 minutes of baking until the cheese turns deep golden brown.

  8. Rest and Serve: Let the pie sit for 10 minutes before slicing. This allows the internal structure to set so you get clean, beautiful squares when you cut into it.


Why this works

The baking powder and flour react with the eggs to create a light, cake-like texture that holds the zucchini and melted cheese together. It’s a great way to sneak vegetables onto the table!

Magic Crustless Zucchini & Cheese Pie

Ingredients

  • 3 cups Zucchini (shredded or grated)

  • 1 cup All-purpose flour (or almond flour for a low-carb version)

  • 1 cup Shredded Mozzarella or Cheddar cheese

  • ½ cup Grated Parmesan cheese

  • ½ cup Onion (finely chopped)

  • 4 Large eggs (beaten)

  • ½ cup Vegetable oil (or melted butter)

  • 1 tsp Baking powder

  • ½ tsp Salt

  • ¼ tsp Black pepper

  • Optional: 2 tbsp fresh parsley or green onions (chopped)


Step-by-Step Instructions

  1. Prep the Zucchini: Grate your zucchini using a box grater. This is the most important part: squeeze the shredded zucchini firmly with your hands or a clean kitchen towel to remove as much excess water as possible. This prevents the pie from becoming soggy.

  2. Preheat the Oven: Set your oven to 350°F (175°C). Grease a 9×13 inch glass baking dish (like the one in your photo) with oil or butter.

  3. Mix the Batter: In a large mixing bowl, combine the beaten eggs, oil, chopped onions, and herbs. Stir in the flour, baking powder, salt, and pepper until you have a smooth, thick batter.

  4. Fold in Solids: Fold the squeezed zucchini and about ¾ of your cheese into the batter. Mix until the zucchini is evenly coated.

  5. Assemble: Pour the mixture into your prepared baking dish. Use a spatula to spread it out evenly to the edges. Sprinkle the remaining cheese over the top to create that golden, bubbly crust seen in the second picture.

  6. Bake: Place in the center of the oven and bake for 30–35 minutes.

  7. Brown the Top: If you want it extra crispy like the photo, you can turn on the broiler for the last 2–3 minutes of baking until the cheese turns deep golden brown.

  8. Rest and Serve: Let the pie sit for 10 minutes before slicing. This allows the internal structure to set so you get clean, beautiful squares when you cut into it.


Why this works

The baking powder and flour react with the eggs to create a light, cake-like texture that holds the zucchini and melted cheese together. It’s a great way to sneak vegetables onto the table!

4-Ingredient Loaded Egg Muffins

4-Ingredient Loaded Egg Muffins

Ingredients

  • 6 Large Eggs

  • 1/2 cup Shredded Cheese (Cheddar, Monterey Jack, or Mozzarella work best)

  • 1/2 cup Cooked Protein or Veggies (Finely chopped ham, bacon, or the green onions seen in your photo)

  • Salt & Pepper (To taste)


Step-by-Step Instructions

1. Preheat and Prep

Preheat your oven to 350°F (175°C). Generously grease a standard 6-cup muffin tin with butter or non-stick cooking spray. This is a crucial step to ensure the muffins pop out easily after baking.

2. Prepare the “Fillings”

Divide your chopped green onions (or other chosen fillings) and the shredded cheese evenly among the muffin cups. You want the cups to be about half-full with these solid ingredients.

3. Whisk the Eggs

In a medium bowl, crack the 6 eggs. Add a pinch of salt and pepper. Whisk vigorously until the yolks and whites are completely combined and slightly frothy.

4. Pour and Fill

Carefully pour the egg mixture into each muffin cup, covering the cheese and onions. Fill each cup until it is about 3/4 full. Do not fill them to the very top, as they will rise and puff up like little soufflés in the oven.

5. Bake to Golden Perfection

Place the tin in the oven and bake for 18–22 minutes. You will know they are done when the centers are set (not jiggly) and the tops have turned a beautiful golden brown.

6. Cool and Serve

Let the muffins rest in the pan for about 5 minutes. This allows them to firm up. Use a plastic knife or spatula to gently run around the edges and lift them out. Serve warm!


A Little Tip for Success

  • The “Clean Out the Fridge” Dish: This recipe is very forgiving. If you have a stray mushroom, a handful of spinach, or a bit of leftover bell pepper, chop it up and toss it in!