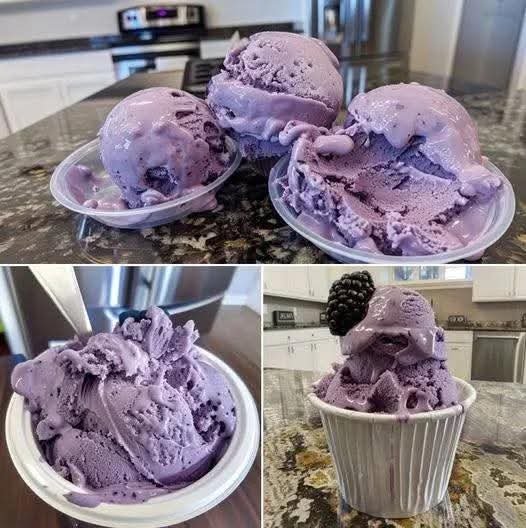
🍦 Homemade Blackberry Cream Ice Cream

🍦 Homemade Blackberry Cream Ice Cream

Prep time: 20 mins | Freeze time: 6 hours | Yields: Approx. 1.5 quarts


Ingredients

Blackberry Base:


2 cups fresh or frozen blackberries


1/4 cup granulated sugar


1 tbsp lemon juice (to brighten the color and flavor)


Cream Base:


2 cups heavy whipping cream (cold)


1 can (14 oz) sweetened condensed milk


1 tsp vanilla extract


A pinch of salt


Instructions

Create the Blackberry Reduction: In a small saucepan, combine blackberries, 1/4 cup sugar, and lemon juice. Simmer over medium heat for 10 minutes, mashing the berries as they soften.


Strain and Cool: Press the mixture through a fine-mesh sieve into a bowl to remove the seeds. You should have a thick, smooth purple syrup. Let this cool completely in the fridge before proceeding.


Whip the Cream: In a large bowl, whip the heavy cream until stiff peaks form (it should be thick enough to hold its shape).


Fold and Combine: In a separate bowl, whisk together the sweetened condensed milk, vanilla, salt, and your cooled blackberry syrup. Gently fold this mixture into the whipped cream using a spatula until no white streaks remain.


Freeze: Pour the mixture into a freezer-safe container or a loaf pan. Smooth the top. Cover with plastic wrap (press it directly onto the surface to prevent ice crystals).


Set: Freeze for at least 6 hours or overnight until firm.
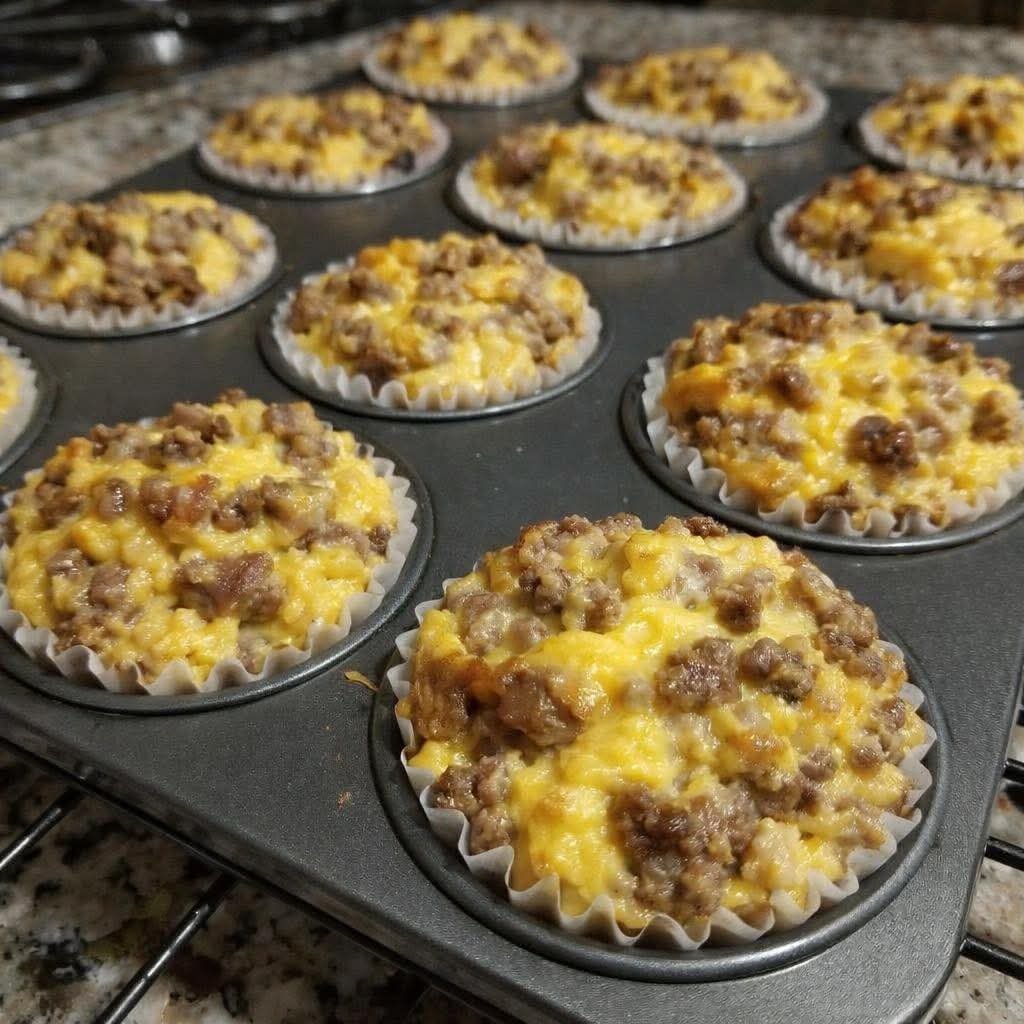
Sausage and Cheese Breakfast Muffins

Sausage and Cheese Breakfast Muffins

Prep time: 10 mins | Cook time: 20-25 mins | Yields: 12 muffins


Ingredients

1 lb (450g) Ground breakfast sausage (pork or turkey)


2 cups Baking mix (like Bisquick)


1 lb (450g) Sharp cheddar cheese, shredded


1/2 cup Milk (add a splash more if the dough is too dry)


2 Large eggs, lightly beaten


Optional: 1/2 tsp garlic powder or a pinch of black pepper


Instructions

Preheat & Prep: Preheat your oven to 375°F (190°C). Line a 12-cup muffin tin with paper liners (as seen in your photo) or grease them well with cooking spray.


Cook the Sausage: In a large skillet, brown the sausage over medium-high heat until fully cooked through. Drain the excess grease well.


Mix the Base: In a large mixing bowl, combine the baking mix and shredded cheese. Toss them together so the cheese is coated in flour.


Combine: Stir in the cooked sausage, eggs, and milk. Mix until just combined. The batter will be very thick and chunky—don’t worry, that’s normal!


Scoop: Evenly distribute the mixture into the 12 muffin cups. They should be filled nearly to the top.


Bake: Bake for 20 to 25 minutes, or until the tops are golden brown and a toothpick comes out clean.


Tips for Success

The Cheese Factor: For the best melt, shred your own cheese from a block. Pre-shredded cheese is coated in starch which can make the muffins a bit drier.


Storage: These stay fresh in the fridge for up to 4 days. You can also freeze them in a freezer bag for up to 3 months—just microwave for 45–60 seconds when you’re ready to eat!


Note: If you want a “spicier” version, you can use “Hot” breakfast sausage or add a small can of drained diced green chiles to the mix.

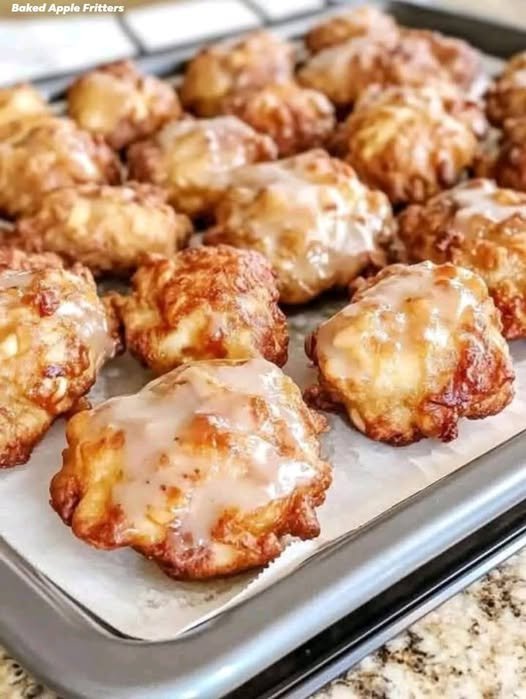
Apple Fritter Bites

These Apple Fritter Bites are really a life-changing autumn treat that I had to share with you today.

These are true apple-flavored, doughnut-like fritters that are light as air and covered with the most delectable apple cider glaze.

You may feel somewhat better about coming back for seconds—or thirds—because they are baked rather than fried!

I first sampled these little morsels of perfection when Baker Mama’s clever friend Courtney sent me a copy of her new cookbook, Brilliant Bites.

I had to make them as soon as I saw the recipe title.

Could you possibly come up with an autumn snack that is better? Crisp cider glaze over warm, doughy apple fritters that pop? Indeed, do!

These, let me just say, are every bit as good as apple fritters could possibly be.

Soft pieces of fresh apple abound in these very moist treats.

The glaze is sweet and sour, and it gives you that distinctive crackly crust that is just too good.

Finally, the nicest thing? You may feel comfortable about nibbling on a couple since they are baked rather than fried. If you’re anything like me, the whole batch!

Components Cooking spray nonstick
One and a half cups total flour
Two tsp baking powder
A teaspoon each of ground cinnamon and kosher salt
Melt one-fourth cup unsalted butter
3/4 cup sugar, granulated
Just one big egg
A half teaspoon of vanilla essence
1/2 cup applesauce, unsweet
About two medium-sized neatly chopped Honeycrisp or Gala apples
Apple cider and two cups powdered sugar for the glaze
1/3 cup plus two tablespoons apple juice or cider


Arrange an oven rack to 400°F and mist a baking sheet with nonstick cooking spray.

Stir together the flour, baking powder, salt, and cinnamon in a medium-sized basin.

Beat the sugar and melted butter together well in a big basin. Whisk in the applesauce, vanilla, and egg until smooth.

Stirring just until mixed, add the dry ingredients to the wet ones. Fold in the diced apples rather gently.

To the prepared baking sheet, scoop out 1 tablespoon quantities of batter and place them a few inches apart.

After ten minutes of baking, take it out of the oven and set the broiler to high.

To make the glaze, beat the powdered sugar and apple juice or cider until it is pourable.

Let some of the glaze run down the edges of the heated fritter bits as you brush over them. Broil, turning the pan often, for two to four minutes, or until the glaze begins to boil and caramelize.

Take them out of the oven and liberally coat the fritters’ tops with the remaining glaze.

Give the glaze fifteen minutes to set before serving.

Enjoy!

Honey Butter Skillet Corn

Honey Butter Skillet Corn

Description:

This quick and easy skillet corn recipe brings out the natural sweetness of corn, enhanced with rich butter and a drizzle of honey. It’s a delicious side dish perfect for summer barbecues, weeknight dinners, or holiday gatherings. The butter adds a velvety texture, while honey gives it a subtle, irresistible sweetness.

Ingredients:

  • 4 cups corn kernels (fresh, frozen, or canned—about 5-6 ears fresh)
  • 3 tablespoons unsalted butter
  • 2 tablespoons honey
  • Salt, to taste
  • Black pepper, to taste (optional)
  • 1 tablespoon cream (optional, for extra richness)

Instructions:

  1. Prepare the Corn: If using fresh corn, cut the kernels off the cob. If using frozen, thaw and drain. If canned, drain and rinse.
  2. Heat the Skillet: Place a large skillet over medium heat and add the butter. Allow it to melt completely.
  3. Cook the Corn: Add the corn to the skillet. Sauté for 4-6 minutes, stirring occasionally, until heated through and slightly caramelized.
  4. Add Honey: Drizzle the honey over the corn and stir to coat evenly. Cook for another 2-3 minutes.
  5. Season: Add salt and pepper to taste. If using cream, stir it in at this point for an extra creamy texture.
  6. Serve Warm: Transfer to a serving bowl and enjoy immediately!

Notes:

  • Type of Corn: Fresh corn gives the best texture and sweetness, but frozen is very convenient. Canned corn works too but will be slightly softer.
  • Honey Options: Light honey works best. Stronger varieties (like buckwheat honey) can overpower the corn’s flavor.
  • Add-ons: You can stir in chopped herbs (like parsley, cilantro, or basil) or sprinkle with a little Parmesan cheese for extra flavor.

Tips:

  • Caramelization is key: Let the corn sit undisturbed in the skillet for 1–2 minutes to get a nice, slightly caramelized flavor.
  • Butter Substitute: You can swap butter for ghee for an even richer, nuttier flavor.
  • Spice it Up: Add a pinch of cayenne pepper or red pepper flakes for a sweet-spicy combo.
  • Storage: Store leftovers in an airtight container in the fridge for up to 3 days. Reheat gently on the stove or in the microwave.

Servings:

  • Serves 4-6 as a side dish.

Nutritional Information (Per Serving, Approximate):

  • Calories: 180
  • Fat: 10g
  • Saturated Fat: 6g
  • Carbohydrates: 23g
  • Sugar: 9 g
  • Fiber: 2 g
  • Protein: 3 g
  • Sodium: 120mg

Benefits:

  • Corn: Provides fiber for digestion, antioxidants like lutein and zeaxanthin for eye health, and essential vitamins such as B vitamins.
  • Honey: A natural sweetener with antibacterial properties and antioxidants.
  • Butter: Adds fat-soluble vitamins like A, D, E, and K, though it should be consumed in moderation.

Q/A:

Q: Can I make this ahead of time?
A: Yes! Prepare it up to a day in advance and reheat gently before serving. Add a splash of water or cream if it looks dry.

Q: Can I use maple syrup instead of honey?
A: Definitely. Maple syrup gives a slightly different flavor but works beautifully.

Q: What can I serve with honey butter corn?
A: It pairs wonderfully with grilled meats (like chicken, steak, or pork chops), BBQ dishes, fried chicken, or a fresh summer salad.

Q: Is this dish gluten-free?
A: Yes, this recipe is naturally gluten-free. Just double-check your butter and any seasonings to ensure no added gluten.

Q: How can I make it vegan?
A: Swap the butter for a plant-based butter substitute and use maple syrup instead of honey.

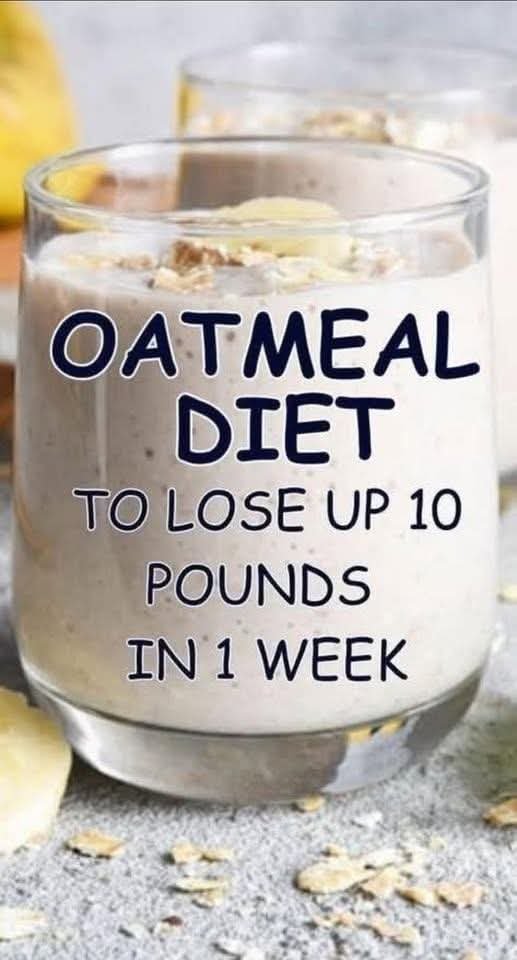
🍌 Creamy Banana & Oat Breakfast Smoothie

🍌 Creamy Banana & Oat Breakfast Smoothie

Prep time: 5 minutes | Servings: 1

Ingredients

½ cup Rolled oats (old-fashioned)


1 Ripe banana (frozen chunks work best for a creamy texture)


1 cup Unsweetened almond milk (or any milk of your choice)


½ cup Plain Greek yogurt (adds protein to keep you full longer)


1 tbsp Chia seeds or ground flaxseeds (for healthy Omega-3s)


½ tsp Cinnamon (helps regulate blood sugar)


A splash of vanilla extract


Instructions

Pulse the Oats: For a smoother texture, add the dry oats to your blender first and pulse until they reach a flour-like consistency.


Combine: Add the banana, milk, yogurt, chia seeds, cinnamon, and vanilla to the blender.


Blend: Blend on high until completely smooth and creamy.


Adjust: If the smoothie is too thick, add a little more milk. If you prefer it colder, add a handful of ice cubes and blend again.


Serve: Pour into a glass and top with a few extra oat flakes or a dash of cinnamon for garnish.


đź’ˇ Why this works for weight management

High Fiber: The oats and chia seeds provide soluble fiber, which slows digestion and keeps you feeling satisfied for hours.


Protein Boost: Using Greek yogurt ensures you get enough protein to maintain muscle mass while losing weight.


No Added Sugar: The natural sweetness of the banana eliminates the need for honey or syrups.

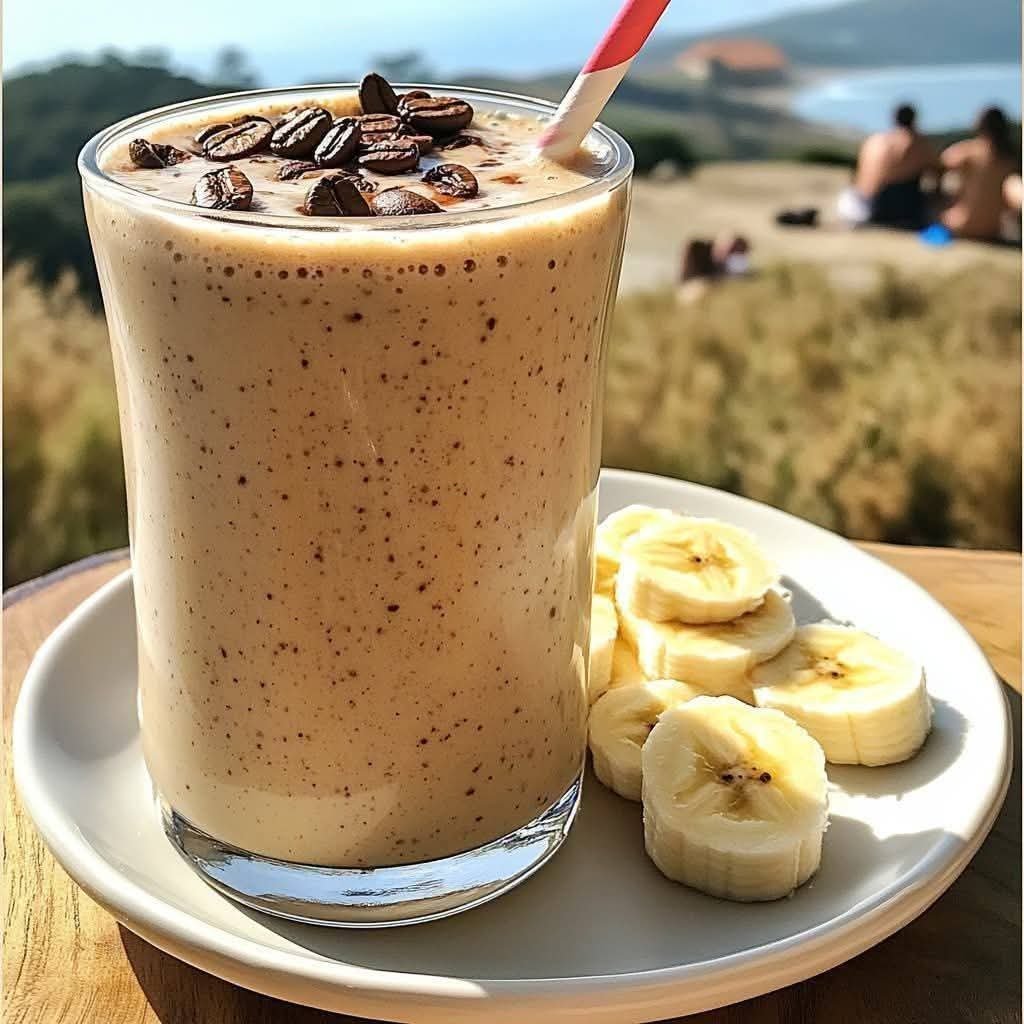
Creamy Coffee Banana Smoothie.

Creamy Coffee Banana Smoothie.


🥤 Ingredients

Item Quantity Note

Frozen Banana 1 large Provides the creamy, ice-cream-like texture.

Chilled Coffee 1/2 cup Brewed espresso or strong coffee (cooled).

Milk of choice 1/2 cup Almond, oat, or dairy milk work best.

Greek Yogurt 1/4 cup Adds protein and extra thickness.

Nut Butter 1 tbsp Almond or peanut butter (optional, for richness).

Honey or Maple 1 tsp Optional, depending on banana ripeness.

Ice Cubes 1 small handful To keep it frost-chilled.

🥣 Instructions

Prep the Coffee: Ensure your coffee is cold or at least room temperature. Using hot coffee will melt the frozen banana and make the smoothie watery.


Combine: Add the frozen banana slices, chilled coffee, milk, yogurt, and sweetener into a high-speed blender.


Blend: Start on a low speed and gradually increase to high. Blend until the mixture is completely smooth and those dark “coffee speckles” are evenly distributed.


Check Consistency: If it’s too thick, add a splash more milk. If too thin, add another frozen banana chunk or more ice.


Garnish: Pour into a glass. As seen in your photo, top with a few whole roasted coffee beans and serve with some fresh banana slices on the side.


Pro Tip: For an extra energy boost, you can add a scoop of chocolate or vanilla protein powder to make this a full meal replacement!