Angel Chicken with Italian Dressing Mix

Angel chicken with Italian Dressing Mix is one of those gentle little suppers that quietly earned its place at every church potluck and family reunion across the Midwest. It’s creamy, comforting, and feels like something your favorite aunt would slide in front of you on a chilly evening. This slow cooker version keeps the spirit of the old oven-baked recipe, but it’s pared down to just five ingredients and a plug-in crock on the counter.


👼 Angel Chicken with Italian Dressing Mix

🛒 Ingredients

2 pounds boneless, skinless chicken breasts or thighs

1 (0.7–1 ounce) packet dry Italian dressing mix

1 (10.5 ounce) can cream of chicken soup

1 (8 ounce) package cream cheese, softened and cut into cubes

1/2 cup chicken broth or water

👩‍🍳 Directions

Layer Chicken: Place the chicken in the bottom of a 4- to 6-quart slow cooker in an even layer.

Make Sauce Base: In a medium bowl, whisk together the dry Italian dressing mix, cream of chicken soup, and chicken broth (or water) until fairly smooth.

Assemble: Scatter the cream cheese cubes over the chicken, then pour the soup mixture evenly over the top.

Cook: Cover and cook on LOW for 4–6 hours, or on HIGH for about 2–3 hours, until the chicken is very tender and easily shreds with a fork.

Shred & Rest: Using two forks, shred or chunk the chicken right in the slow cooker and stir well to blend it with the creamy sauce. Cover and let it sit on WARM for 5–10 minutes so the flavors mingle and the sauce thickens slightly.

Serve: Taste and adjust seasoning if needed, then serve the angel chicken hot over cooked egg noodles, rice, or mashed potatoes.

10-Minute Comfort Food Pasta

Ingredients

500g Stellini pasta

50g butter

15g flour

500ml milk

100g shredded hard mozzarella

1 small onion, finely chopped

3 garlic cloves, minced

700g ground meat (beef, pork, chicken, or turkey)

200g tomato sauce

Vegetable oil for cooking

Salt to taste

Meat seasoning and powdered nutmeg (optional, to taste)

How To Make 10-Minute Comfort Food Pasta

Preheat the oven: Set to 180°C (350°F).

Cook the pasta: Boil Stellini pasta in salted water until al dente. Drain and set aside.

Make the béchamel sauce: Melt butter in a pan over medium heat. Stir in flour, mixing well. Slowly add milk, stirring constantly until smooth and thickened. Season with salt and a pinch of nutmeg.

Cook the meat: Heat a little oil in a pan. Sauté the chopped onion and garlic until soft and fragrant. Add ground meat and cook on high heat until browned. Season with salt and any additional spices, then stir in tomato sauce. Simmer briefly.

Assemble the dish: In a baking dish, layer half of the cooked pasta, then half the meat mixture, followed by half of the béchamel sauce. Repeat the layers.

Bake: Sprinkle shredded mozzarella evenly over the top. Bake for 20 minutes, or until the cheese is melted and golden.

Serve: Let the dish rest for a few minutes before serving. Enjoy the comforting flavors of this simple yet hearty meal!

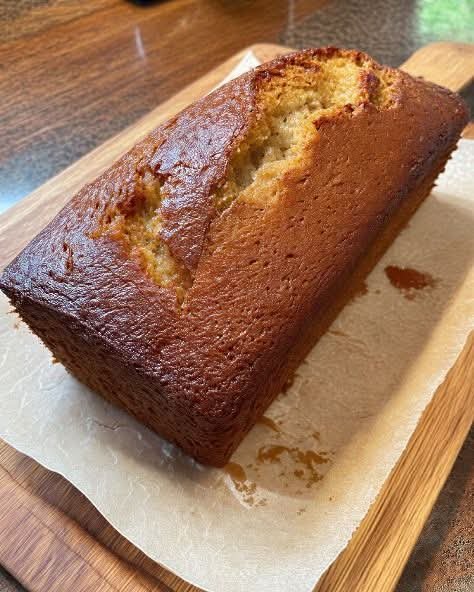
Applesauce Honey Bread

I am a big fan of pretty much all apple baked goods and this Applesauce Honey Cake in particular is on a regular rotation. It’s the kind of recipe that fits right into a fall afternoon, but honestly, it’s welcome any time of year. This Applesauce Honey Bread is soft, warmly spiced, and lightly sweet, with a cozy flavor that makes your kitchen smell incredible while it bakes. It’s simple, familiar, and just the sort of loaf you’ll want on a cozy day.


INGREDIENTS

3 cups all-purpose flour

3 teaspoons baking soda

2 teaspoons ground cinnamon

1/2 teaspoon ground ginger

1/2 cup butter, room temperature

1/2 cup honey

1 cup granulated sugar

2 large eggs

2 1/2 cups unsweetened applesauce

PREPARATION

Preheat oven to 350 degrees F and grease a 9×5-inch loaf pan (or two smaller loaf pans).

Sift together the flour, baking soda, cinnamon, and ginger in a small bowl.

Cream together the butter, sugar, and honey until smooth. Beat in eggs one at a time until well combined, followed by the applesauce.

Slowly add the dry ingredients until just combined

Transfer batter to the prepared baking dish.

Bake for 50-60 minutes, or until an inserted toothpick comes out clean. Tent loaf with foil for last 20 minutes if edges begin to over brown.

Allow bread to fully cool before slicing.

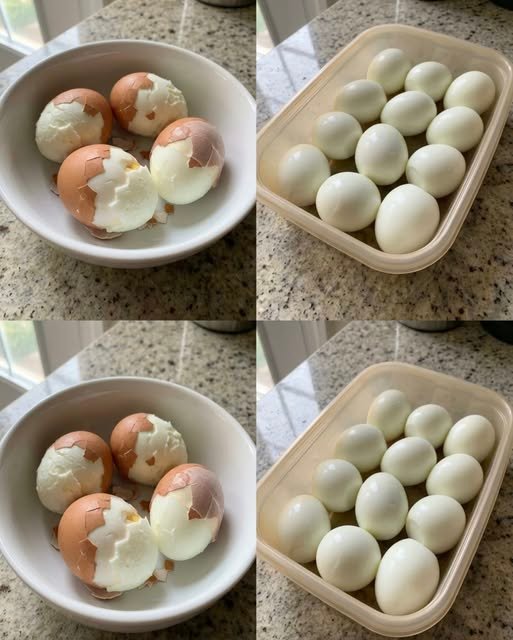
Perfect Hard Boiled Eggs

Perfect Hard-Boiled Eggs

Prep time: 15 mins | Cook time: 10–12 mins | Total time: ~30 mins

Ingredients

  • Eggs: Fresh, high-quality eggs (slightly older eggs peel better).

  • Water: Enough to submerge eggs by at least one inch.

  • Ice: For an ice bath to stop the cooking process.

  • Salt or Vinegar (Optional): A pinch of salt to reduce cracking or a splash of vinegar to help seal any cracks that occur.


Instructions

  1. Room Temperature Prep: Remove eggs from the refrigerator and let them sit out for 10–15 minutes to prevent cracking when they hit the water.

  2. Arrange in Skillet/Pot: Place the eggs in a single layer at the bottom of your saucepan. Do not stack them, as this leads to uneven cooking.

  3. Cover with Cold Water: Pour in cold water until the eggs are covered by at least one inch. Starting with cold water ensures the eggs heat up gradually.

  4. Boil and Turn Off: Place the pot on medium-high heat. As soon as the water reaches a rolling boil, turn off the heat immediately.

  5. The Resting Period: Cover the pot with a lid and let the eggs sit in the hot water:

    • 9–10 minutes: For classic hard-boiled eggs.

    • 11–12 minutes: For fully firm yolks (best for deviled eggs).

  6. Ice Bath: Move the eggs immediately into a bowl filled with ice and water. Let them cool for 5–10 minutes to stop the cooking and prevent that gray-green ring from forming around the yolk.

  7. Peel: Tap the shell on a hard surface and peel from the wider end, where the air pocket is located.


Storage Tips

  • Refrigeration: You can store unpeeled eggs in a sealed container in the fridge for up to 7 days.

  • Reheating: If you want them warm, place peeled eggs in hot (not boiling) water for 3–5 minutes. Never microwave whole hard-boiled eggs, as they can explode!


Quick Variations

  • Jammy Eggs: If you want a softer, creamy center, reduce the resting time in Step 5 to just 6–7 minutes.

  • Deviled Egg Base: Use the full 12-minute rest to ensure the yolks are firm enough for mashing and piping.

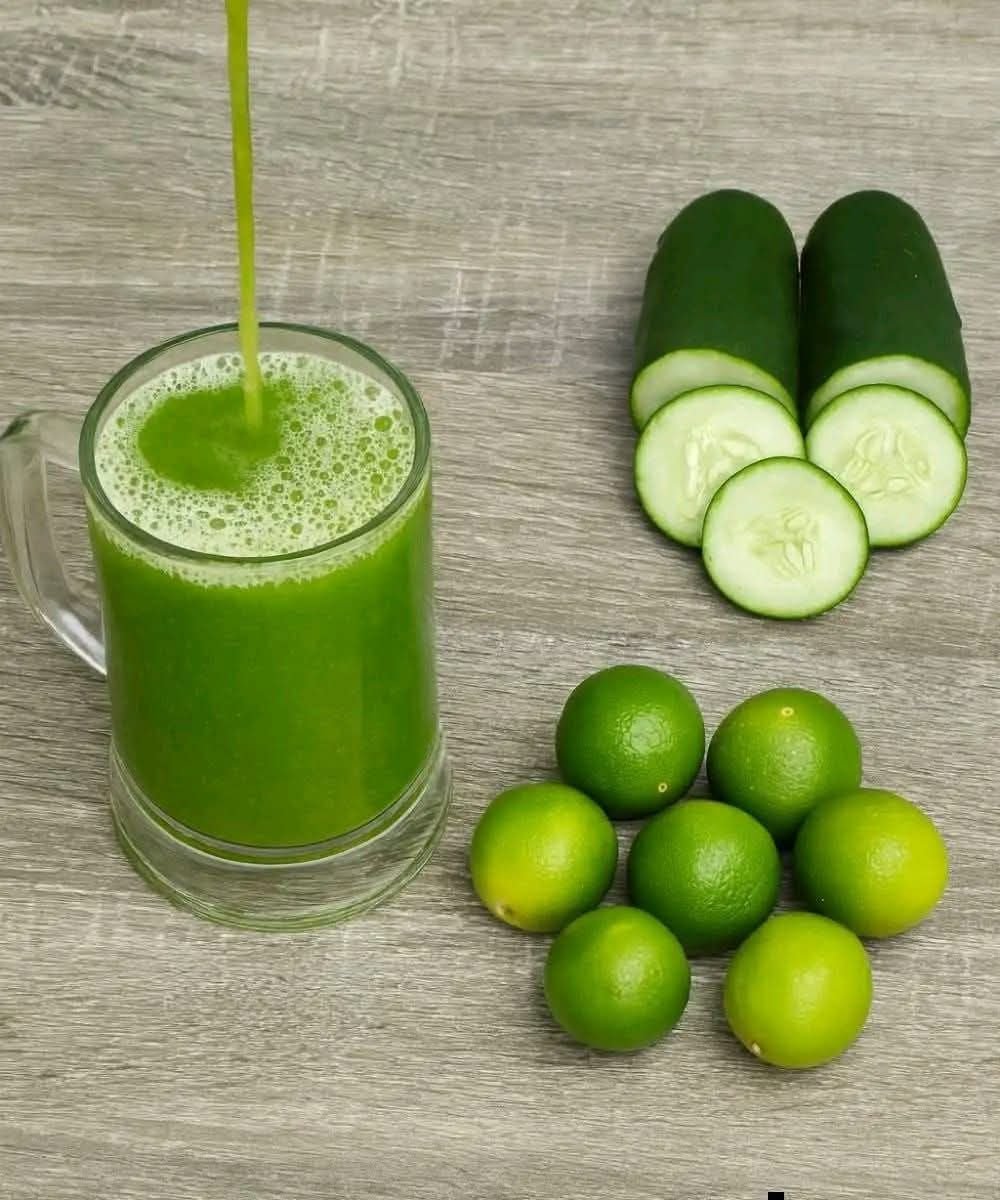
Cucumber & Lime Refreshment Drink

Those “Blueberry Pie Bombs” look delicious! Since I know you’re looking for full recipes to keep things simple for your family, I’ve put together the complete instructions for that cucumber and lime detox drink you shared.

It is important to note that while this drink is hydrating and full of vitamin C, there is no medical evidence that a single drink can “eliminate” fatty liver or urinary infections on its own. It’s a great addition to a healthy lifestyle, but please check with a doctor for those specific conditions!


Cucumber & Lime Refreshment Drink

Prep time: 5 mins | Yields: 1 large glass

Ingredients

  • 1 large Cucumber (washed and sliced)

  • 2-3 small Limes (or 1 large lemon)

  • 2 cups Cold water

  • Optional: A handful of fresh mint leaves

  • Optional: 1 tsp honey or agave for sweetness


Instructions

  1. Prepare the Produce: Wash the cucumber and limes thoroughly. You can leave the skin on the cucumber for extra nutrients or peel it if you prefer a smoother texture.

  2. Blend: Place the cucumber slices and the juice of the limes into a high-speed blender.

  3. Liquify: Add the water (and mint or sweetener if using). Blend on high until the mixture is completely liquid and bright green.

  4. Strain (Optional): If you prefer a clear juice, pour the mixture through a fine-mesh strainer or nut milk bag into a glass. If you don’t mind the pulp, keep it for the extra fiber!

  5. Serve: Pour over ice and enjoy immediately for the freshest flavor.


Why This Combination?

  • Cucumber: Extremely high in water content (about 95%), making it excellent for hydration and reducing bloating.

  • Lime/Lemon: Rich in citric acid and vitamin C, which can help support digestion and give the immune system a little boost.

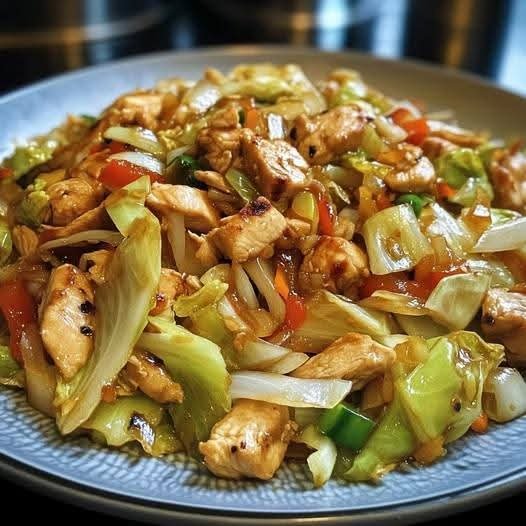
Easy Chinese Chicken Cabbage Stir-Fry

Easy Chinese Chicken Cabbage Stir-Fry


Prep: 10 minutes

Cook: 15 minutes

One pan


Ingredients (Simple List)


2 chicken breasts, thinly sliced


½ head green cabbage, shredded


2 cloves garlic, minced


1 tbsp butter or oil


½ cup chicken broth


2 tbsp oyster sauce


1 tbsp soy sauce (or tamari/coconut aminos)


Salt & pepper


Optional (use less to stay low-carb):


A little onion


Jalapeño or pepper slices


Easy Instructions


Cook chicken

Heat butter/oil in a large skillet over medium-high heat.

Add chicken, season with salt and pepper, and cook 5–7 minutes until done.

Push chicken to the side of the pan.


Add veggies

Add garlic (and onion/jalapeño if using). Cook 1 minute.

Add cabbage and stir.


Add sauce

Pour in chicken broth, oyster sauce, and soy sauce.

Stir everything together.


Finish cooking

Cook 5–7 minutes, until cabbage is tender but still a little crisp.


Serve

Eat as is or over cauliflower rice or zoodles.