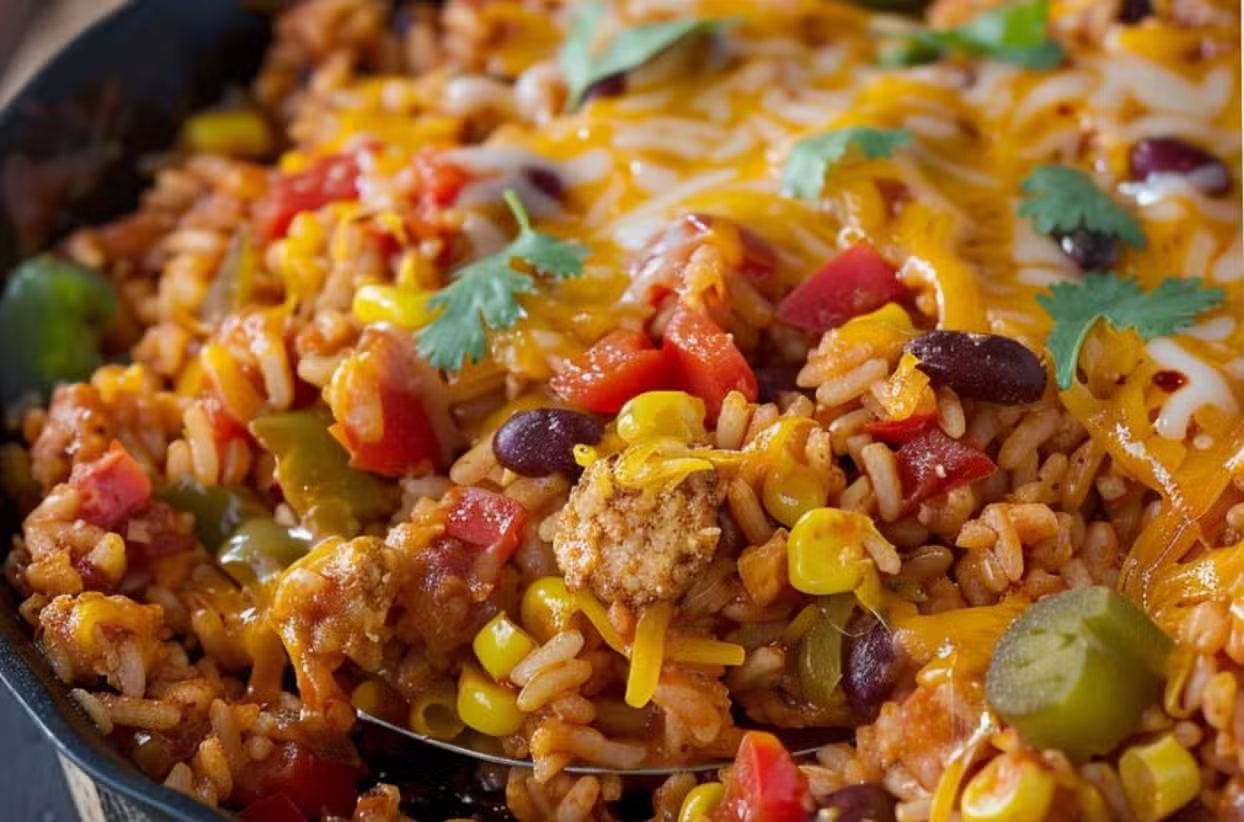
Mexican Rice Skillet

One-pan cheesy beef and rice dish with classic Tex-Mex flavors.

Ingredients

  • 1 lb lean ground beef

  • 1 medium onion, finely chopped

  • 1 packet taco seasoning

  • 1 cup frozen corn kernels

  • 1 cup salsa (mild or spicy)

  • 1 cup uncooked long grain white rice

  • 2 cups chicken stock

  • 1 can (10 oz) Rotel tomatoes (diced tomatoes with green chilies)

  • 1 to 1½ cups shredded cheddar cheese

Instructions

1. Brown the beef

  • Heat a large, deep skillet over medium-high heat.

  • Add ground beef and cook until browned, breaking it apart.

  • Add chopped onions and cook until softened.

2. Season

  • Stir in taco seasoning and cook for 1 minute to bloom the spices.

3. Add rice & veggies

  • Stir in corn, salsa, uncooked rice, Rotel, and chicken stock.

4. Cook the rice

  • Bring mixture to a boil, then reduce heat to low.

  • Cover and simmer 15 minutes, or until rice is tender and liquid is mostly absorbed.

5. Add cheese

  • Sprinkle cheddar cheese evenly over the top.

  • Cover and let sit until melted and gooey.

6. Serve

  • Spoon into bowls and top with sour cream, avocado, tomatoes, cilantro, or pickled jalapeños as desired.

Notes & Tips

  • Use a skillet with high sides to prevent bubbling over.

  • Let it rest for 2–3 minutes before serving for a cleaner scoop.

  • Swap beef for ground turkey, chicken, or chorizo for variety.

  • Leftovers reheat well—add a splash of broth to bring back moisture.

Do you want me to also make a WW-friendly lighter version of this Mexican Rice Skillet so it’s fewer points? That would pair perfectly with your other WW recipes.
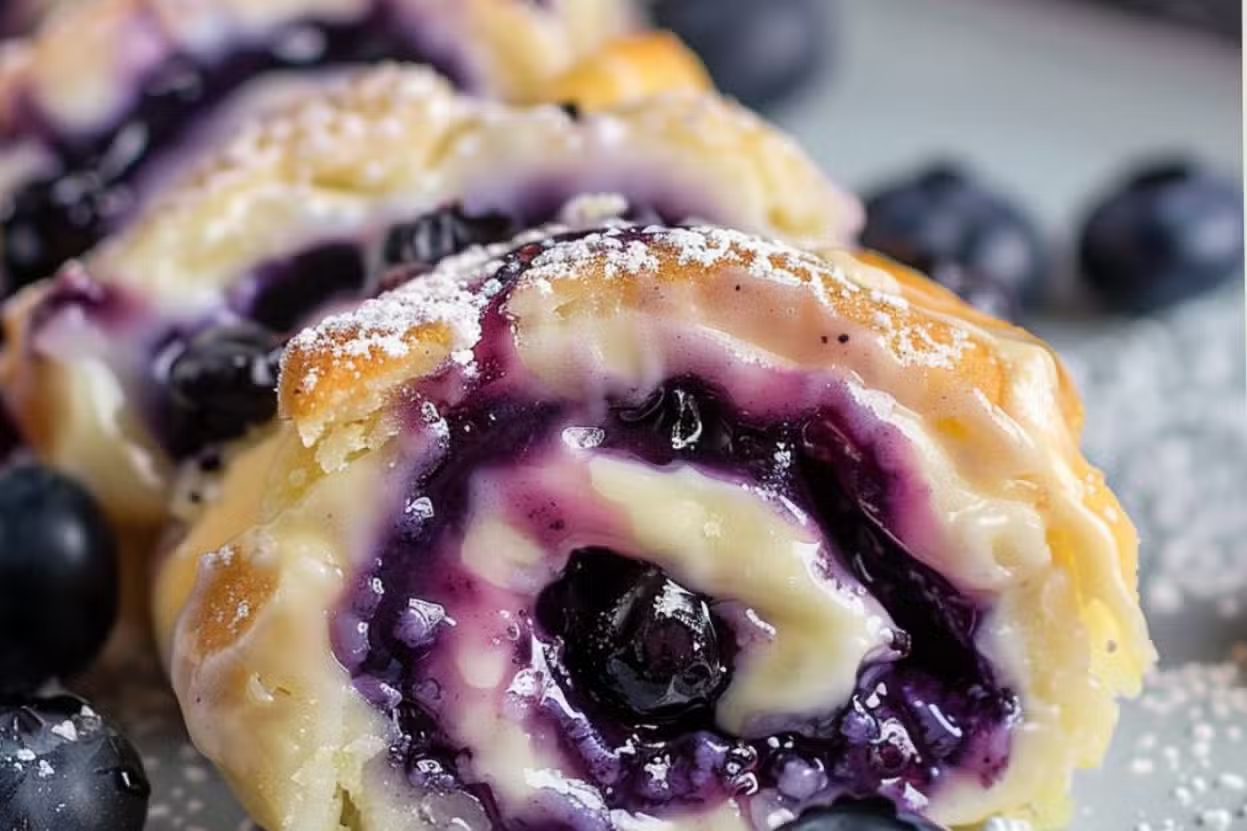
Blueberry Cheesecake Rolls

Flaky crescent dough with creamy cheesecake filling and juicy blueberries.

Ingredients

  • 1 can crescent roll dough

  • 6 oz cream cheese, softened

  • ¼ cup granulated sugar

  • ½ tsp vanilla extract

  • ¾ cup blueberries (fresh or frozen)

  • 1 tsp lemon zest

  • Powdered sugar, for dusting

Instructions

1. Prep oven & pan

  • Preheat oven to 375°F (190°C).

  • Lightly grease or line a baking sheet with parchment paper.

2. Prepare dough

  • Unroll crescent roll dough.

  • Press seams together to form one solid sheet.

3. Make filling

  • In a medium bowl, mix cream cheese, granulated sugar, and vanilla extract until smooth and creamy.

4. Assemble

  • Spread cream cheese mixture evenly over the dough.

  • Sprinkle blueberries and lemon zest evenly on top.

5. Roll & slice

  • Carefully roll the dough into a log.

  • Slice into individual rolls (about 1-inch thick).

6. Bake

  • Arrange rolls on the prepared baking sheet.

  • Bake 15–20 minutes, until golden brown.

7. Finish & serve

  • Let cool slightly.

  • Dust with powdered sugar before serving.

Notes & Tips

  • Frozen blueberries should go in straight from the freezer to prevent juice bleeding.

  • If dough gets too soft, chill 10 minutes before slicing.

  • Can be assembled ahead and refrigerated overnight before baking.

  • Try adding a sprinkle of cinnamon sugar over the top for extra flavor.

If you’d like, I can also give you a strawberry cream cheese version of this recipe that works with the exact same method. Would you like me to write that out?

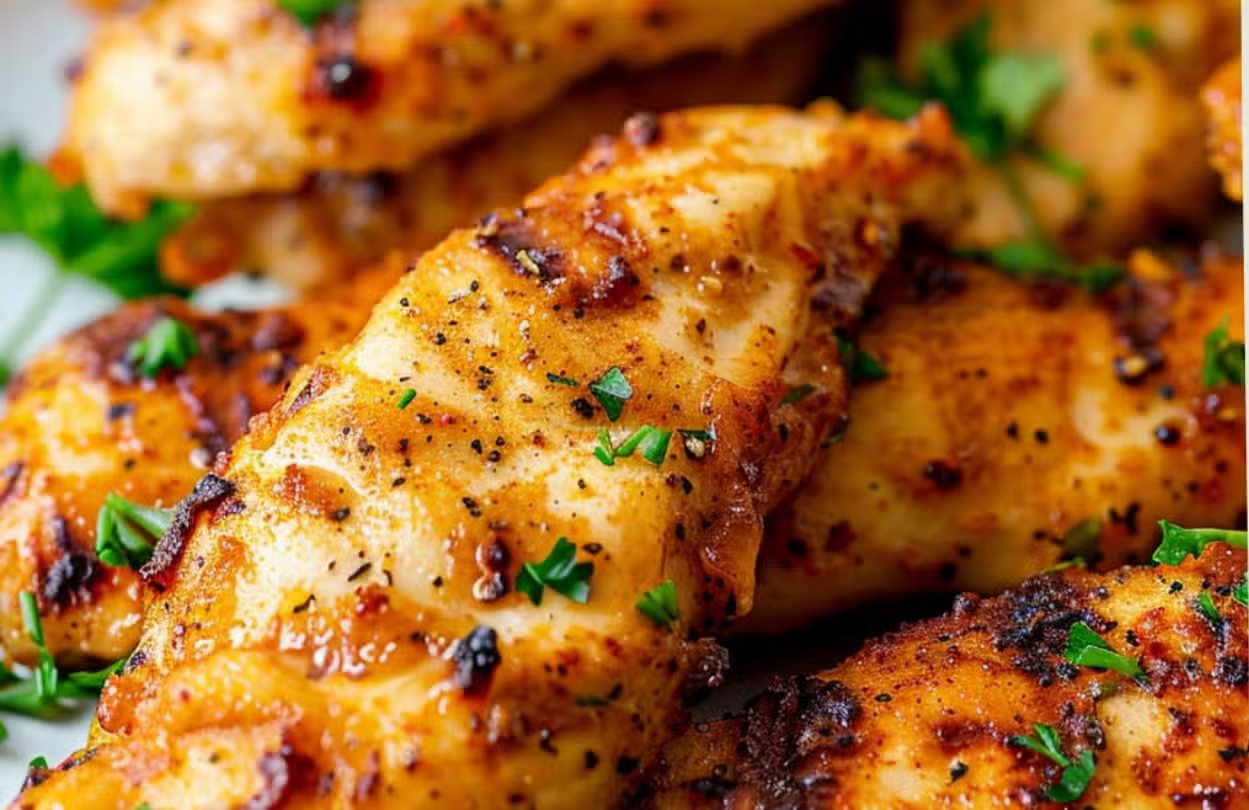
Air Fryer Cracker Barrel Chicken Tenderloins

Juicy, flavorful, and ready in minutes!

Ingredients

  • 1 lb chicken tenderloins

  • ½ cup Italian dressing (zesty variety recommended)

  • 2 cloves garlic, minced

  • 2 tbsp honey

  • 2 tbsp fresh lime juice (or lemon juice for variation)

  • 1 tsp kosher salt

  • ½ tsp black pepper

Instructions

1. Make the marinade

  • In a large bowl, whisk together Italian dressing, garlic, honey, lime juice, salt, and pepper until fully combined.

2. Marinate chicken

  • Add chicken tenderloins to the bowl and toss well to coat.

  • Cover and refrigerate for 30 minutes to 1 hour.

3. Preheat the air fryer

  • Set to 400°F (200°C) and lightly spray the basket with olive oil spray.

4. Cook

  • Arrange marinated chicken tenderloins in a single layer in the basket.

  • Air fry for 10 minutes, flipping halfway through, until golden brown and internal temperature reaches 165°F (74°C).

5. Rest & serve

  • Remove from the air fryer and let rest for 2–3 minutes before serving.

Notes & Variations

  • For heat: Add cayenne pepper or a splash of sriracha to the marinade.

  • For smokiness: Mix in smoked paprika.

  • For extra crunch: Coat chicken in seasoned breadcrumbs or crushed cornflakes before air frying.

  • Always use a meat thermometer to prevent overcooking.

If you want, I can also give you a Copycat Cracker Barrel side dish list that pairs perfectly with these tenderloins so you can make a full restaurant-style meal at home. Would you like me to prepare that?

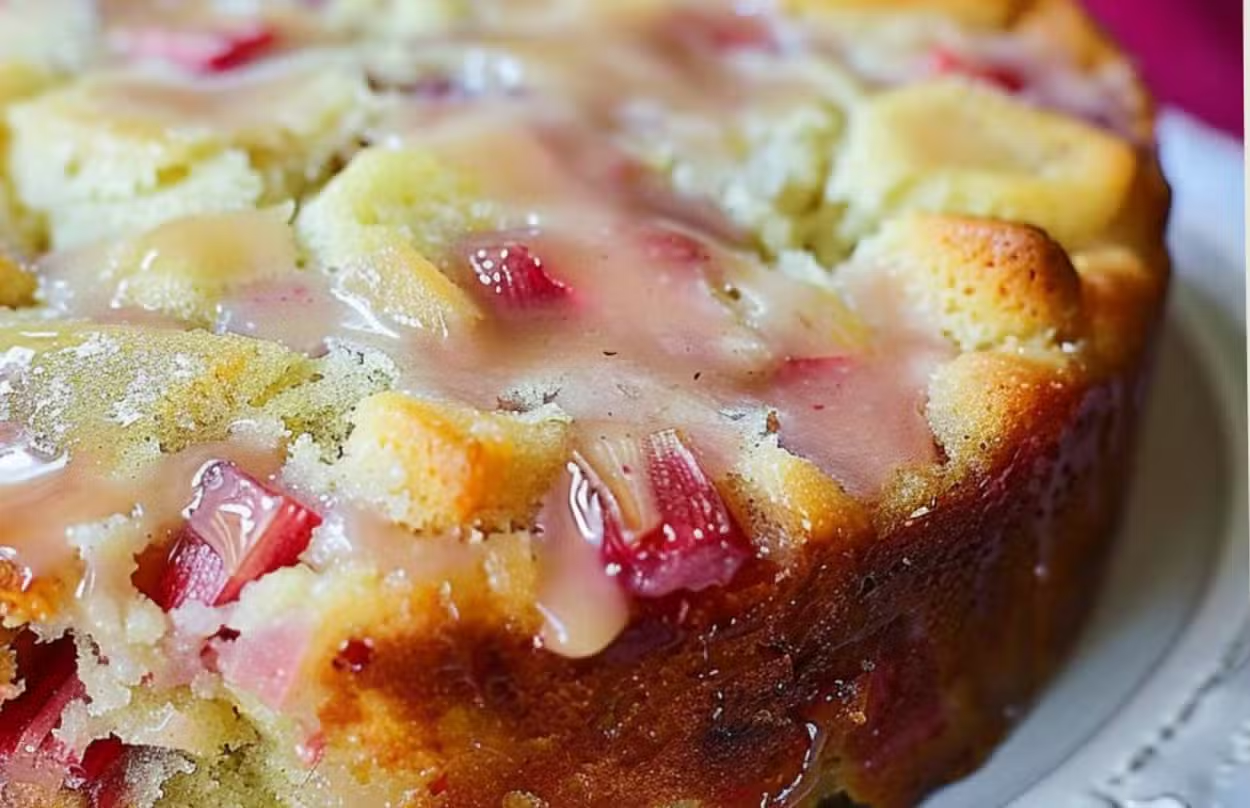
Rhubarb Cake with Butter Sauce

Moist, tangy rhubarb cake with rich, creamy butter sauce.

Ingredients

Cake

  • 2 cups all-purpose flour

  • 1½ cups granulated sugar

  • 2 tsp baking powder

  • ½ tsp salt

  • 2 cups diced rhubarb (fresh or well-drained frozen)

  • 1 cup milk

  • ½ cup melted butter

Butter Sauce

  • ½ cup butter

  • 1 cup sugar

  • 1 cup heavy cream

Instructions

1. Prep the oven & pan

  • Preheat oven to 350°F (175°C).

  • Grease a 9×13-inch baking pan.

2. Make the cake batter

  • In a large bowl, whisk together flour, sugar, baking powder, and salt.

  • Fold in diced rhubarb.

  • Add milk and melted butter; stir until just combined (do not overmix).

3. Bake

  • Pour batter into the prepared pan and smooth the top.

  • Bake for ~45 minutes, or until a toothpick inserted in the center comes out clean.

4. Make the butter sauce

  • In a saucepan over medium heat, combine butter, sugar, and heavy cream.

  • Bring to a gentle boil, stirring often.

  • Boil for 1 minute, then remove from heat. Let cool slightly.

5. Serve

  • Let cake rest 10–15 minutes after baking before slicing.

  • Serve warm or at room temperature, generously drizzled with warm butter sauce.

Notes & Variations

  • If using frozen rhubarb, drain thoroughly to prevent excess moisture.

  • Add cinnamon, nutmeg, citrus zest, or berries for extra flavor.

  • Warm the butter sauce just before serving for the best texture.

If you’d like, I can also give you a small-batch version of this cake so you can make it in an 8×8 pan for fewer servings. That way, it’s perfect for a smaller household without leftovers. Would you like me to make that?

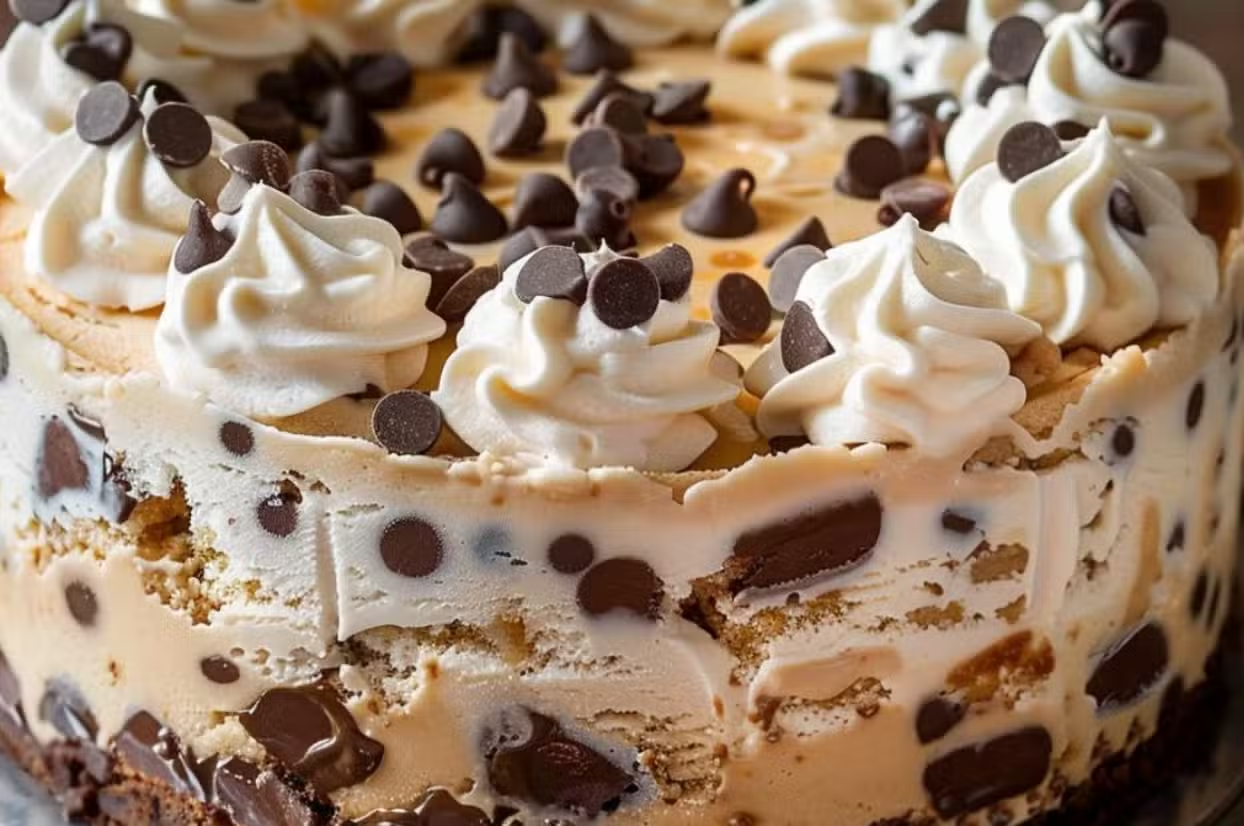
Chocolate Chip Cookie Dough Ice Cream Cake

Creamy, cookie-filled, chocolate-drizzled frozen perfection!

Ingredients

  • 2 cups edible chocolate chip cookie dough (egg-free, with heat-treated flour)

  • 1½ quarts vanilla ice cream, softened

  • ½ cup chocolate syrup or fudge sauce

  • ⅓ cup mini chocolate chips

  • ¼ cup butter, melted (for crust binding)

  • Pinch of salt

  • Whipped cream (optional, for topping)

Instructions

1. Prepare the pan

  • Line a springform or cake pan with parchment paper, leaving overhang for easy removal.

2. Make the crust

  • In a bowl, mix 2/3 of the cookie dough with melted butter and salt.

  • Press evenly into the bottom of the pan.

  • Freeze for 10–15 minutes.

3. Soften ice cream

  • Let vanilla ice cream sit out for ~10 minutes until spreadable.

4. First layer

  • Spread half of the softened ice cream over the chilled crust.

  • Crumble some of the remaining cookie dough on top.

  • Drizzle with chocolate syrup.

5. Second layer

  • Spread the remaining ice cream on top.

  • Drizzle more chocolate syrup and sprinkle mini chocolate chips.

6. Freeze

  • Freeze for 4–6 hours (overnight is best) until fully set.

7. Serve

  • Remove from freezer 5–10 minutes before slicing.

  • Garnish with whipped cream, extra drizzle, and cookie dough bites if desired.

Notes & Tips

  • Use store-bought or homemade edible cookie dough (no raw eggs or untreated flour).

  • Lining the pan with parchment makes it much easier to slice and remove.

  • Try swapping in chocolate ice cream, peanut butter ice cream, or brownie batter ice cream for flavor twists.

If you’d like, I can also give you a Weight Watchers–friendly version of this recipe that’s lighter but still indulgent. Want me to?

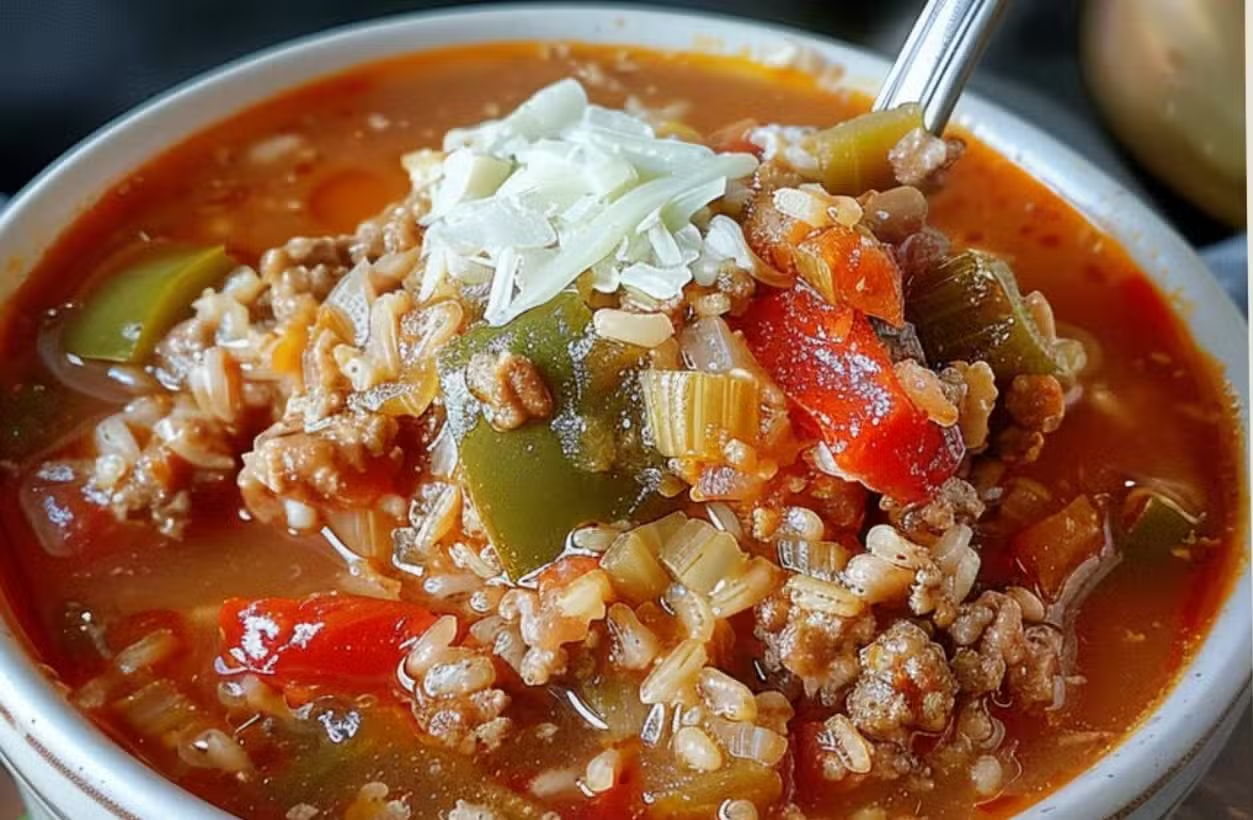
Stuffed Bell Pepper Soup

All the flavor of stuffed peppers, in a cozy bowl of soup!

Ingredients

  • 1 lb ground beef

  • 2 bell peppers (1 red, 1 green), diced

  • 1 medium onion, chopped

  • 3 cloves garlic, minced

  • 1 tbsp Cajun seasoning

  • ½ tsp black pepper

  • ¼ tsp red pepper flakes (adjust to taste)

  • 1 tbsp Worcestershire sauce

  • 1 can (14.5 oz) diced tomatoes

  • 1 can (15 oz) crushed tomatoes

  • 4 cups beef broth (low sodium preferred)

  • ¾ cup long-grain white rice

  • 1 cup shredded cheddar or Mexican blend cheese (for topping)

Instructions

1. Brown meat & veggies

  • In a large pot or Dutch oven, cook ground beef, onions, and bell peppers over medium heat.

  • Season with Cajun seasoning, black pepper, and red pepper flakes.

  • Stir occasionally until beef is browned and vegetables are soft.

2. Add garlic

  • Stir in minced garlic and cook for 2 minutes until fragrant.

  • Drain excess grease if needed.

3. Build the soup

  • Add diced tomatoes, crushed tomatoes, Worcestershire sauce, beef broth, and rice.

  • Stir to combine.

4. Simmer

  • Bring to a gentle boil, then reduce heat to low.

  • Cover and simmer 25–30 minutes, or until rice is tender.

5. Serve

  • Ladle into bowls and top with shredded cheese.

  • Enjoy hot.

Notes & Variations

  • Vegetarian: Use plant-based crumbles & vegetable broth.

  • Using cooked rice: Add during last 5 minutes of simmering.

  • Freezer-friendly: Cool completely before freezing.

  • Extra heat: Add jalapeños or more red pepper flakes.

  • Toppings: Sour cream, parsley, or green onions work great.

If you’d like, I can also convert this into a WW-friendly version with lower points by swapping the rice, cheese, and beef for lighter options. Would you like me to do that?