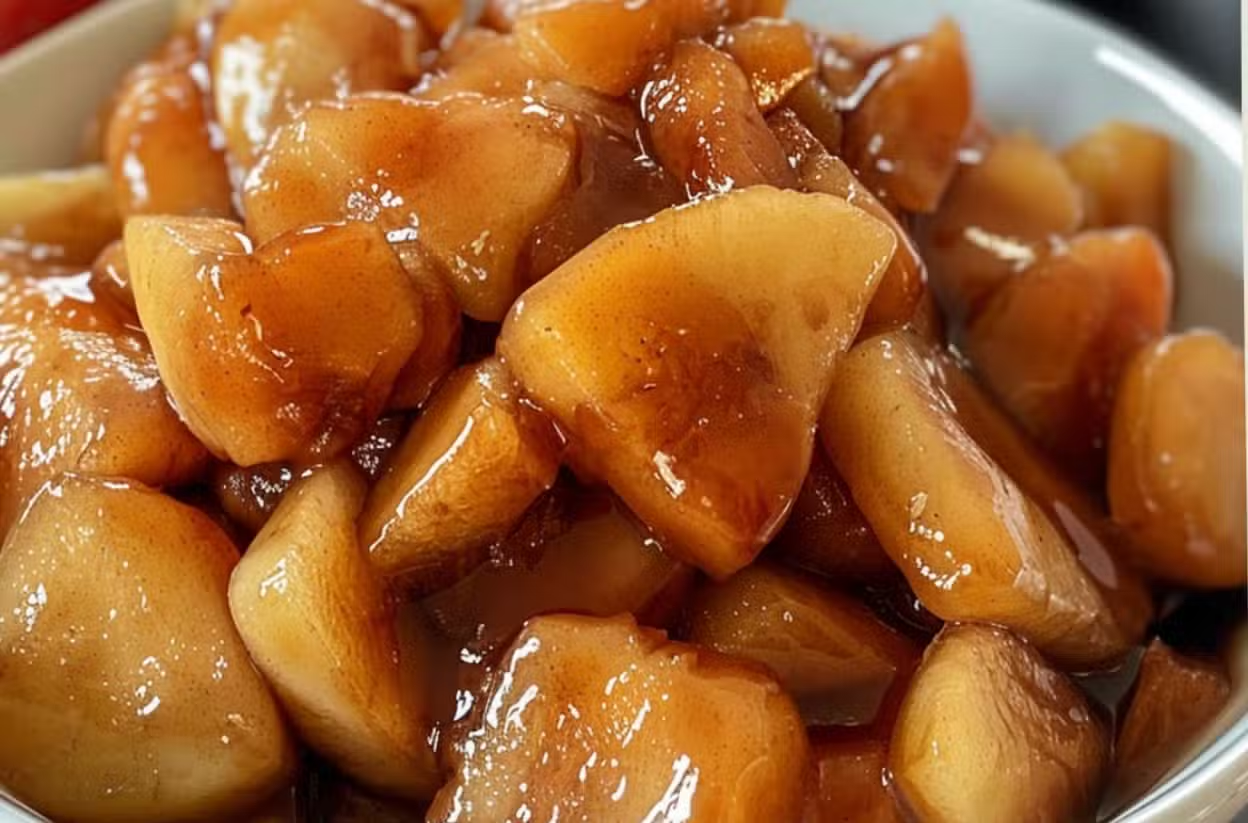
Slow Cooker Cracker Barrel Fried Apples

A warm, cinnamon-sweet apple dish inspired by the classic Cracker Barrel side — made easy in the slow cooker with buttery brown sugar glaze.

Prep Time: 15 minutes
Cook Time: 2 hours (high)
Total Time: ~2 hours 15 minutes
Servings: 6–8
Dietary: Vegetarian, Gluten-free

Ingredients

  • Firm apples (Granny Smith or Golden Delicious) – 6–8, peeled, cored, and sliced

  • Cornstarch – 2 tbsp

  • Brown sugar – ½ cup

  • Granulated sugar – ¼ cup

  • Ground cinnamon – 1½ tsp

  • Butter – ¼ cup, melted

  • Lemon juice – 1 tbsp

  • Vanilla extract – 1 tsp

Instructions

  1. Prep the apples: Peel, core, and slice apples into uniform wedges.

  2. Coat with cornstarch: Place apple slices in the slow cooker and sprinkle with cornstarch. Stir to coat evenly.

  3. Add sweetness & spice: Stir in brown sugar, granulated sugar, and cinnamon. Mix gently.

  4. Add liquids: Pour in melted butter, lemon juice, and vanilla. Stir to combine.

  5. Cook: Cover and cook on high for 2 hours, stirring once halfway through.

  6. Serve: Once apples are fork-tender and coated in a thick glaze, serve warm.

Quick Notes & Pro Tips

  • Best apples: Use firm, tart apples like Granny Smith or Golden Delicious — they hold up to slow cooking.

  • Thicker glaze: For extra thickness, stir in 1 additional teaspoon of cornstarch dissolved in water at the end and cook 5 more minutes.

  • Add a pinch of nutmeg: It enhances the cinnamon flavor for a deeper, spiced profile.

Why You’ll Love It

This set-it-and-forget-it version of Cracker Barrel’s fried apples gives you the same cozy, caramelized cinnamon flavor with no stovetop babysitting — perfect as a side, topping, or dessert.

Ingredient Details & Substitutions

  • Apples: Honeycrisp or Fuji add a sweeter flavor if you prefer less tartness.

  • Butter: Swap for coconut oil or vegan butter for a dairy-free version.

  • Sweeteners: Use maple syrup or honey instead of granulated sugar for a richer taste.

Variations & Serving Suggestions

  • As a side: Pair with pork chops, roasted chicken, or ham for a homestyle dinner.

  • As dessert: Top with vanilla ice cream or whipped cream.

  • As a filling: Use in pies, turnovers, or over pancakes and waffles.

Storage & Make-Ahead

  • Refrigerate: Store in an airtight container for up to 5 days.

  • Freeze: Freeze for up to 3 months; thaw in the fridge overnight before reheating.

  • Reheat: Warm in the microwave or on the stovetop over low heat.

FAQs

Q: Can I cook these on low instead of high?
A: Yes — cook on low for 3–4 hours.

Q: Can I leave the peels on?
A: Absolutely. Keeping the peels adds texture (and nutrients), though the sauce will be slightly less smooth.

Q: Can I double this recipe?
A: Yes — double the ingredients and add an extra 30–45 minutes of cooking time.

Personal Note

I love making this for holiday dinners — it’s one of those dishes that makes the whole house smell like cinnamon and butter. It also doubles as a perfect topping for pancakes or French toast the next morning.
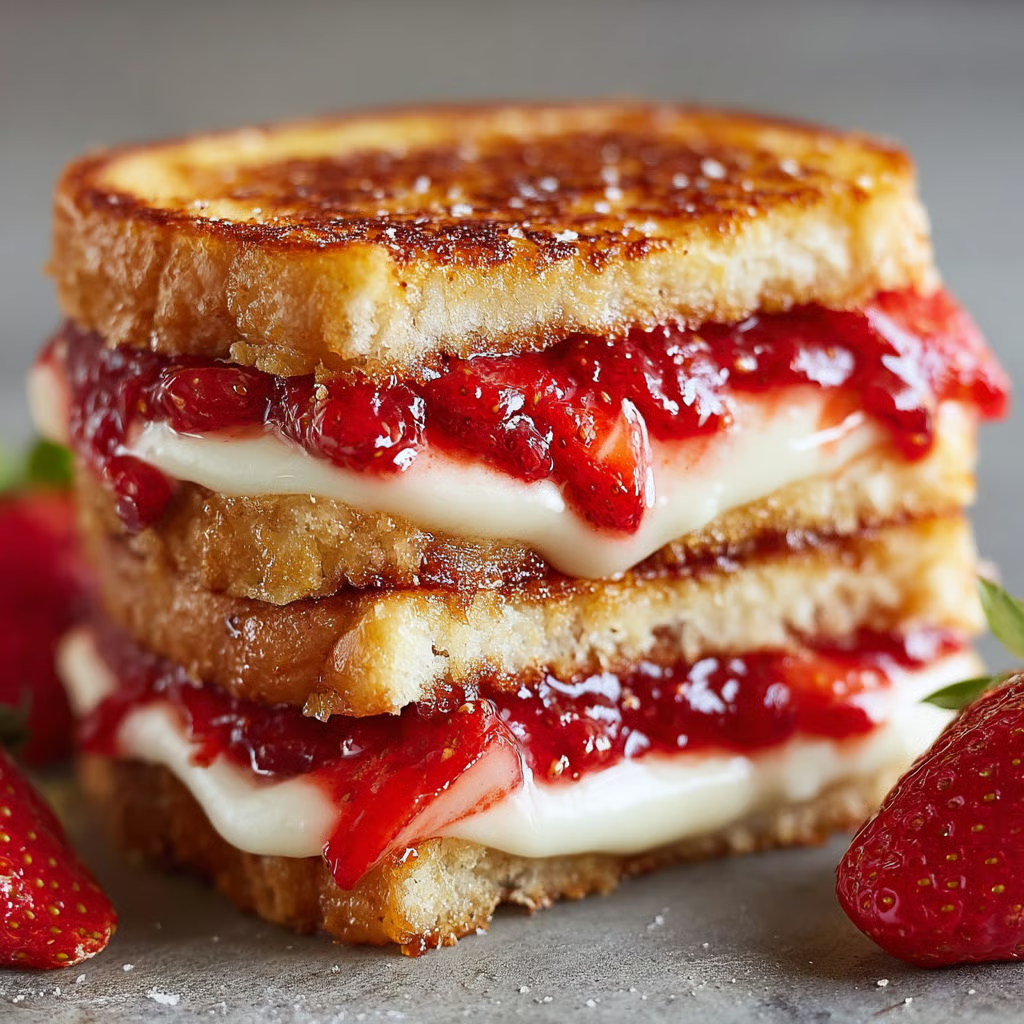

Fried Strawberry Cheesecake Sandwiches

Golden, buttery brioche sandwiches stuffed with creamy cheesecake filling, fresh strawberries, and sweet preserves — a decadent treat that tastes like dessert and breakfast combined.

Prep Time: 10 minutes
Cook Time: 5–6 minutes
Total Time: ~15 minutes
Servings: 4 sandwiches
Dietary: Dessert, Indulgent brunch

Ingredients

For the sandwiches:

  • Brioche or challah bread – 8 slices

  • Butter – 2 tbsp (for frying)

For the creamy filling:

  • Cream cheese – 4 oz, softened

  • Powdered sugar – 2 tbsp

  • Fresh strawberries – ½ cup, sliced thin

  • Strawberry preserves or jam – ¼ cup

For the egg coating:

  • Large eggs – 2

  • Whole milk – 3 tbsp

For serving:

  • Powdered sugar – for dusting

Instructions

  1. Make the filling: Beat cream cheese and powdered sugar together until smooth and fluffy.

  2. Assemble sandwiches: Spread the cream cheese mixture on 4 slices of bread, leaving a small border. Layer with strawberries and a spoonful of preserves. Top with remaining bread slices, pressing gently to seal.

  3. Prepare egg coating: Whisk eggs and milk together in a shallow dish until blended.

  4. Dip sandwiches: Carefully dip each sandwich in the egg mixture, coating both sides.

  5. Fry: Melt butter in a skillet over medium heat. Fry sandwiches for 2–3 minutes per side until golden brown and crisp. Drain briefly on paper towels.

  6. Serve: Dust with powdered sugar, cut diagonally, and enjoy warm.

Quick Notes & Pro Tips

  • Bread choice: Use brioche or challah for a rich, fluffy texture.

  • Don’t overfill: Too much filling may cause leakage while frying.

  • Work in batches: Don’t overcrowd the pan for even browning.

Why You’ll Love It

It’s like cheesecake and French toast had a baby — creamy, fruity, buttery, and crisp on the outside. Perfect for brunch, dessert, or a sweet treat any time of day.

Ingredient Details & Substitutions

  • Jam options: Try raspberry or mixed berry preserves for variety.

  • Cream cheese: Use mascarpone for a silkier filling.

  • Fruit: Swap strawberries for blueberries, peaches, or sliced bananas.

Variations & Serving Suggestions

  • Make it extra indulgent: Drizzle with chocolate or caramel sauce.

  • Add crunch: Sprinkle crushed graham crackers inside for a cheesecake crust effect.

  • Serve with: Whipped cream or a scoop of vanilla ice cream for a full dessert.

Storage & Make-Ahead

  • Best served fresh: These are crispiest when eaten right after frying.

  • Make-ahead: Assemble sandwiches and store (unfried) in the fridge for up to 1 day. Dip and fry before serving.

FAQs

Q: Can I bake instead of frying?
A: Yes — bake at 375°F for 8–10 minutes per side on a buttered sheet, flipping halfway through.

Q: Can I make them savory instead?
A: Absolutely! Replace jam with ham or bacon and use a savory filling like herbed cream cheese.

Personal Note

This is one of my favorite brunch “desserts.” It’s ridiculously easy but feels like something from a café menu — perfect for impressing guests or treating yourself on a weekend morning.

Your turn!
Tried these Fried Strawberry Cheesecake Sandwiches? Leave a comment or tag me on social media — I’d love to see your creations!

Would you like me to create a “Nutella-stuffed version” or a “baked casserole version” (like a cheesecake-stuffed French toast bake)?

Ask ChatGPT

Crispy Baked Parmesan Crusted Chicken

Juicy chicken breasts coated in a golden, garlicky Parmesan-breadcrumb crust and topped with a gooey blend of mozzarella and Parmesan — a comforting, restaurant-quality dinner made at home.

Prep Time: 20 minutes
Cook Time: 20–25 minutes
Total Time: ~45 minutes
Servings: 4
Dietary: Kid-friendly, Crowd-pleaser

Ingredients

For the chicken:

  • 4 boneless, skinless chicken breasts

For the breading & coating:

  • Bread crumbs – 1 cup

  • Parmesan cheese – grated (½ cup)

  • Dried Italian seasoning – ½ tsp

  • Salt – ½ tsp

  • Black pepper – ¼ tsp

  • All-purpose flour – ½ cup

  • Eggs – 2 large

  • Milk – ¼ cup

For the cheese topping:

  • Parmesan cheese – grated (½ cup)

  • Mozzarella cheese – shredded (1 cup)

  • Garlic – minced (2 cloves)

For cooking:

  • Olive oil – 2 tbsp

Instructions

  1. Preheat oven: Set to 375°F (190°C). Lightly grease a baking dish with olive oil.

  2. Prepare breading: In a shallow dish, combine bread crumbs, ½ cup Parmesan, Italian seasoning, salt, and black pepper.

  3. Prepare wet & dry dips: In one dish, whisk eggs and milk. In another, add flour for dredging.

  4. Bread the chicken: Dredge each chicken breast in flour, then dip in egg mixture, and coat with bread crumbs.

  5. Pan-sear: Heat olive oil in a skillet over medium-high. Cook chicken for 3–4 minutes per side until golden brown.

  6. Assemble: Transfer seared chicken to the baking dish. In a bowl, mix remaining ½ cup Parmesan, mozzarella, and garlic. Sprinkle over chicken.

  7. Bake: Cook for 20–25 minutes until chicken reaches an internal temperature of 165°F (74°C) and cheese is melted and bubbly.

  8. Serve: Let rest briefly, then serve hot with mashed potatoes, pasta, or vegetables.

Quick Notes & Pro Tips

  • Thin chicken cooks faster: Pound chicken breasts to an even thickness for consistent cooking.

  • Crispier finish: Broil for 1–2 minutes after baking for a golden cheese crust.

  • Use fresh Parmesan: It melts and flavors better than pre-grated.

Why You’ll Love It

This dish delivers crispy, juicy chicken with a flavorful cheesy topping — the perfect balance between a weeknight dinner and a dish that feels special.

Ingredient Details & Substitutions

  • Breadcrumbs: Use panko for extra crunch.

  • Cheese: Try provolone or fontina in place of mozzarella for a melty twist.

  • Herbs: Add fresh basil or parsley to the cheese topping for brightness.

Variations & Serving Suggestions

  • Turn it into Chicken Parmesan: Add marinara sauce before baking.

  • Low-carb option: Use crushed pork rinds or almond flour instead of breadcrumbs.

  • Pair it with: Garlic mashed potatoes, buttered noodles, or a crisp Caesar salad.

Storage & Make-Ahead

  • Refrigerate: Store leftovers in an airtight container for up to 3 days.

  • Freeze: Wrap cooked chicken tightly and freeze for up to 2 months.

  • Reheat: Warm in the oven at 350°F to keep the coating crisp.

FAQs

Q: Can I use chicken thighs instead?
A: Yes — boneless, skinless thighs work great (adjust cook time slightly).

Q: Can I make this ahead?
A: Yes — bread the chicken up to 1 day in advance. Pan-sear and bake when ready.

Q: How do I keep the breading from falling off?
A: Pat chicken dry before breading and press crumbs firmly to adhere.

Personal Note

This recipe is my go-to when I want a quick but impressive dinner. The golden, cheesy crust is always a hit with kids and adults alike, and it pairs beautifully with almost any side.

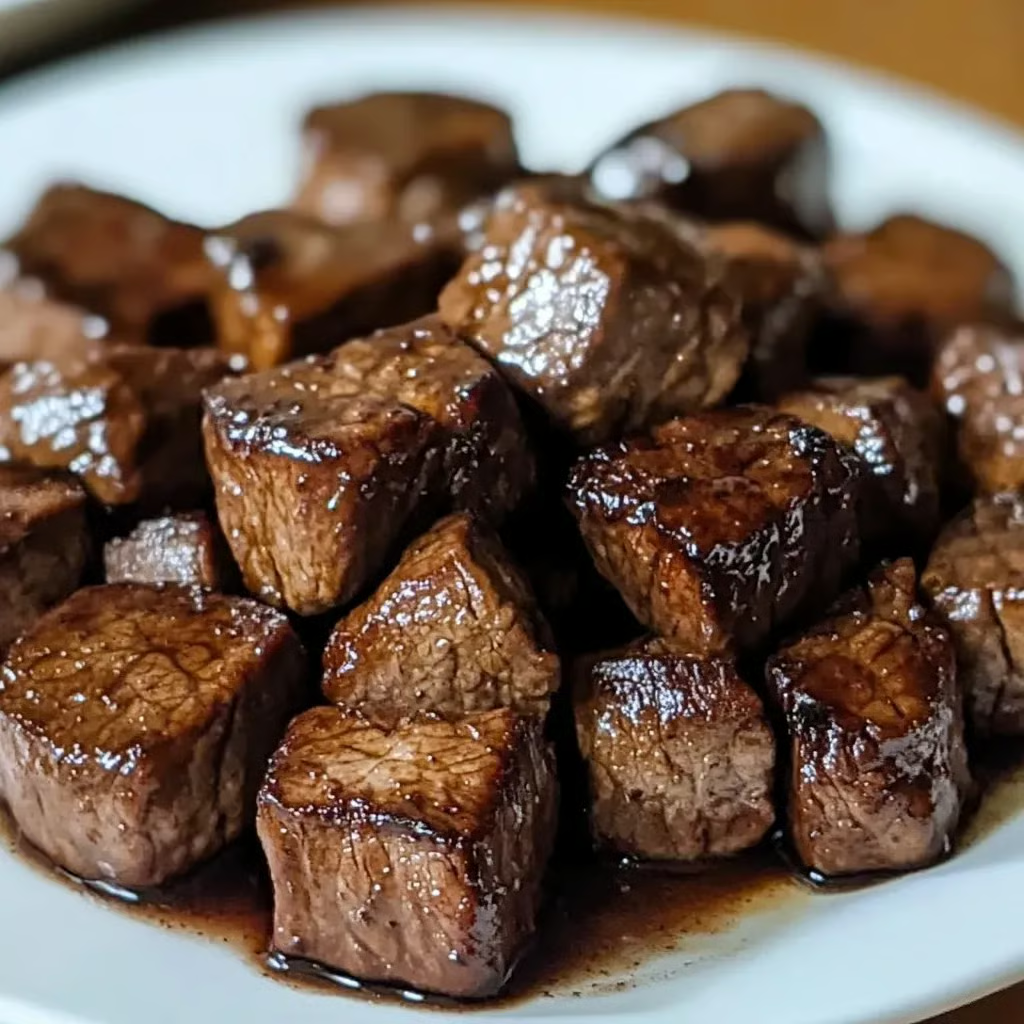
Slow Cooker Beef Tips in Savory Gravy

Fork-tender chunks of beef simmered in a rich, savory sauce with optional hearty vegetables — a comforting, set-it-and-forget-it slow cooker meal.

Prep Time: 15 minutes
Cook Time: 6–8 hours (low) or 3–4 hours (high)
Total Time: ~6–8 hours
Servings: 6–8
Dietary: Gluten-free adaptable

Ingredients

For the beef:

  • Beef sirloin, chuck roast, or stew meat – 2 lbs, cut into bite-sized chunks

  • Salt – 1 tsp

  • Black pepper – 1 tsp

  • Olive oil – 1–2 tbsp (for browning, optional)

For the sauce:

  • Beef broth – 1 cup (low-sodium preferred)

  • Soy sauce – ¼ cup

  • Worcestershire sauce – ¼ cup

  • Brown sugar – 3 tbsp

  • Tomato paste – 2 tbsp

  • Garlic – 3 cloves, minced

  • Smoked paprika – 1 tsp

  • Onion powder – ½ tsp

  • Red pepper flakes – ¼ tsp (optional)

Optional add-ins:

  • Baby potatoes – 1 lb, halved

  • Baby carrots – 1 cup

  • Mushrooms – 1 cup, sliced

  • Onion – 1 medium, roughly chopped

  • Cornstarch slurry – 1–2 tbsp cornstarch + 2 tbsp cold water (for thickening)

Instructions

  1. Prep the beef: Pat beef chunks dry with paper towels. Season evenly with salt and pepper.

  2. Brown the beef (optional): Heat olive oil in a skillet over medium-high. Sear beef in batches until browned on all sides. (Skip if short on time.)

  3. Make the sauce: In a bowl, whisk together beef broth, soy sauce, Worcestershire, brown sugar, tomato paste, garlic, paprika, onion powder, and red pepper flakes.

  4. Assemble in slow cooker: Place beef in slow cooker. Add optional vegetables around and on top. Pour sauce over everything, coating the beef well.

  5. Cook: Cover and cook on low for 6–8 hours or high for 3–4 hours, until beef is fork-tender.

  6. Thicken (optional): About 20 minutes before serving, mix cornstarch with cold water. Stir into the slow cooker, cover, and cook on high until the sauce thickens.

  7. Serve: Spoon beef and sauce over mashed potatoes, rice, or egg noodles. Garnish with fresh parsley if desired.

Quick Notes & Pro Tips

  • Choose the right cut: Chuck roast is budget-friendly and melts beautifully after slow cooking.

  • Brown for flavor: While optional, searing the beef adds a deeper, richer taste.

  • Thicker sauce: Adjust cornstarch to reach your preferred gravy consistency.

Why You’ll Love It

This dish is hearty, versatile, and family-friendly. With minimal prep, you get beef that’s melt-in-your-mouth tender and swimming in a savory, well-balanced gravy — comfort food made easy.

Ingredient Details & Substitutions

  • Beef: Swap for pork shoulder or even chicken thighs for a different twist.

  • Vegetables: Add parsnips, celery, or sweet potatoes for variety.

  • Soy sauce: Use tamari for a gluten-free version.

Variations & Serving Suggestions

  • Make it creamy: Stir in ¼ cup heavy cream or sour cream at the end for a silky sauce.

  • Serve it with: Mashed potatoes, egg noodles, or crusty bread to soak up the gravy.

  • Add wine: Replace ¼ cup broth with red wine for a deeper, richer flavor.

Storage & Make-Ahead

  • Refrigerate: Store in an airtight container for up to 4 days.

  • Freeze: Cool completely and freeze for up to 2 months.

  • Reheat: Warm gently on the stovetop or in the microwave until heated through.

FAQs

Q: Can I make this in the oven instead?
A: Yes — bake in a covered Dutch oven at 160°C (325°F) for 2½–3 hours.

Q: How do I make it less sweet?
A: Reduce brown sugar to 1–2 tbsp or skip entirely for a more savory profile.

Q: Can I prep this the night before?
A: Absolutely — assemble all ingredients in the slow cooker insert, cover, and refrigerate overnight.

Personal Note

This recipe is my go-to when I want a hearty dinner with little hands-on time. The soy-Worcestershire-tomato combo builds a flavorful gravy that tastes like it’s been simmering all day (because it has!).

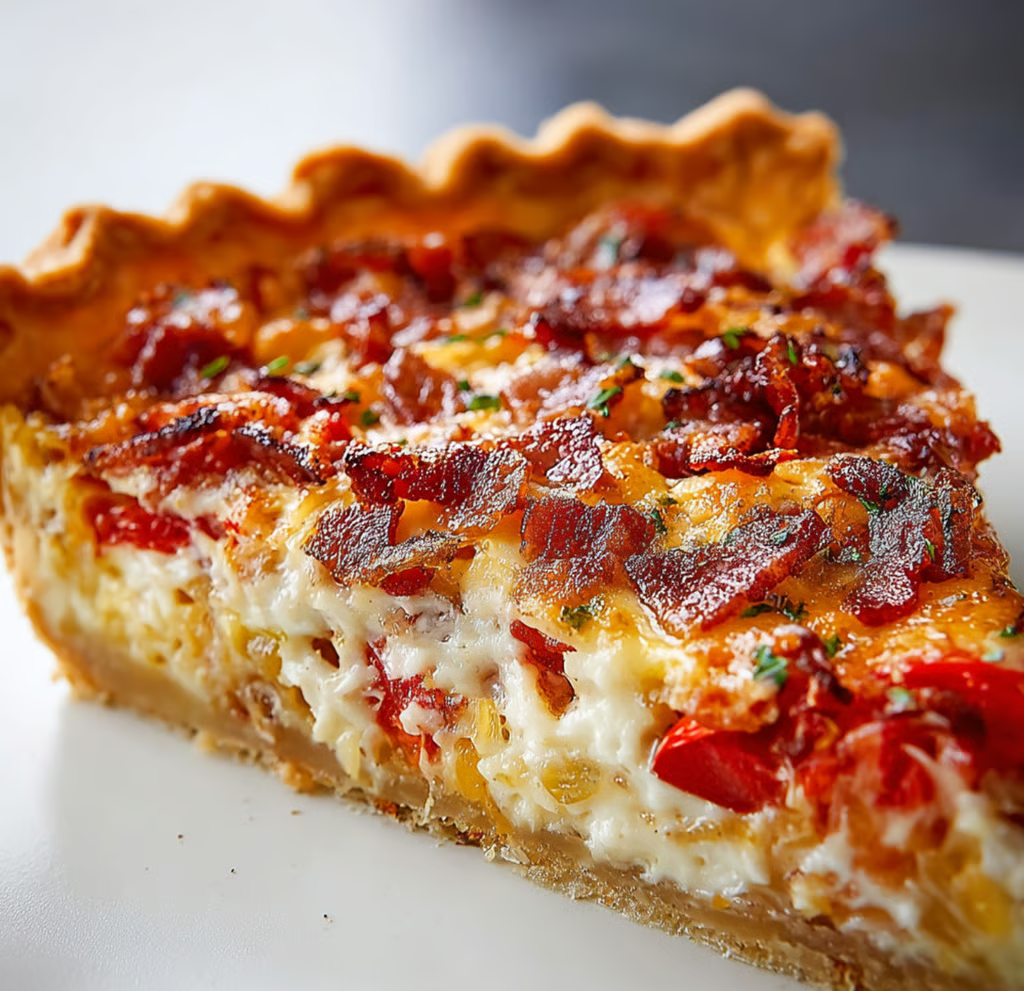
Bacon, Tomato & Onion Pie

A savory pie layered with caramelized onions, crisp bacon, juicy tomatoes, and a creamy, cheesy topping — the perfect comfort dish for brunch, dinner, or potlucks.

Prep Time: 20 minutes
Cook Time: 35–40 minutes
Total Time: ~1 hour
Servings: 6–8
Dietary: Comfort food, Crowd-pleaser

Ingredients

For the crust:

  • One pre-baked deep 9-inch pie shell

For the filling:

  • 8–6 thick slices of bacon – fried crisp and chopped

  • 2 medium tomatoes – thinly sliced

  • 1 large yellow onion – very thinly sliced

For the topping:

  • Mozzarella cheese – shredded (1 ½ cups)

  • Mayonnaise (½ cup)

  • Sour cream (½ cup)

  • All-purpose flour (1 tbsp)

  • Garlic powder (½ tsp)

  • Salt (¼ tsp)

  • Black pepper (¼ tsp)

For garnish (optional):

  • Fresh parsley or chives – chopped (1 tbsp)

Instructions

  1. Preheat oven: Set to 350°F (175°C). Place a baking sheet on the lower rack (to catch drips).

  2. Caramelize the onions: In a skillet over medium heat, cook onion slices in a little bacon grease until soft and golden brown (about 10 minutes). Let cool slightly.

  3. Layer the filling: In the pre-baked pie shell, layer half the onions, half the tomatoes, and half the bacon. Repeat with remaining onions, tomatoes, and bacon.

  4. Make the topping: In a bowl, mix mozzarella, mayonnaise, sour cream, flour, garlic powder, salt, and pepper until smooth.

  5. Assemble & bake: Spread the topping evenly over the layered filling. Bake for 35–40 minutes until bubbly and golden on top.

  6. Cool & serve: Let rest for a few minutes. Garnish with parsley or chives before slicing.

Quick Notes & Pro Tips

  • Pre-bake the crust: Ensures a crisp base that holds up to the filling.

  • Onions: Slow-cook them for deeper flavor.

  • Tomatoes: Pat slices dry to avoid excess moisture in the pie.

  • Serving tip: Let the pie cool slightly before slicing so it holds its shape.

Why You’ll Love It

This pie combines layers of smoky bacon, caramelized onions, and fresh tomatoes with a creamy, cheesy topping that bakes up golden and bubbly. It’s hearty enough for dinner but elegant enough for brunch.

Step-by-Step Cooking Guide

1. Prepping the Filling

  • Fry bacon until crisp. Caramelize onions in the rendered grease for rich flavor.

2. Layering the Pie

  • Onion, tomato, bacon — twice for even flavor distribution.

3. Mixing the Topping

  • Whip together the creamy mixture with mozzarella for a tangy, cheesy finish.

Ingredient Details & Substitutions

  • Cheese: Try cheddar or a mozzarella–Parmesan mix for more depth.

  • Sour cream: Swap for Greek yogurt for a lighter topping.

  • Crust: Use homemade pie dough or a store-bought pastry shell.

Variations & Serving Suggestions

  • Add a kick: Sprinkle in red pepper flakes or a dash of hot sauce.

  • Vegetarian version: Skip the bacon and add sautéed mushrooms or spinach.

  • Serving idea: Pair with a fresh green salad or serve as a side to grilled meats.

Storage & Make-Ahead

  • Refrigerate: Store covered for up to 3 days.

  • Reheat: Warm slices in a 325°F oven for 10–15 minutes to keep the crust crisp.

  • Make-ahead: Pre-cook bacon and onions and assemble layers a day ahead; bake fresh.

FAQs

Q: Can I use different cheese?
A: Yes — sharp cheddar, Gruyère, or a blend adds great flavor.

Q: Can I make this crustless?
A: Yes — pour filling into a greased pie dish and bake until set.

Q: How do I prevent a soggy crust?
A: Pat tomatoes dry and pre-bake the crust thoroughly.

Personal Note

This pie is inspired by classic Southern tomato pie but takes it up a notch with caramelized onions and smoky bacon. It’s the kind of dish that disappears fast at family gatherings.

Your turn!
Tried this Bacon, Tomato & Onion Pie? Leave a review or tag me on social media — I’d love to see your version!


Would you like me to make a “breakfast version” (with eggs for a quiche-like texture) or turn this into individual mini pies for parties?

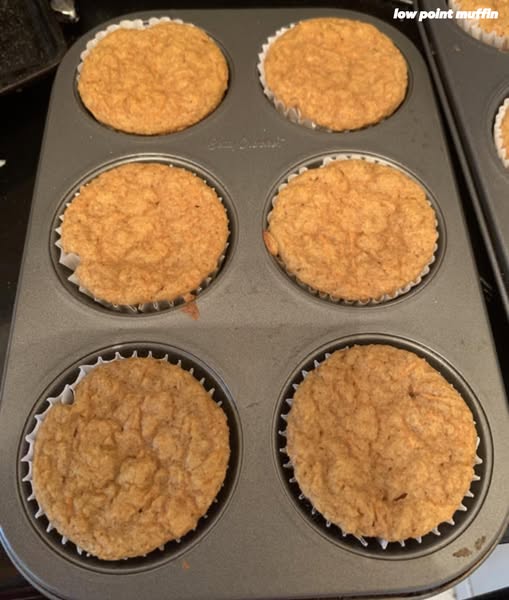
Apple Spice Cake Muffins

When doing my weekend food prep, I usually make a banana loaf for the week but being that my bananas aren’t ripe enough yet, i asked chat GPT for a low point muffin recipe and made these 1 point carrot ones. They turned out really good. I added a bit of sugar free maple syrup and I used apple pie spice instead of cinnamon and nutmeg. I also used blueberry kodiak mix with a tad of cinammon oat one too.
1 cup shredded carrots
2 eggs
1/4 cup unsweetened applesauce
1/2 cup nonfat plain Greek yogurt
1/2 cup monk fruit sweetener or other zero-point sweetener
1 tsp vanilla extract
1 tsp baking powder
1/2 tsp baking soda
1 tsp cinnamon
1/4 tsp nutmeg
Pinch of salt
1 cup Kodiak Cakes Power Cakes mix
1. Preheat oven to 350°F (175°C) and line a muffin tin with 12 liners or spray with nonstick spray.
2. Mix wet ingredients: eggs, applesauce, Greek yogurt, sweetener, vanilla, and either grated carrots or pumpkin.
3. Stir in dry ingredients: Kodiak mix, baking powder, baking soda, spices, and salt.
4. Fold in any optional add-ins if using.
5. Spoon batter evenly into 12 muffin cups.
6. Bake for 18–22 minutes, or until a toothpick comes out clean.